Hello crafty friends! Noelene here today to share a tutorial of my take of the new 3D Strawberry Bouquet (SVG), (Silhouette). Lori has a few different designs to choose from. They are fun & easy to make!

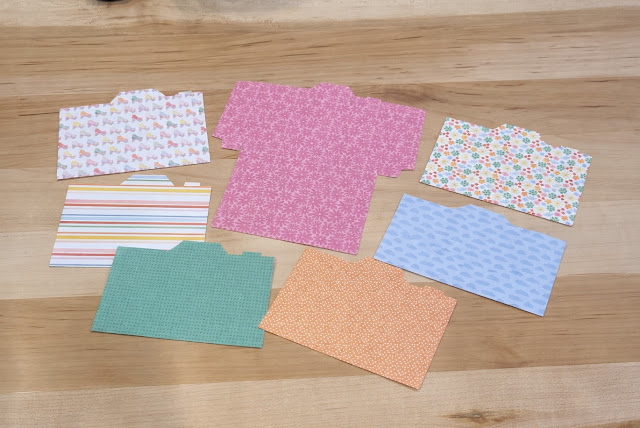
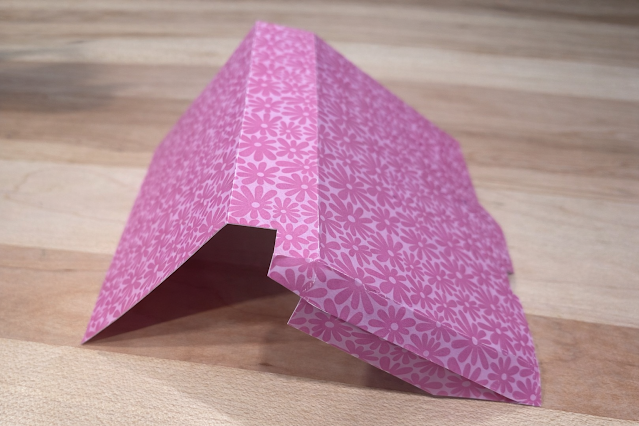
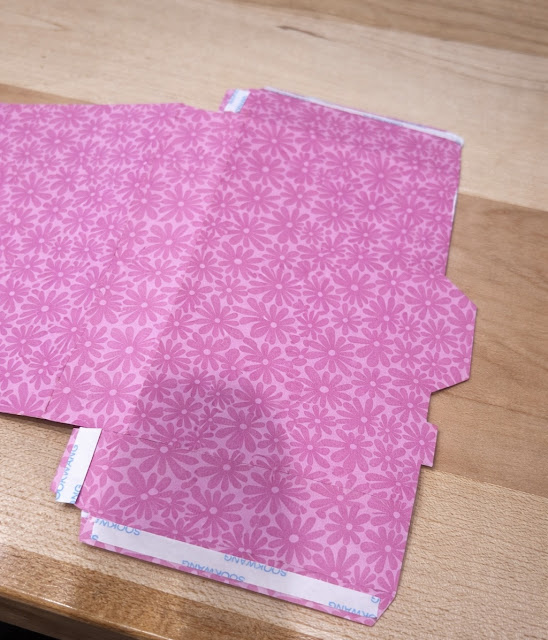
To start cut out all your pieces. Next I created the small card. Then I valley folded the small piece of the envelope & applied glue to the tabs. I aligned it to the bottom & sides of the larger piece. This creates the pocket.
Next if you want to ink any of your pieces do this before you glue any pieces together. I inked the green stems of the strawberries.

I wanted some dimension on mine, so I embossed the basket with an embossing folder. Remember to spray a light spray of water on your cardstock before you run it through, so that it makes your cardstock more pliable & not tear. Now glue all your panel pieces. I put some small foam squares on my flowers for dimension. I also put foam squares on the strawberries of the smaller green panel, as this will be on the front.

Now to create the mechanism.

Fold the little tab then fold the mechanism in half & glue the tab down.

For the easel leg glue the single tab to the back, then wrap the rest around going to the back & bringing it to the front glueing each tab. This is to make the easel leg sturdy.

Next valley fold both ends in so that it forms an x.

Now apply glue to the mechanism making sure you do not go past the fold on the easel leg.

Now place the glued mechanism on the inside of one of the pot panels making sure to align the leg to the bottom. It should sit a few millimeters beneath the top. Now, glue the top part of the mechanism only & place the other pot panel on top. Hold down for a minute or so till it dries. Now glue the tabs to the inside. I used paper clips to hold down the tabs until they dried.

Next take the larger foliage panel & turn it over. You want to apply glue on the back of the bottom square part. Now turn it over so you can see your front panels & gently slide it in between the back of your x. The glued square should be stuck onto the back pot panel. Now with the smaller foliage panel you will apply the glue onto the front side of bottom square. This time you will slide it into your x on the front folded part of the mechanism so that the glue adhers to the front pot panel.
Lastly I glued down the bow elements & glued a little flower button to embellish. Lastly I finished off by adding some white gel pen. I didn’t do this before I adhered my pieces, but if you do, it makes it a little easier.

To make your bouquet stand on its own, gently squeeze the sides of the pot & fold in the leg of your mechanism. To fold flat, place it back down again.

I hope you enjoyed my tutorial today! I will be definitely making more of these in the near future.
Noelene 🙂