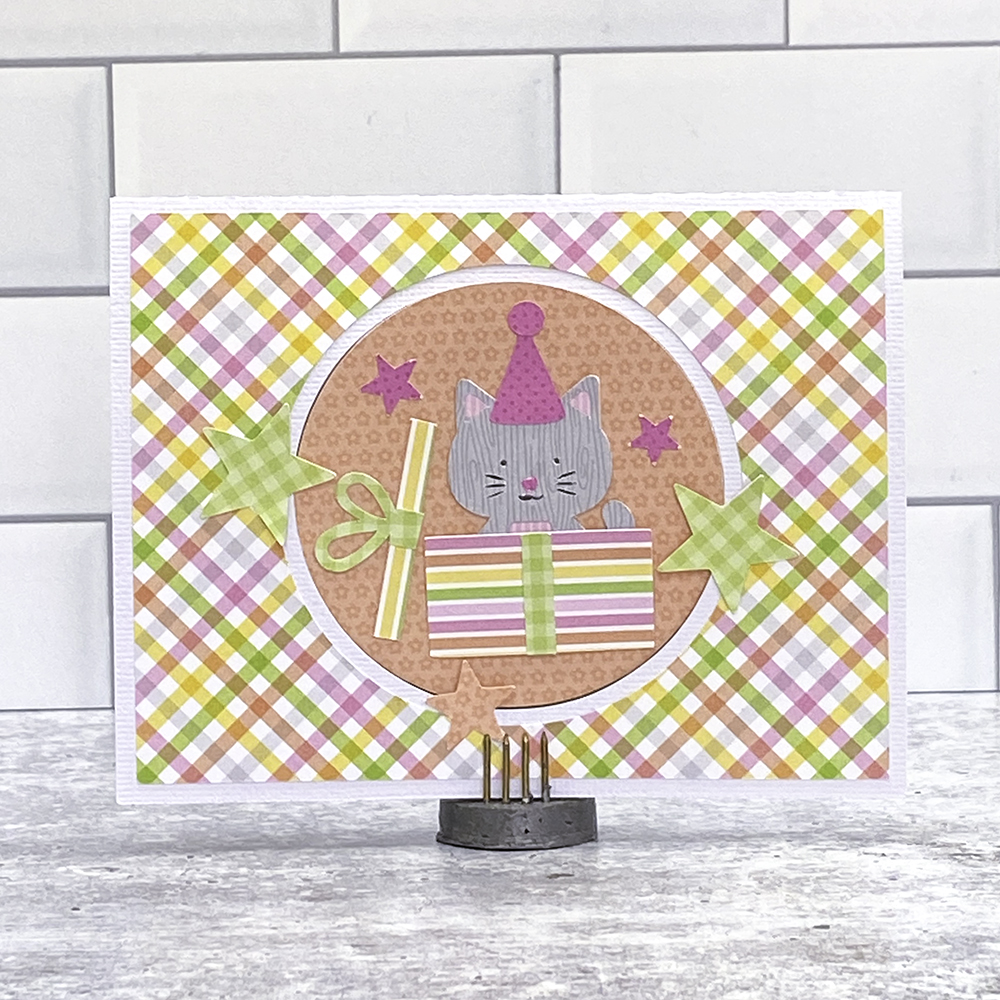
Hi Everyone! I’m excited to bring you a new card that will be added to the shop this week! It’s called a Window Flip Card and I made the new Window Flip Card Birthday Cat (SVG, Silhouette – coming this week). Take a peek… Here is the front of the card…
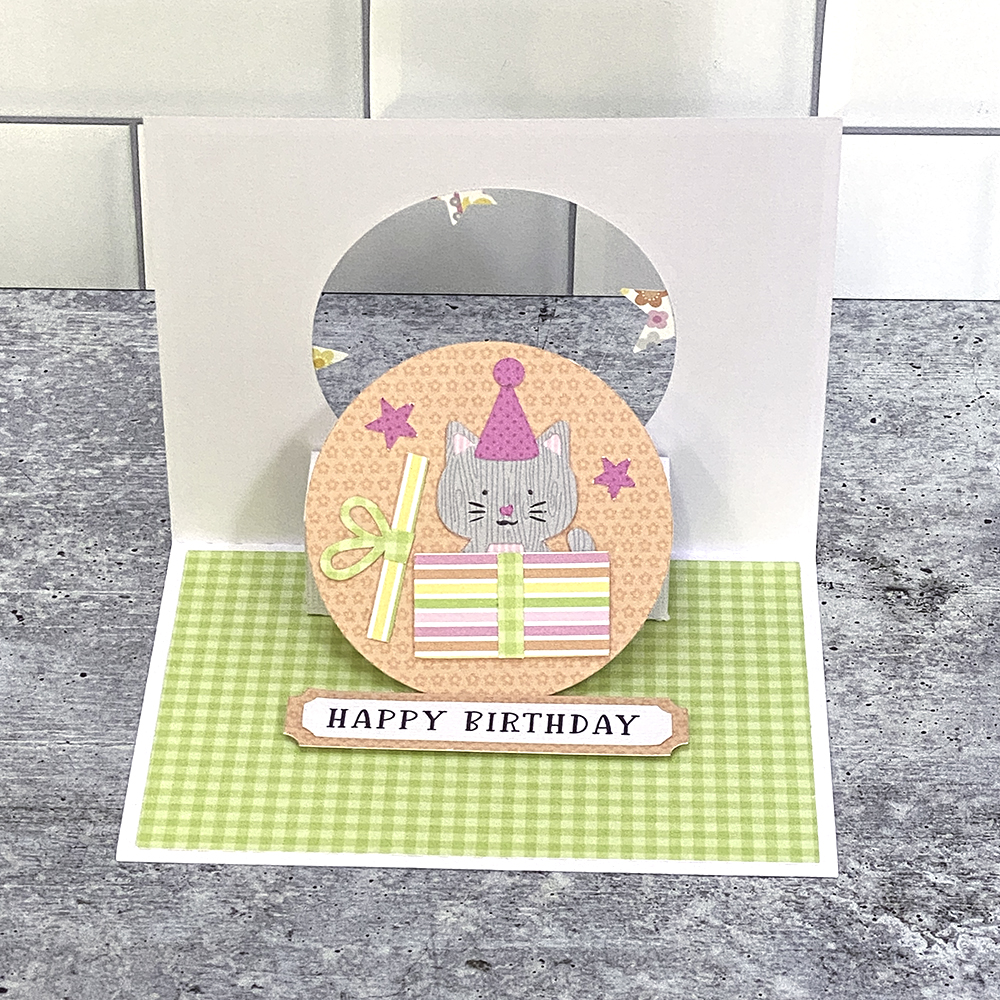
And when you open the card, ta-da! you get a cute little flip up!
These cards are pretty easy to assembly, I’ve put together a quick tutorial below…
In the upper left photo, you will see all the pieces of the card. I pre-assembled the kitty and present, print and cut the sentiment and added the front cover panel and the inside panel. If you ever need help with specific piece placement, you can always reload the file into your cutting software, Lori groups the pieces as they go in the final project.
Start with the piece with the 3 score lines. Fold all the score lines in the same direction. Cover one end section in adhesive. Fold the whole piece in half… adhesive on the outside. Attach this piece to the bottom half of the open card base. It should be centered, and the piece with the adhesive should be facing down and closest to the fold in the card (see bottom left photo). Once this is in place, add one strip of adhesive on the section closest to the card fold as shown bottom right photo.
Fold the card closed and press so that the top of the card is firmly attached to the folded section. Now, when you open the card, you will have a squared tube inside the card. Next, fold the small tab along the score line. Cover the smaller side of the tab with adhesive (bottom left). Adhere this small piece to the top of the squared tube, centering it. You want the remaining tab to be sticking up furthest away from the fold. (bottom right)
Now when you close the card, fold the tab up and add adhesive (top right) With the card still closed, add the circle with the cat, making sure it is centered and press down to adhere it to the tab. Now when you open the card, the kitty circle will pop into the card. I then added the sentiment strip so that it would prop up the kitty circle when the card is open. I used foam tape to give it a little height. Lastly close the card and add the stars. Make sure there is no adhesive on the edges that overlap the circle.
There are lots MORE window flip cards coming to the shop later today/tomorrow, so be sure to check them all out! That’s it for me today, thanks for stopping by!


Lost. Guess I need a video!
I agree, need a video please!