Halloween Layered HTV Tutorial

Welcome to Tutorial Thursday. Today I am sharing some HTV (heat transfer vinyl) tips with the Silhouette Studio software.  You can also cut HTV with other machines. Here is what we are making!

Let’s get started.  First, find your files and fonts to create your shirt.  I used these files for this shirt:

LW Longhand Font (SVG, Silhouette)
LW Perfect Type Font (SVG, Silhouette)
Feet from Coming Soon (SVG, Silhouette)
Halloween Witch Hat (SVG, Silhouette)
Halloween Bats (SVG, Silhouette)

I typed Kick or Treat, and then added the other elements. In your design software, make a background box that will be the color of your project.  This will help you visualize the colors.
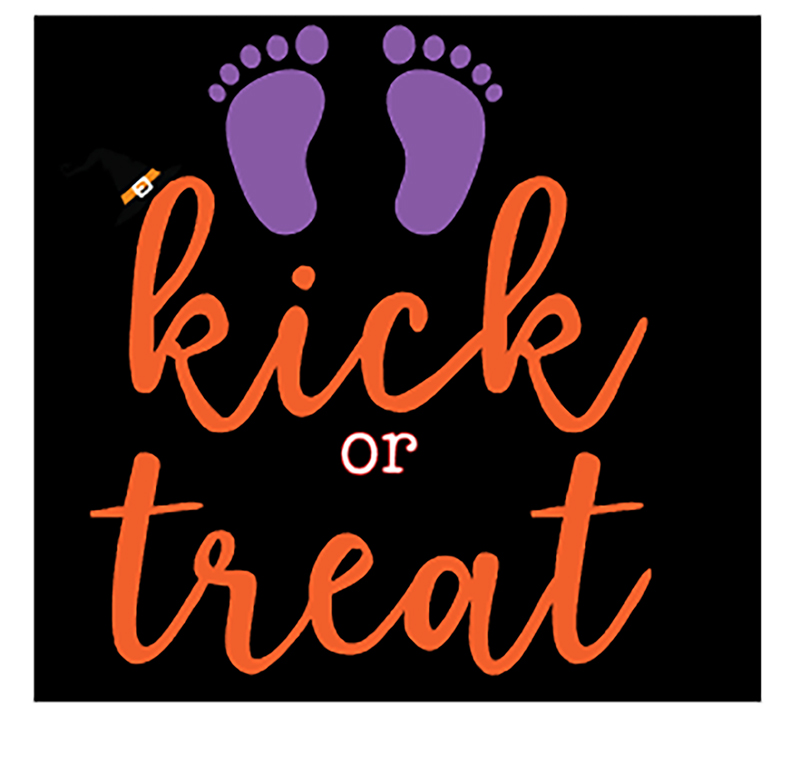
This looks ok, but I really wanted the colors to pop out more from the background.  This is where the Offset feature is used in Silhouette Studio.  I moved the background, and then selected the project. Then I used the Offset function which is the star Icon on the right side menu.  This is the Offset Settings Panel:


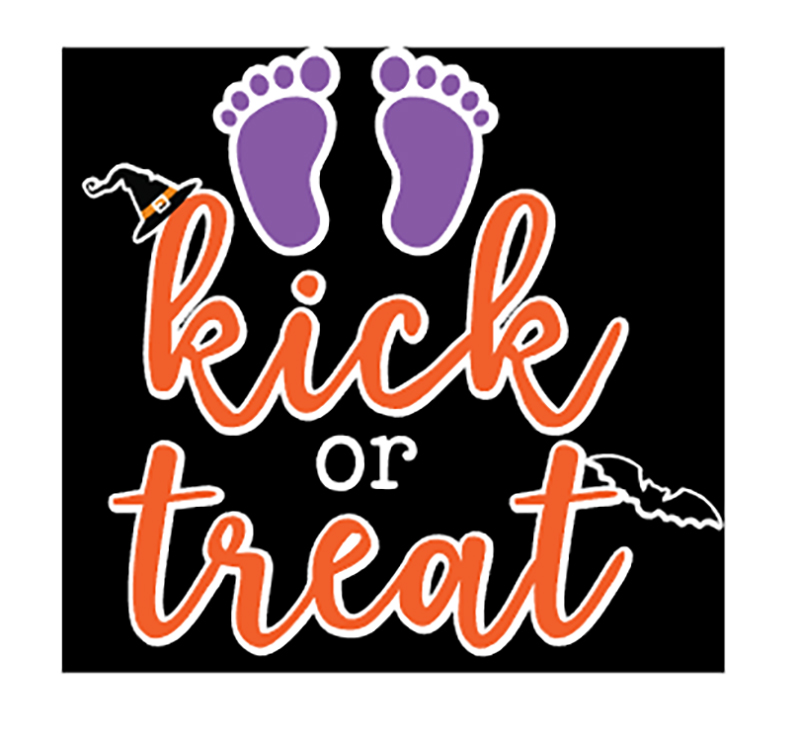
For this project I used Offset, changed the distance to 0.085 inches and selected the round option.  Click apply.


In this image, the red outline shows the offset.  Now it’s almost ready to cut.  Now separate each color and flip your project horizontally before cutting. The white offset layer is perfect in helping you line up all your other layers.
You will apply the HTV to your shirt or project working from the back color to the front with one color at a time. In this project, the first color to be applied is white.  I heat each layer for about 15 seconds instead of the full recommended time.  Then on the last layer, I apply heat for the full recommended time.  In my project the white layer is the largest, so I kept the clear transfer tape and used it to cover the whole project with each new layer. It is such a fun Halloween shirt for my sister!

You can create your own HTV project for less this week!  All SVGs, Fonts and commercial licenses are 30% off when you use code OCT2020 at checkout!

Have a great day!

Canvas Halloween Projects

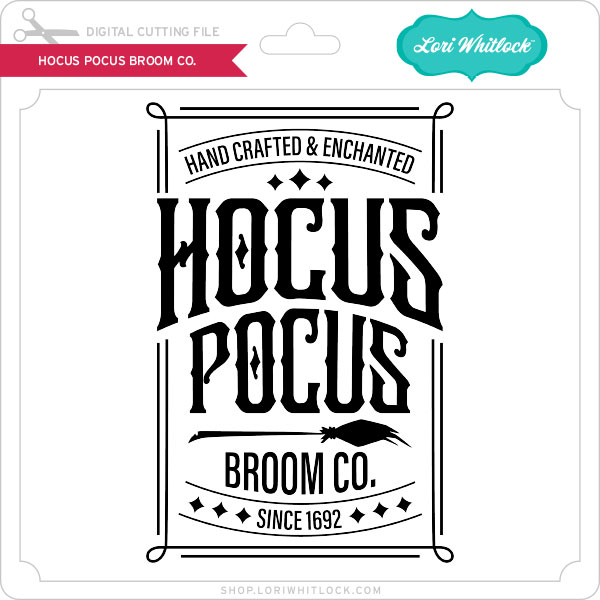
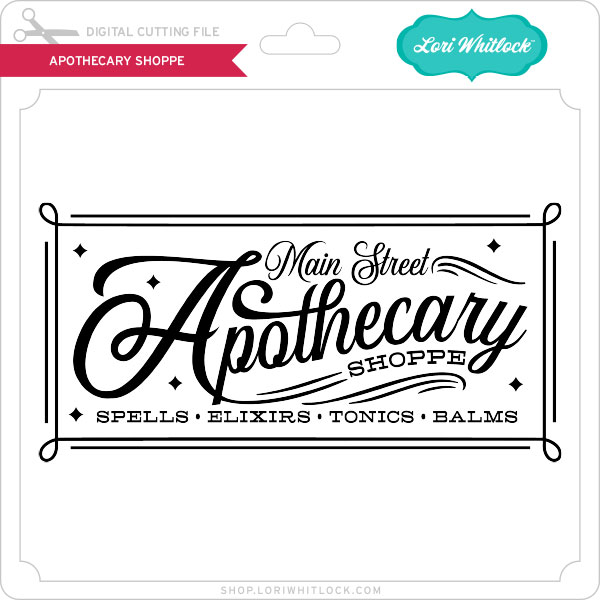
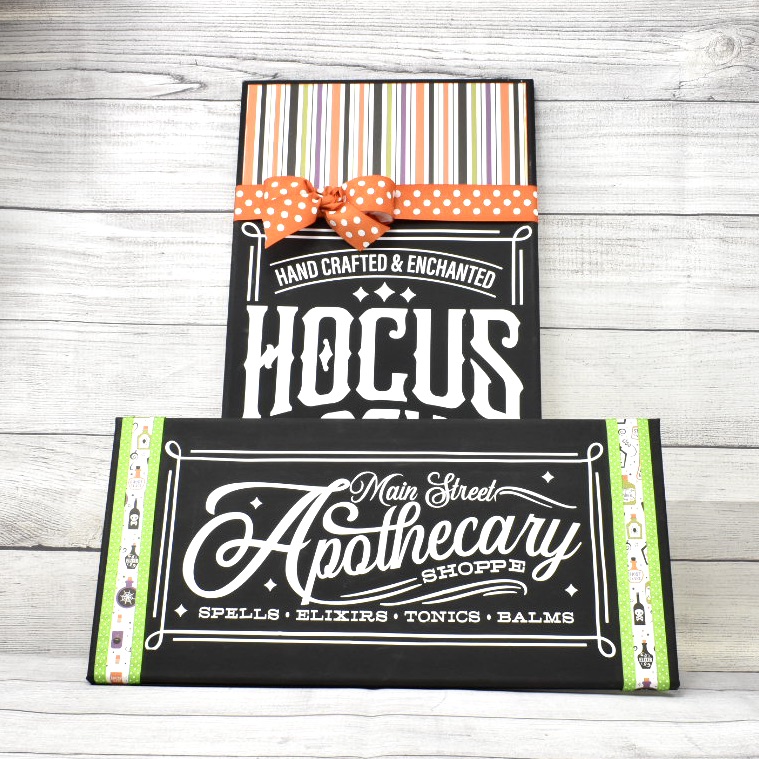
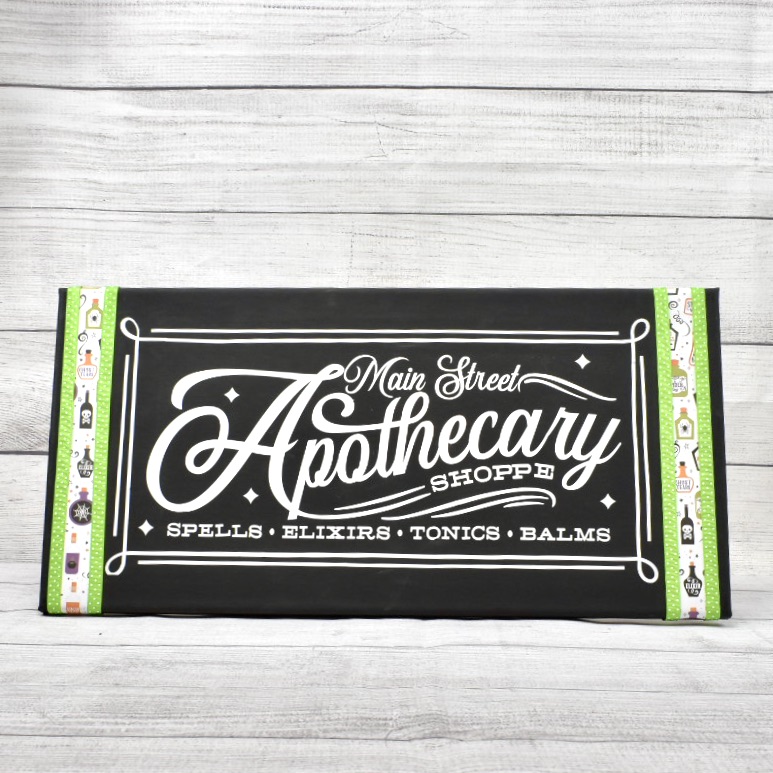
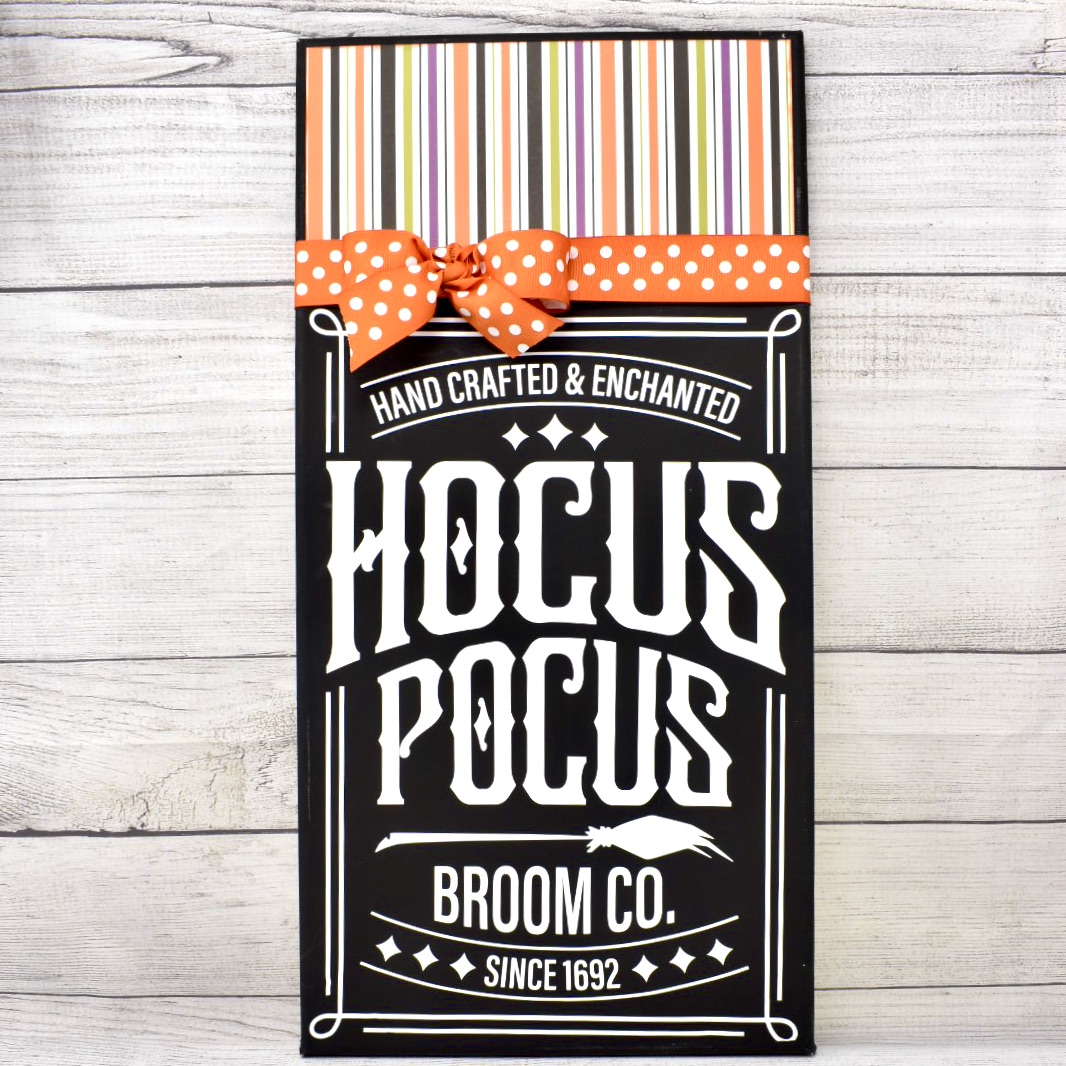
Hi there paper crafting friends!  It’s Michelle Starcher, aka the Bookish Designer, popping in on the blog to share a few canvas signs I put together this weekend.  Both signs feature paper from one of Lori’s newest collections from Echo Park Paper, I Love Halloween.  This set is loaded with spooky, cute graphics and traditional Halloween colors.  For my signs, I used two Halloween word art files:  Hocus Pocus Broom Co. (SVG, Silhouette) and Apothecary Shoppe (SVG, Silhouette).

I have been wanting to create a canvas project using Lori’s word art files for awhile now, and these Halloween files were the perfect excuse!  For both projects, I used black canvases available at Michaels. The canvases come in a variety of sizes, including the 10×20 and 12×24 sizes I used for my two canvas projects.  Typically, I use white canvases, but for my Halloween projects, I wanted to try using the black.

When I opened the files in Cricut Design Space, the files were a lot smaller than I needed them to be for my canvases, so I resized them to fit my canvases.  For the Apothecary Shoppe canvas, I resized the file to be about 8×16 to fit on the 10×20 canvas.  I used permanent white vinyl for this project.  I added paper from Lori’s I Love Halloween collection and lime green ribbon for a little extra color on the project.

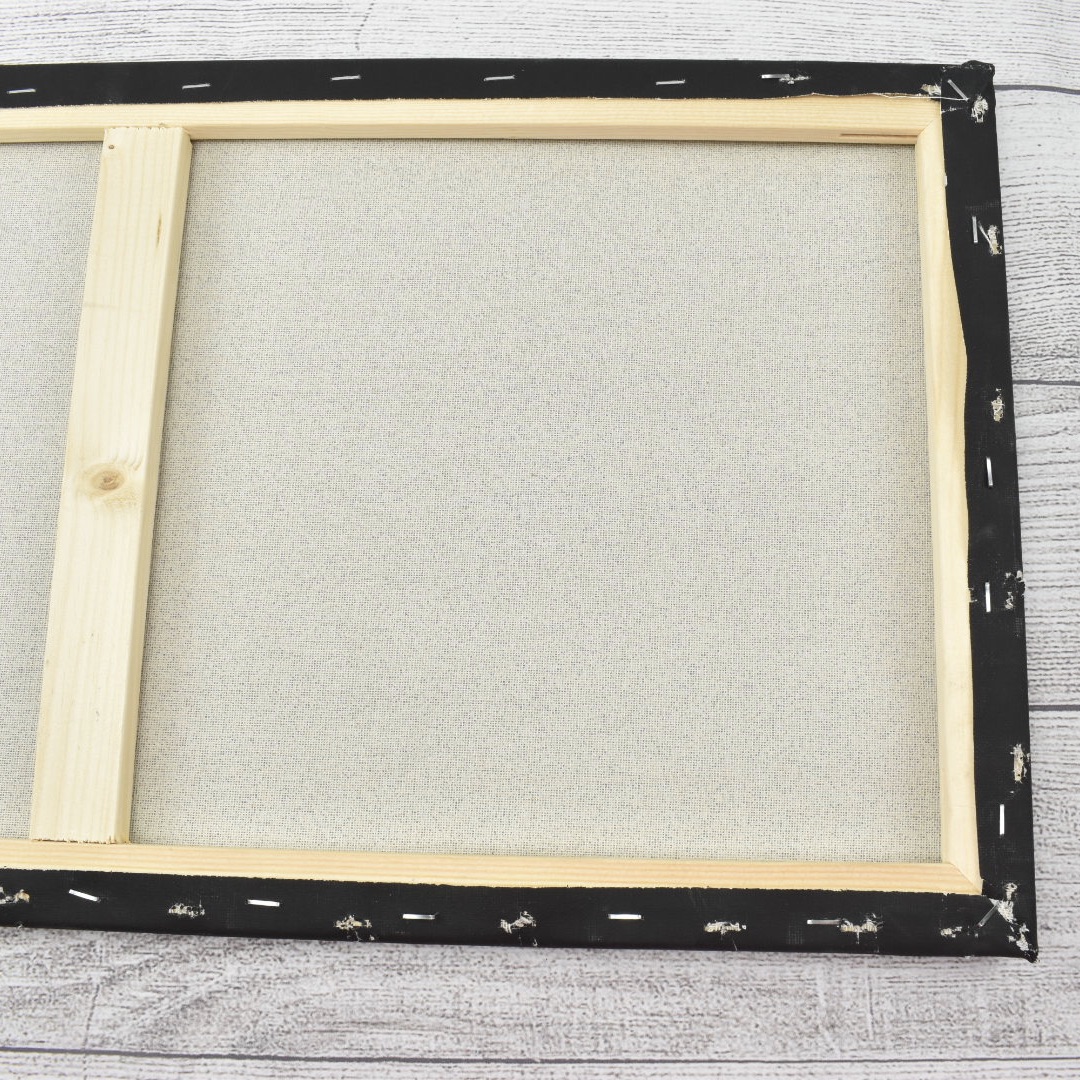
For the Hocus Pocus Broom Co. project, I resized the file to about 11×17.  For this project, I used Iron-On vinyl and my Cricut Heat Press.  Using the iron-on material was much easier than using the vinyl when it came to weeding the project and transferring the word art to the canvas.  However, I had to remove the canvas from the wooden frame in order to apply the word art.  It wasn’t hard to do though, just make sure you have a staple puller and staple gun on hand to put it back together.

For my final touches on the Hocus Pocus Broom Co. canvas, I added striped paper and some orange polka dot ribbon to finish the project off.  I added the paper using Tacky Tape.  In my experience this works really well when adhering items to the canvas.

I really like how the projects turned out, and I am excited about all the new word art Lori has available in the shop this week to create some Christmas canvas projects.

Until next time,

Michelle

Tuesday New SVGs & a Free File!

ALL WEEK, this SVG file is FREE with any $1.99 purchase!

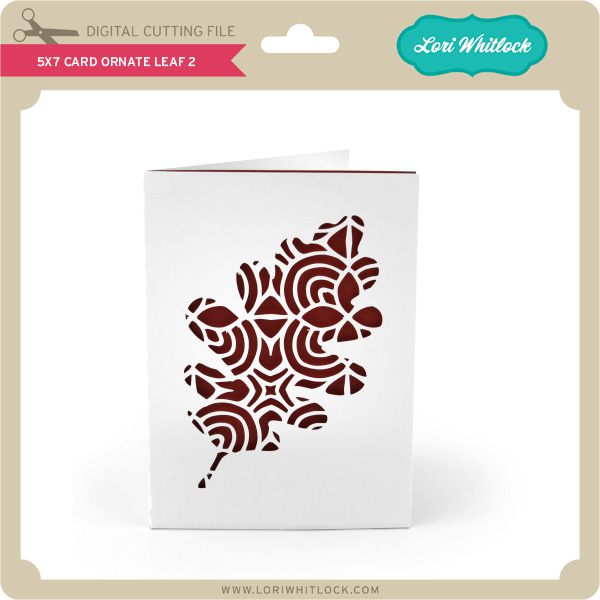
Hi Everyone! We have a FREE file with purchase all this week! Simply add this 5×7 Card Ornate Leaf 2 file to your shopping cart along with ANY $1.99+ purchase from the SVG Shop and this file is yours FREE. Be sure to use Coupon Code: ORNATELEAF (case sensitive) at checkout. This offer is good through next Sunday.

(Your cart must reach at least $3.98 before the coupon will be applied and then $1.99 will be subtracted from your total at checkout. The files will be available for immediate download after you pay for your order by visiting MY ACCOUNT>COMPLETED ORDERS>ORDER DETAILS inside of your account. Only one discount code per order allowed.)

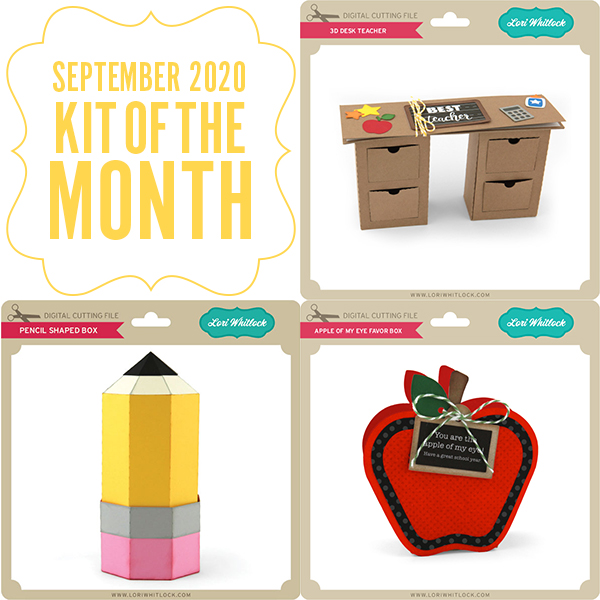
In addition, don’t forget about this special ! You can get this Free Kit of the Month with any $20 purchase (Purchase must be in one transaction.) Simply add the 2020 September Kit of the Month to your shopping cart along with ANY $20.00+ purchase from the SVG Shop and this file is yours FREE. Be sure to use Coupon Code: SEP20KOTM (case sensitive) at checkout. This offer is good through September 30, 2020.

(Your cart must reach at least $27.95 before the coupon will be applied and then $7.95 will be subtracted from your total at checkout. The files will be available for immediate download after you pay for your order by visiting MY ACCOUNT>COMPLETED ORDERS>ORDER DETAILS inside of your account. Only one discount code per order allowed.)

Check out the new SVG files releasing this week!  Just like always, the NEW SVG files will be ON SALE 25% OFF through the weekend in the SVG Shop! These downloads include SVG files that may be used with Cricut Explore, Silhouette (Designer Edition upgrade required), Eclips, Brother Scan and Cut, and any other software that will open SVG files. No coupon code necessary, the newly released files are all discounted in the shop! Be sure to go get them while they are on SALE this week.

This week I have a new Fall Phrase Bundle.  We also have files from Bella Blvd., Jillibean Soup and Paige Evans.

CLICK HERE TO GO TO NEW FILES


Thanks for visiting the blog today! Please let us know if you need any help with your files. We want to make sure everyone is happy with their purchase. Have a great week! SHOP HERE

St. Patrick’s Day Pillows

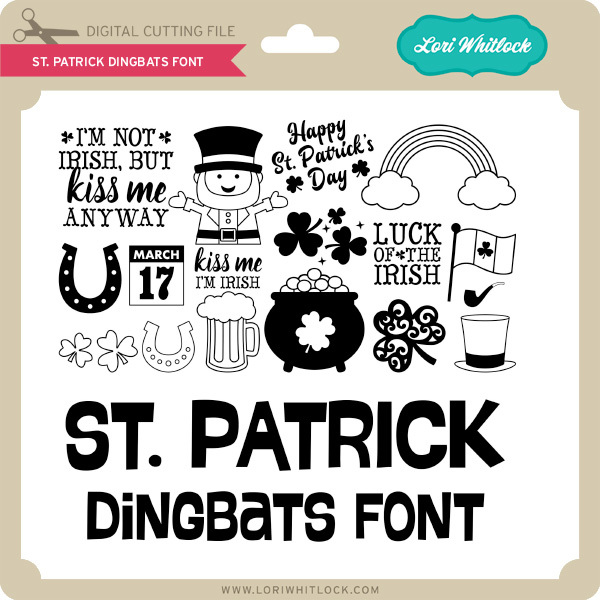
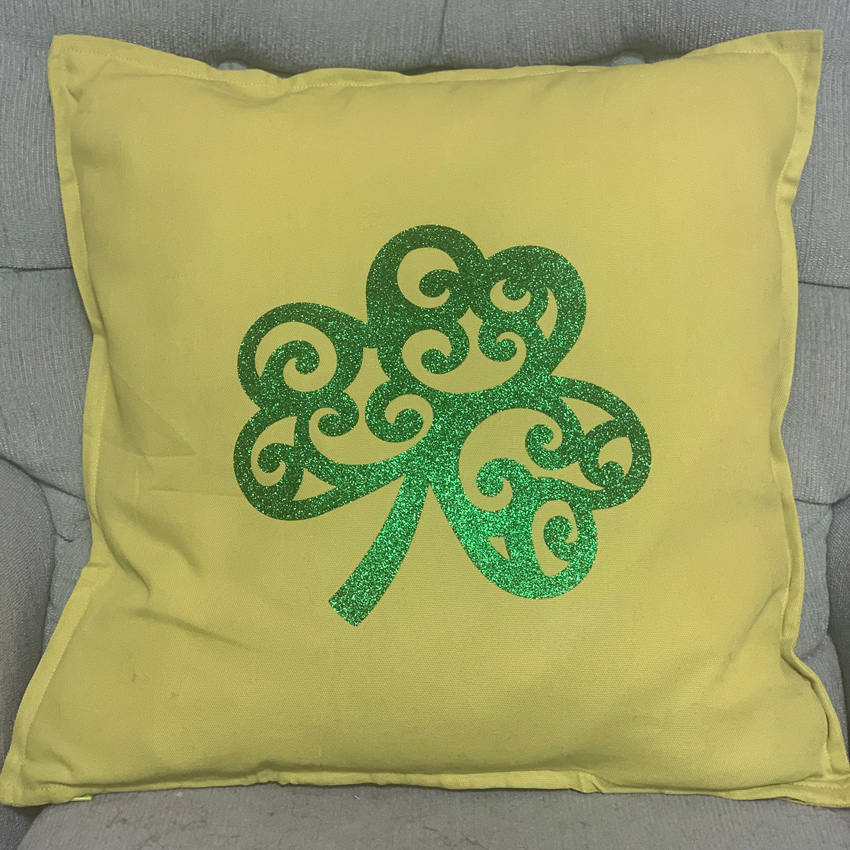
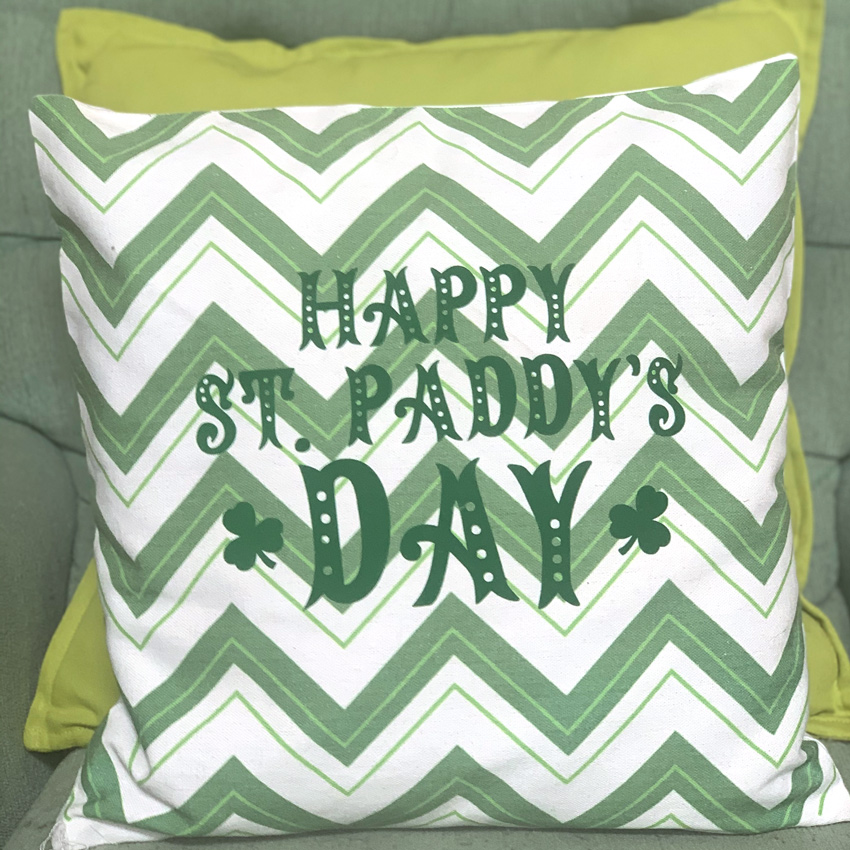
Today I’m sharing some festive pillows using the St. Patrick Dingbats font (SVG, Silhouette).

I enlarged and cut a couple of the font designs from Heat Transfer Vinyl and ironed them on to some decorative pillow cases.

There are so many fun designs in the St. Patrick Dingbat font. You can customize pillows or other projects.  Make sure when using Heat Transfer Vinyl, that you don’t forget to mirror your image and cut with the shiny size down.  Have a great day!
State Heart Dingbat Tutorial

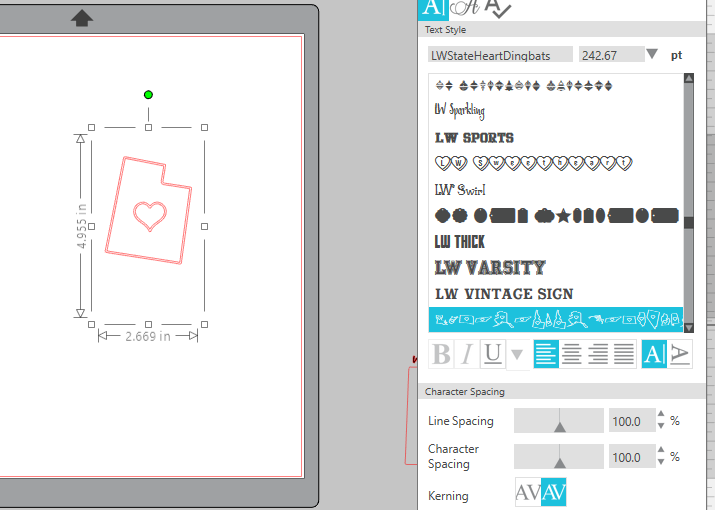
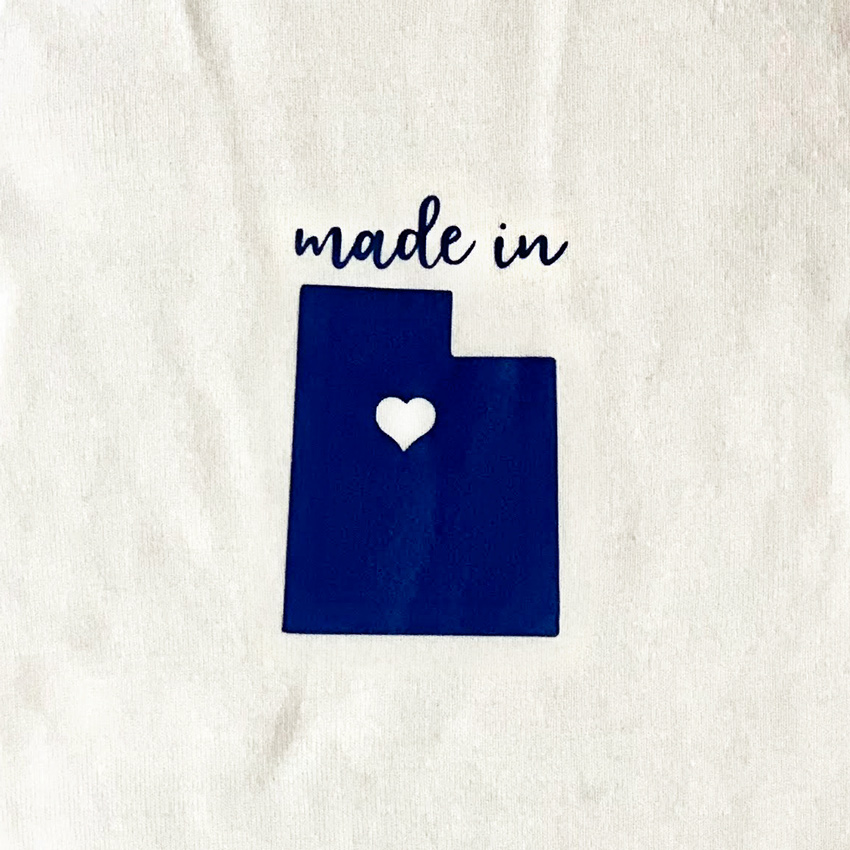
Today I’m going to show you a fun way to use Lori’s State Dingbat Font (Silhouette Store) for a baby body suit.  Start by opening Silhouette Studio and typing a letter using the font.  Most of the States will be their first letter, either lowercase or capital.

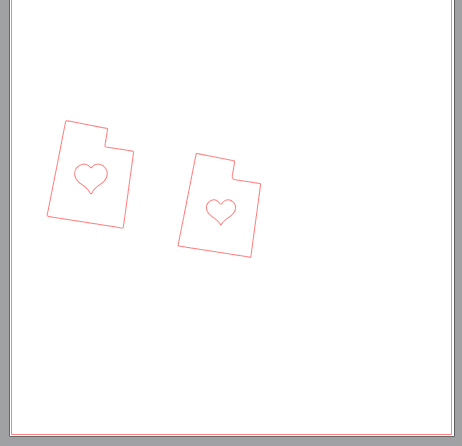
You can see in the above image the state of Utah on the mat, in the font the states and hearts have a double line.  To delete this select your state, right mouse click and then select ungroup, and then release compound path.  Now you can delete one of the outlines of the state and heart.

Now resize for the project.  I made the heart a little bit smaller for my project.  For my words  I used another of Lori’s fonts–Longhand, Silhouette Store.  I typed the words “made in” and welded them together and resized.  The design is ready to cut.

Since I used Heat Transfer Vinyl,I cut the mirror image and then applied it to the bodysuit.


This is such a fun personalized gift to give new babies. Enjoy!