Mini Wreath Place Setting Tutorial with Michelle

With family so far away, our Easter Dinner is a quiet gathering where we use our everyday plates. This year, I (Michelle) decided to make dinner fun with some Mini Paper Wreaths.

Lori Whitlock Easter Rabbit Place Setting Svg

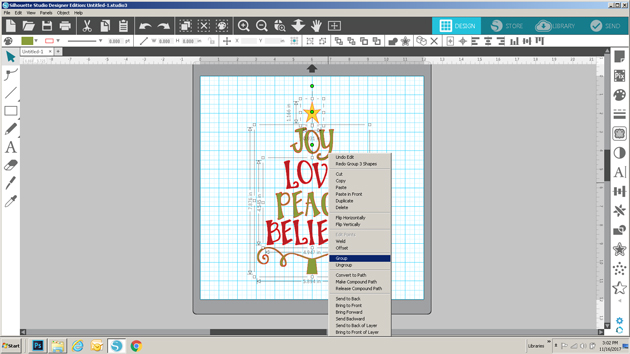
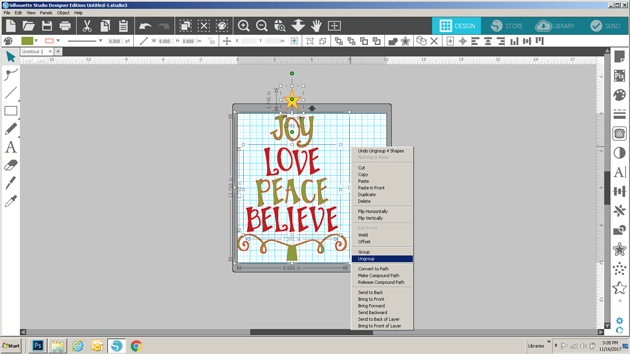
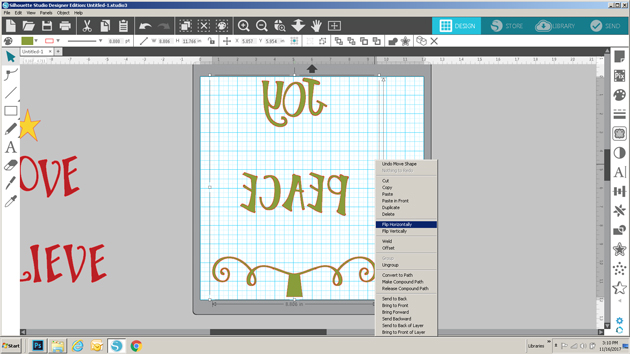
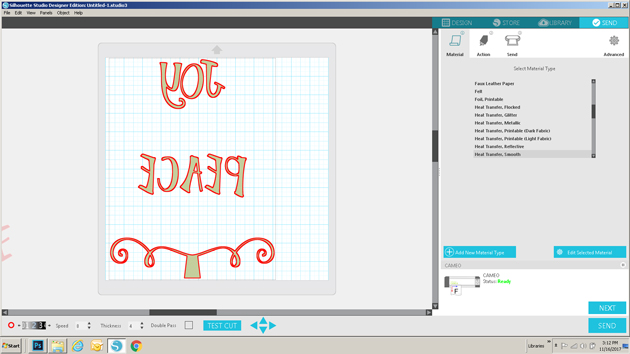
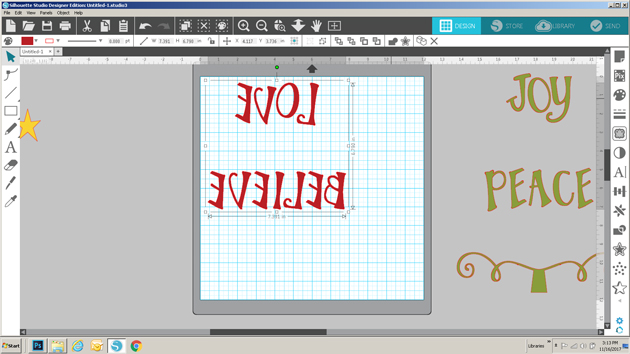
Making the mini wreaths was fairly easy with my Silhouette Cameo, but I have a couple hints and tricks to make it really easy! I started with Lori’s Circle Monogram Frame (Silhouette Design Store or Lori Whitlock SVG Shop) to make the wreath. This is possibly my favorite SVG file. The wreath is actually 6 seperate pieces. Since I am making a small wreath, I’m going to release the compound path and make all of the leaves filled in, which is easier for me to cut.

Release Compound Path

I’m also going to cut a 5-inch circle to fit my plate. (Hint: When making a circle hold down the shift key and your circle will be perfect each time.) I recommend cutting three or four monogram wreaths to make your mini wreath nice and full.

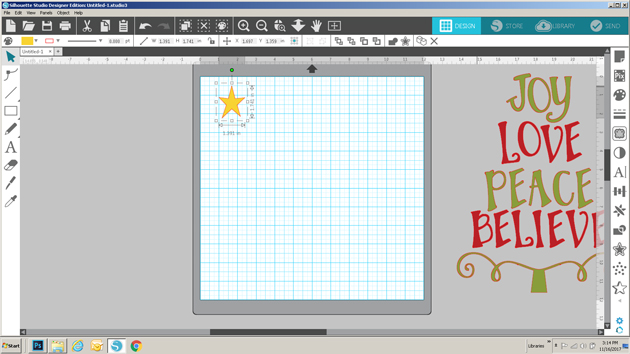
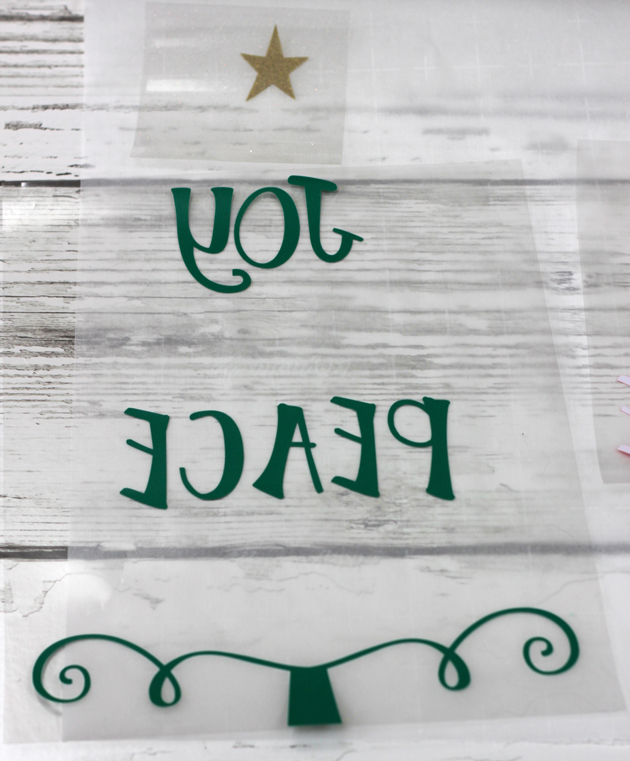
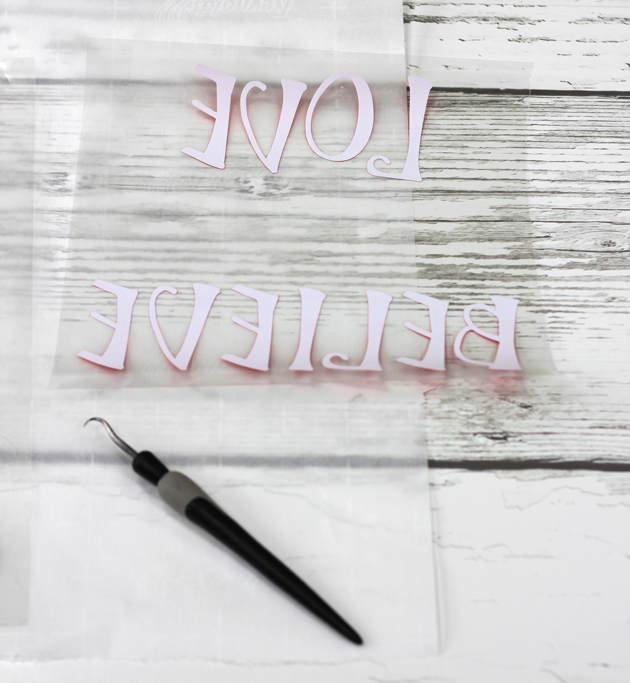
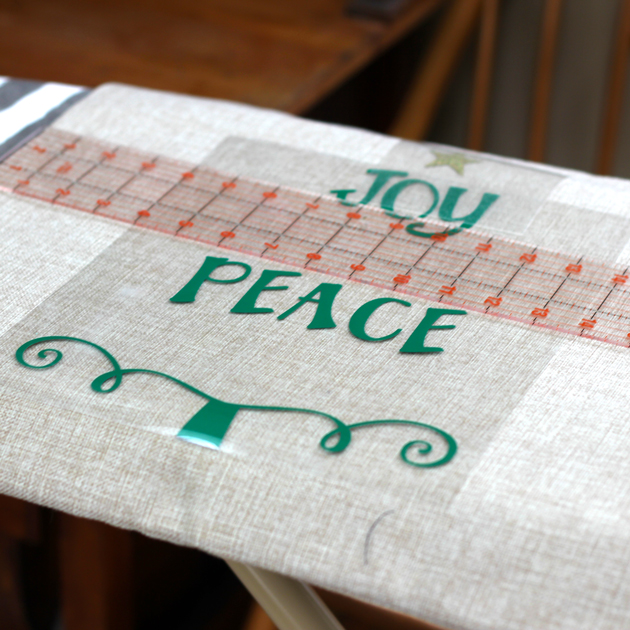
Next, I cut some BRAND NEW Bunnies. This Easter Bunny Silhouette is absolutely darling! I love his little tail cut-out. He’s new in the shops and you can find him in the Lori Whitlock SVG Shop and the Silhouette Design Store. I cut two 4-inches bunnies and glued them back to back, but one would’ve been enough. I wanted to add a cute sentiment, and I found exactly what I was looking for in the Bunny Dingbats Font. You can find this in the Silhouette Design Store and the Lori Whitlock SVG Shop. You will find additional bunny silhouettes in the font. They would be cute too. With the bunnies so small, I had trouble getting the sentiment cut cleanly with paper, so I used vinyl instead. It came out perfect the first time!

Lori Whitlock custom vinyl SVG sticker on paper

Yes! Paper crafters can use vinyl too! I love how it came out.

I topped off my wreath with a cute paper bow found in the Silhouette Design Store or at the Lori Whitlock SVG Shop and my project was finished. This would be a great project to try new techniques such as releasing the compound path and using vinyl. if you would like even more information, I would encourage you to check out Lori’s class on Craftsy. With the class, Lori explains numerous techniques for getting the most out of your Silhouette Cameo.

I hope that you’ve enjoyed my Mini Wreath Tutorial. Happy Easter!

Michelle

Vintage Style Christmas Sign Tutorial with Brandie


Hi there! Brandie here with a tutorial on how I made this Christmas sign using the Sleigh Rides on Santa Claus Lane file. You can find it here in Loris shop and here in the Silhouette store.

After I got my image uploaded and sized accordingly I cut  out the image on vinyl to create a stencil. While my machine was cutting the images I painted the white layer on my barn wood square.


I painted one thin layer of white acrylic paint and did not go all the way to the edge of the wood to help give it an aged look.  While the paint was drying I weeded the vinyl. To create the stencil I removed the inside parts and kept the negative image.
To apply the stencil I cut the image into thirds  and applied to the dry painted wood. I am the queen of eye-balling things and did that here. But transfer tape would help with applying the stencil to the wood.
Once the vinyl was applied to the wood I rubbed everything down with the long flat side of a bone folder being careful not to gouge the wood. I used red acrylic paint and a stencil brush to apply the paint in thin layers.
After I had the color and coverage I wanted I gently pulled the vinyl off the wood.
I then used a hand-held sander and carefully went over the sign.
Here it is all ready to add to my Christmas décor. I love how it turned out and have plans to make another one with a  nativity file next.
Thanks for stopping by!
Brandie

Using Multiple Colors of Heat Transfer Vinyl with Kathy

Hi Everyone and Happy Thanksgiving!  It’s Kathy today with an easy tutorial showing how to keep a design’s shape and spacing when using multiple colors of heat transfer vinyl.    I wanted to create some Holiday decor gifts, and I though some seasonal throw pillows would be fun.  I found this Joy Love Peace Believe Tree design in Lori’s Shop (here in the Silhouette Store) and decided to add it to a throw pillow.

I loved how the different tiers were different colors and wanted to make sure I kept the shape.  Here ‘s how I did it…

I started by loading the file into my Silhouette Software.  Next, I sized it to fit on my pillow case.  My pillow was 18″x 18″ so I knew I wanted the design bigger than the original.

I selected all parts of the design and right mouse clicked and selected group.   This allowed me to change the shape of the whole design uniformly.

I clicked the corner of the design and dragged it to the size that I wanted.  It is bigger than the mat, but I just needed to make sure that all of the green elements fit on the mat at once since that was the largest area of a single color in the design.

Once it was sized properly, I ungrouped the file.  I then double checked that all elements of each individual color were grouped together, ( all the reds in one group, all the green in another) since I wanted to cut them at once, and in their original place in the design.

I dragged the red words and the star from the mat, and then mirrored the green words on the mat (you always want to do this when cutting words in vinyl)  Notice they are still spaced as in the original design.   Next I hit send.

I added the green heat transfer vinyl to my mat, with the shiny side down,  selected the proper media from the menu, and set my blade depth to 2 and sent to cut.  (for my design I used Siser Heat Transfer Vinyl in Green, Red and Glitter Gold)

I repeated this process with the red and gold pieces of the design.  Notice the red also maintain their original spacing.

One the vinyl was cut, I weeded out the negative space so all that was left were the parts of my design.

I centered the design on my pillowcase.  (I purchased this plain pillow case on Amazon.)

To start, I ironed on the green since this was the largest part of my design.  I put a piece of parchment paper over the clear plastic holding the design and ironed on a cotton setting, no steam for 10 seconds per each part of the design.

Next, I peeled off the plastic (be careful, it can get hot!) leaving only the design on my pillowcase.

To make sure it was ironed on well, I covered the design with my parchment again and ironed it a little more.

I then repeated this process with the gold star and the red words.  It was easy to correctly place the red words because of the way I cut the pieces on my mat.

Once I ironed on all of the pieces, I added the pillow fill to the case and done!

This will make a fun, festive gift, I have plans on making a few more for friends, after I finish my turkey of course!  That’s it for me today, thanks for stopping by to peek!