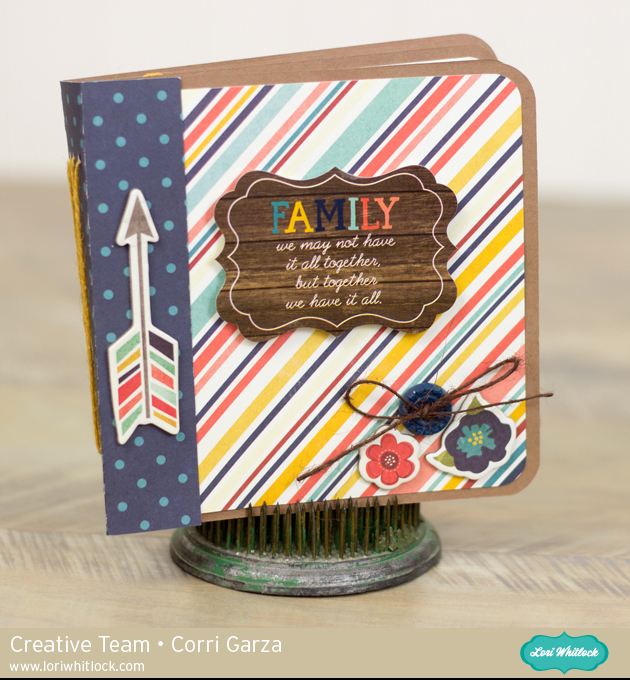
Mini Album with Gusset Tutorial with Corri

Hi everyone!   Corri here today to show you how to assemble the 5×5 Mini Album with Gusset Pages.  This is such a cute mini album and it’s pretty easy to put together.

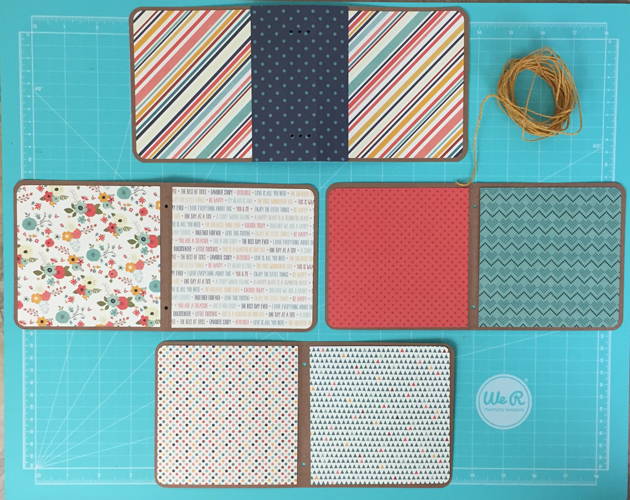
First, cut out all the pages and the cover panels.  Once you have them all glued together, this is what you will have.

Next, cut 3 long pieces of twine…about 18 inches long.  I cut mine long just to make sure I had enough.

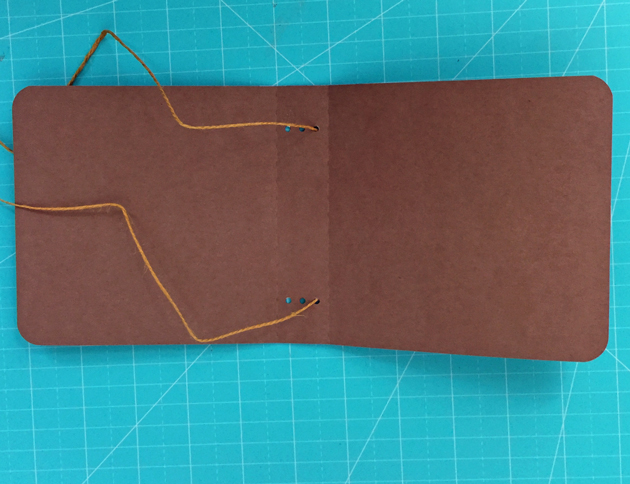
Thread one piece of twine through one of the top and bottom holes of your cover.

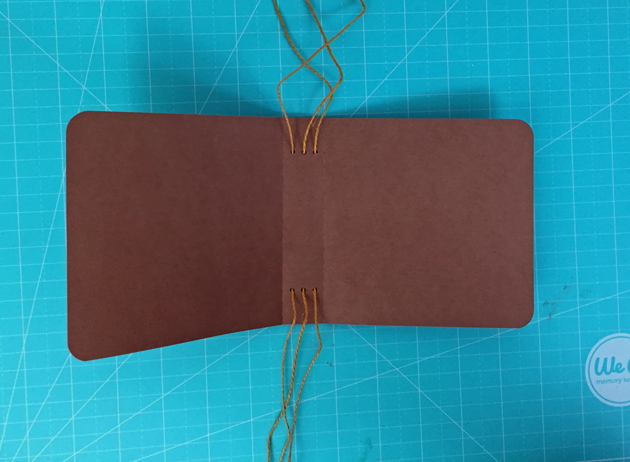
Repeat this step with all all three pieces of twine.


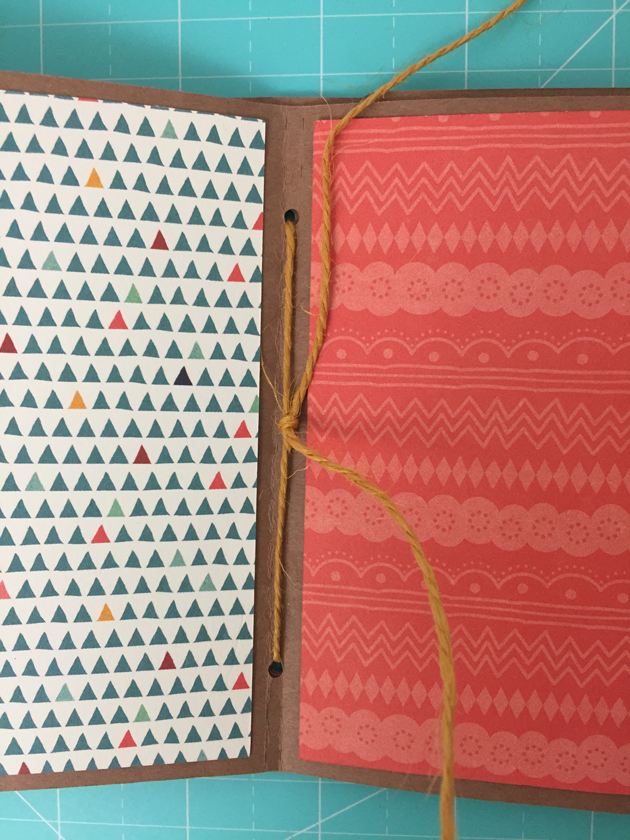
Next, thread one piece of twine through the holes in one of the pages and tie in a knot.

Repeat with all three pages.

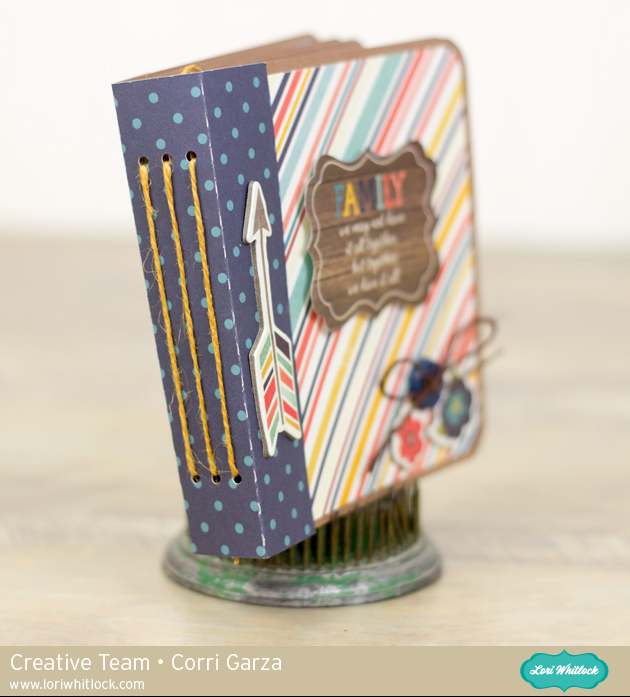
Here’s out it looks on the outside.  I love it! I used the new Story of Family Collection that Lori designed for Echo Park.

This little album is so cute and would make a great brag book for Grandma!  Be sure to stop by the shop to see all the new files.  There are several new mini albums.

Adding interest with Sketch Pens

Hi everyone!  Cathy here with you today and I have a couple of fun baby projects to share with you .  I added a bit of texture and interest to two of the projects using my Silhouette Sketch Pens.  First up, I have Lori’s new Baby Gift Card Holder, so cute and easy with this adorable little pouch for the gift card to pop up!  I add the Diamond Hatch fill on white textured  card stock using a bright pink Silhouette Sketch pen.  This is so easy to do and I love the look.

Simply go to the Sketch section on your Silhouette and  click on the Fill Sketch that you wish, on both projects I used the Diamond Hatch.  All of these fill sketches are fun.  I encourage you to experiment with different ones.  You can easily  add a whole new look to your project.  I also love using the continuous Edge Sketch to my projects, from circles to titles, it’s a fun one!

Here’s the inside of the gift card holder, so easy to put together.

And here’s that adorable little pop up pouch to hold your gift card.  Too cute!

I have another project to share with you using this same technique, this time I used Lori’s Center Step Card.  You can see the layered flower in the background that I used this technique.  These flowers are from Lori’s 3 mix and match flowers set.  I cut one with the patterned paper and added the outline and the second layer I used white textured card stock and the Silhouette Sketch Pen in bright pink.

Here’s a close up of the flower before I added it to my card.  So fun!

My next little project doesn’t have a special technique but it is one of Lori’s new files and it was just too cute not to share with you!

It is the  3 D no glue suitcase!  This little cute box is perfect for a gift card too.  So easy and it holds together securely with no glue.  Gotta love that!

Thank you for joining us today!

~Cathy

You can find the files I used today below at the  Online Silhouette Design Store.

Baby Gift Card Holder

Center Step Card

3 mix & match flowers

3D No Glue Suitcase

To Do List with Kathy

Hi Everyone!  It’s Kathy today with a cute little project to help you organize!  If you’re anything like me, you have lists and sticky notes everywhere in your house!  I’m a firm believer in, “if it doesn’t get written down, it doesn’t get done!”  I saw Lori’s To Do List with Pen Holder file  (here in Silhouette Store) and thought that this would be the perfect way to consolidate all of my notes!  Take a peek…

I used the new The Story of Family Collection that Lori designed for Echo Park.  I love the colors!

I love the little tab on the side to hold a pen… I can never find one when I want one!

For the list paper, I used regular copy paper… I stapled the tops together, then adhered the “paper pad” into the list holder.  This went together really fast!  I’m going to make a few more, one for my purse and one for my daughter it will come in handy now that school is starting!  That’s it for me!  Thanks for stopping by!

2 for 1 files – Notebook cover from a Sticky Note Holder

Hello there – It’s Tya here with a fun tutorial on how to stretch your cut files. I love making lists and notes so I always have a notebook or sticky notes around and I wanted to make covers for the both of them. I found this file – Sticky Note Holder 2, but I couldn’t find one that fit the 5×8 inch notepad so I decided to alter the the Sticky note holder to fit. It was so easy! Let me show you how I did it –

Gather up your supplies – I used a 5×8 notepad, a standard size sticky note and some darling pattern paper and stickers from Lori’s Here and Now line from Echo Park and some black cardstock.

Next  –  go ahead and select the files- this is what it looks like –

Cut the sticky note holder out like normal. – it had 2 flowers and a small dot in the center of one of the squares included with it and I am not using them so I just deleted them. To make the notebook cover – I took the measurements of the notepad  and then adjusted my cut file so that it was a little bit bigger than the note book.

 The file ended up being 8 1/2 x 11 – but i used a 12 x 12 piece of paper just to make sure it cut all around. I resized the pattern paper for the front of the notebook to be 5 x 8.

Here are the covers-

I love the way the covers turned out and it was so easy! Just a few different measurements and I had a custom made notepad cover that I just love!


 I added a ribbon to the cover before I added the pattern paper for a fun enclosure.


I also added a strip of pattern paper to the top edge of the paper pad and a sticker from the Here and Now sticker sheet.


 Hopefully I have inspired you stretch you cut files to be able to use them on all different shapes and sizes! It is so much fun to add a little custom touch to you projects. Thanks for stopping by!

Summer Inspiration with Cathy

Hi everyone!  Cathy here with you today sharing a couple of Summer inspired projects from Lori!  I just love the colors and patterns in Lori’s Echo Park I Love Summer Collection…it just makes me happy and it is so easy to create cute projects using this collection and Lori’s files.

I used Lori’s new House Shaped Card and Tapered Box with Handle!  I am addicted to Lori’s shaped cards, they are truly one of my favorite things to make and they always bring a smile to the recipient.   I used the I Love Sunshine Collection to embellish both of my projects.

I used my Silhouette Sketch Pens to add a bit more detail and had fun layering the stickers for the I Love Sunshine collection…so cute.

The little box went together in just matter minutes…so easy.  The perfect size for a little truffle to brighten someone’s day!

Thank you so much for joining us today!

~Cathy