Hi everyone! Cathy here with you today and I have a couple of Valentines to share with you. Valentine’s Day is just right around the corner and Lori has lots of fun new files in her shop and lots of other Valentine files that make creating ideas for this romantic day almost endless. You can check out all of Lori’s files here.
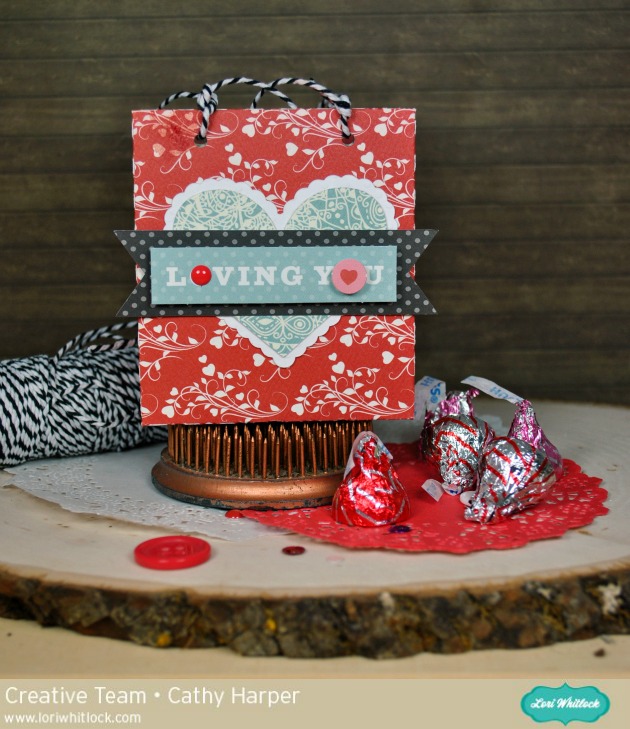
I used her new Heart Gift Bag file along with Carta Bella’s Amour Collection. So cute and went together in a matter of minutes. The perfect size to hold Hershey Kisses or any other small little treats.

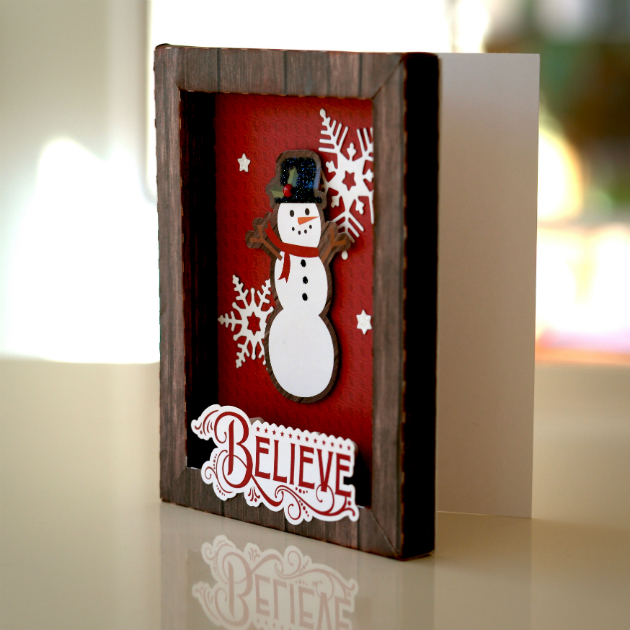
Next I made a box card…I love these, they are just so much fun and they are a delight for the recipient. They fold flat and fit into an A2 envelope for mailing. I used the A2 Box Card Valentine XO file. All of theses box card files are color coded, so they are super easy to make. Just fold on the score lines, glue and you have the cutest little card ever. I used the Amour collection from Carta Bella for this project too! So many fun little details for all of these box cards.
 We would love to see what you create with Lori’s files for Valentine’s Day, feel free to share them on Lori’s Facebook page which you can find here.


 Each designer will be asked to create 2-3 projects a month including participation in monthly blog hops. The term will be from February 1st, 2016 – July 31st, 2016. Please limit the number of photos in your application to 3, one for each project. Close up photos are not necessary. A blog and a presence on Social media (Facebook, Instagram) are required for consideration, it is how we spread the word of our products! All applications must be sent to