3D Deer Frame Card with Courtney Lee

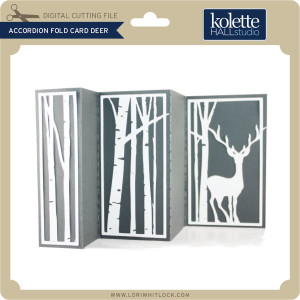
Hi out there!!! Courtney Lee from Court’s Crafts here to show you what I did with Lori’s 3D Frame Card Deer cut file! I had a blast making this. I needed something quick and darling so I could get a thank you note out. Lori to the rescue!
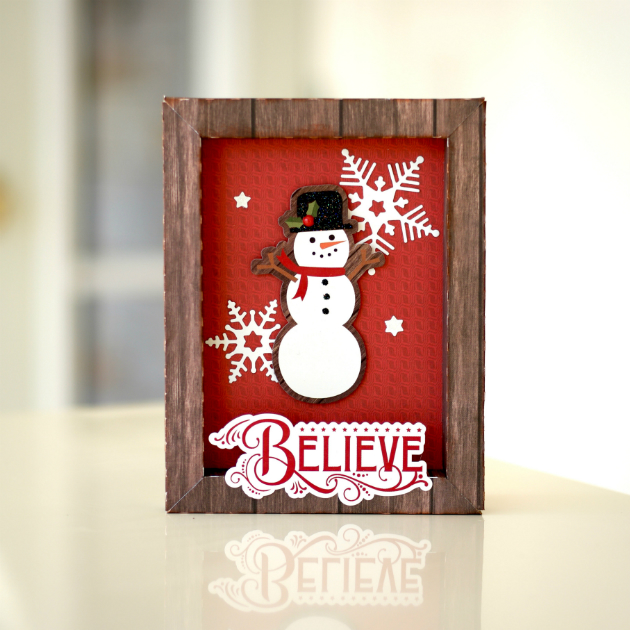
I bought the deer version of this card because I love deer but also because it has a ton of things you can add/subtract/move around. You’ll see that my card doesn’t use half of the parts that you receive with the cut file! I love that I have so much more to play with!

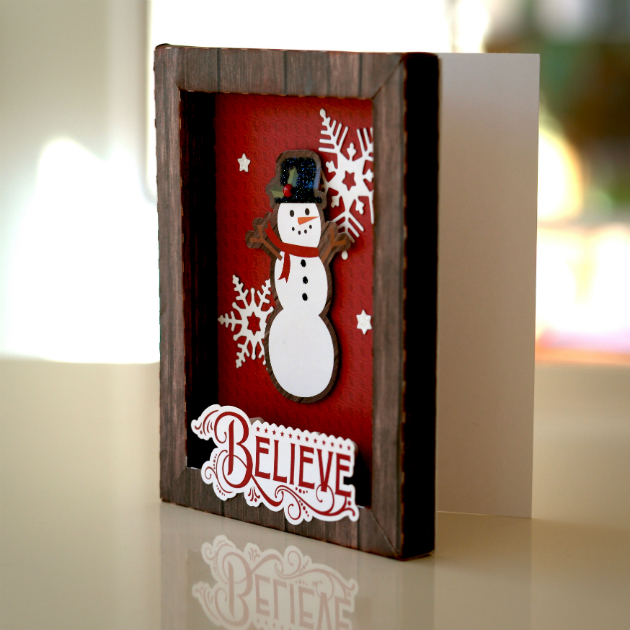
I really wanted to keep it simple. I grabbed Lori’s A Story of Christmas for Echo Park Paper and went to work. The wood grain in this collection is scrumptious and I wanted to get that in there and highlight it. So when I went to put the frame layer over the edges, I decided to leave it alone instead. It’s it pretty!?
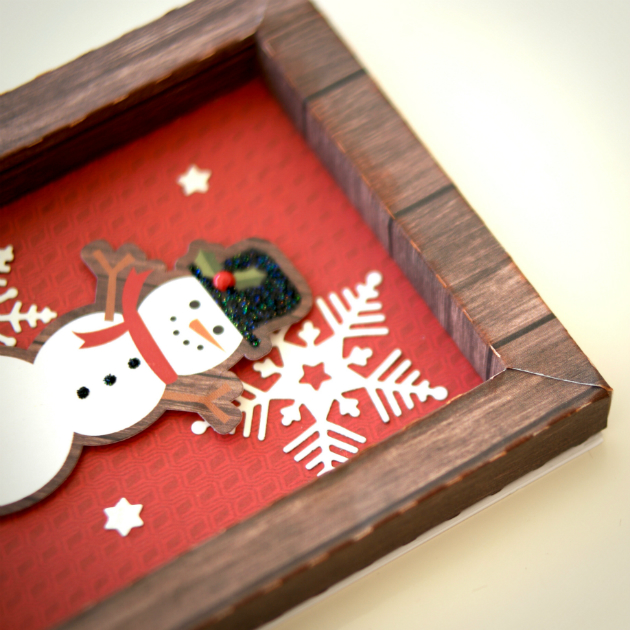
I also loved her “believe” sentiment and the whimsy it brought out in me. It just makes me want to stand in the middle of a snow flurry! But alas, I am in California where 55 is a “freezing” day. Snow flurries will have to be left to the imagination. I reinforced the believe in the back by putting foam dots one on top of another until it reached the hight of the frame. This gave the sentiment a lot of stability.
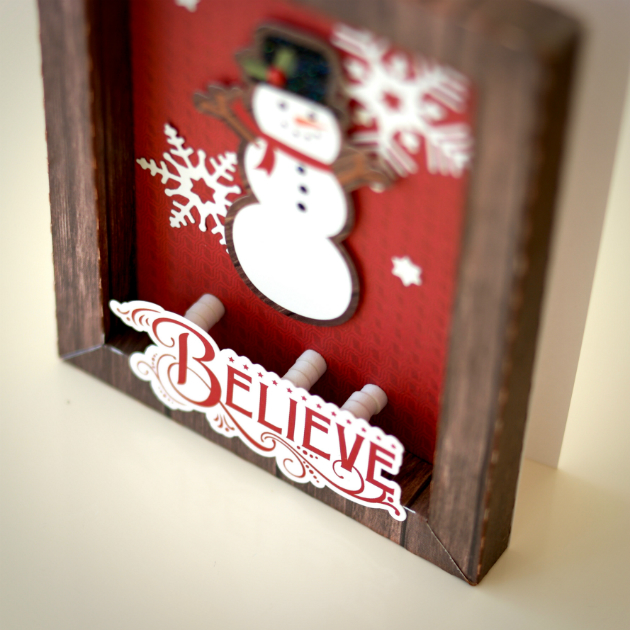
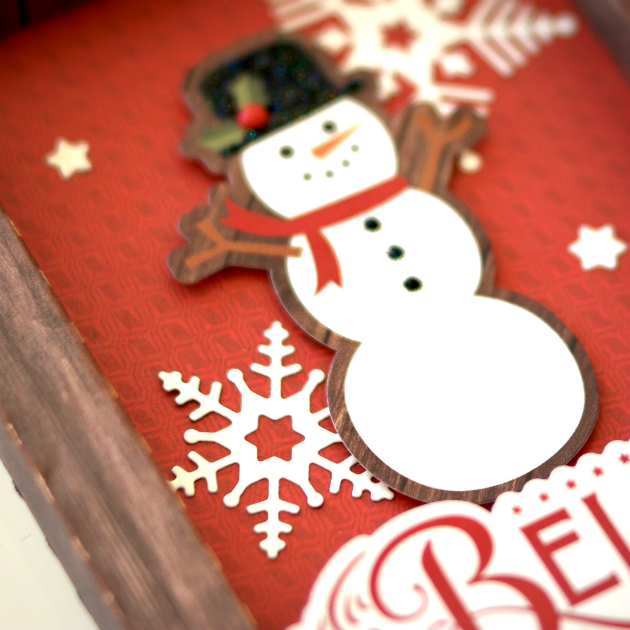
Did you see that darling snowman on the stickers page? I had to use him. I added some black Stickles for his buttons as well as his hat and added an enamel dot to the holly. Done and darling!
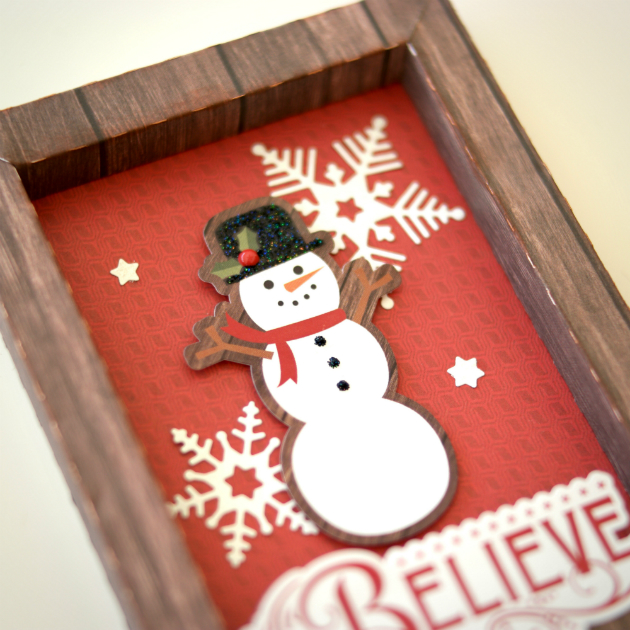
Lastly, I cut out two snowflakes using the dies that coordinate with this collection. I saved the centers of them (the stars) and put those around as well. I added some Stickles to the little stars to give them some shine.
That’s it! Easy-peasy! I attached it to an A2 card base, cut out an envelope box (that comes with the cut file!!!), tied some twine around it and I was ready to roll! Grab this 3D Frame Card Deer cut file and make it yours! You’ll love it!
I hope you all have a very Merry Christmas!

Swing Through Assembly Tutorial with Corri

Hi everyone! Corri here today sharing an assembly tutuorial for the new swing through cards. These cards feature a cool swing through motion when opened….your friends and family would love to receive one.

When you cut the file this is what you will have.

I decided to cut an extra one of the red panels so I could have a different pattern paper on the front of my card.

First, apply your panels to the interior of the card.

 Apply the tree cut outs to the interior of the card.  Everything is laying flat on your desk right now.  Do not twist anything yet.

Next, apply the panel on the front of your card.  You’ll notice you can’t see the die cut tree that you adhered.

Now you’re ready to flip your trees.  You can see that they are scored.  With your card open flip the tree on the left side of the card to the left.

Flip the tree on the right to the right.

There is small glue tab on the left side tree.  Fold on the score line and apply glue.   Adhere the tab to the back side of tree on the right.

There you have it! Such a fun and interactive card!

Be sure to check out the big sale happening now in Lori’s SVG Shop.  Save 50% off your order of $20 or more!  What a great deal!
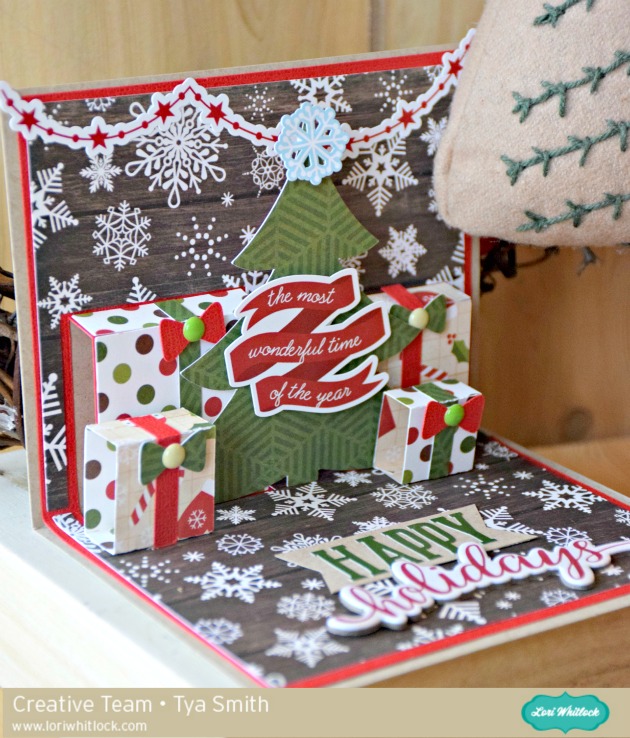
Christmas Tree Pop Up Scene Card with Tya

Hi Lori Whitlock friends – it’s Tya here and I am up on the blog today with a tutorial for this awesome card. I love the little scene in the photo, it’s so fun and festive! I used the Christmas Tree Scene Pop Up card and it can be found here (LW Shop) or here (Silhouette). I am also using Lori’s The Story of Christmas Paper, stickers and embellishments.
 Let me show you how to make this card:

1- Open up the file and cut out all the pieces as shown.

2- Starting with red cardstock, fold on all the scored lines to create the pop up feature of the card.

3- Glue red cardstock to kraft cardstock card base.

4-Add background paper to red cardstock.

5- Put together the presents that go on the popped out sections of the card. Add them to the card base.


6- Glue edges of Christmas tree to the presents. Add stickers for decoration.

7-Glue together 3D presents. Add them to the card base.


8- Add Chipboard sentiment. Hand cut a banner shape and add letter stickers to banner.

There you have it! This would be such a fun Christmas card to give to someone special. They will love the pop up feature! Happy Holidays!

December Creative Team Blog Hop and New in Shop!

Welcome to our December 2015 Creative Team Blog Hop! Our creative team has been working hard making some great projects that will inspire you to get crafting this Holiday Season. I love this time of year and all the fun projects it inspires. Kolette and I have been busy designing all sorts of new things for you to craft with this holiday season. Be sure to check out all the fun new projects below.

One of the best things about blog hop week is the 30% OFF SALE going on at Lori’s SVG SHOP. ALL files (and commercial licenses) from Lori Whitlock, Kolette Hall, and Dresden Carrie are on SALE. Use code DECEMBER (case sensitive) at checkout in the SVG SHOP.
AND, All this month, you can save 50% OFF all of Lori Whitlock’s digital scrapbooking files over at Snap Click Supply. Shop digital scrapbook files HERE.  No code necessary! It’s the perfect time to stock up on some digital elements!  Make sure to stop by and check it out!

I also have another gift for you!  Today and tomorrow (December 8th and 9th)  You can get this fun file designed by Kolette Hall for free!  You must use code CHRISTMASTREE when checking out!


Kolette and I  have some great new files in the SVG Shop this week, just in time for your Holiday craft projects. Check them out and remember all files are 30% off this week when you use code DECEMBER in my new SVG Shop!  Take a peek…

How would you like to win a $20 Gift card to my SVG Shop?  Just comment on this post, and you’ll be entered to win!  I will pick a winner later this week!

And, last but not least… would you like to see what our amazing team has created? Click the links below for some wonderful inspiration. If you get lost come back here to get on track.

Corri Garza
Mendi Yoshikawa
Traci Penrod
Kathy Skou
Cathy Harper
Tya Smith 
Chrissy Guido
Ashley Cook

Thanks again for dropping by! Have a GREAT day!

Snow Globe Cards with Cathy

Hi everyone!  Yes, it’s the most wonderful time of year and I have two wonderful cards from Lori Whitlock to share with you.   Lori has 6 new cards that are super fun with a whimsical snow globe design.   So cute and just more fun than your typical A2 card.  I used Lori’s Echo Park The Story Of Christmas collection for both cards.
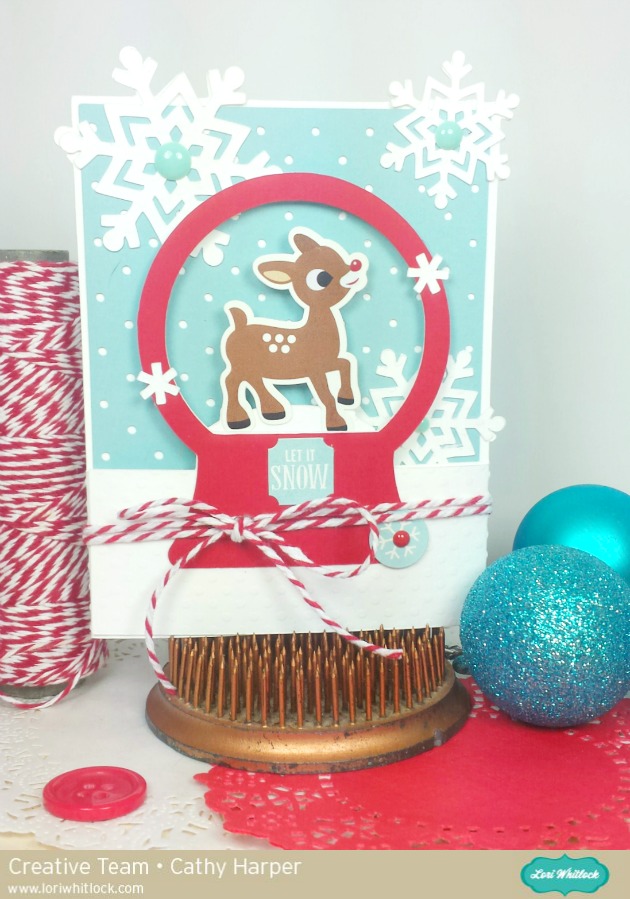
First up, the adorable A2 Snowglobe Card Reindeer.  Lori has her files color coded, so these cards go together is just minutes and those extra little snowflakes add so much more dimension.

The file comes complete with the reindeer, but I really wanted to use the stickers from The Story of Christmas Collection, so I simply stuck the stickers right over the outline base shape of the reindeer.  So cute and I love how perfect they look with use of the stickers.

Next up, the A2 Snowman Globe Card.  I used the same technique with the snowman sticker…just layered it over the card base where the snowman would go.

Aren’t these just the cutest cards?  I love all the little details that Lori always adds.  The reindeer with the snowy background and the extra snowflakes, so adorable!

There are 4 mores snow globe cards to choose from and just tons more of new files available at the shop.

You can check them out here.  You will have hard time choosing what to buy…simply an a amazing collection.

Wishing you all a Merry Christmas!

Cathy