New A2 Box Card Mail Box Cards

 Lori Whitlock Monday Inspiration

Today, it’s my turn to share a bit of holiday inspiration. Such cute new files!

A2 Box Card Mailbox Christmas Bundle


A2 Box Card Mailbox Reindeer (Lori WhitlockSilhouette)

A2 Box Card Mailbox Birds(Lori WhitlockSilhouette)

A2 Box Card Mailbox Presents(Lori WhitlockSilhouette)

I used a fun cobblestone stencil from Hero Arts on the outside of each mailbox and added a few glittery berries to the all of the wreaths for an extra bit of bling.

I hope you enjoyed my projects today!

💕Sue Kment

Big Box Card Basket Sunflowers

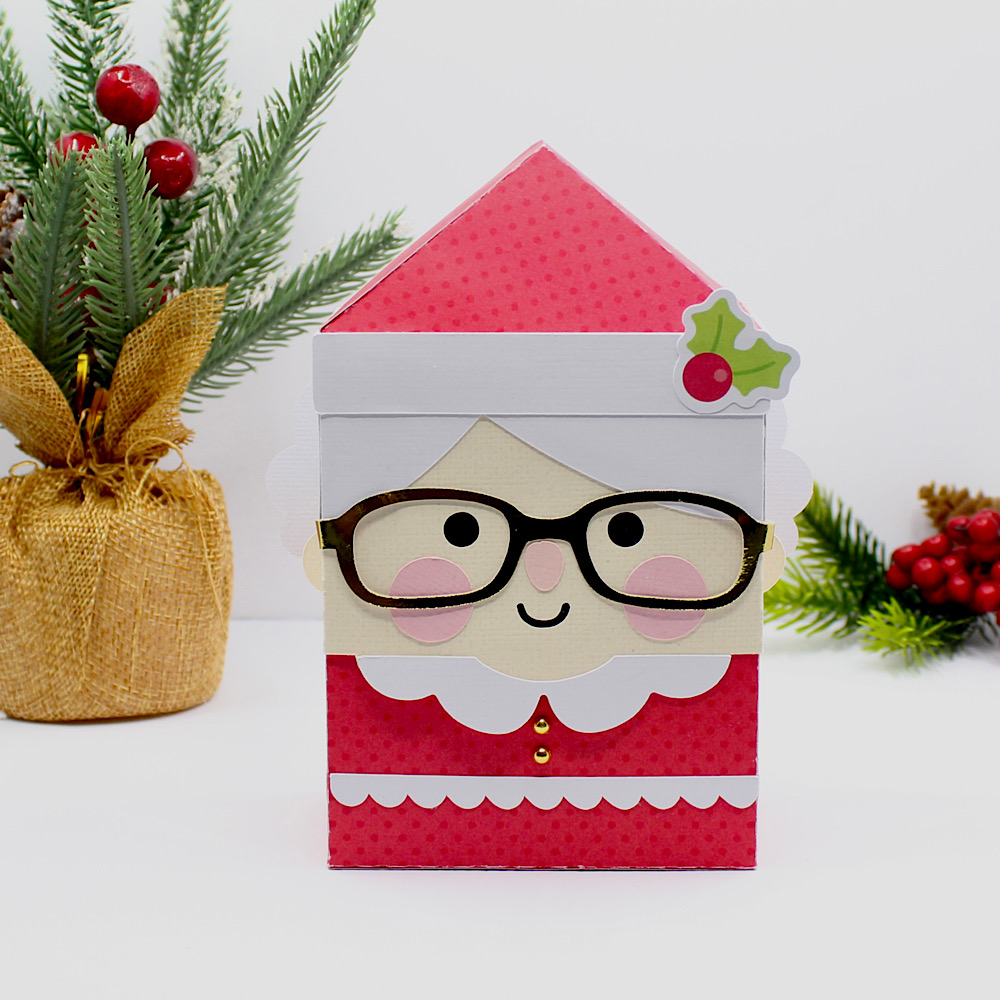
Hello friends! Today I am sharing a tutorial for the Big Box Card Basket Sunflower card (SVG, Silhouette). This basket is much larger than a standard box but still folds flat for easy storing. These basket cards are perfect for a cute display or gift to brighten someone’s day. I used papers from the Farmers Market collection by Echo Park Paper.

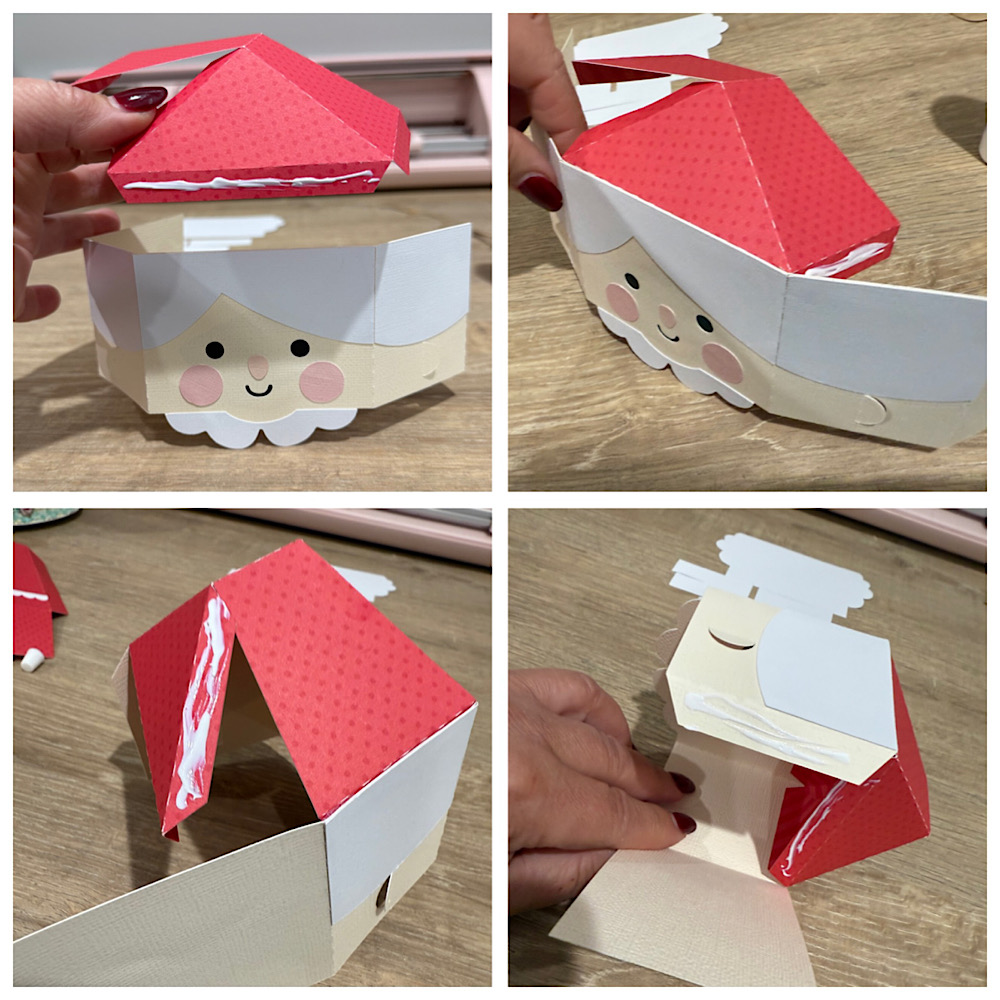
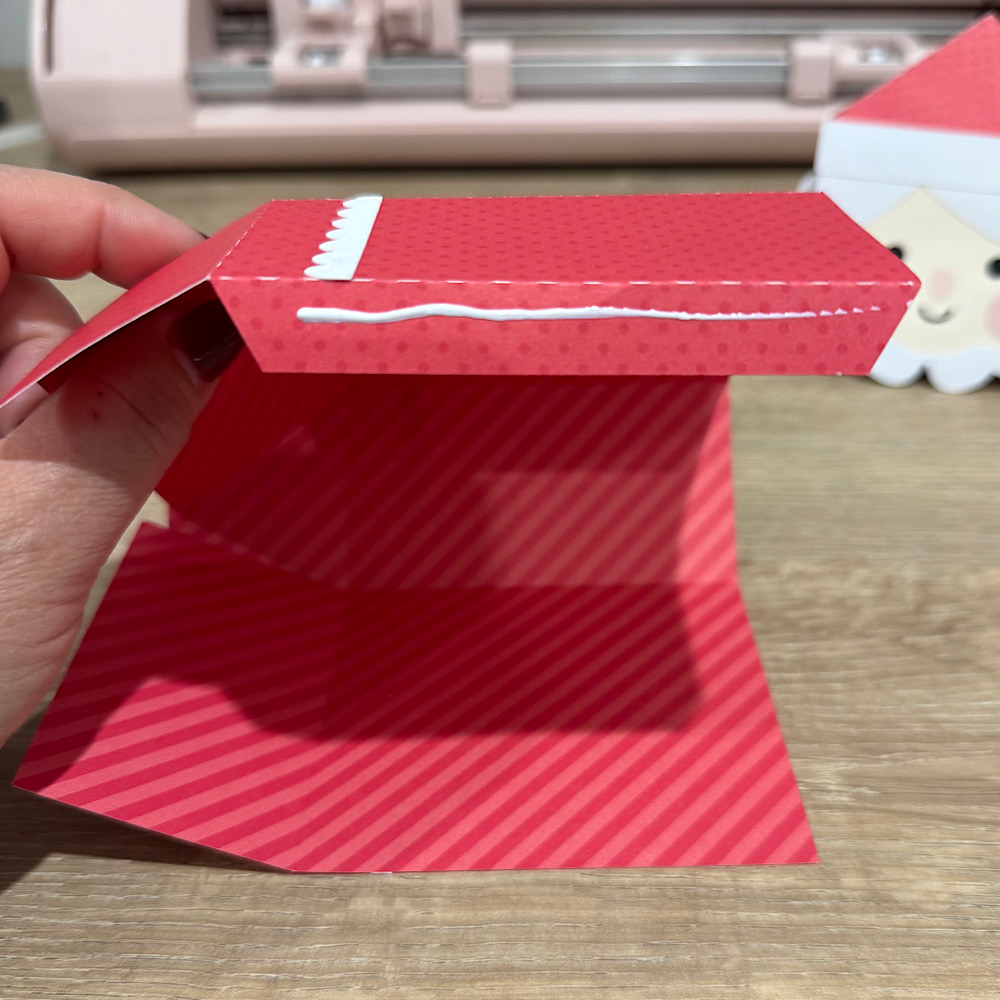
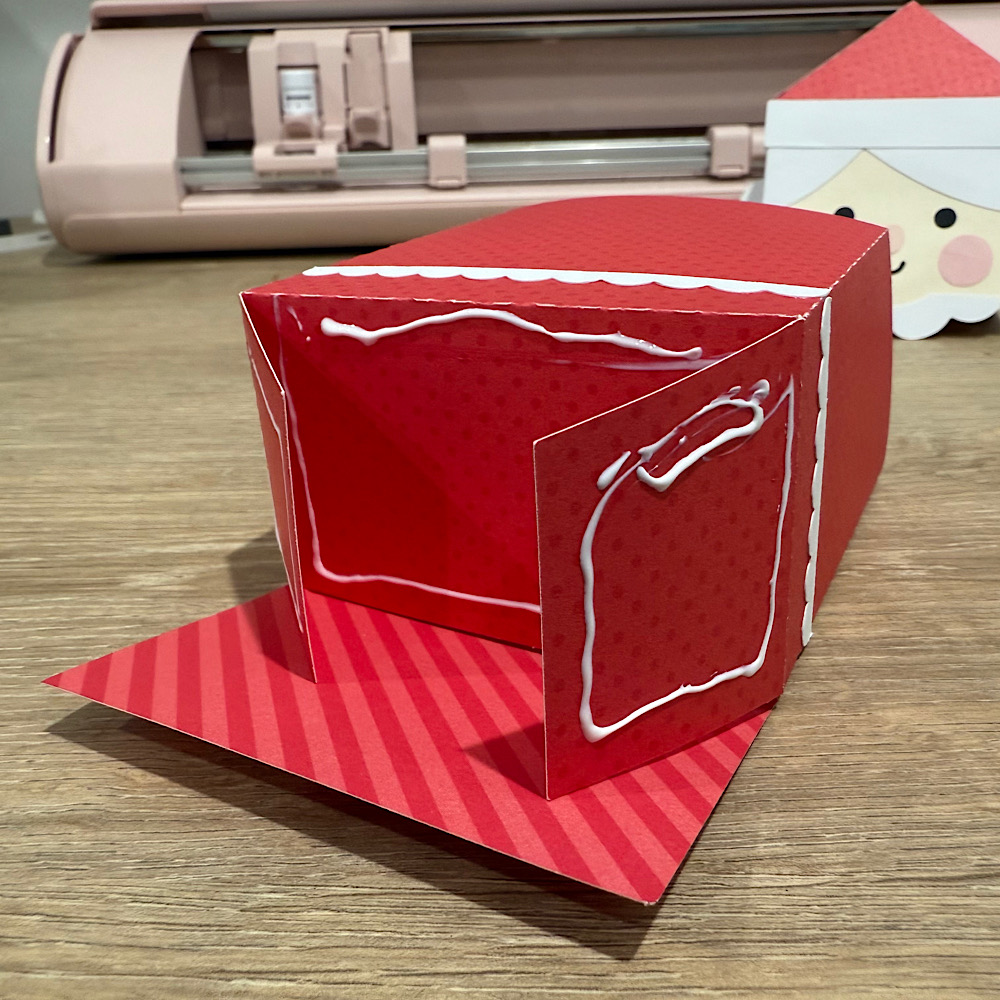
This basket has two separate box pieces and three inserts. For my flowers, I used an embossing folder to give the middle of my flowers some more interest. I also inked the edges of the flowers and leaves to add dimension. I also shaped the flower petals to help give the flowers some added volume. For the box I folded all of the score lines into mountain folds and added the decorative panels to each side of the outside of the box. I then glued the two box panels together at the tabs.
Moving on to the inserts; Insert number one has two sunflowers. I glued one small sunflower and one medium sized sunflower and shaped the leaves a little. Insert number two is the basket handle and has two decorative panels that I glued into place. The third insert has three sunflowers; I used two small sunflowers and one medium sunflower then shaped the leaves on this insert as well. I also glued the basket all together forming the box shape.
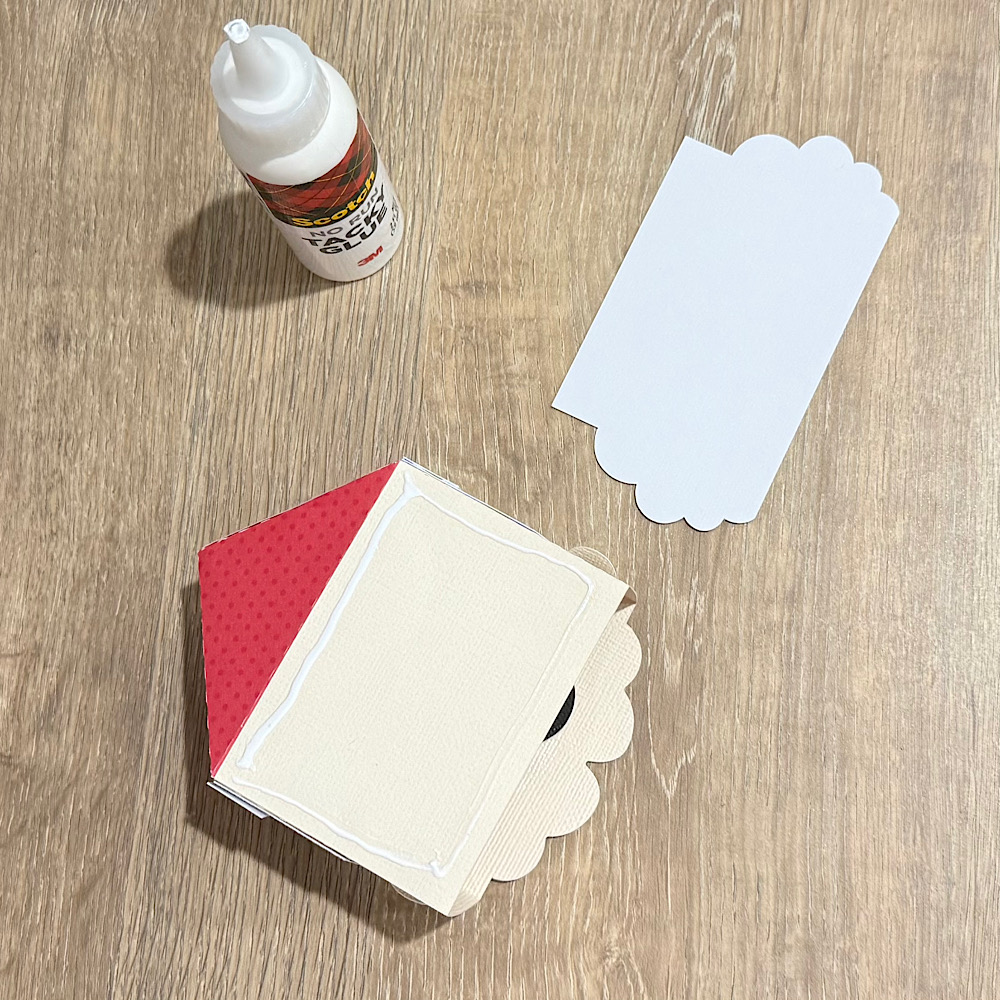
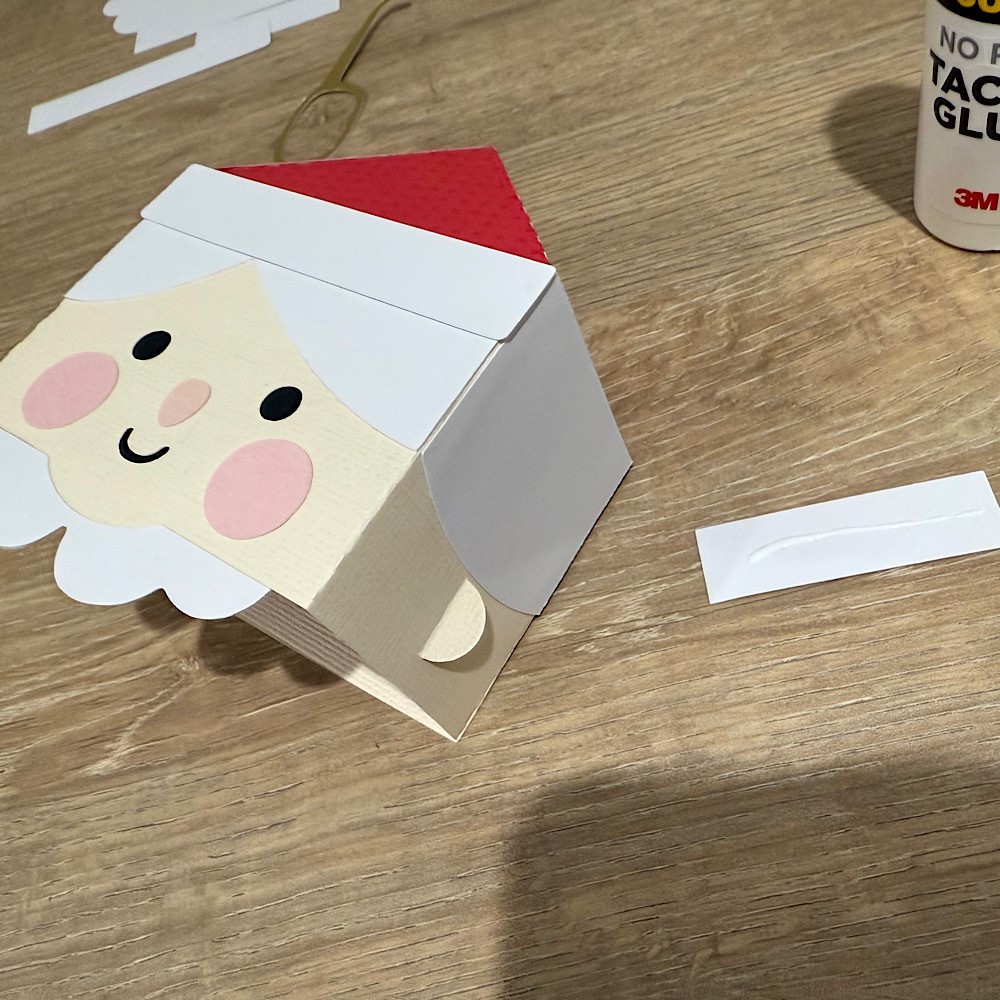
Next, I glued the inserts into the basket. I folded the tabs into valley folds and added glue to the back side of the tab. I made sure to line up the insert with the top edge of the basket and bumped the front edge of the tab to the inside front of the basket on both sides. Before the glue is set I also folded the basket flat to make sure it would lay flat for storage.
I then repeated the steps for the remaining inserts but lining up the tabs to the insert in front of it instead of the basket front.
To finish the sunflower basket, I glued one of the large flowers to the front of the basket and the last flower I glued to the handle insert. I also added a sticker from the collection.
I love how this project turned out. Thanks for stopping by today!
Brandie

Mrs Santa Slip Lid Box

Hello Crafty Friends, Noelene here today. I know most of you are preparing for Halloween but in my house it’s never too early to start preparing for Christmas. Today I want to share with you one of the newest files I am using from Lori Whitlock called Mrs Santa Slip Lid Box (SVG).
I started out by cutting all my pieces then glued on the corresponding panels to the top & bottom box sections like pictured. I folded the score lines first as this helped me to correctly align when I glued down. I left the glasses till last as I found this was easier to glue in place once box was made.
Next I started to put together the lid of the box glueing the flaps of the hat to the head, starting with the front then working from sides & finishing off at the back.
Now glue the hair panel on the back of the lid.
Then glue down the white strips of hat trim along the top.
The next step is to assemble the base of the box. Start by glueing down the side flap.
Then finish off by folding down the inside large rectangle base followed by glueing the 2 small side bases on it & then glue the outer rectangle flap over the top of the small side 2.
Lastly I glued on my glasses which I cut with gold metallic cardstock & embellished with a holly cutout onto the hat & 2 gold sprinkles for buttons.
For more inspiration, check out my Instagram!
Thanks for stopping by!
Hugs
Noelene 🙂

October CT Blog Hop

The leaves are turning, the air is crisp, and our Creative Team has brewed up something spooktacular for you! 🎃 Get ready for a cozy mix of autumn crafts, Halloween magic, and early holiday inspiration — all designed to spark your creative spirit. We’ve also got treats galore: a 30% OFF Sale, a FREEBIE, and a Giveaway you won’t want to miss. So pour yourself some cider, grab your favorite sweater, and come hop along with us! 🍁
But first — I have some exciting news to share! ✨ I’m thrilled to announce our very first Craft Night — happening Thursday, October 30th at 5:00 PM (mountain time), live on the Lori Whitlock YouTube Channel! Earlier this year, I ran a survey, and most of you said you’d love monthly craft nights on Thursdays — so we’re making it happen! Mark your calendars and join us for a fun, creative evening of crafting together — I can’t wait to kick things off with you! 💕
Now, let’s get hopping! The hop order is below:

No tricks, just treats! 🎃
Now through October 18th, enjoy 30% OFF everything at Lori’s SVG Shop — including digital files and commercial licenses! Use code OCT2025 (case-sensitive) at checkout and fill your cart with crafty goodness for all your fall and holiday projects. SHOP HERE.

As a thank-you for hopping along with us, we’ve got something special to share. For today only, you can download the No Glue Box Halloween Boo Ghost SVG file absolutely FREE! Just add it to your cart and complete checkout—no codes, no catches, just a fun little treat from us to you.

 THIS WEEK’S NEW RELEASE!

Gobble up the cuteness! 🦃 The new Thanksgiving Project Bundle is here — featuring adorable slip lid boxes shaped like a turkey, pilgrims, and a fall harvest crate. These delightful 3D designs are perfect for holding treats, small gifts, or adding a cozy touch to your holiday table. Settle in and grab your favorite papers, dust off your cutting machine, and start crafting some fall fun! 🧡 And don’t forget—use code OCT2025 during the Blog Hop this week to save 30% OFF your purchase!

***CLICK HERE TO GO TO THE SHOP***

How about a giveaway? You’re in luck! Enter our giveaway below, and we’ll announce the winner on the entry form right here on this blog post. Keep an eye on your inbox—you might be the lucky winner!

Be sure to check out the CT member blogs listed at the top of this post! Thanks again for dropping by! Have a GREAT day!

~Lori

Box Card Bottles Father’s Day with a Twist

Hello everyone! Today I’m showing you a Father’s Day card I turned into a birthday day card. I used this file, SVG or Silhouette.

I edited the text box to accommodate what I needed the card for, a birthday.

I used some dot cardstock from Bazzill and some metallic cardstock on the bottle caps.

I love these little box cards. They’re always so easy to assemble and the recipients always love them.

Thanks for stopping by and happy crafting!

Chelsea