 Anita here with a fun tutorial to make this gift set. I love to quilt and embroider as much as I love to paper craft and I was thrilled to recently discover that Lori Whitlock has embroidery files that she has designed, many of which mirror her paper craft SVG files. You can find her gorgeous embroidery files at Embroidery Online. I will give you all the links in the post .
 I bought shrink film from Amazon and used Lori’s Print & Cut Stamps Christmas Cookies which you can find here in her store . I resized the image of the gingerbread man so that it would come out the size that I wanted. I then printed the image onto the shrink film through my laser printer. Just let it dry for a few minutes before coloring it.
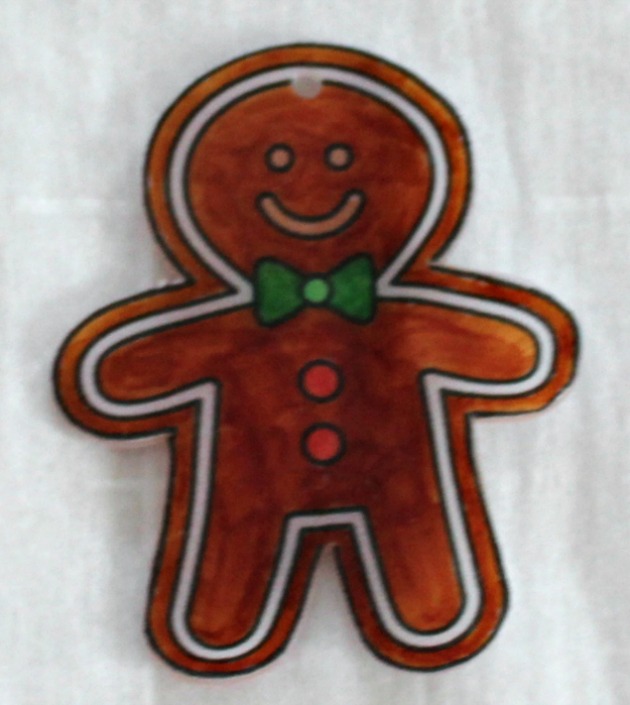
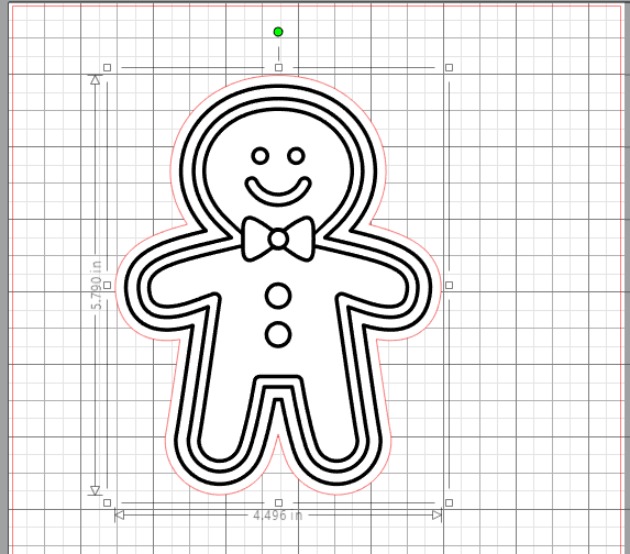 I then used my Copic markers to color the shrink film. I knew that the colors would deepen once I shrunk the image so chose my colors with that in mind. I used R37, E11, G14, G07, E99 for the gingerbread man and Y08, E99, R37, G07 for the Gingerbread house. Be sure to punch a hole in your shrink film before you put it in the oven and remember that the hole shrinks also. The directions say to bake the film on parchment at 300 degrees for 2-3 minutes but I found that my heat gun worked much better as I could control the plastic as it shrank. Below is the before picture.
 Here is the photo of the shrink plastic after it was done.
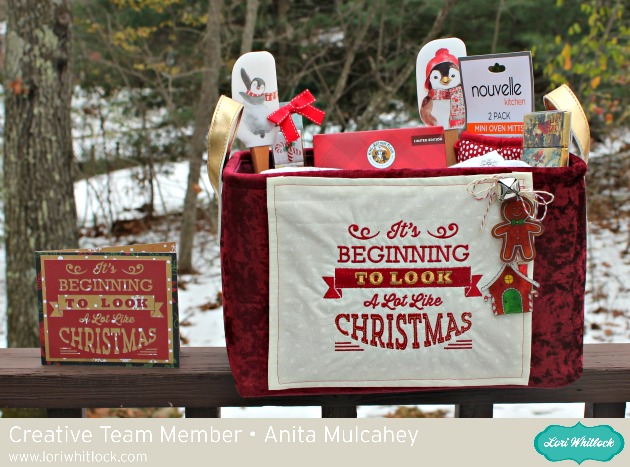
 I went to Embroidery online and bought the bundle which had all the Christmas embroidery files that I wanted to use for this project. It is called Christmas Time by Lori Whitlock. You can buy the collection or the individual embroidery files. I embroidered the phrase It’s Beginning to Look a Lot Like Christmas on a piece cotton. I then finished the edges and glued it to the front of my tote. I also embroidered my daughter-in-law’s name on the top of the apron as this set is for her. She is an amazing baker.
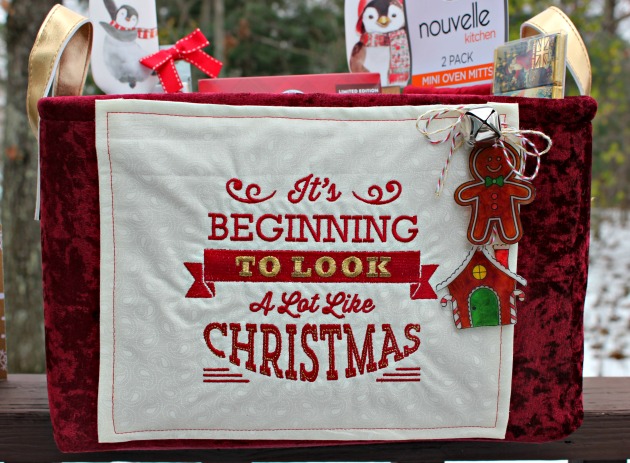 I then strung my two adorable gingerbread embellishments on some yummy twine, added a bell and glued that down as well.
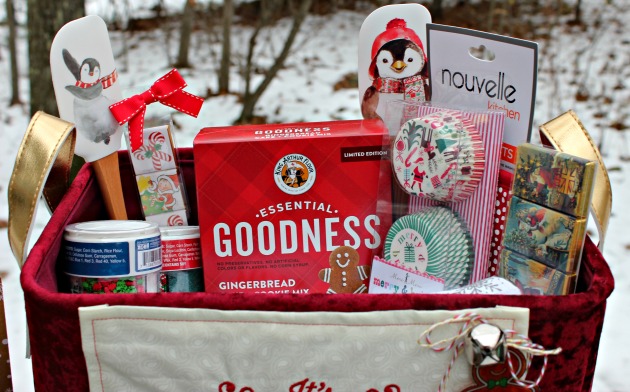
I really love to match things and have been so excited to make this project. Here is a close up of all the goodies that I put inside the basket.
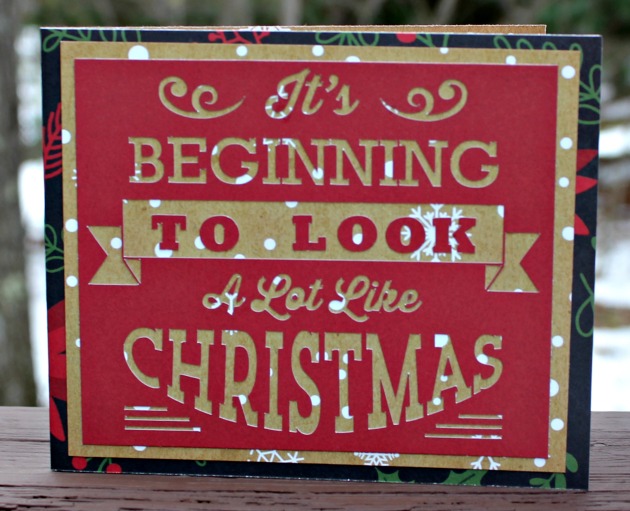
 The last thing that I did was made a card that used the SVG cut file which matched the embroidery. I used Lori’s new Christmas collection called Celebrate Christmas. The cut file can be found here in Lori’s store and here in the Silhouette store and is called Look a lot Like Christmas Phrase.
 That’s it for me. Hope that you have a wonderful holiday season.
Hugs,
Anita