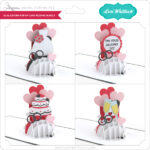
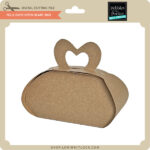
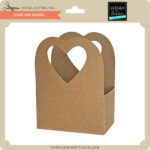
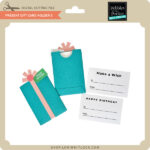
Valentine’s Day is only 6 days away! Time to get prepared. This week I designed 10 darling new 3×3 valentine pop up cards. These are perfect for making valentine’s cards with your kids. I also designed an adorable valentine “snail mail” box that you can make with your kids to send to school so they can collect all of their valentine’s from their classmates. You can buy the cutting files individually or in a bundle HERE and they are 25% off this week.
Box Card Rose Box
Hi there friends! With Valentine’s Day fast approaching I have been busy making cards to send out. Today I’m sharing one that I am sending this year. I love the roses in this box card, they are so fun and easy to adapt to any season and person. Box Card Rose Box (SVG, Silhouette).
Thanks for stopping by today. Have a great week!
A2 Card Envelope Box Tutorial
Hello everyone! Marcia here today. I have an A2 card storage box tutorial to share with you today. This A2 Card Envelope Box (SVG, Silhouette) cut file can be found in Lori’s store along with many other varieties of boxes. I used some pretty pattern papers from Lori’s new Day In The Life collection as well as coordinating cardstock from my stash.
Let me show you how easy this box is to put together.
1. Choose your papers and cut out two box bottom pieces and two box top pieces. The cut file contains only one of each so be sure to cut everything twice. Adhere the panels to the cardstock base. Using cardstock for the base pieces will ensure a sturdy box.
2. Working with the bottom of the box first, adhere the two sides of the box together.
4. Now let’s work on the box top. Adhere the front to the back by gluing the rectangular piece with pattern paper over the same size rectangular piece with no pattern paper. Fold the sides in making sure the side with pattern paper is on the outside, tucking the tabs in. Adhere the sides and then the tabs.
5. Place the last rectangular pattern paper piece on the inside of the lid.
These boxes would be great for storing your Valentines too.
Thanks so much for stopping by. Be sure to check out Lori’s Store for more amazing cut files.
~Marcia
50% Off Bundles! New SVGs + FREEBIE!
For the next 2 days ALL our bundles are 50% OFF – including the 3 new bundles we are releasing today! Simply shop our bundles category and use code BUNDLES50 at checkout.
ALL WEEK, this SVG file is FREE with any $1.99 purchase!
Hi Everyone! We have a FREE file with purchase all this week! Simply place an order of $1.99+ in the Lori Whiltock SVG Shop and this Simple Apron Box file will automatically be added to your order for FREE! No coupon code necessary! This offer is good through next Monday.
(Your cart must reach $1.99+ before the FREE file will automatically be added. The files will be available for immediate download after you pay for your order by visiting ORDERS > ORDER # > RED DOWNLOAD ARROW)
(Your cart must reach $20+ before the FREE file will automatically be added. The files will be available for immediate download after you pay for your order by visiting ORDERS > ORDER # > RED DOWNLOAD ARROW)
NEW FILES – 25% OFF this week! (ALL bundles including the new ones are 50% off with code: BUNDLES50 for two days – Jan 31-Feb1)
Check out the new SVG files we have for this week! The NEW SVG files will be ON SALE 25% OFF through the weekend in the SVG Shop. These downloads include SVG files that may be used with Cricut Explore, Silhouette (Designer Edition upgrade required), Eclips, Brother Scan and Cut, and any other software that will open SVG files. Be sure to go get them while they are on SALE this week.
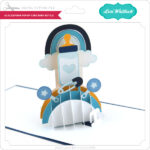
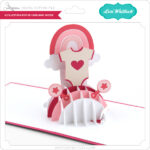
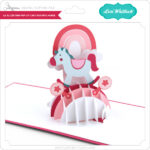
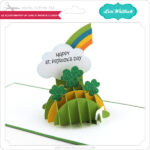
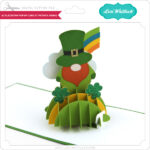
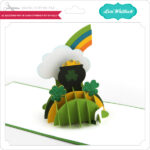
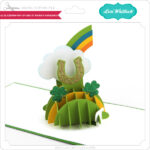
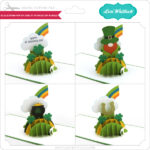
I have 3 more bundles of my popular A2 Sliceform Pop Up Cards for you this week – St. Patrick’s Day, Baby, and Wedding! These pop up cards that are so exciting to open up! Below you’ll see all the new styles and a short video demo. I also have a tutorial on the Lori Whitlock YouTube Channel. This week we also have some great new SVG files from Quietfire, Jillibean, Pebbles, and Dresden.
Adorable Grid Pop Up Card Valentine Gnome
At first, I was a little worried about how these new Grid Pop Up Cards would go together, but they are easy peasy, rest assured – just follow Lori’s instructions that are on the mat as you cut the design. They are super simple! You can find a blog post with instructions for the Grid Pop Up Card SVG files HERE. I will be making lots more of these.
You can find this little guy here in Lori’s Shop or here in the Silhouette Store. Make sure to try these out and share them with us on Lori’s page, we would love to see what you are creating.
Thanks for stopping by ~ Cathy


