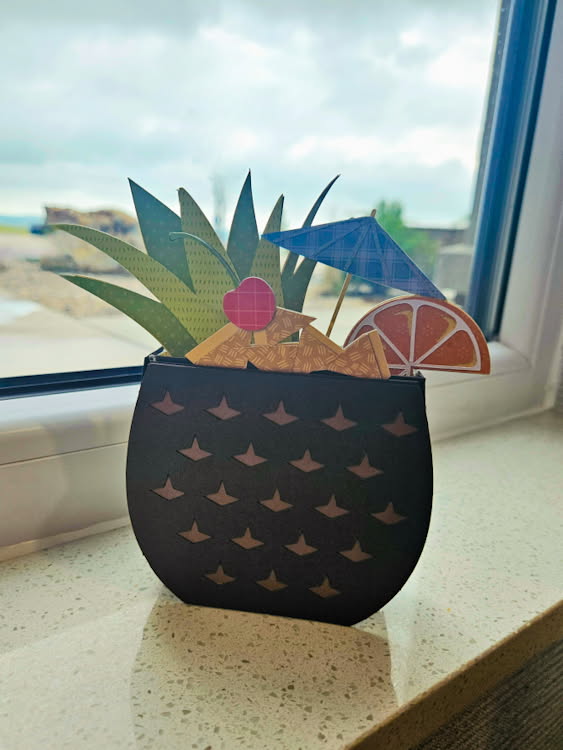
Hello crafty friends,
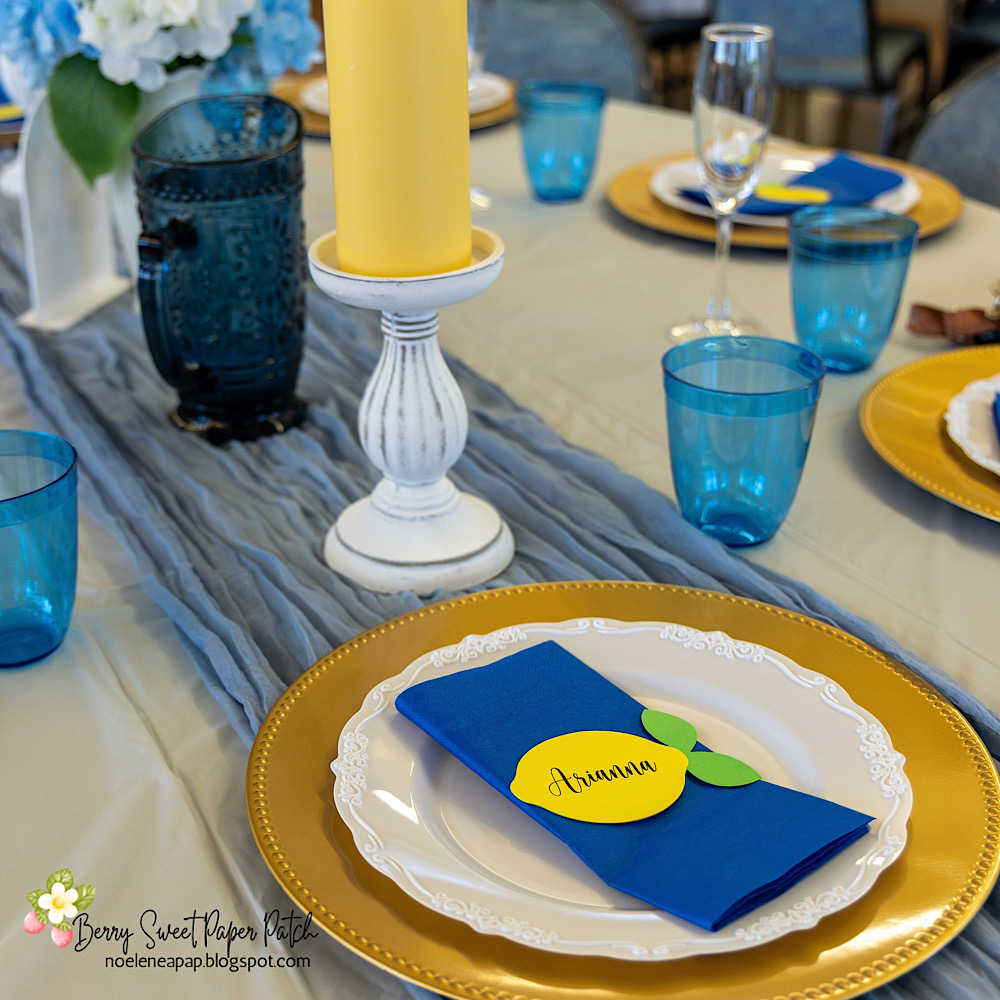
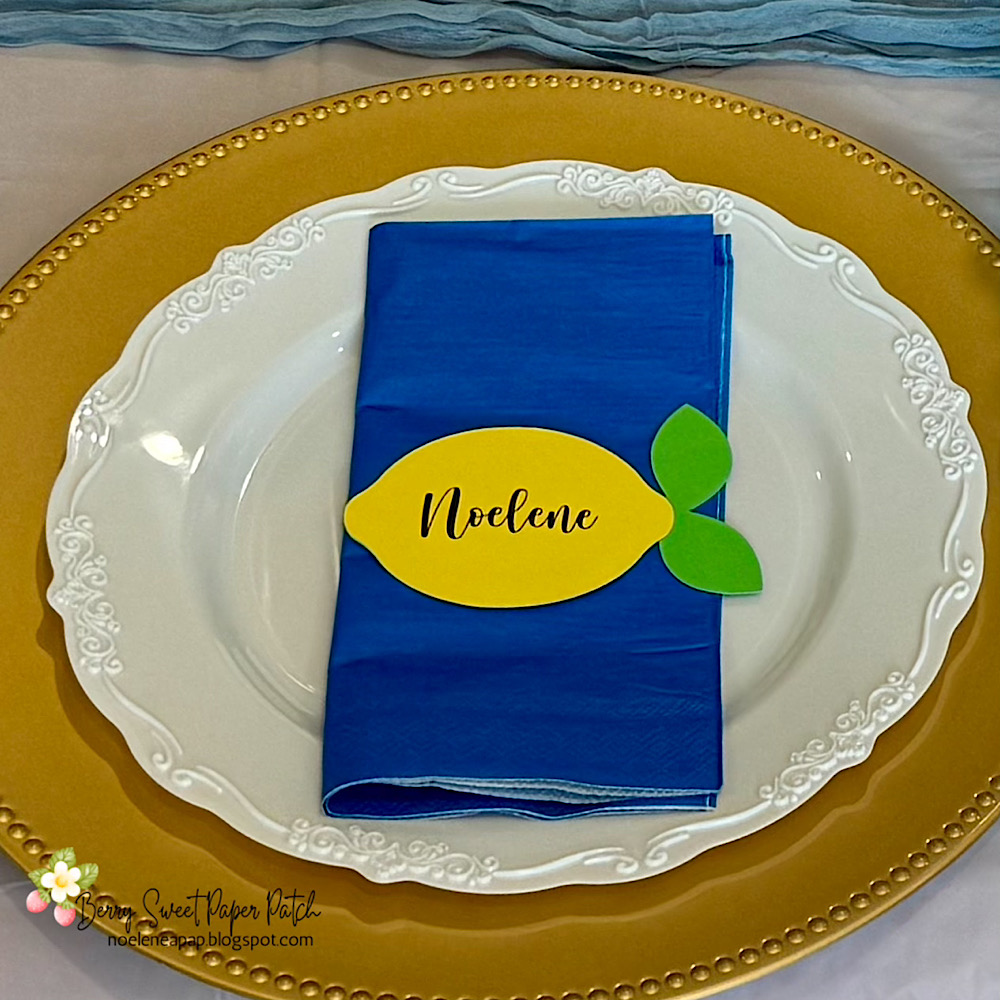
Noelene here today! Recently I hosted my daughter’s Bridal Shower. She chose an Amalfi theme, so I decided to create some name place cards for seating using one of the lemons from the box card Lemonade from Lori Whitlock (
SVG) (
Silhouette). Now this can be done with any shaped file of your choosing. I had never used print & cut in a shaped file before, so I am going to share with you today how I went about doing so.
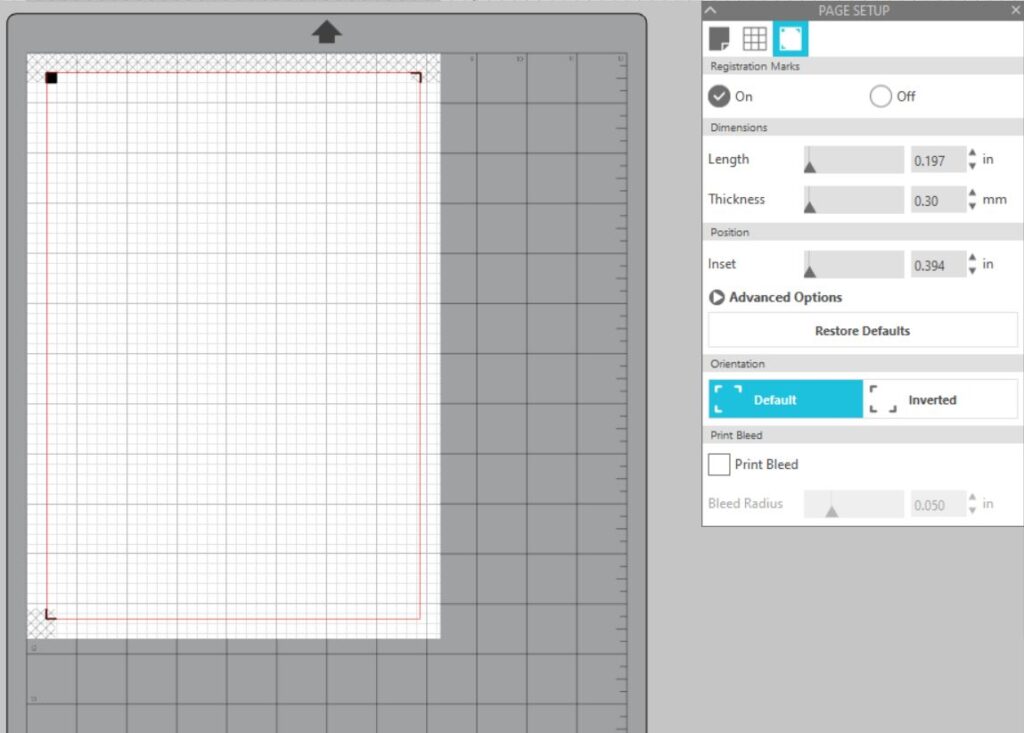
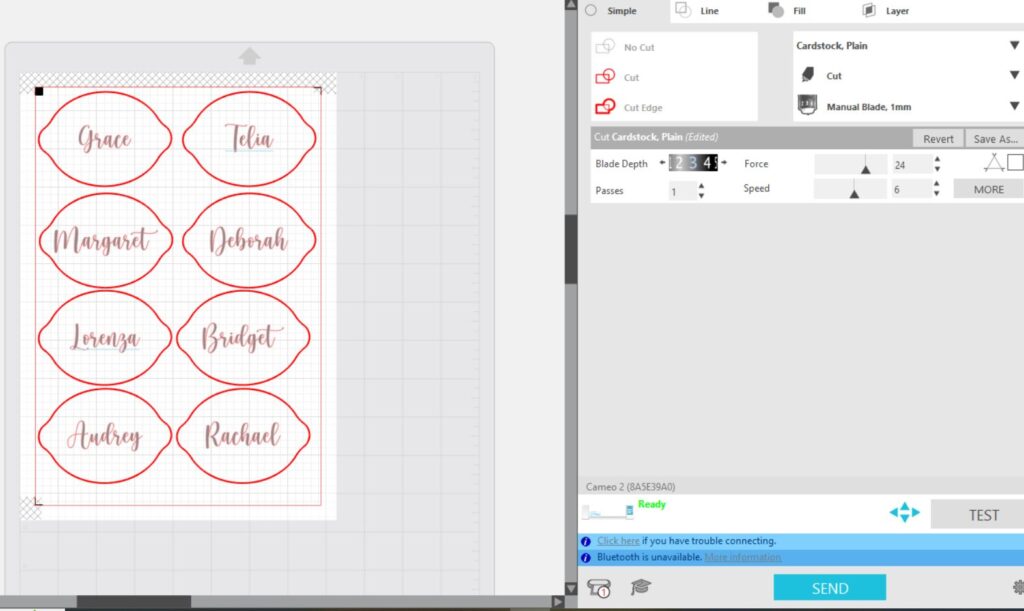
1. First step was to open a new page in silhouette program. Open page setup panel – Design Area Setup -Media size A4 – Registration Marks On – Dimensions & position – slide the bars all the way to the left. This makes the printable area larger & saves paper.
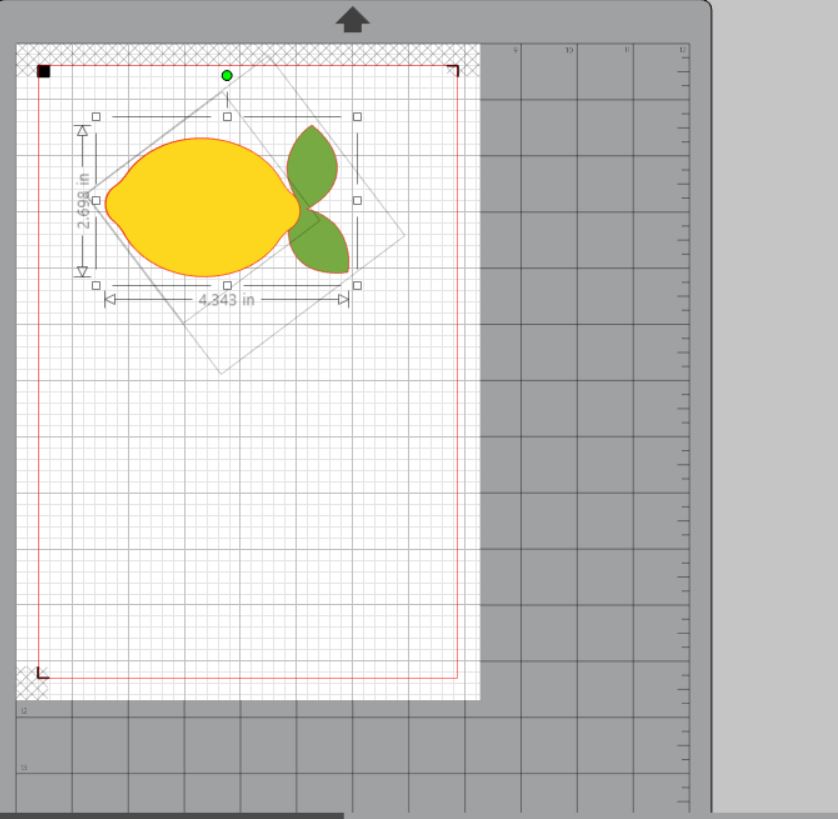
2. Now open the box card file & copy & paste one of the lemons onto the page you created.
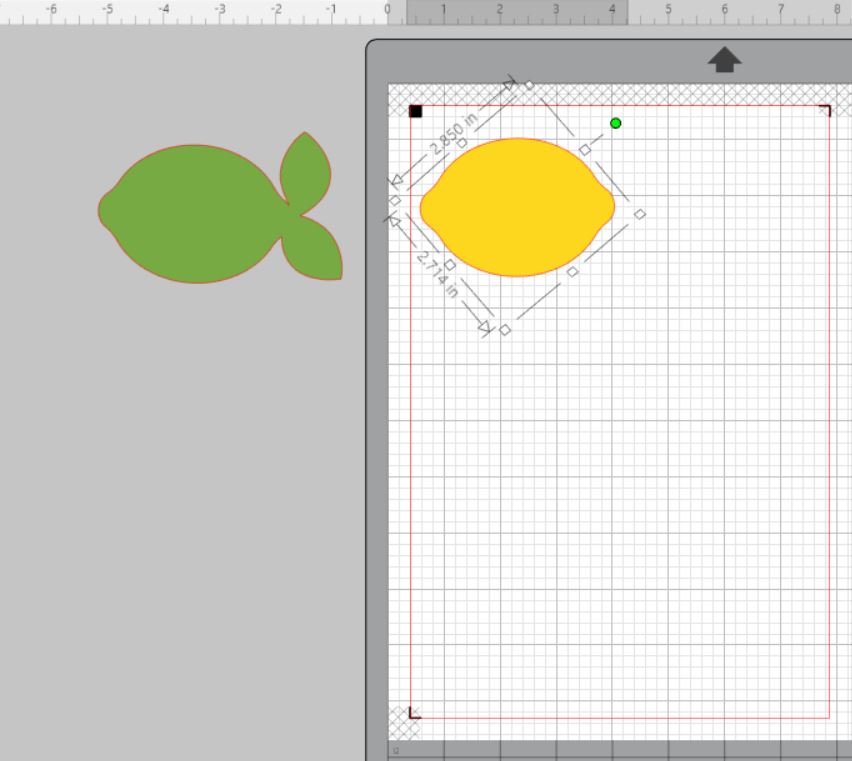
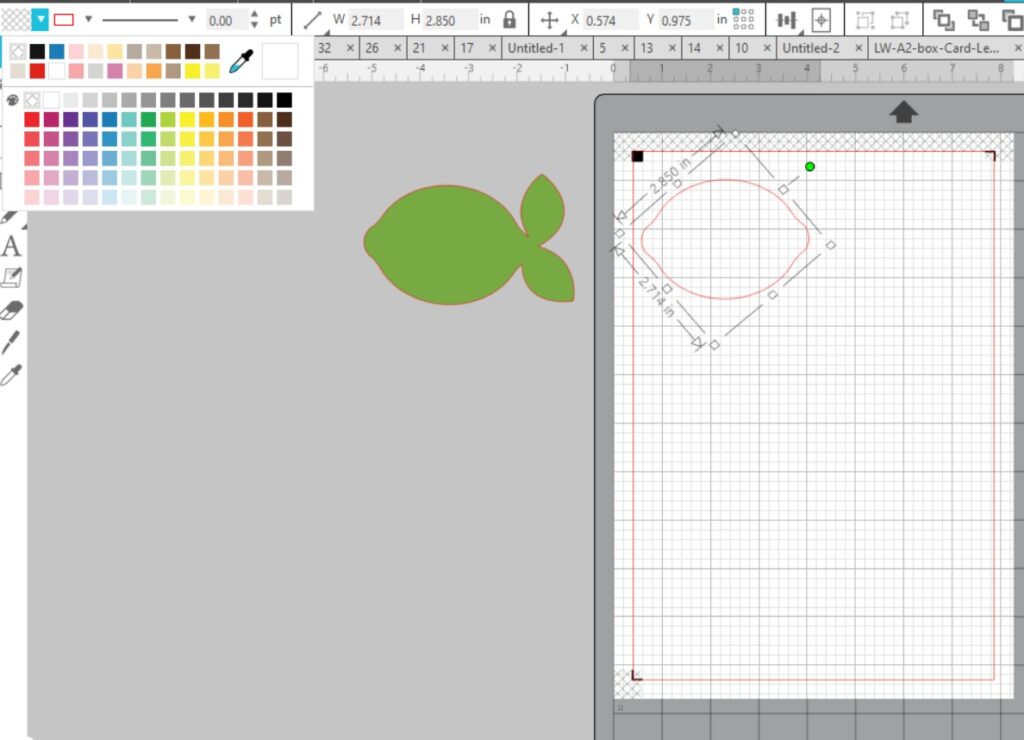
3. Enlarge the lemon to the desired size. I have enlarged mine that the yellow part of the lemon measures approx 3.5″. Now ungroup and move the green background to the side.
4. Next click on the lemon & change the colour to no colour in the colour tab.
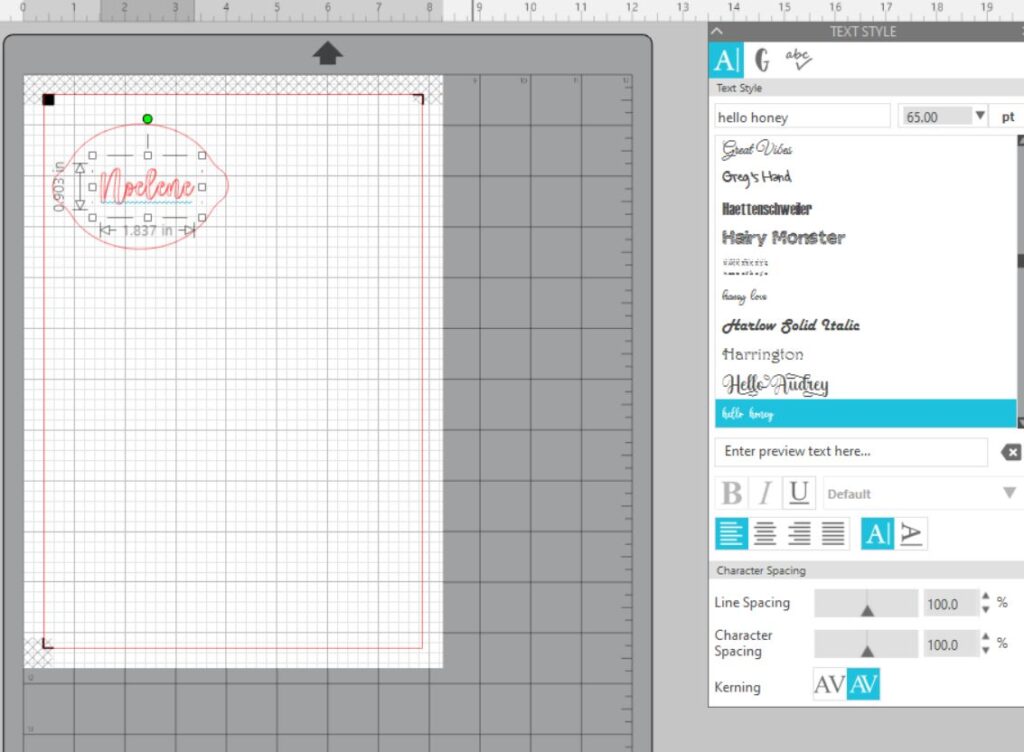
5. Open the font panel & choose your font & size & type name. I have chosen Hello Honey.
6. Now click on the name & change the font colour to the colour of your choosing. Today I am using black.
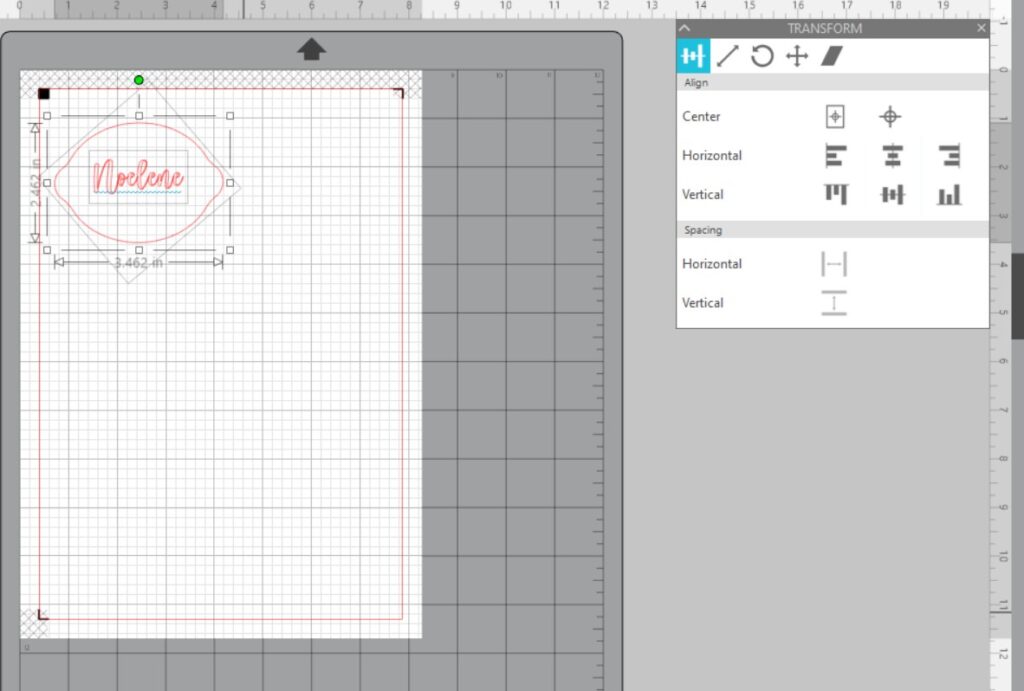
7. We want to center the text onto the lemon. Open transform panel & drag your cursor over the whole lemon making sure you pick up the text as well then click center.
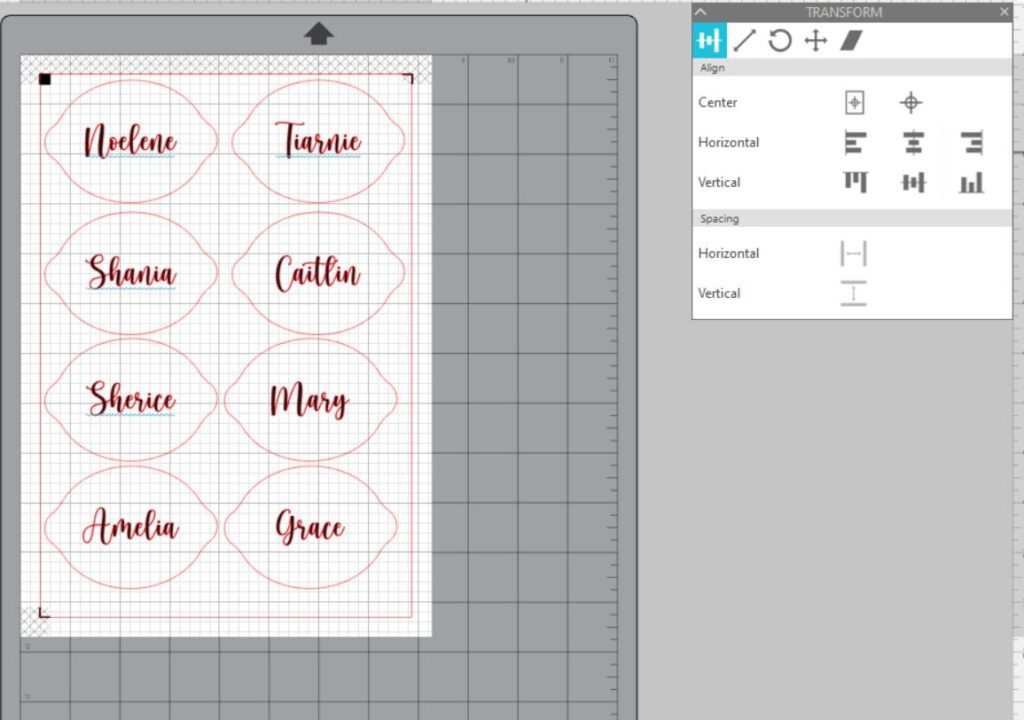
8. Then we want to click over the whole image & copy & paste until we have enough to fit onto the printable page area.
9. Then click onto the text of each of the remainder of lemons idividually to change the name. Don’t forget to center the text on each lemon after typing.
10. Once done load your yellow cardstock in printer & press print. In the print preview you will only see the text not the lemons. If you see the lemons then you didn’t change the colour to no colour in previous step 4. Now place your a4 printed paper onto your cutting mat & making sure you have chosen cut edge, cut your printed paper on your Silhouette machine.
If you need more just change the names & don’t forget you still have to center your font on each lemon.
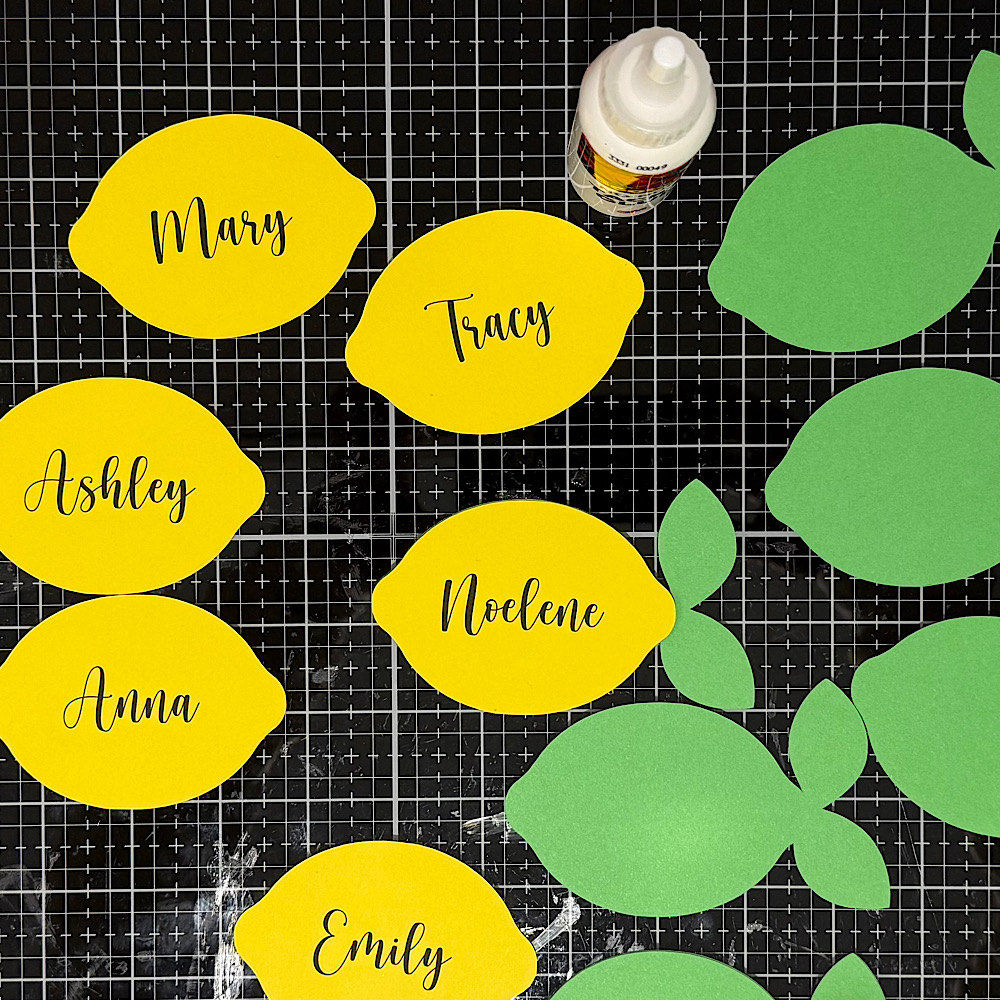
Once all lemons have been print & cut turn off your registration marks. Move your lemons aside then drag the green back panel of the lemon onto your page & copy & paste enough to fill the page or desired amount. Now cut these.
Last step is to glue all your panels together & your done!
For more inspiration, check out my
Instagram!
Thanks for stopping by!
Hugs
Noelene 🙂

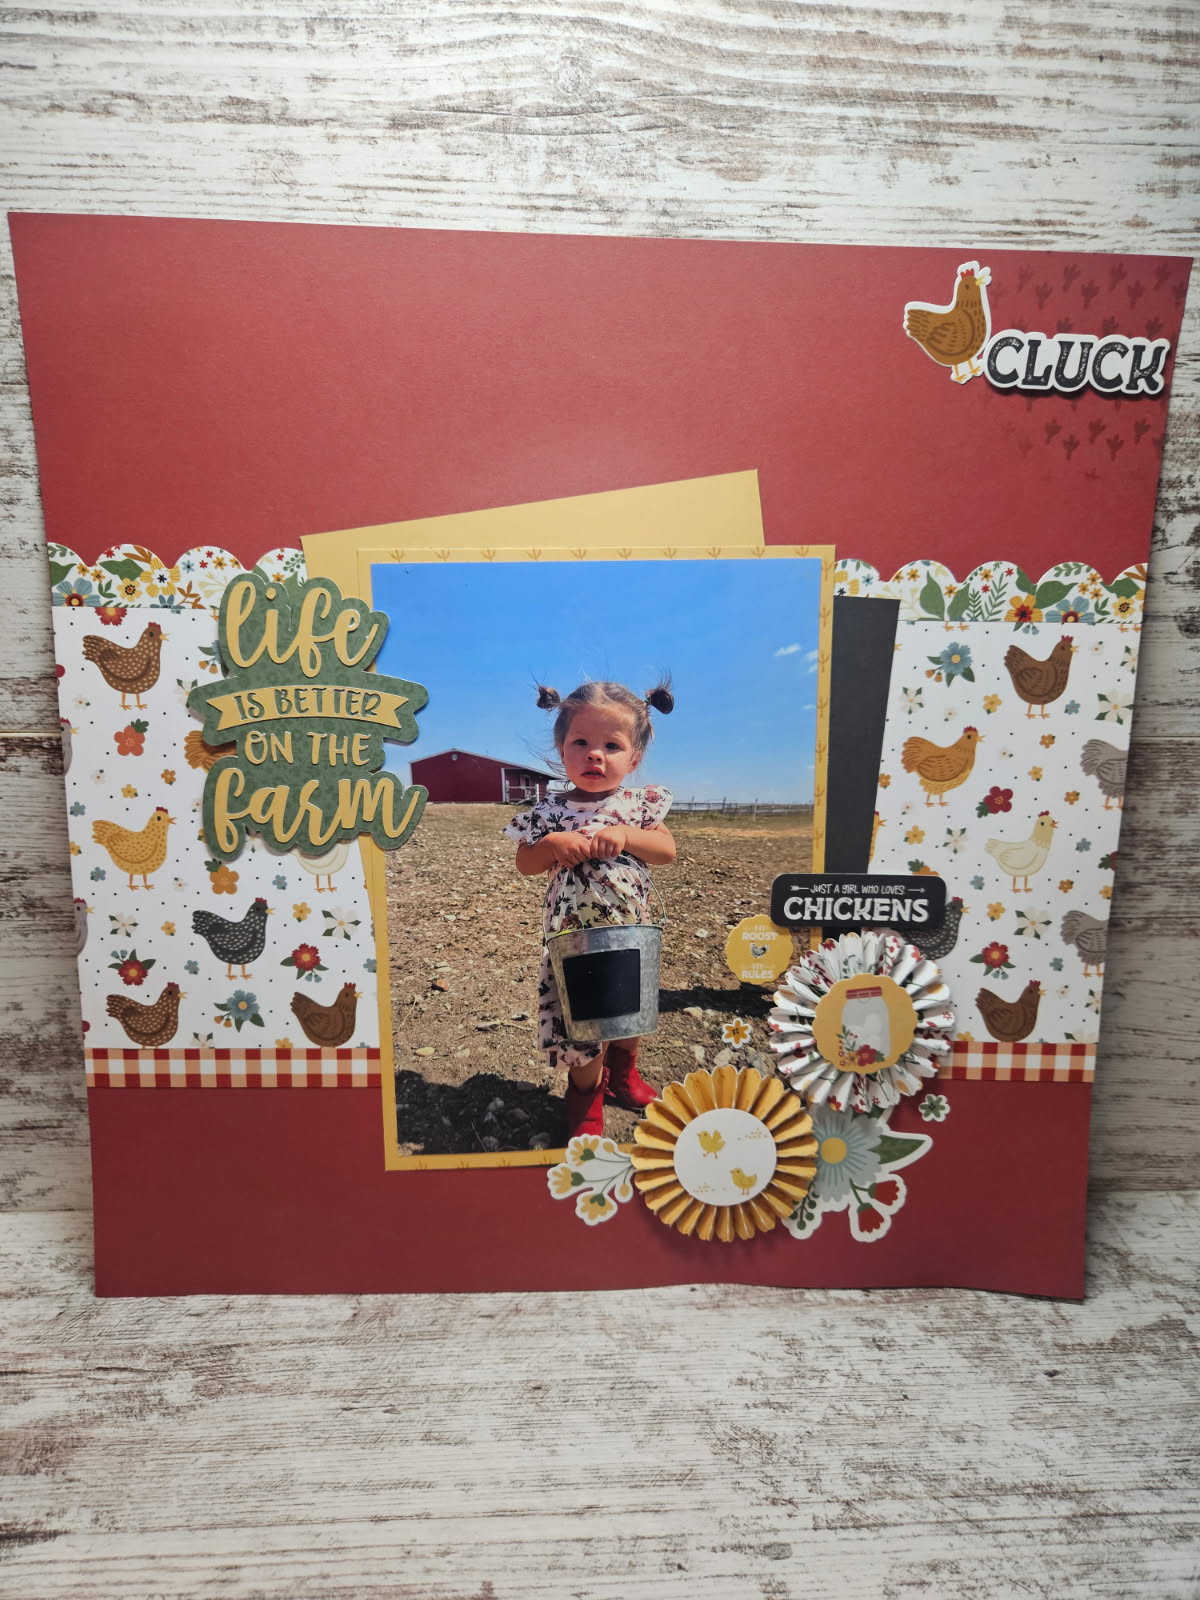
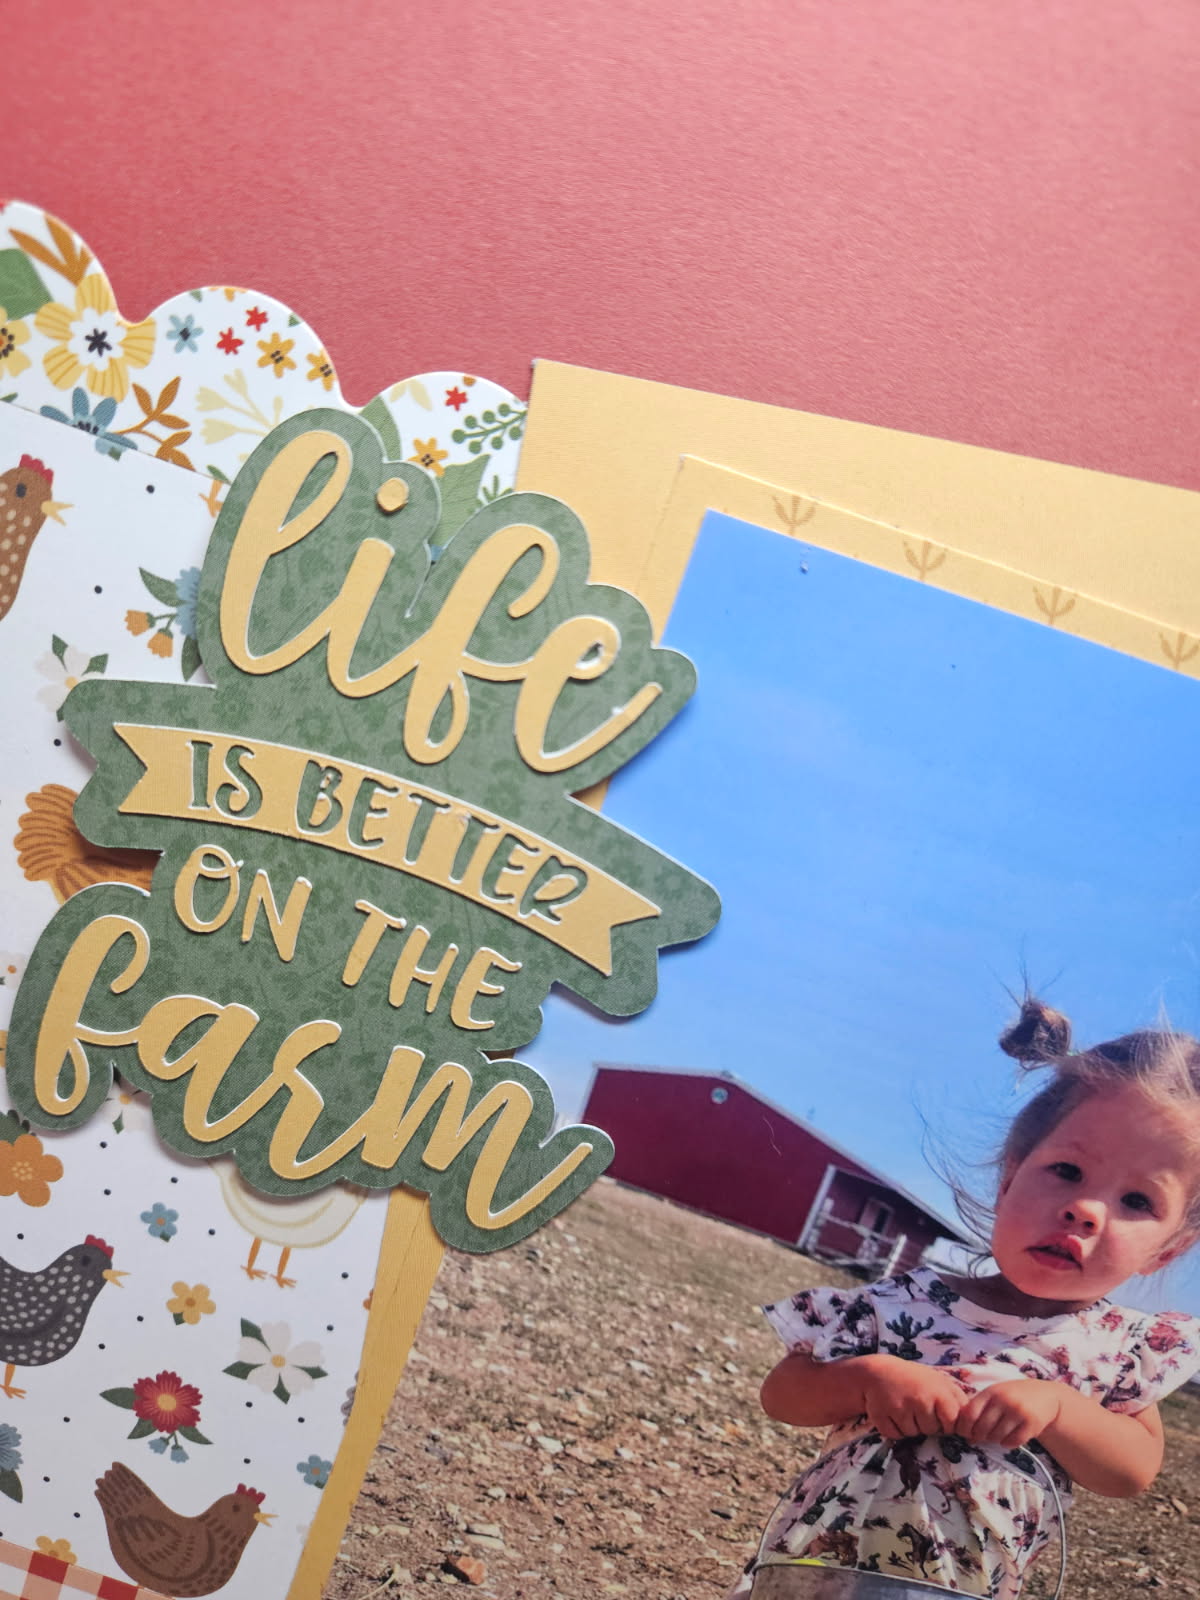
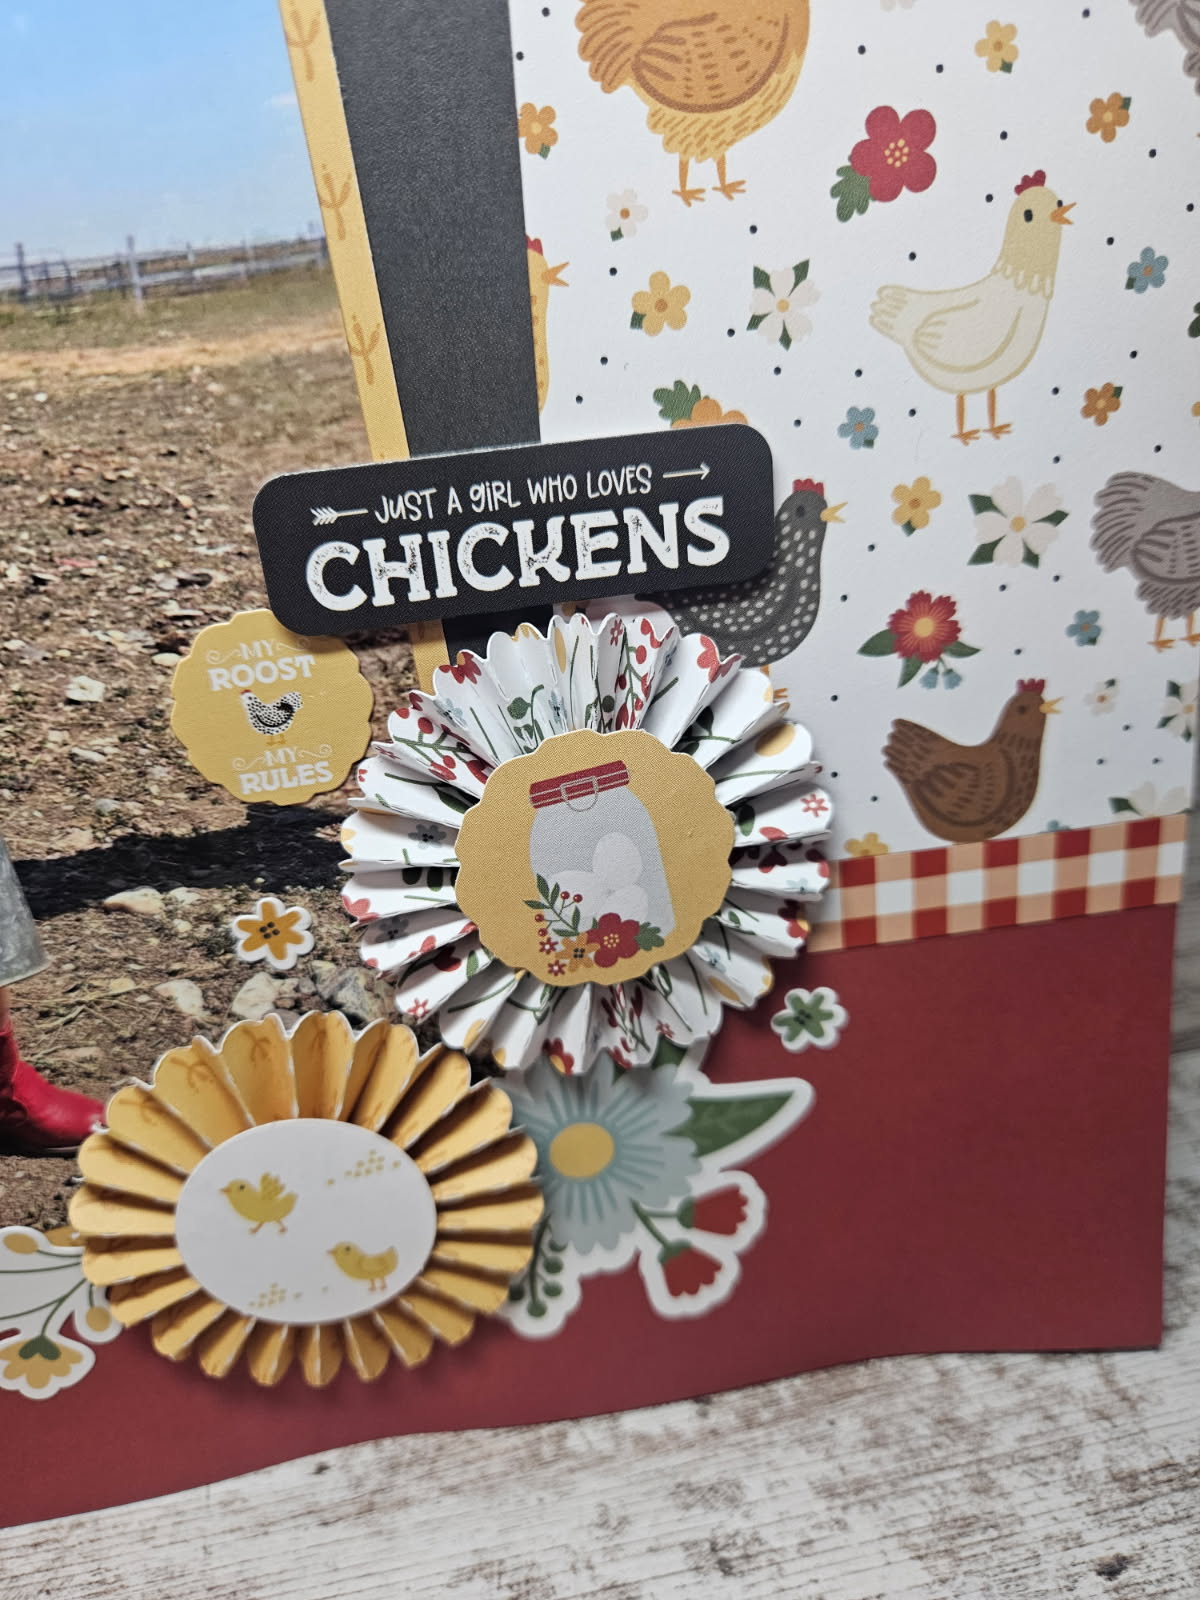


 First step was to cut out all my pieces.