Tote Organizer with Corri

Hi everyone!  Corri here today to share an assembly tutorial for the new Tote Organizer that Lori recently added to her SVG Shop.

This little tote could be used for so many gift ideas.  I used mine to old some crayons and markers.

This would be so cute for party favors or a small birthday gift.  You could stick a gift card to the craft store for a sketch pad or more art supplies.

When you cut out the pieces, this is what you will have.

To create the tote, fold the base pieces along the score lines and apply glue to glue tabs to form the boxes.

Glue the two pieces back to back to form the tote handle.   The two additional pink pieces are cover panels to hide the seam and add stability to your tote.

The remaining pieces are for decoration.  I used paper from the Echo Park Paper – Let’s Be Mermaids Collection.

That’s it!  It’s a quick and easy project that has tons of uses.

Be sure to check out all Lori’s newest files in her shop!

How to Change the Colors of a Print and Cut File Tutorial by Tya

Hey everyone! Hope you are all enjoying your summer! Today I have a tutorial for you on how to change the color of a Print and Cut file. One of my favorite features of the Silhouette software is the ability to do a print and cut. Lori has some really cute Print and Cut files in her library and so I thought it would be fun to showcase one of these files today.

So I am using the a2 Shaped Card Beach (found here in the Silhouette Store). I loved all the fun colors of this card, but I wanted to add some patterns to spice it up a little . Let me show you the steps to do this.

Step 1-

Open up the file in your Silhouette. Here is what it looks like in its original state.

Step 2-

Select all the pieces of the card and then ungroup them so we can work with each piece individually.

Step 3-

We only want to work with the Print and Cut part of the file, so go ahead and delete the other pieces.

Step 4-

Select the shape and then again ungroup the shapes so we can separate all the different pieces.

Step 5-

I downloaded this digital paper set ( Summer Fun Papers found on Snap Click Supply). Adding digital papers to your Fill Patterns in the Silhouette software is super easy. Simply select the papers you want and drag them into your pattern bin in the software.

Step 6-

Select the part of the original file you want to change. Here I changed the yellow part of the umbrella to a fun stripe. Simply click on the fill pattern and the software does the rest.

Step 7 –

Go ahead and change the rest of the original elements to new ones by selecting the piece and then selecting a new fill pattern.

 Step 8-

Once you have all the colors changed to your liking – go ahead and group the file back together again and then drag it onto the card base.

Step 9 –

Just for fun – I added a sentiment to the card front using the LW Fun font. (LW SVG shop) (Silhouette) .

Step 10-

Add registration marks for an 8 1/2 x 11 size page.

 Make sure you adjust your cut settings as well to only cut the outer edge of the card and not the cute umbrella.

 Select the No Cut option to make sure the umbrella does not get cut out.

Now were ready to cut! Send the file to your printer and print it out and then load the paper onto your Silhouette mat and cut it out.

So here are the cards. The one on the left is the original card.The one on the right is the card that we made changes to. I also added some embellishments to add a little texture and interest.

Thanks for stopping by. Hopefully I have taught you a new fun trick for you to try the next time you want to make a project using the Print and Cut feature! Happy Crafting!

NEW Pop-Up Box Cards Tutorial

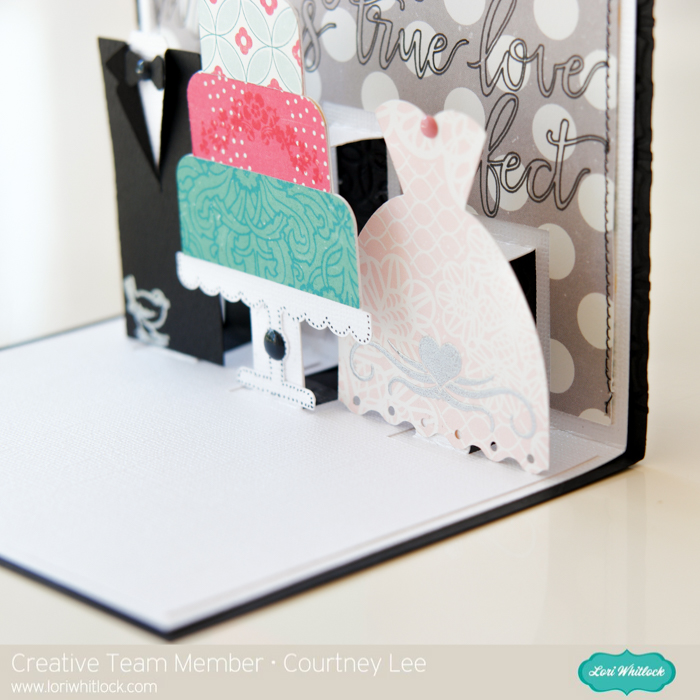
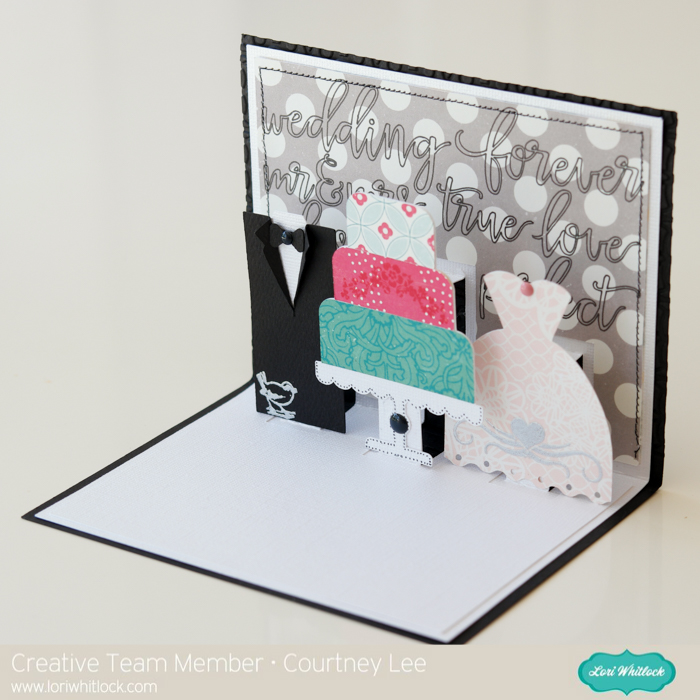
Have you seen the New Pop Up Box Cards in my SVG Shop and the Silhouette Store?  They are fun and interactive cards that come with print and cut sentiments and fold flat to a 5″x 5″ square for mailing.  They have been pretty popular. I currently have 7 designs (with more on the way), take a peek…

These are really FUN and so easy to put together.  Here is the video tutorial I have created so you can learn how to assemble these new cards and make them right along with me:

I hope you enjoy them! Thank you for stopping by today!!


Digital Life Cards and Print Elements with the Cricut Explore with Karin

20160708-2016-07-08_17-00-04-Edit


I worked on a series of videos to show you how I am using Lori Whitlock’s digital life cards in my Project Life binder. I combined the videos into the one below and will add another in two weeks showing how far I have progressed in a very short time.
I had started a Project Life binder in 2012 and had it very well organized, but then I never kept it up. Since it is now so much later, I have decided that I won’t organize the binder by date. Instead I will just work through all my images and journalling using digital life cards and make my binder look nice and complete the project.
I literally have hundreds of files to work with so I need to organize them before I get started. I used Adobe Photoshop Lightroom to do this because it makes it so easy to find what I need. Also, if I want to tag elements for specific topics or themes, Lightroom makes this very easy. The image above shows how the thumbnails look in Lightroom.
20160708-2016-07-08_17-00-52-Edit
The image above shows how I took an element, uploaded it into Design Space, cleaned away the outer white area to have the scalloped edge and inner portions as a print element that I cut out with my Cricut Explore.
20160708-2016-07-08_17-02-13-Edit
In my video, I show you how I set up the element in the upper left corner of the print then cut image above to use it as a card in a 3×4 pocket.
20160708-2016-07-08_17-02-59-Edit
This image shows you how the cutting line goes around the outside of the card.

Thanks so much for stopping by. Be sure to check back in two weeks when I post a flip through of my Project Life binder so far.


Oven Cookie Box Assembly

Hi everyone!  Corri here today with a quick assembly tutorial for Lori’s adorable oven cookie box.   This cute box can hold a stack of cookies plus something else in the drawer.  So fun!

Let’s get started.

The pieces in the file are sorted by color.  These are the light pink pieces which form the base of the oven box.

Fold along all the score lines, apply glue to the  tabs to make the individual boxes that form the oven.

You will end up with the lid, the oven, the two pieces that make up drawer and the little part where the oven dials go.   You can add some brads or enamel dots where the little holes are before closing up the tabs.

Glue the oven portion on top of the drawer part.  You will use cover panels to hide the seams in the next step.

Next you can cut the cover pieces (they are dark pink in the file). These can be from patterned paper.  You can cut them all on one 12 x 12 sheet.    I used this cute polka dot print from the Echo Park’s Happy Summer Collection.

Match the cover pieces up to the base layer and glue in place.

These extra panels give the box a nice finished look.

There you have it!  I hope you’ll give this fun box a try.  Be sure to stop by Lori’s SVG Shop to check out all the newly added files.