Happy Thanksgiving everyone!!!! Courtney Lee from Court’s Crafts here today with a box card tutorial!


One of these tabs is not like the other. It doesn’t have scoring marks on it. Don’t fold it… You can see that I started to this time! eek! But it needs to stay straight. That is your back piece. Do not assemble the box part. It is so much easier to add the piece while it is flat.

 I like to start by adding the panel pieces to the front and back of the box card like so… except for that tall yellow piece. Hold onto that. for a second. It turns out that covers up the “flap” of the box when you put it together. I had to tear mine off and put it back on.
 Oh no! I forgot that I wanted to add this gorgeous background stamp to my yellow panels! Even designers make mistakes (ahem.. all the time…). Just add it on anyway! 🙂
 Now assemble the “box” and add the back yellow layer to cover up the flap.
 I embossed and inked the edges of the turkey and pop and glue all the pieces to their layers.
 Add the layers in and a sentiment and you are done! 🙂 I got this sentiment from the “I Love Family” chipboard: a Lori Whitlock collection for Echo Park Paper.
 No matter what happens today remember that the day is all about relationships and being thankful. If you burn the turkey, don’t sweat it. You have food to eat. If people fight, don’t worry about it. You have people who love each other enough to want to get together on a day – family, friends, loved ones. You aren’t alone. And if you are still feeling stressed at the end of it… well… leave the dishes to the morning and go get in your craft room! 🙂
This is Courtney Lee signing off and wishing you a VERY happy and full Thanksgiving.
Lori’s Store: A2 Box Card: Thanksgiving Turkey
Silhouette Store: A2 Box Card: Thanksgiving Turkey


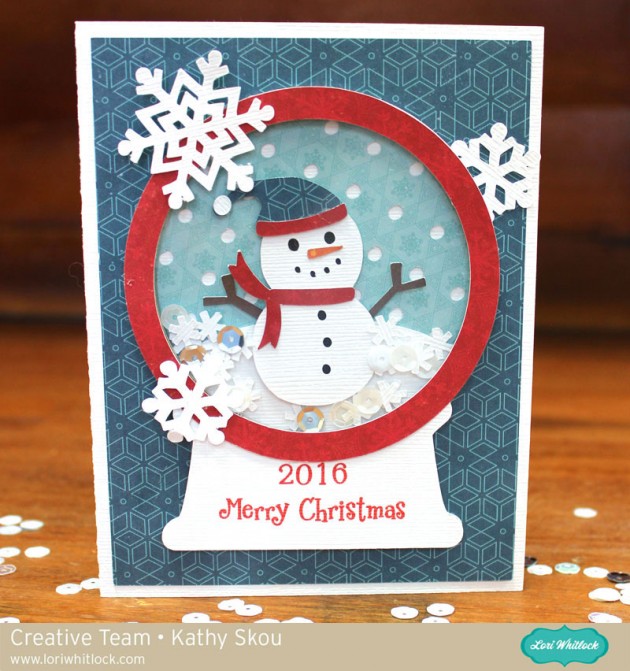
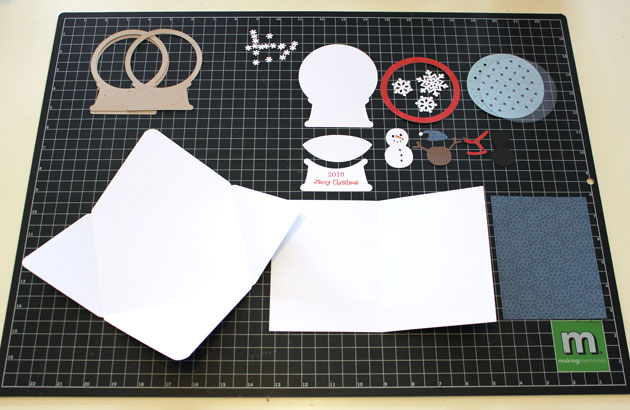
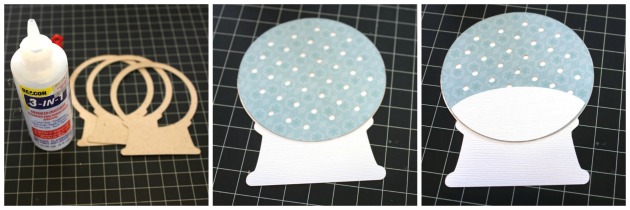
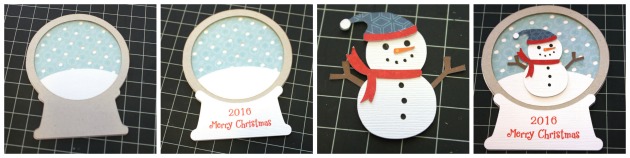
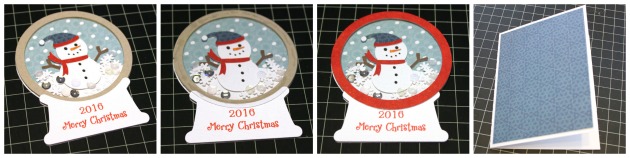 Once your base is dry, add in the confetti snowflakes. I also added in a few white and silver sequins, but be careful not to add too much, you want things to be able to “shake!” Once your confetti is added, glue the piece of acetate over the globe. ( I used overhead transparencies purchased at my local office supply store) Don’t overdo with the glue, it will squeeze out and stick to your confetti pieces. Add the red ring over the transparency piece and your globe is done! Add the background piece to your card, and then add the snow globe to the background.