Scottie THANK YOU Cards

Hello, Crafty Friends!! It’s Design Team Member, Mitsyana, back to bring you these quick and easy (and  SUPER CUTE) Scottie Thank You Cards.

In light of current events, sitting her crafting during Hurricane Harvey, I am compelled to make Thank you cards. It’s always a good thing to tell people just how grateful you are. Even a little gratitude goes a long way!

These Scottie Thank You(s) come together so quickly that I was able to make them in different colors! I like being able to have an arsenal of cards at my disposal at any given moment!

To make these I used Lori Whitlock’s A2 Cutout Scottie Dog file. (here in the Silhouette Store)

I opened the file using my Sizzix ecal software and grouped the pieces by color for easier cutting. It helps with out having to reload the mat for each color used. And as long as all the pieces fit on my mat I can cut them all at once.

I decided not to use the pre-scored card that came included because I wanted to change the direction the flap opened. So, I removed it off of my virtual cutting mat.

The card front is sized to a standard A2 card so me changing the direction of the card fold will not affect the overall look or assembly of the card whatsoever.

I cut all my paper using my Sizzix eclips machine. Then used my Xyron Mega Runner to layer and adhere the pieces together.

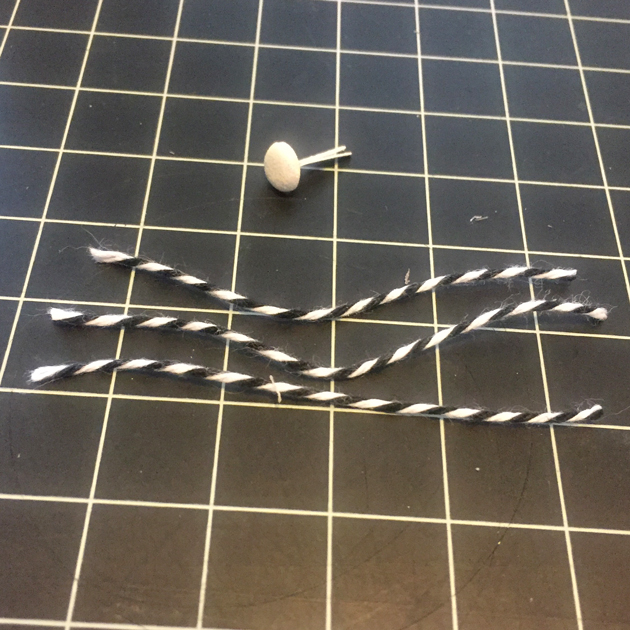
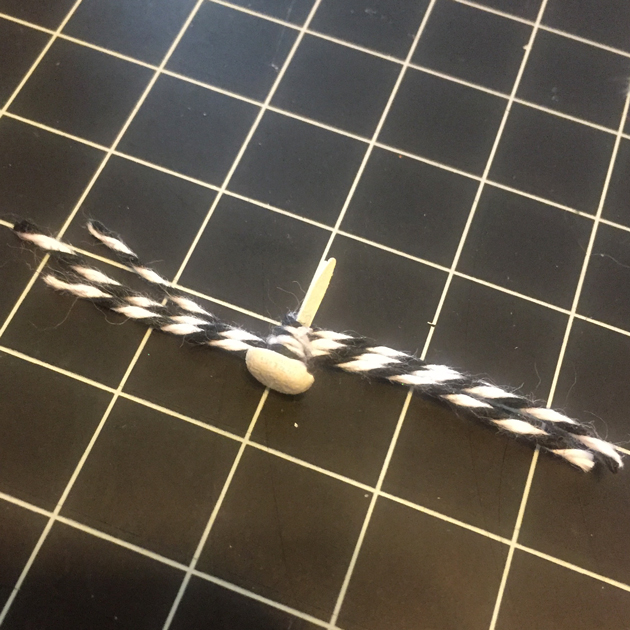
I used a glue pen to attach Scottie’s little bow then added highlights to it using a white gel pen.

I used a fine-tipped black ink pen to draw stitch lines around the perimeter of the stamp-shaped card mat.

I pieced the tiny flag sentiment together then added stitch lines along that as well.

Once the card front was pieced together I used my Mega Runner to attach it to my card base. This time the card flaps from top to bottom instead of side to side.

As a last minute touch, I added a little glitter enamel dot to the center of Scottie’s bow for a little bling.

Here is the finished card…

And it was so super easy to make that I decided to make it in other colors as well!

It looks great in brown!

And it’s absolutely fabulous in teal!!

These are so much fun to make!

I think I need to make much more… I have many people I want to send thanks to but this is a great start!

Hope you enjoyed my project for today!

“Thanks” for stopping by!!

~Mitsyana

Mega Monogram Shadowbox Tutorial with Kathy

Hi Everyone!  It’s Kathy today with a tutorial showing how I created this fun Mega Monogram Shadowbox for a friend.  I’ve seen many similar projects done with vinyl, but I was looking to make something more dimensional.  I decided to make mine with a shadowbox frame, Lori’s Mega Monogram M (available here in the Silhouette Store) and papers from Lori’s Go See Explore Collection for Echo Park Paper.

The hardest part of doing this with paper is to make sure that everything is lined up correctly.  With vinyl, it’s easier since the whole design is transferred at the same time, and in the proper position.    I’m going to show you a way to make this easy.  My shadowbox measured at 9″ x 9″.  To start, using the page set-up function in my Silhouette software, I set my page size to be 9″x 9″.

I loaded the M Mega Monogram from my library into my work space.  I wanted the monogram to be more square than the original.  To change the size, I selected the monogram, then using the sizing function I set my monogram to be 7″ x 7″.  This did skew it a bit from the original shape, but not enough to make a difference.

Next, I added the name for the center of the monogram.  Lori’s Block Font is the perfect match for the Mega Monograms.  I typed the name in all capital letters, this made it more uniform and easier to center in the monogram.

I resized the name by dragging the corners and edges until it fit in the center of the monogram.  Again, the font was slightly skewed from the original but not enough to make it look odd.

Once I had all of my design on the page, I needed to center the design on the page.  To do this, I first drew a square measuring the same size as the page (9×9) and placed it over the page on the mat.  I clicked on the monogram and the square to select both.  I opened the transform panel, and clicked on both the Center Horizontal, and Center Vertical tools.  This aligned the M to be in the exact center of my page.

Next, I centered the name.  To do this, I selected both the square and the Name and clicked on the Center Horizontal tool.  This centered the name in the monogram.  Once everything was centered, I deleted the square that I drew.

I cut my paper to be 9″ x 9″, added it to my mat, and sent it to cut.

Once the design was cut, I carefully peeled the “negative”.  I used the negative as my guide for laying out my design in the shadowbox.

I layered the “negative, over my background piece and held it in place with a couple of clothes pins.

I added thin strips of foam tape to the backs of my design pieces.

I then carefully taped the pieces down inside their slots in the negative.

Once all of my pieces were taped down, I undid the clothes pins and carefully lifted the negative off of the design. (be patient and slow so that you do not bend or rip your design)

I was left with a perfectly centered design!  I added the design to the shadowbox and closed it all up!

I’m giving this to my friend to celebrate her newly redone kitchen tonight!  That’s it for me today, thanks for stopping by to peek!

Burp Cloths Tutorial

Hello Everyone:

Anita here with a tutorial showing how to make these adorable burp cloths.  Someone dear to me is going to be a grandmother in the next four months,  and they just found out that the baby is a boy,  so I was inspired to make these burp cloths.  Did you know that in addition to creating for Echo Park and her own cut files, Lori also designs fabric?  I used a collection called Fine and Dandy and I also used a print from her Oh Boy collection for my elephant.


The cut files that I used are called:

Baby Boy Onesie Card                                    In Lori’s store                                      in the Silhouette store
Baby Elephant                                                 In Lori’s store                                       in the Silhouette store
A2 Baby Bottle Shaped Card                        In Lori’s store                                       in the Silhouette store
Lion                                                                                                                                    in the Silhouette store

The are the materials that you will need to make this project.  I used Heat N Bond Lite and of course Lori’s awesome fabric.  I also used my Silhouette Cameo and the fabric blade to cut the fabric.  I used the Cricut Strong Grip mat which comes in their multi pack and a brayer.

I used my cutting mat to organize my cut shapes.  I decided which fabrics I wanted to use for which parts and then put them together on a mat to determine the size of fabric,  and the size of the Heat N Bond I needed to complete my project.  I grouped the shapes together and then figured out the dimensions to cut my interfacing.  I cut that first and then labeled it, including any directional hints I needed to remember.

Here are two that are ready to go.  The onesie haf a directional arrow and the elephant didn’t.  I  ironed on the interfacing and cut around the fabric leaving a 1/4″ border on all sides.  Before you cut, you should peel off the paper backing from the interfacing and place it with the fabric face up on your mat.  Use your brayer on a flat surface to make sure that the fabric is well adhered.  I set my Silhouette to thin cotton fabric and a blade depth of 3.  The more fabric you cut at one time, the greater the likelihood that you might have to increase the blade depth.

Here is what it looks like after it was cut.

Once everything was all cut I pressed the burp cloths and then ironed on the pieces that I had cut out for each design (no steam setting).  Next I headed to my sewing machine to use a blanket stitch to reinforce the designs, to make sure that it could stand up to the many washes that I am expecting them to undergo.

There you have it.  There are so many cute burp cloths out there and you can also use the thick Gerber cloth diapers to delight new parents.  Lori has so many wonderful baby cut files to choose from.  Be sure to check out her SVG store for these and many more awesome files.

Hugs,

Anita


3D Chrysanthemum Flowers Tutorial with Michelle

Hello crafty people! I’m Michelle Zerull from Pinch Your Chic and I have a fun tutorial for you today using the Lori Whitlock 3D Chrysanthemum. Earlier, I used this file when making a paper flower wreath and I loved it so much that I wanted to explore other possibilities with this SVG file. I love Chrysanthemums! They are a great flower to have this time of the year because you can display them throughout the Autumn months too! The flowers make beautiful embellishments, but they can also be used in a vase as home decor. I’ll show you how to make them!

You can find the 3D Chrysanthemum SVG file at the Lori Whitlock Store as well as the Silhouette Design Store. I cut my flowers using my Silhouette Cameo, but these are Portrait compatible too. And as always, the files can be used with your Cricut, Sizzix Eclips, or any electronic digital cutting machine that uses SVG files.

The file includes many varied sizes. You are going to want to cut approximately 9-10 layers per stem in concentric sizes. To add some visual interest and depth, I used 3 different shades of yellow for my flowers, but you can make yours in whatever colors you prefer.

I cut my flowers using the factory recommended settings for plain cardstock. I did slow the machine down just a tad so I could get nice, clean cuts. They came out perfect each time! After weeding, I sorted the layers by size and set them aside.

To make my stems, I used 18 gauge wire cut to desired length. You can cover the wire in floral tape, but this step is optional. Using pliers, bend one end of the wire to a 90-degree angle, leaving an approximately 1/4 inch “tail”. Set your wire stems aside.

Start shaping your smallest layer. Using a wooden skewer or stick, curl the petals upward.  I also recommend using a flower cupping tool to make the petals curl upwards. Simply place the tool in the center of the layer and make small, circular motions. The petals will curl up almost immediately. It’s like magic! If you do not have a flower tool, that’s okay. Simply curl each petal upward with the skewer.

Be patient. The results are worth the time it takes to curl the petals. Curl approximately 8 or 9 and set aside in order of size.

Take your smallest layer and glue it inside the next size up.

This process reminds me of nesting dolls, with each small layer fitting inside the larger. You will be forming a “bunch” of layers. There are times when you will be placing them inside of the same size in order to have approximately eight or nine layers. With numerous layers, the flowers will be full and luscious!

Take the largest layer and carefully poke a small hole in the center using your skewer or toothpick.

Glue the tail end of the stem to one of the largest petals using your glue of choice. I do not recommend using hot glue because the pieces are small and you could get burned.

Take your layers “bunch” and glue on top of largest layer with stem. Now let dry completely. They must be completely dry before your final shaping.

When completely dry, you will need to fluff open your bunch and finish your shaping. This is my favorite part! Try bending some of the outer petals downward and some of the petals upward. Have fun and let them go a little crazy! Like in nature, no two flowers will be exactly alike.

Thank you for allowing me to share my 3D Chrysanthemums with you. Lori has some of the best flower making files available in SVG format. Paper Flowers are so popular right now that you are going to want to make a bunch! I hope that you’ll enjoy making them as much as I did.


Thanks again!

Michelle

Happy Camper Box with Brandie

Hi there!

Brandie here from Conviviality Crafts with a fun Camper Box tutorial. We have a family tradition of camping over Labor Day weekend and knew this little project would be a fun surprise for the kids. You can find the SVG file here in Lori’s shop and in the Silhouette Store here.

Once I had the files uploaded in Cricut Design Space I resized the all of the images and added an extra layer to the camper body for the two tone look with a stripe. All of the pattern papers I used are from Echo Park’s I Love Family collection.

After getting everything cut out I inked the edges of all my pieces, folded all the score lines with mountain folds, and stacked the two box pieces together to punch a hole for my handle. I then dry fit everything so that I would know how everything fit before gluing.

It’s easiest to assemble and glue all the detail pieces first, the banner, door, wheel, and camper stripes.  For the curtains,  be sure to attach to the back side of the camper body. I used some foam tape on the curtains, wheel, and the camper body for depth. I glued down all of  the detail pieces to the camper body then attached the camper to the shadow piece. I then glued the hitch into place.

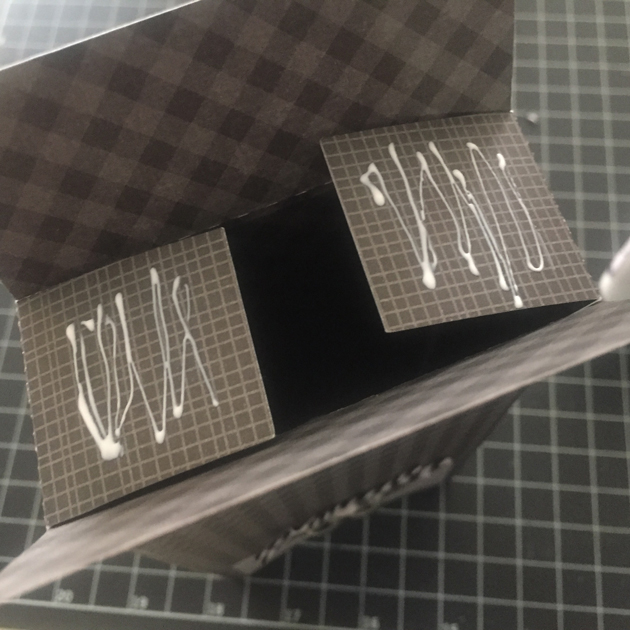
For the box I laid the two pieces side by side and applied glue to one of the tabs and glued the pieces together using the score lines as guides,  creating one long piece. Next I folded the box in half on the score line,  applied glue to the other side tab, and tucked the tab in so that the glue side of the tab is on the inside of the box. Once the tabs were secure, I  lined up and glued the camper to the box while it was still flat.

Once the camper was glued into place, I popped out the box, folded the bottom tabs in,  applied the glue then folded the bottom up creating the bottom of the box. Before the glue was set I made sure everything was lined up, turned the box over and pressed the tabs down from the inside of the box.


From here I attached my wire handle and embellished the front of the camper with enamel dots and stickers.  I also filled my box with all the ingredients for S’mores! Which is a camping MUST. Now I just need to make a few more for all the rest of kids going camping this year.


Thanks for stopping by!

Brandie