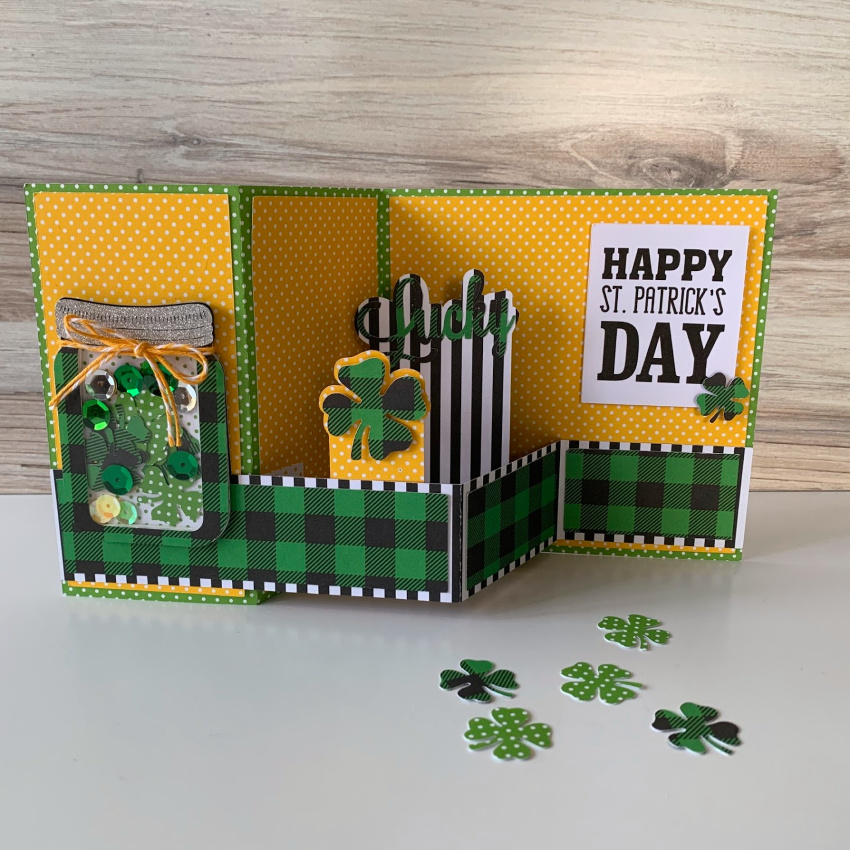
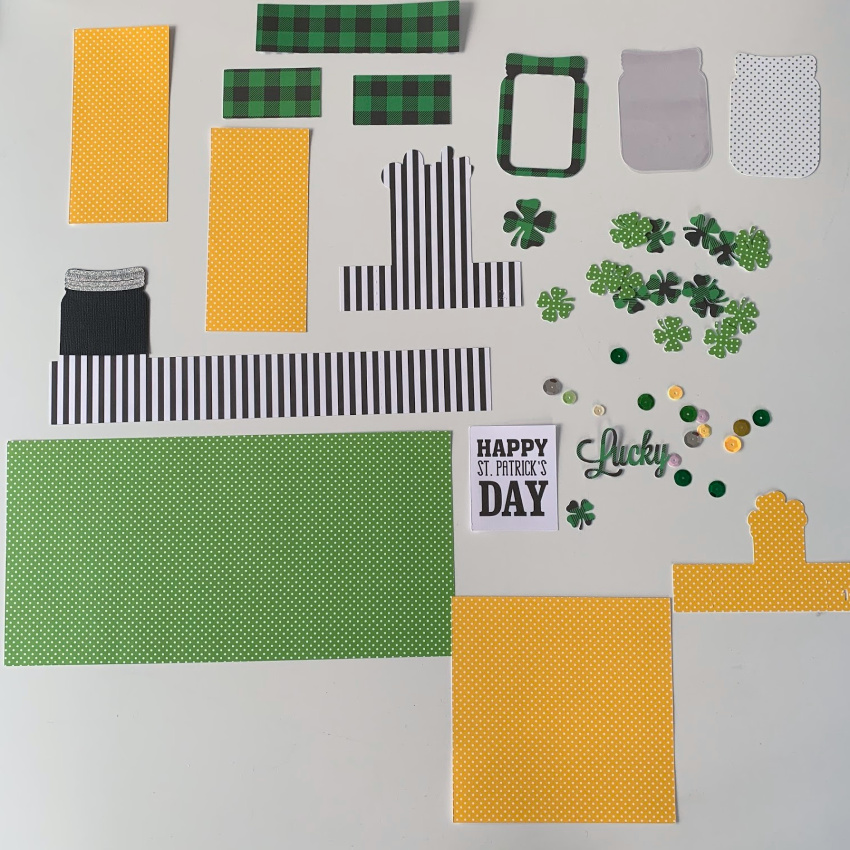
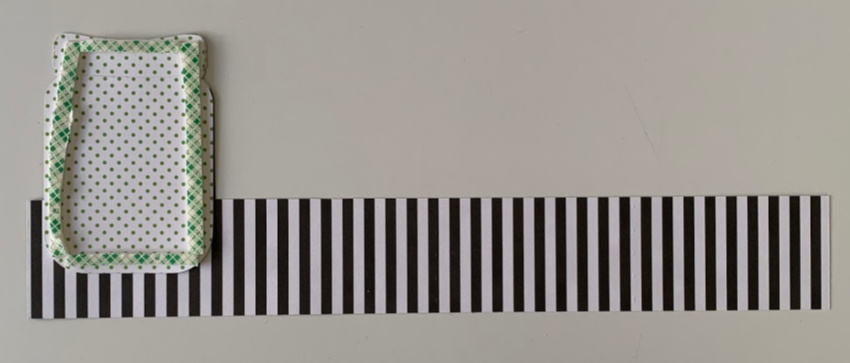
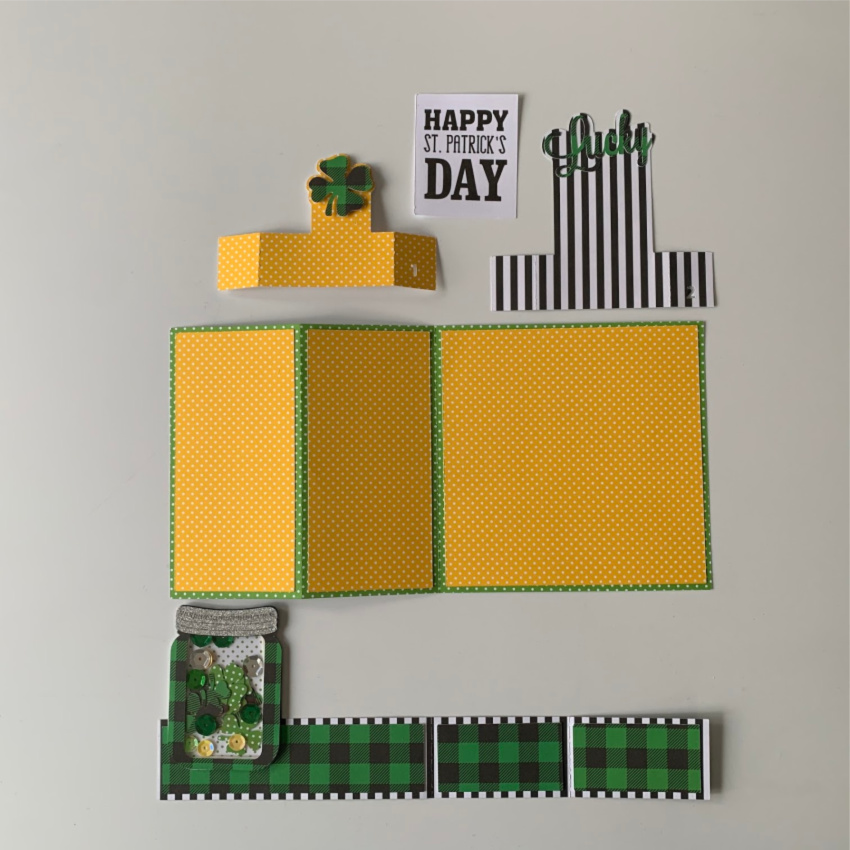
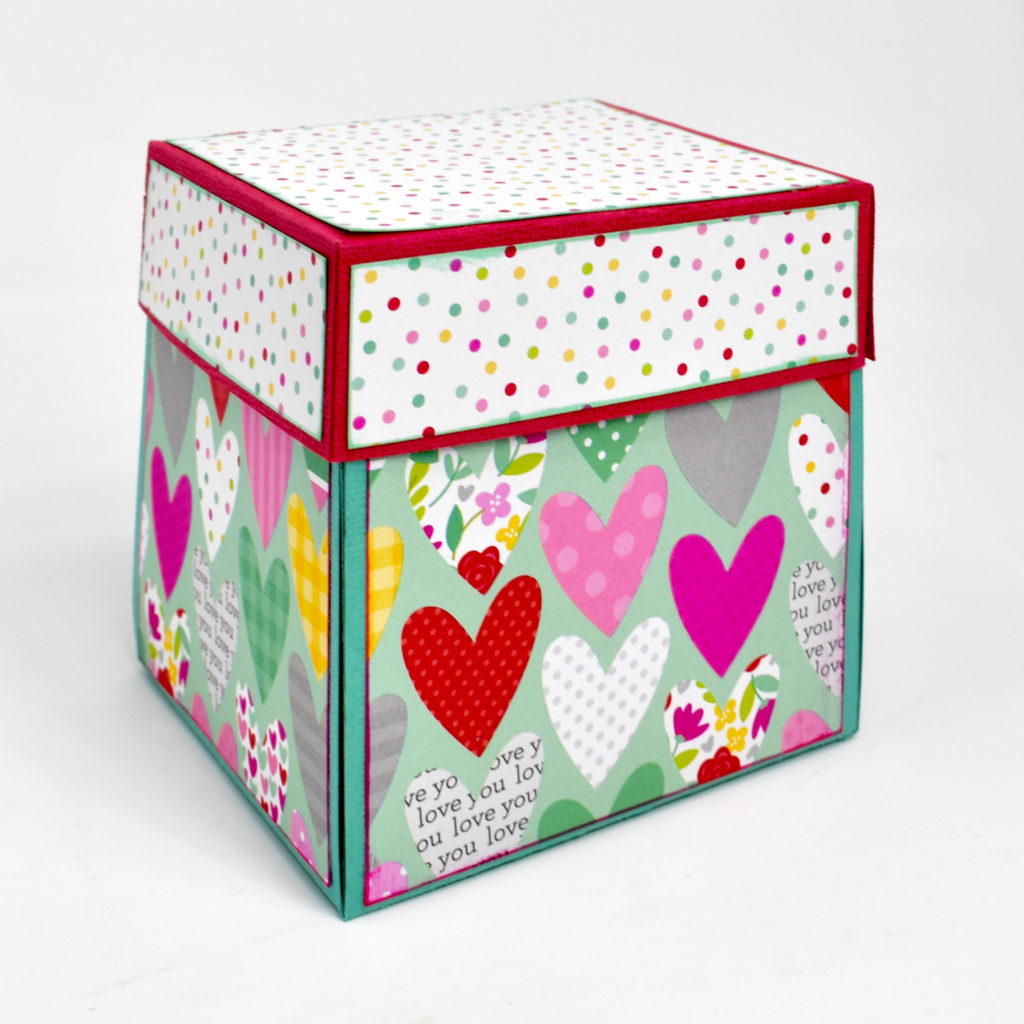
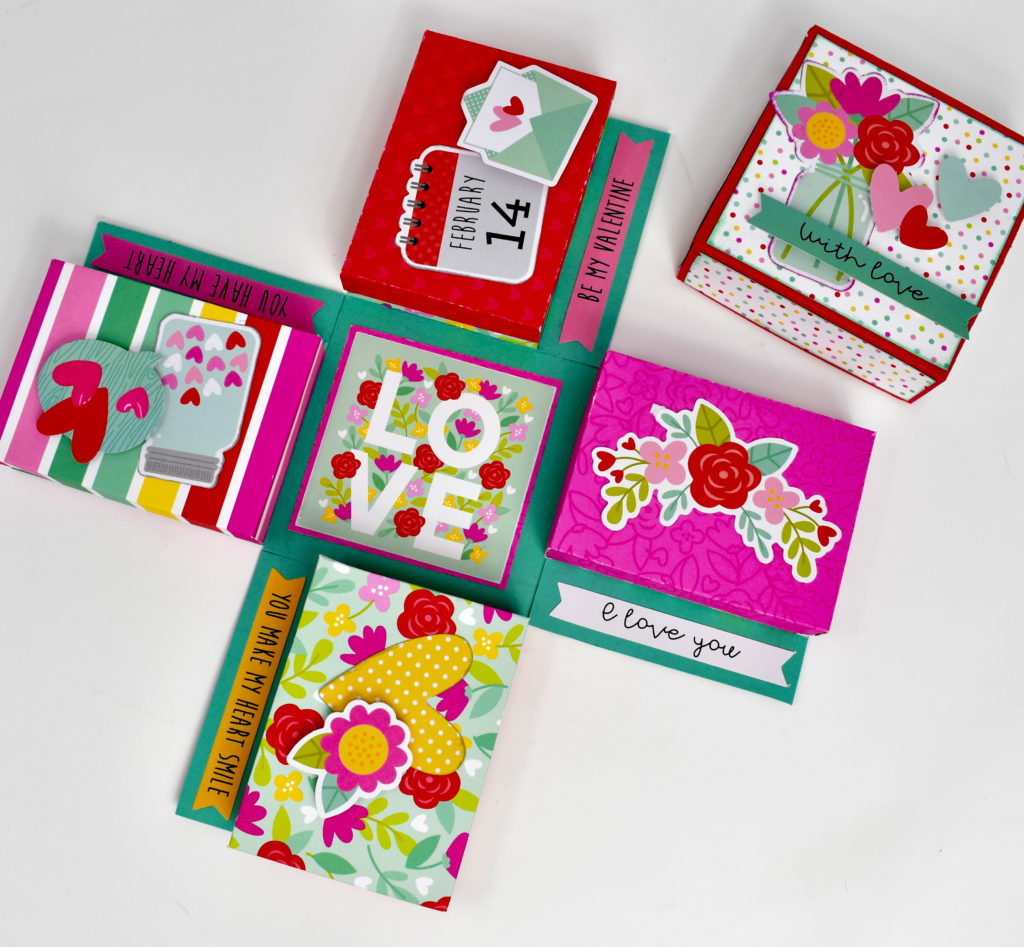
The shaped box cards in Lori’s shop are so fun, and look complicated, but they are really easy to assemble. For each card, there are basically 3 steps to assemble:
- Add embellishments to the inserts and outer box.
- Form the box
- Add the inserts.
It really is this simple! Let’s look at each of these steps a bit closer.
Add Embellishments to Inserts and Outer Box
I find that it’s easiest to add the embellishments to a box card before assembling the whole card. When you open a file from Lori, she has grouped the embellishment pieces with their corresponding bases. Take a look at a few different files:

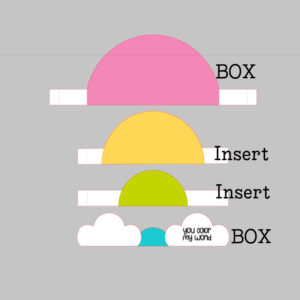
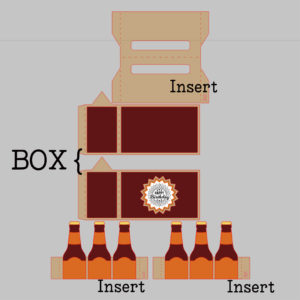
The first file shown here is the new Rainbow Box Card (SVG, Silhouette). As you can see, the pieces are grouped together so you can see which embellishment pieces go with which base pieces. The second card is the Box Card 6 Pack Bottles (SVG, Silhouette). The decorative panels are grouped with their corresponding layers here as well. Number 3 is the Mason Jar Bouquet Box Card (SVG, Silhouette). You can see the jar lids are nearby the jar piece and the flowers that go on the inserts are together with their corresponding inserts. If you need more help with the placement, I recommend printing the picture of the completed card and using that as a guide as well. Lori’s SVG files all come with a picture of the completed file. In Silhouette, you can view a larger picture in the library by clicking on the “square” below the file’s picture in your library.

When you click on it you get a larger picture of the completed card.

Once you have all of your pieces glued, it’s time to build your card.
Form the Box
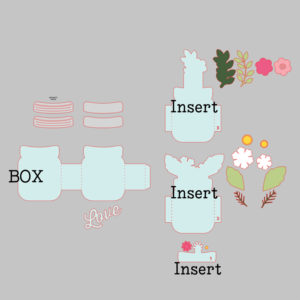
Each file comes with a piece or pieces to make a box shape that is the base of the card. Some cards have 2 pieces that make up the box, usually so you can have a larger card and remain within the cutting size restrictions of your machine (12×12). Take a look at the pictures below. I have labeled the pieces that make up the box shape and the inserts. For the rainbow file, the “box” is formed by connecting the Back, pink piece with the front clouds piece. For the 6-Pack, the “box” is the case is an actual box that holds the bottles and for the last card, the “box” is formed from the mason jars.
Regardless of the shape, they are all glued together to make a box shape. To make that box shape, glue the pieces of the box together first if there is more than one piece. Tabs go on the “inside” then fold it into a square shape, gluing together using the remaining tab.
Add Inserts
The final step in assembling a shaped box card is to add the inserts. Some shaped box cards have only one insert, some have 2-3. If the order isn’t immediately apparent, Lori has numbered the inserts. Number 1 would be inserted closest to the front, and number 3 closest to the back.
If an insert does not have “tabs” that means it is glued to the inside front of the card. For instance look at the Mason Jar Card…

On the bottom right, you see the insert labeled 1. This has no tabs, so it would be glued directly to the inside of the front of the box shape. For inserts with tabs, you simple fold all the tabs (for all inserts, you want the tabs folded in the same direction. I always fold them “back”. To add them, insert them into the box shape, making sure the insert is aligned with the box base and press the tabs to the sides of the box to secure.
That is really all it takes to assemble a shaped box card! I’ve cut and assembled the Rainbow Box Card below so you can see the steps in action.
I started by cutting my pieces (including the print and cut sentiment) and adding the embellishments to their corresponding layers.

Next I formed the box by gluing the tabs on the back most piece to the front piece with the clouds.

Once my box was formed, I folded the tabs on the inserts and added adhesive to the tabs. I like to start with the back most insert. I placed it into the “box” I formed, aligned the tabs with the bottom and against the back of the box, and pressed to secure.

I repeated that process with the last insert. Here’s a picture from top so you can see how I aligned the tabs.

That’s it! Here is the completed card.

I hope this made you want to try a shaped box card! They really are relatively simple, but make such a huge impact! That’s it for me today, thanks for stopping by to peek!

BLOG * INSTAGRAM