3D Round Cup Photo Tutorial

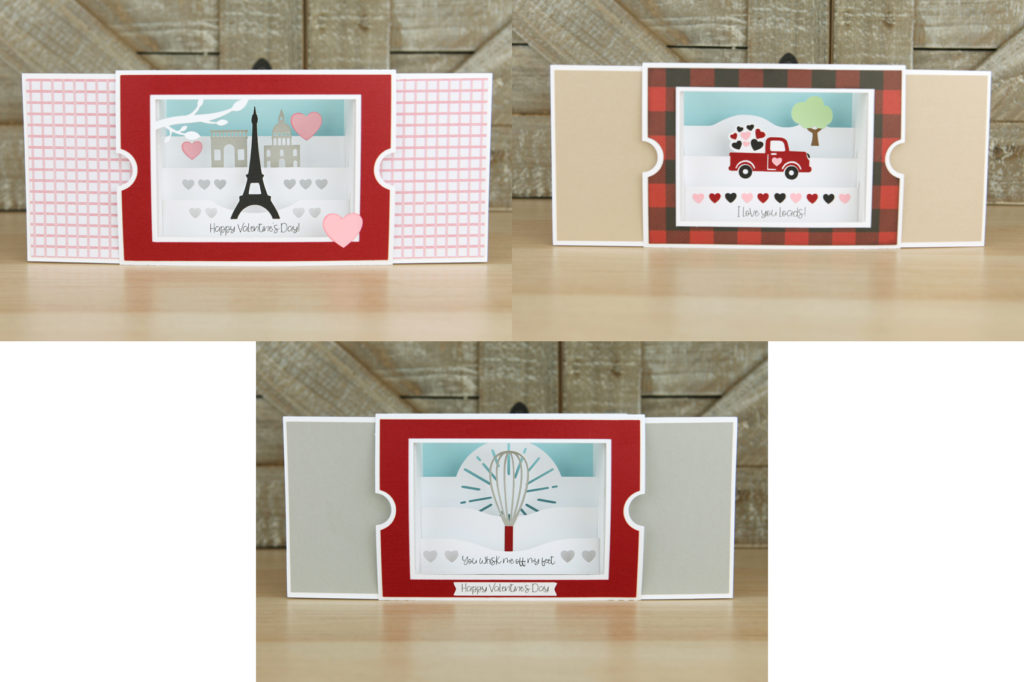
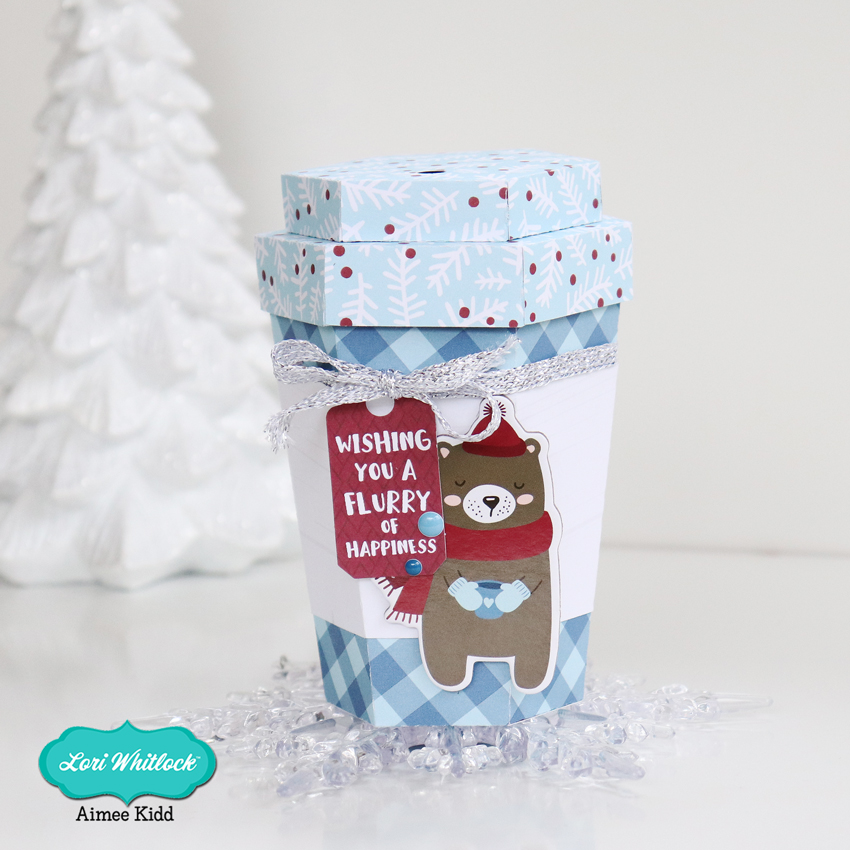
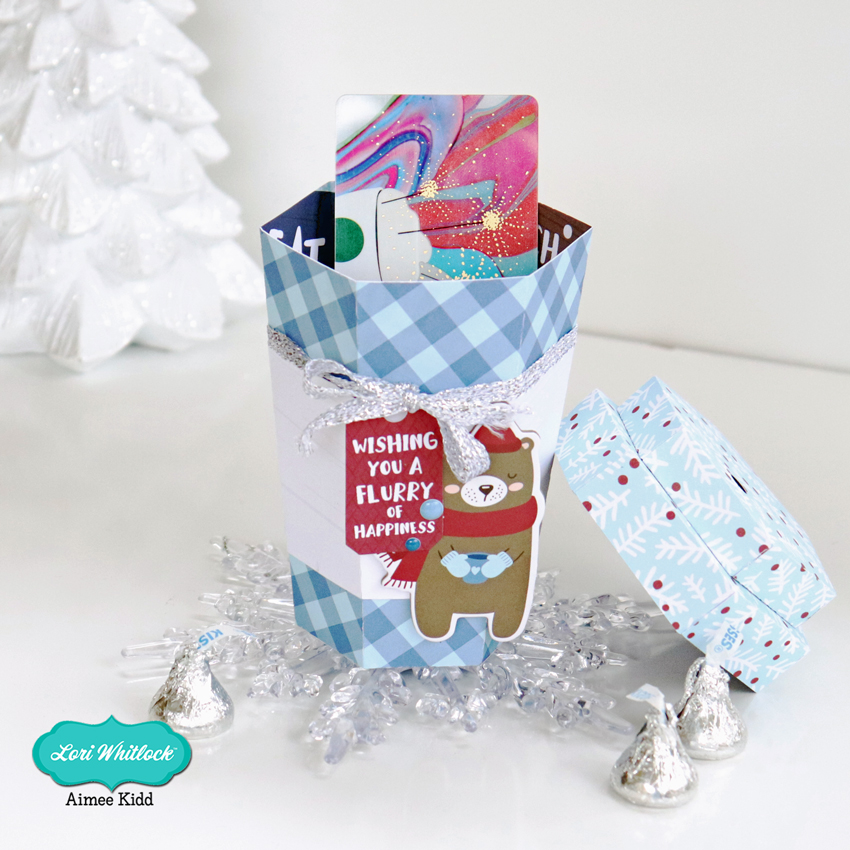
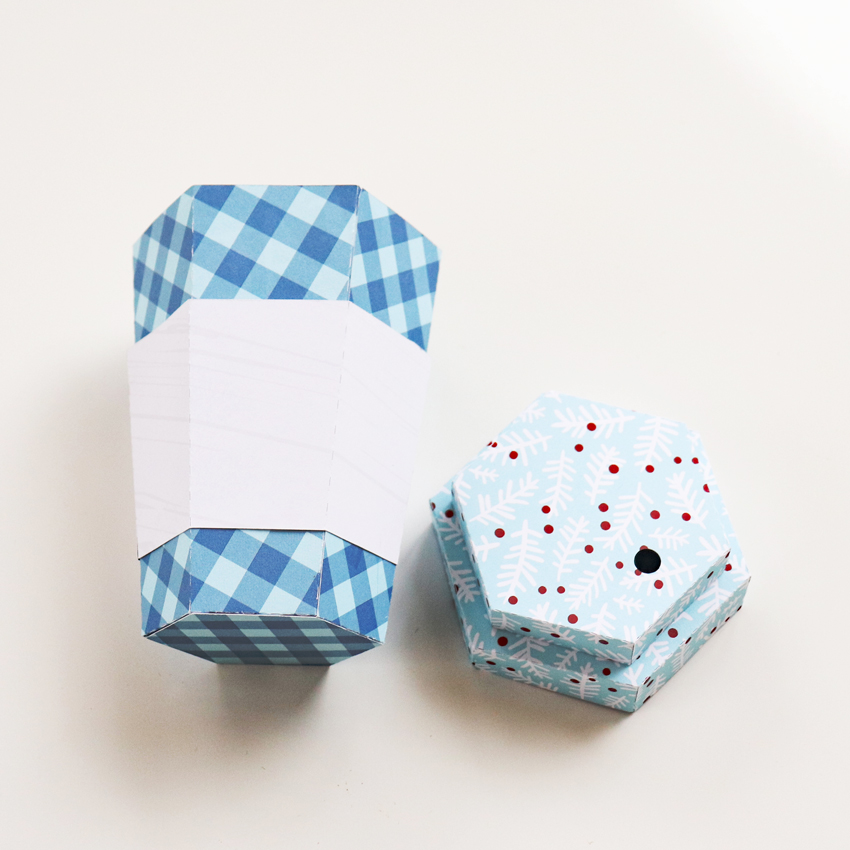
Hello crafty friends! Michelle Zerull here with you today to share a photo tutorial for a fun project that I know you’re going to love. It’s the 3D Coffee Cup Round (SVG, Silhouette) file. It’s easy to put together and can be customized for any occasion. I used the Little Lumberjack Collection from Echo Park Paper top make a cute Valentine’s box for my guy.

Instructions:

  1. Using your digital cutting machine, cut out all of the pieces included in your SVG file.
  2.  Form the large dark piece into a cone shape. To do this, train the piece to curve by using a doll rod, scissors, or bone folder. Push the tabs to the center and glue as shown. Set aside to dry.
  3. There are three pieces that form the top portion of the lid. You will be using a long piece with tabs on both sides as well as two circles the same size. One of the circles has a hole in the lid. Join the long piece into a circle by placing glue on the end tab. Hold until dry. Place glue around the edge of one of the circle pieces as shown. Add glue to tabs as shown and place circle into the center connecting the two pieces. Now fold top tabs inward and place circle with a hole on top and set aside to dry while forming the bottom portion of lid.
  4. To form the bottom portion of lid, take the remaining long piece and form a circle like you did above. Apply glue to circle and adhere as shown in photo. Now flip piece over and glue remaining circle to top as a covering piece. Allow to dry.
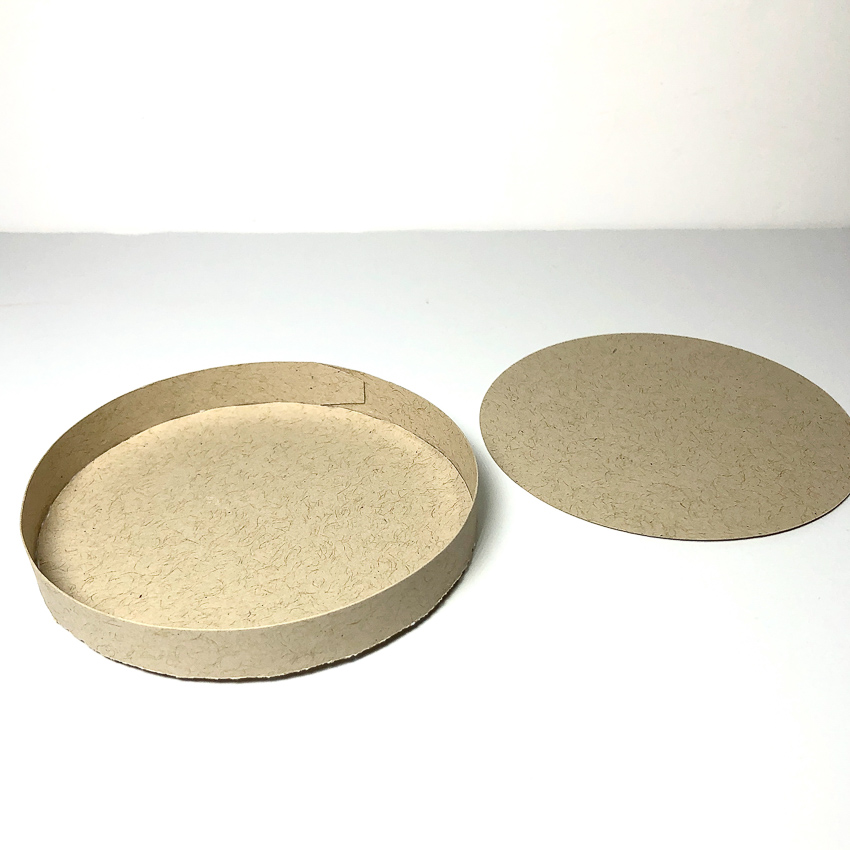
  5. When dry, combine pieces as shown to form the lid of your cup.
  6. To form the cup sleeve, train the remaining piece to curve around the cup. You can do this by using your bone folder or whatever flat surface you have handy. Glue into place and slip around cup.
  7. Your cup is finished! Embellish as desired. I hope that you’ve enjoyed this tutorial as much as I have. The 3D Coffee Cup Round will make a great addition to your SVG library. Happy crafting!


New Sliding Shadow Box Cards and a Silhouette Sale!

I have a new type of card in the shop this week!  The new Sliding Shadow Box Cards are so fun and interactive AND they fold flat (5×7) for mailing! There are 11 new styles…including 6 new valentines!

When closed, the cards lie flat.  Once you open, they become dimensional…

Here are all of the different styles released this week… I’ve included links to both my SVG Shop and the Silhouette Store.

Sliding Shadow Box Card  Baby (SVG, Silhouette)
Sliding Shadow Box Card Farm (SVG, Silhouette)
Sliding Shadow Box Card Birthday (SVG, Silhouette)
Sliding Shadow Box Card Winter (SVG, Silhouette)

Sliding Shadow Box Card  Beet(SVG, Silhouette)
Sliding Shadow Box Card Grater (SVG, Silhouette)
Sliding Shadow Box Card Gnome (SVG, Silhouette)
Sliding Shadow Box Card Flowers (SVG, Silhouette)

Sliding Shadow Box Card Paris (SVG, Silhouette)
Sliding Shadow Box Card Truck (SVG, Silhouette)
Sliding Shadow Box Card Whisk (SVG, Silhouette)

I also have a video tutorial for these cards on my YouTube Channel here.

These cards along with all my other files are on sale in my SVG Shop this week!  Use code JAN2020 at checkout to get 30% off all SVGs!

In addition, for my customers who purchase my files from Silhouette… All of my files are 40% Off in the Silhouette Store this week only!  Don’t miss out!  You can find my design Gallery here .

Have a great day!


3D Coffee Cup Tutorial

Hello crafty friends! Hope everyone had a beautiful Christmas and is settling down into Winter.  If you have a coffee-lover friend’s birthday coming up soon, this is a perfect way to give them a gift certificate to their favorite coffee store. I used the adorable 3D Coffee Cup (Lori’s SVG ShopSilhouette Design Store) and it looks even more adorable cut from the Echo Park My Favorite Winter.

Today I have a tutorial for you on how to put this little guy together! So if you’re ready let’s go!

This little cup is plenty big enough to add a gift card along with some candy. It measures just under 5 1/2″ completed which leaves you lots of room to add many goodies.

The first thing you need to do is to choose your papers and cut out all of the pieces

For the lid: fold on all of the perforated lines and adhere all of the tabs to the underside of the neighboring piece.

Add your adhesive to the tabs shown in the picture. Flip both pieces over and adhere the smaller piece in the center of the bigger piece. This will complete the lid to the coffee cup.

For the body: Fold on all perforated lines for the cup and the sleeve. Adhere the tabs to the main part of both pieces.

Next you will need to adhere the bottom piece to the tabs.

This will complete both pieces of the coffee cup. When I added the sleeve to the cup I added some adhesive to make sure it doesn’t come off.

And the last thing to do is have fun decorating your coffee cup! There are so many great pieces in the ephemera packs, chip-boards, and sticker sheet of the My Favorite Winter collection to make your coffee cup look fun and festive! I can’t wait to give this little cutie away…I know it will make someone’s day!

So that’s all from me today! Hope you give this a try and hope everyone has a beautiful day!

Aimee

Custom Tumblers and Tag

For the last couple of years, I have helped make or prepare birthday gifts for the ladies at my church.  Last year I featured a tag from Lori Whitlock. Two years ago, I made a postcard for the gifts. I am so excited about this year’s gift.  We are giving the cutest tumblers personalized with an initial.  I am using a Circle Flourish Monogram for the tumblers, and I am using a sticker from the Birthday Stickers (svg, silhouette) for the the little card tag.

To alter this sticker, I’m going to give you a few tips.  In Cricut Design Space you will first upload and open the Sticker File.  Upload as an image.

Ungroup the stickers. I deleted all the stickers I am not using from the canvas.

Now ungroup again. Select each layer and adjust color as you would like.  I wanted to also have the Happy Birthday to you be different colors.


Now select Happy Birthday and duplicate twice. Select one of the duplicated Happy Birthday, and Contour.

On this one, I am hiding all the words except for Birthday.

Select the other Happy Birthday.  On this one I hid everything except for the flourish at the bottom.

Recolor these Happy Birthday layers by choosing a color that is next to the Line type box.  Now line up all those Happy Birthday words.

Select all your layers, and click Flatten. This will make it the Print and Cut file.  Now you can print and cut on paper or sticker paper.

In Silhouette Studio Software, you will ungroup the stickers, ungroup the Happy Birthday Sticker, then Release Compound Path on the Happy Birthday Words.  Re color as needed, then select and Make Compound Path.

In the Send screen, make sure to select all the sticker parts, and Choose Cut Edge.  Now it’s ready for Print and Cut.

I hope everyone likes the gift this year.  I think they are so fun.

Gift Card Holder Tutorial

Got Gift Cards to give?  Why not personalize the gift with a fun holder?!  Lori’s Gift Card Holder (SVG, Silhouette) is an easy way to package up a gift card, and it can be decorated to suit the occasion and the recipient!  I also like that it’s a “box” and you could wrap it if you wanted.  Take a peek…

How fun is this?   You can decorate the front and then add a sentiment on the inside.  This is super easy to assemble… I’ve outlined the steps for you below…

  1.   These are the pieces that come with the file.
  2.  Start by folding the score lines on the main piece.  All lines are folded in the same direction.
  3.   The “inside” score lines are folded in and under as shown.
  4. On the solid side of the box, fold up the sides and glue in place.  Tabs go on the inside.
  5. Repeat for the tabs and sides on the other end.
  6. Add adhesive to the inside tabs.
  7. Fold the box over so that it closes.  Glue sides down.
  8. Tuck the inside tabs “in” and press to adhere.
  9. Fold the cover along the score line and add adhesive to the inside of the tab.
  10. Glue the tab to the outside edge of the box so that when folded over it covers the gift card insert area.
  11. Add the panels to the inside cover and on the front of the cover. (for mine, I flipped one of the pieces to be blue)

Now all that is left is to decorate!  I added some embellishments from Lori’s My Favorite Winter Collection for Echo Park Paper.  That’s it for me today, thanks for stopping by to peek!

BLOG * INSTAGRAM