How are you today? Around the world this week, most of us are working and/or staying at home. Guess what, crafters? It is time to use your stash! All those items you have been saving–this is it. This is the time to use it!! Lori recently released these fun Iris Cards. She has 2 video tutorials to help you make them. This video is the first with paper only, and this tutorial uses mini brads. The cards are available in the Silhouette Design Store individually and in Lori’s SVG Shop individually and in Bundles.
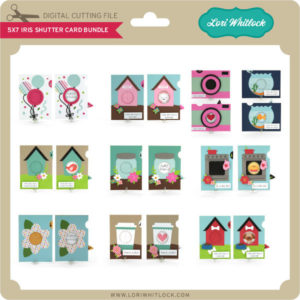
5×7 Iris Shutter Card Bundle
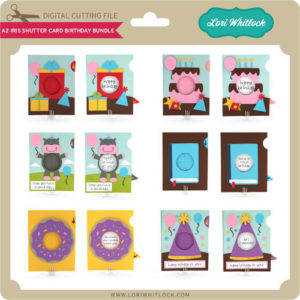
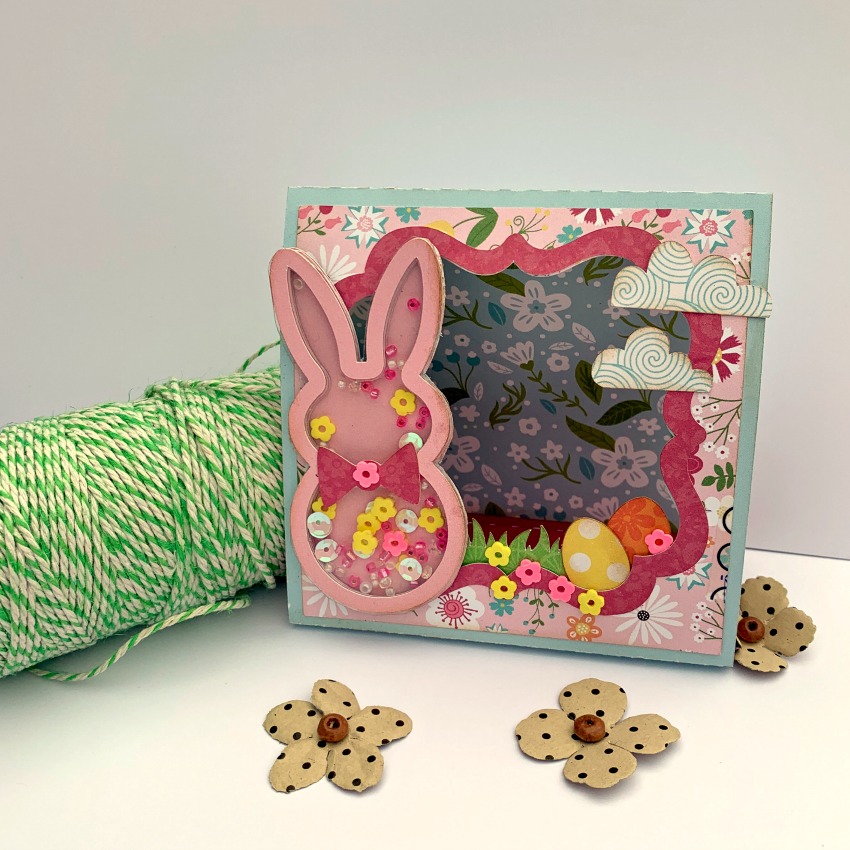
A2 Iris Shutter Card Birthday Bundle
I have made several of these cards, and I just love them. I’m going to inspire you today with ways you can personalize them.

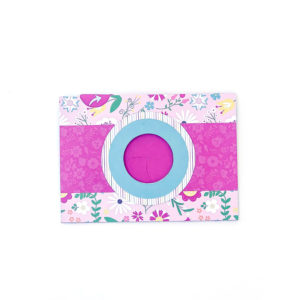
5×7 Iris Shutter Card Camera: SVG, Silhouette
For this Camera Card, I though it would be so cute to add a picture. Have you heard of the front porch project? Photographers that are participating, stop at your house, and take pics of you while staying at least 6 feet away. This would be a great way to send a pic to a loved one. To do this in Cricut Design Space:
1. Open the Camera Card File
2. Ungroup the card pieces
3. Draw a circle that is 2.36″ using the shapes tool.
4. Upload a photo, and select your preferred image type option, click continue then save as print then cut image. Insert this image onto the mat with your circle.
5. Resize your photo to fit the 2.36 circle.

6. Layer the circle on top of the photo. Make sure the circle doesn’t hang off any edge of the picture.

7. Select both the photo and circle, right mouse click and select slice.
8. Delete the part of the picture you don’t need as well as the circle you drew.

9. Layer the photo over the heart and starburst on the card base. Once it is lined up, delete the heart and starburst.
10. Select the photo circle and the rectangular white card, and select flatten.

11. Don’t forget to flatten the sentiments as well.
Now print then cut your photo and sentiments and cut all the other pieces of the card to assemble.
Here are some of the other iris cards that I have made:
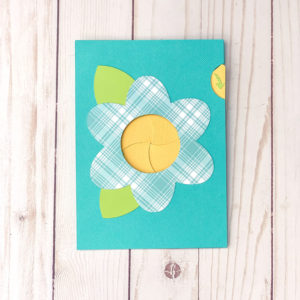
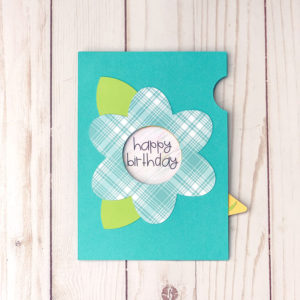
5×7 Iris Shutter Card Flower SVG, Silhouette
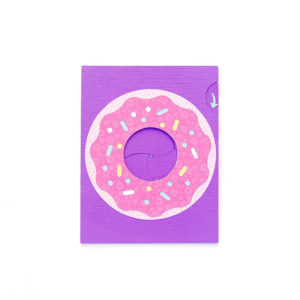
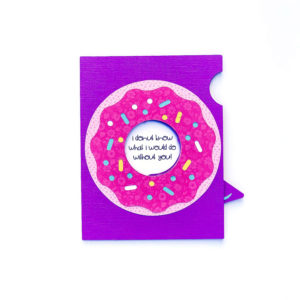
A2 Iris Shutter Card Birthday Donut SVG, Silhouette
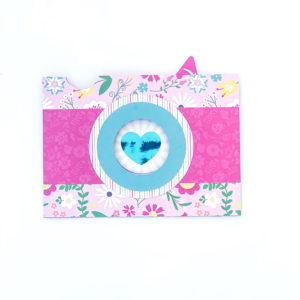
5×7 Iris Shutter Card Camera: SVG, Silhouette
This one has a foiled heart. I changed the red heart to black before I printed with my laser printer, then foiled it. These cards are so fun. Personalize them, and send them off.
Enjoy crafting!
Ashley