Changing up Sentiments

Hello crafty friends! Aimee here with you today and I wanted to share a little tip with you on changing the sentiments on your Lori Whitlock SVGs that have special print and cut messages. The original message may say Happy Mother’s Day but you can change them to fit any occasion you need such as birthday, Thank You, I miss you, or Congrats!

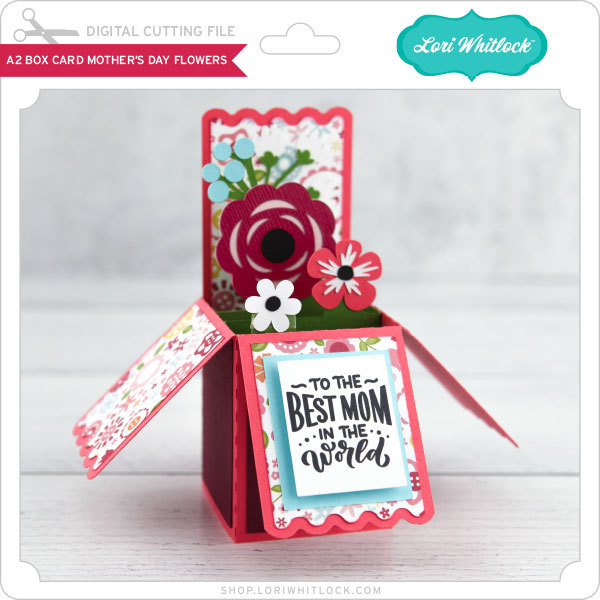
For the card itself, I used the A2 Box Card Mother’s Day Flowers file (Lori’s ShopSilhouette).

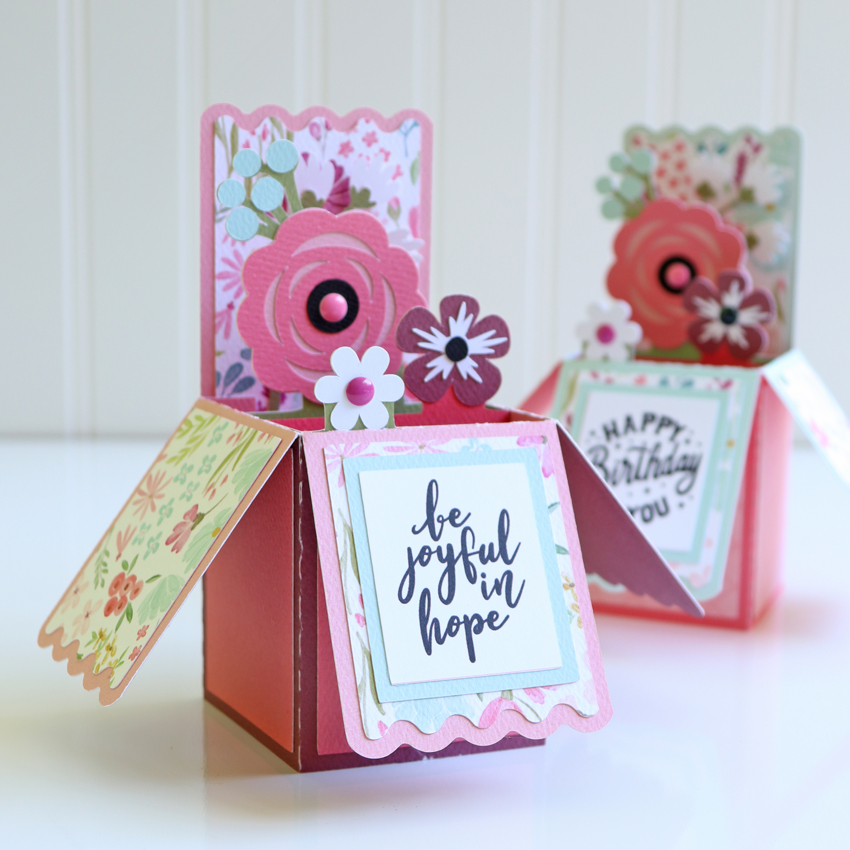
I used the Joyful In Hope sentiment (Lori’s ShopSilhouette)  for one of my box cards and

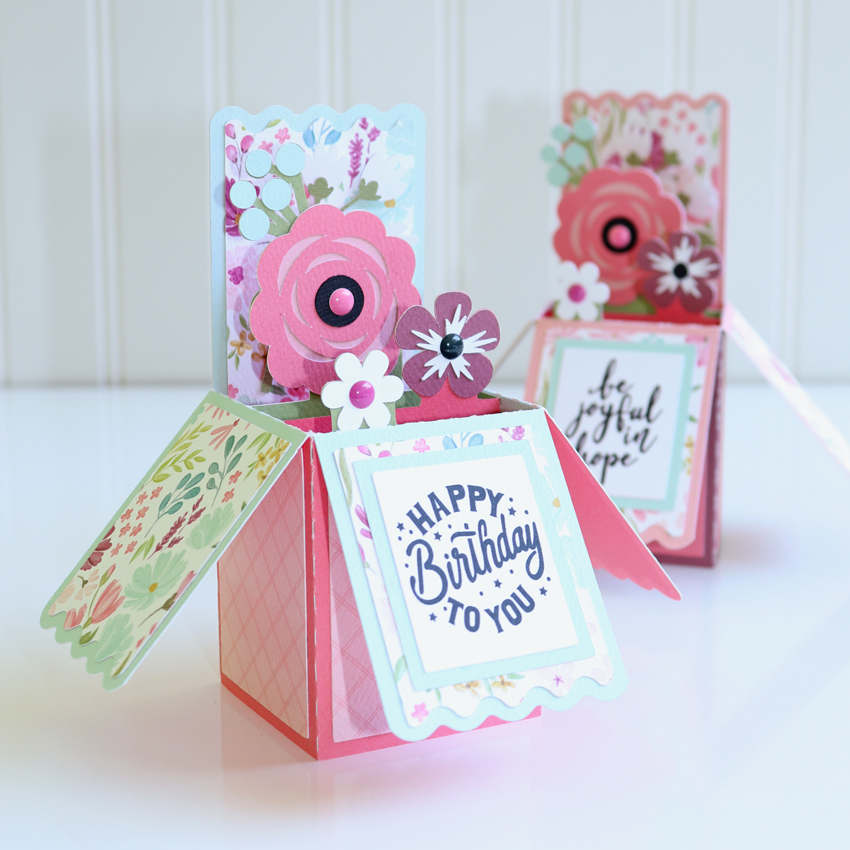
the sentiment from the Double Slider Card Birthday Balloons (Lori’s ShopSilhouette).

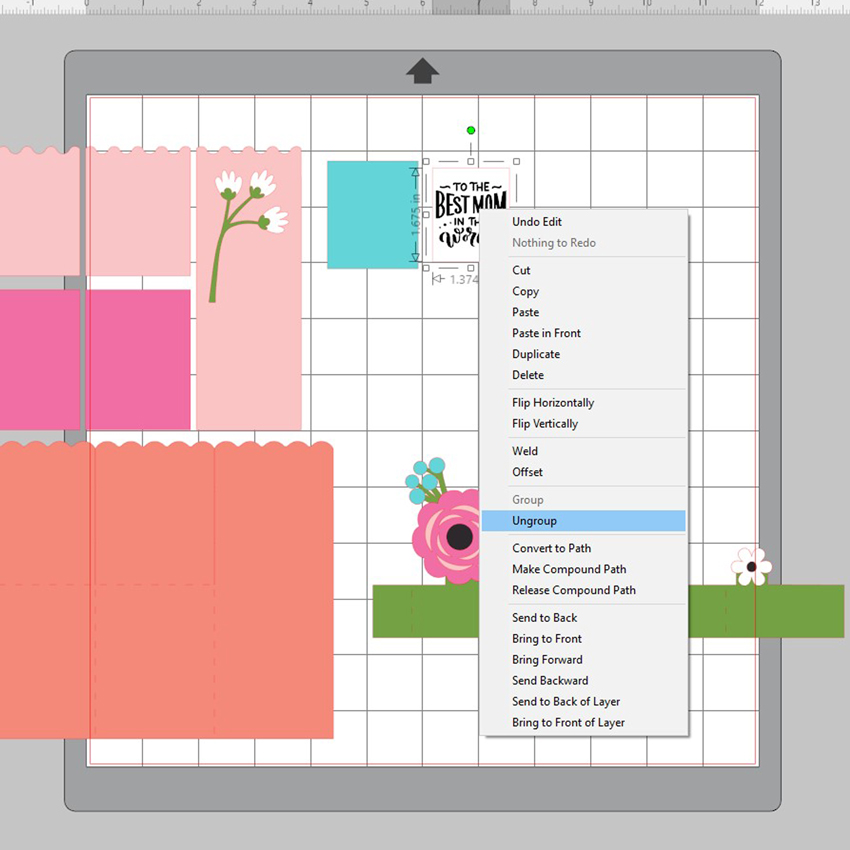
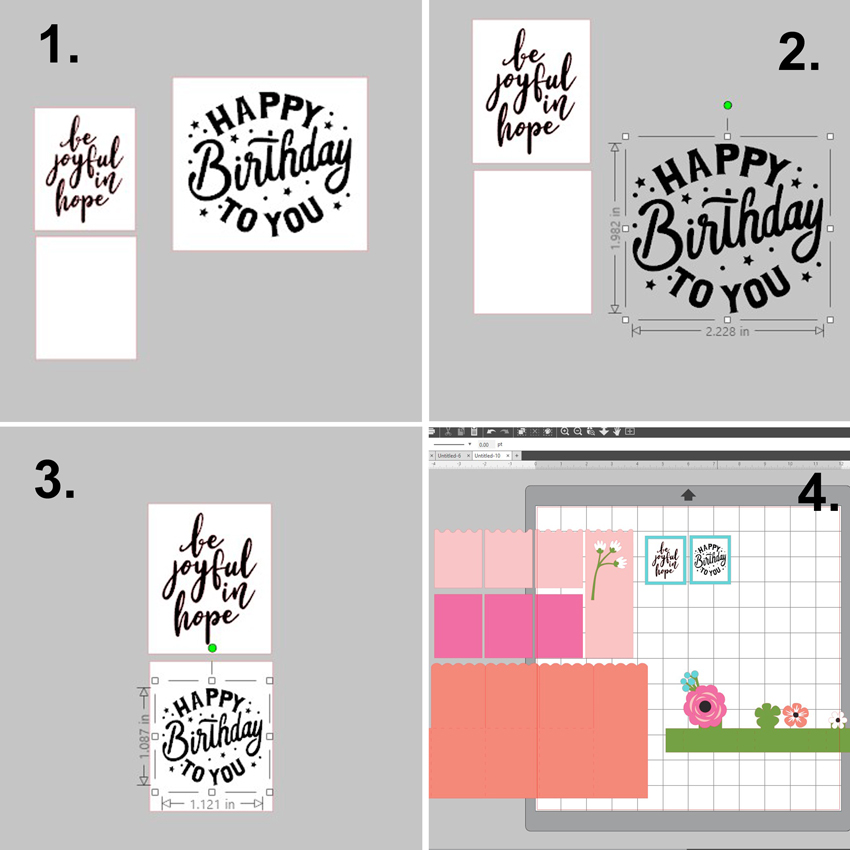
It’s very simple to do. Just open up your file, ungroup the message from its background box, and delete the original message.

1. Duplicate the background box found in the file you intent to use. Import the sentiments you want to use.
2. Ungroup the new message and delete its background box.
3. Move the new message over to the other background box and resize it to fit.
4. Now you have your boxes ready. All you need to do now is print and cut, and then adhere to your project.
Hope everyone is staying happy, healthy and crafty! Thanks for stopping by today!
Aimee

Mother’s Day Explosion Box Teacup Tutorial


Hi Everyone:

Anita here with a tutorial for Lori’s Explosion Box Teacup for Mother’s Day.  You can find this file here in Lori’s SVG shop and here in the Silhouette Design store.  I used Lori’s new Echo Park collection called All Girl.  This card makes such a stunning statement and Lori has several other explosion box designs as well.

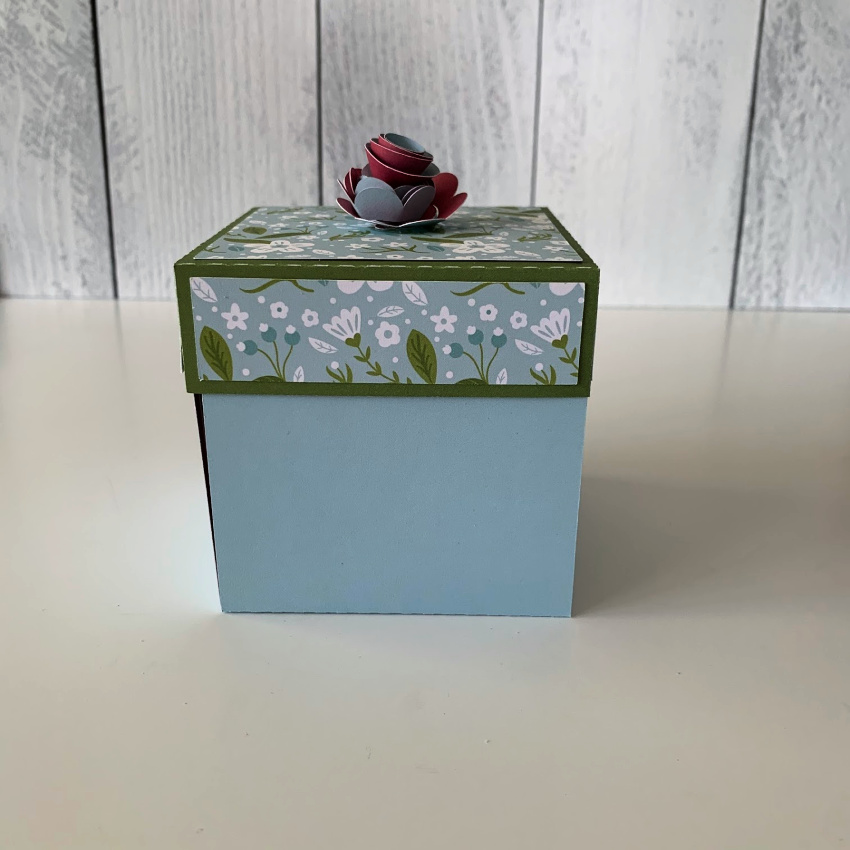
I made extra flowers and used two to put on top of my box.

Here is a photo of the box when it has exploded open.  It’s just so pretty.

Here are the pieces that I cut out.  I ended up cutting out extra flowers and cut two more extra square panels, one I put under the tea cup and one in the box lid.

I put the inside of the box together and the cover as well.  I would recommend that if you are planning to put gift cards in the pockets that you put the card in and then put the pocket where you need it to be so that it will close nicely.  I popped  up the hearts and the messages for Mom.

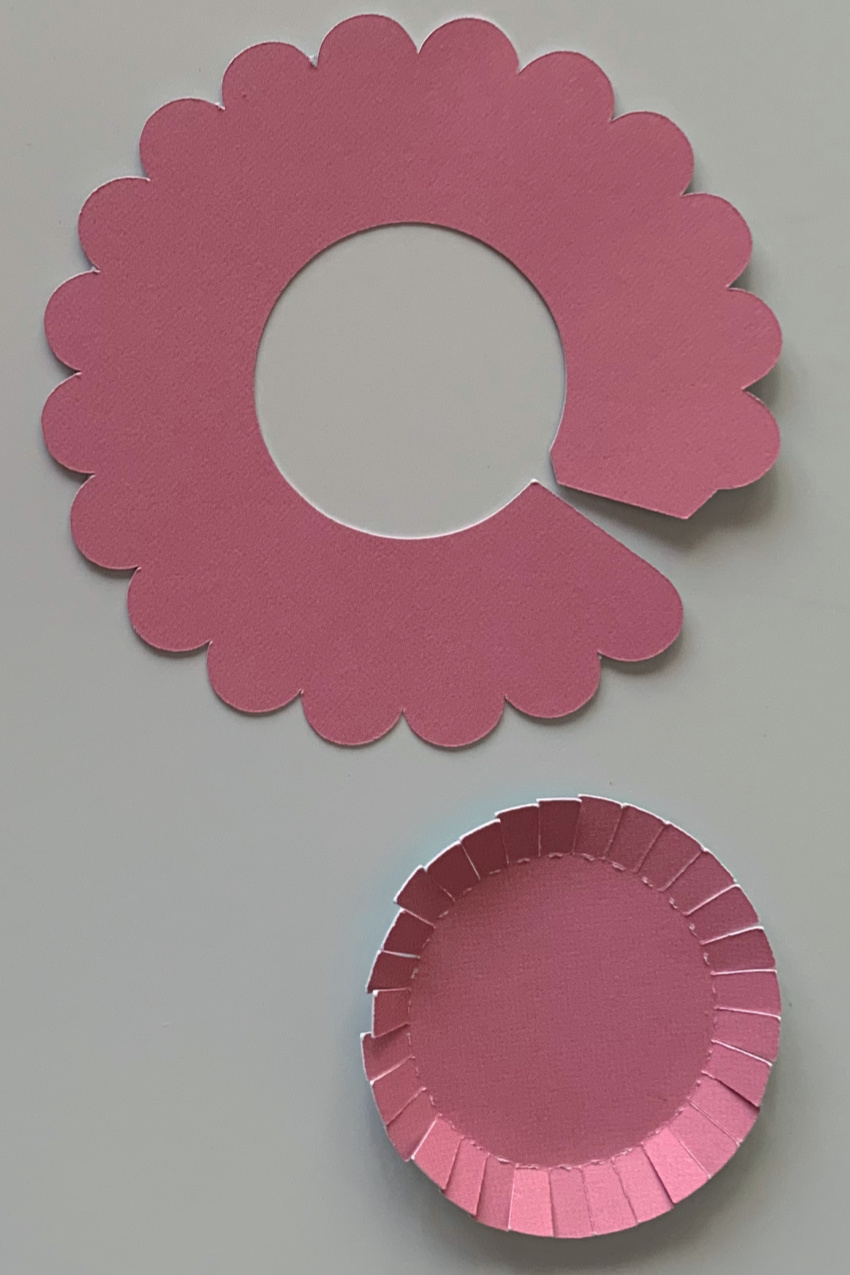
These are the pieces for the saucer for the teacup.

These are the pieces for the teacup itself.

These are the handle pieces for the teacup.

Starting at the top left I took photos of the process of putting together the teacup.  There is a tab on one end of the cup piece and you glue just up to the tab.  I used wet glue for the best hold.  I then took the smaller perforated circle and glued it inside the bottom of the teacup.  Next, I glued on the handle to the teacup.  Bending both tabs and using wet glue again for the best hold.  Similarly there is a tab on one end of the saucer which you need to glue together.  Then I attached the larger perforated circle to the bottom of the saucer.   Once everything was good and dry I glued the teacup to the center of the saucer.

I then set about to rolling my flowers.  I just love doing this and had fun.  There are so many different ways to roll the flowers.  I have photos where I started rolling one flower with a skewer to get it going in a round shape and another one where I used a flower roller which I bought a long time ago.  My fellow Creative Team member, Corri Garza has a tutorial and how she rolls her flowers that is on Lori’s Blog and can be found here.  I used leftover Easter grass to fill my cup so that the flowers would stay in. You could also add a small styrofoam ball in the bottom and attach the flowers to it.   Thank you so much for looking and have a great day. Happy Mother’s Day to all the Mothers out there and very special wishes to a certain mom to be.

Hugs,

Anita

Hexagon Box with Dahlia Tutorial

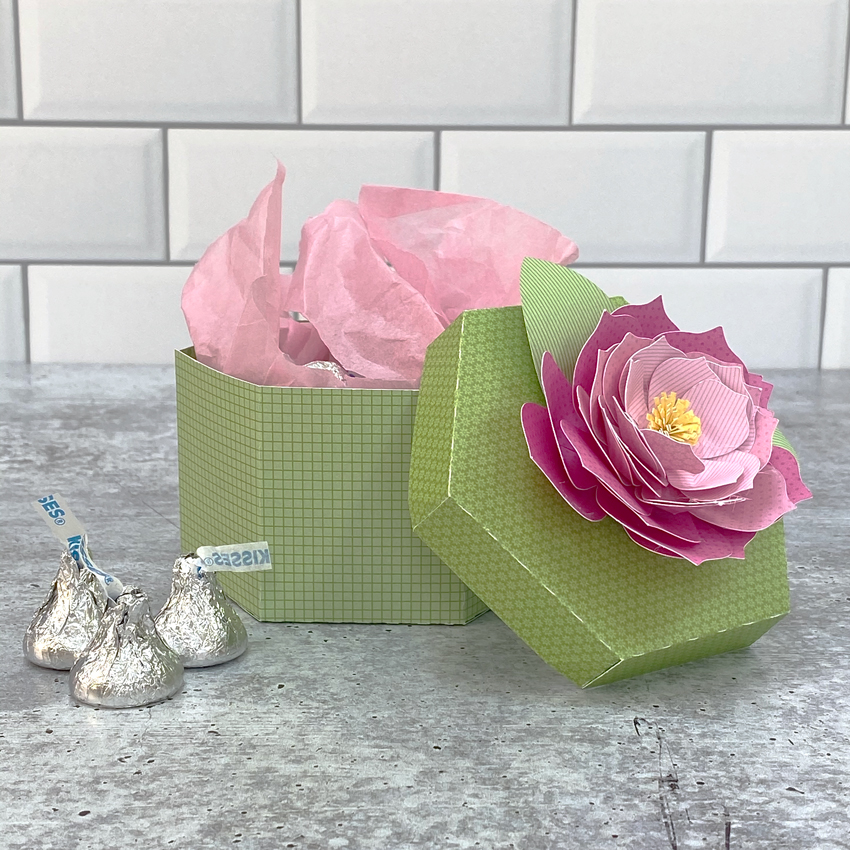
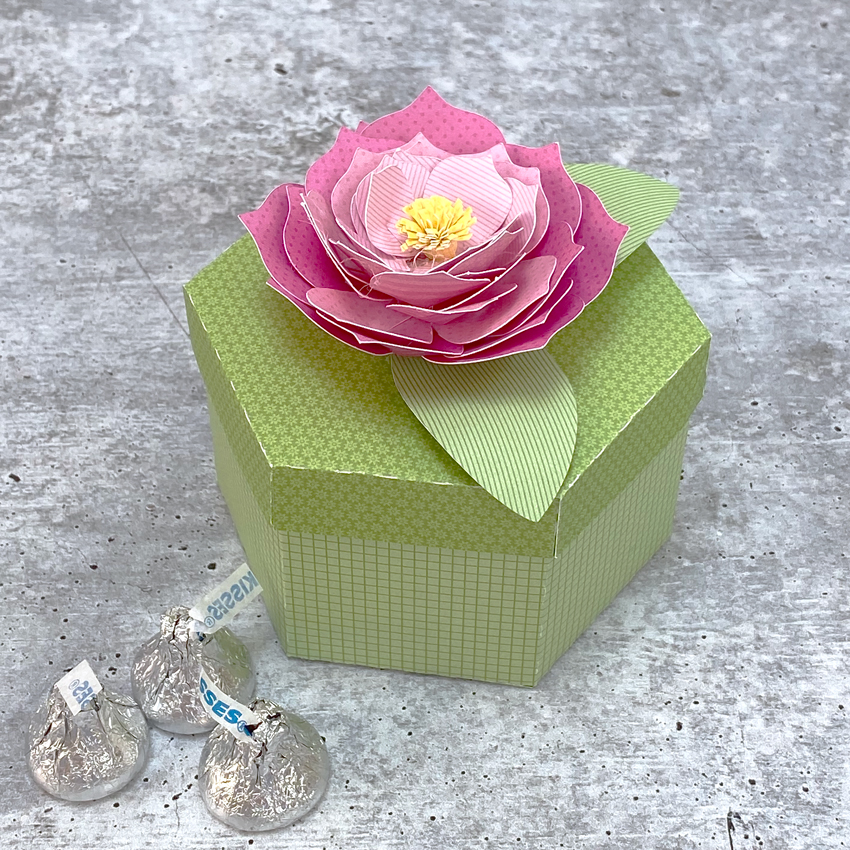
Hi Everyone!  Have you seen the new Hexagon Box with Dahlia (SVG, Silhouette) ?  It’s the perfect size for a little treat or gift!  It would be a great way to package up a Mother’s Day gift or a little something for someone special!  Take a peek…

I put together a tutorial showing how to assemble the Dahlia flower.  It takes a little patience, but the results are well worth it!  You can also use this tutorial to assemble the flowers for the Rectangle Box Dahlia (SVG, Silhouette).

  1. The flowers are made up of 12 pieces (6 halves).  Start by curling the petals back on each of the halves.  I used the handle of my spatula, but you could use a pencil or dowel.
  2. There are splits at the bottom of each petal (3 total per half)  For each petal, cross the splits over eachother slighly and glue.  I used hot glue, it made the process go much faster.  You can use regular glue, just make sure to hold the splits in place until they dry.
  3. Overlap and glue the two sides of each flower layer together.  This does not need to be done perfectly, just try to make them relatively even.
  4. Do this for each of the flower layers (6 total).
  5. Stack the layers, largest on the bottom to smallest on top, gluing between the layers.
  6. For the flower center, roll the strip as shown.  Glue the end to hold it in a rolled shape.
  7. Using your fingers, “fluff” out the top strips.
  8. Glue into center of the stacked petals.
  9. Curl the leaves back using a dowel or pencil.  Overlap the split ends and glue.
  10. Glue leaves to bottom of the stacked flower.
  11. For the box base:  Fold all of the score lines in the same direction.  Form the hexagon box gluing the tabs to the bottom piece all around.  Glue the side tab to complete the box.
  12. For the cover, fold the score lines all in the same direction.  Connect the sides of the cover by gluing the triangular tabs as shown.

Finish the box by gluing the dahlia to the top of the box.

All that is left is to fill the box with a little something! The dahlia does take a little patience, but the results are SO worth it!  That’s it for me today, thanks for stopping by to peek!

BLOG * INSTAGRAM

Fresh Cut Flower Box Cards

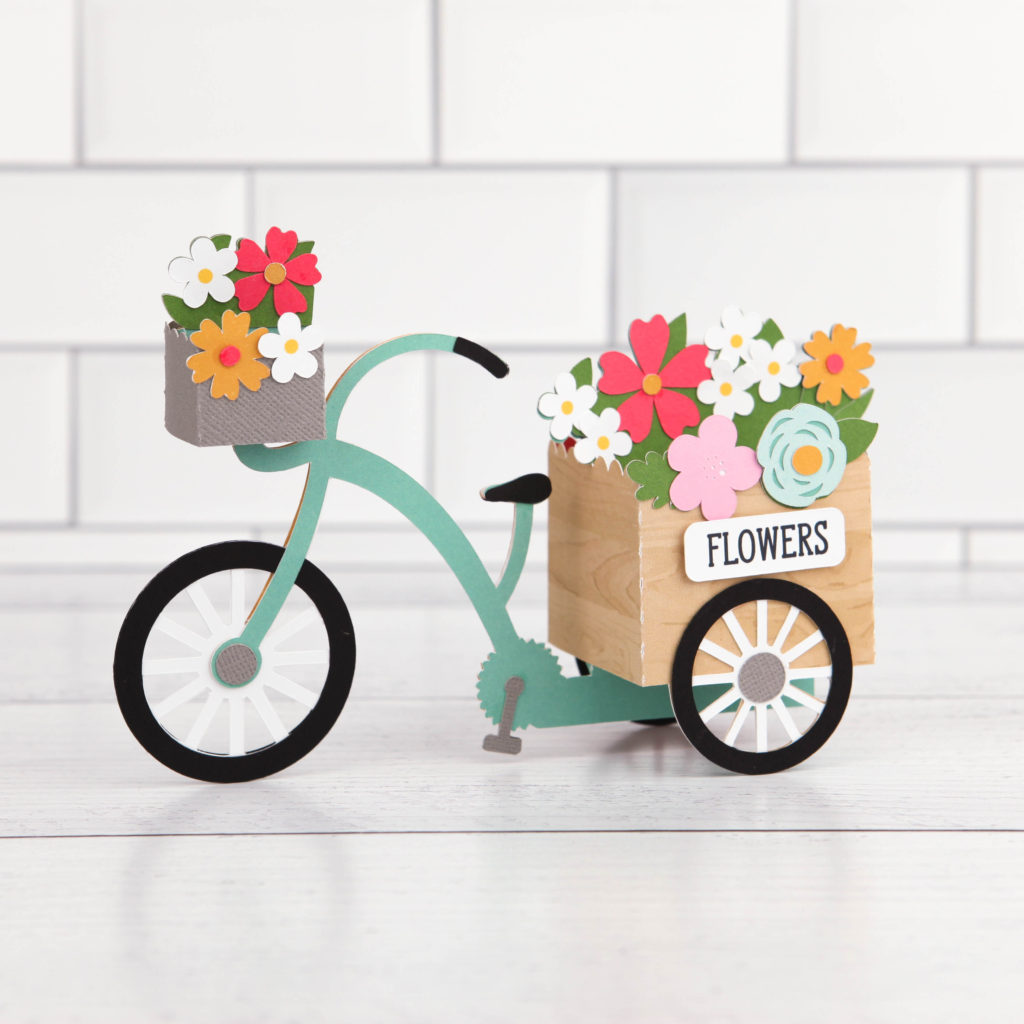
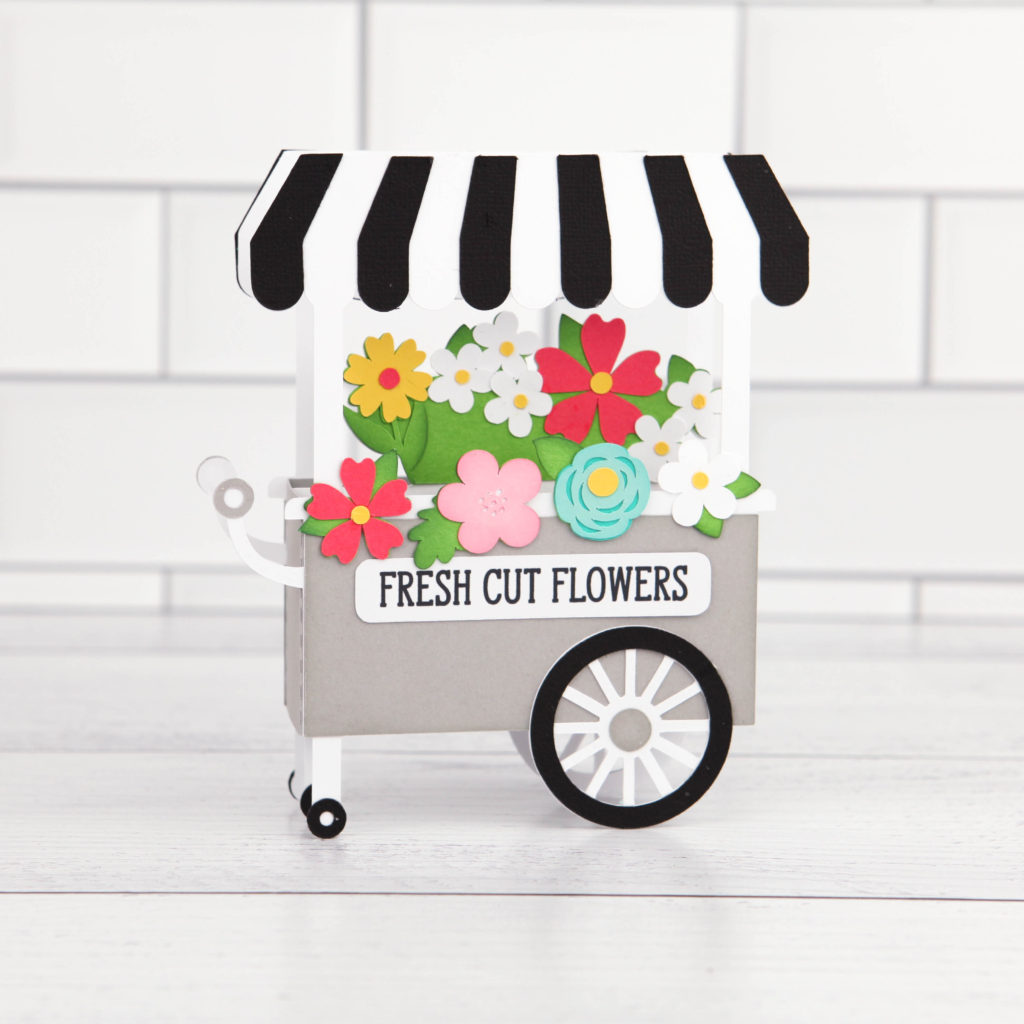
I have two new shaped box cards in my shop this week… they would both be perfect for Mother’s Day!  The new Box Card Fresh Cut Flower Bundle includes these two beauiful cards which are also sold individually in my SVG Shop and the Silhouette Store.

Box Card Flower Tricycle (SVG, Silhouette)

Box Card Flower Cart (SVG, Silhouette )

I  have an assembly tutorial for the Tricycle Card here.

For the Flower Box Card, this Shaped Box Card tutorial gives general assembly instructions for my shaped box cards and will help you to piece it together.

Have a great day!

Accordion Mini-Album with Gusset

Hi there paper crafting friends!  It’s Michelle Starcher, aka the Bookish Designer, popping in on the blog to show you how to create the Accordion Mini-Album with Gusset (SVG, Silhouette)  I used one of  Lori’s newest collections from Echo Park Paper, All Boy, to make this mini-album.   This set is loaded with boyish graphics and sayings, along with a primary color pallet. I used the sports themed papers and stickers from the collection to create the mini-album.

To build the Accordion Mini-Album with Gusset, follow these steps…

Once you have all of the pieces cut, you are ready to assemble the mini-album.  I started with the cover since it was the most straightforward part of building the album. I used double-sided colored cardstock from the All Boy collection for the cover’s base, so I had to decide between orange and navy for the outside cover.  I decided to go with the navy and distressed the edges with a nail file to give the cover more boyish grit.  If you decide to distress the cover of your album, I suggest only sanding the outside edges and not the folds.  When applying the second layer of paper to the cover, be sure to check for the correct orientation, especially if you are using patterned paper.  When the cover is laid out flat, the cover’s flap (orange) should be on the left side as pictured.  Once you are sure you have the correct layout, go ahead and adhere the second layer to the cover.

Next, you are ready to start assembling the inside pieces.  I used three different double-sided patterned papers, so I wanted to make sure I had the correct orientation.  I did a preliminary fold of the pieces using the score lines.  Then I laid out the pieces to see how they would connect.  Of the three pieces, only one doesn’t have a tab and is shorter than the others.  I started with that piece, and connected the other two using the “provided” tabs.  To make sure I had everything connected the way I wanted it, I used paperclips to hold the pieces together.  This allowed me test the connection, layout, and orientation without making anything permanent.

Once I was certain I had the layout of the accordion pieces correctly placed, I used adhesive tape to connect the three pieces.  Next, I added adhesive tape to the bottom layer that would connect the accordion pages to the cover of the mini-album.  At this point, I didn’t actually tape the accordion pages to the cover, but I wanted to make sure I didn’t add pictures/decorate the section that would connect the entire album.  Also, this gave me a chance to make sure I had the right orientation for the inside pages before make the actual connection.  Then, I folded the pages back and forth using the score lines to create the up and down motion of the pages pictured.  I tucked everything inside the front cover and closed it to test the orientation once again.  At this step, I still didn’t connect the inside pages to the cover.  (If you are using solid colored paper, the orientation won’t really matter.  However, all of the patterned papers I used in the album had a specific top and bottom, and I didn’t want to mess up!)

I decided to go ahead and decorate the inside pages before connecting them to the album cover.  To do this, I laid out the accordion and decorated/added photos to each section on one side.  Then I flipped it over and repeated the process.  (Checking for orientation along the way!) Once I was done with the inside pages, I was ready to make the final connection and actually adhere the inside accordion pages to the cover.  This is what the pages look like when connected to the cover from both sides.

I love adding extra dimension to my projects, so I used pop-dots to give some of the elements a little more height.   Thankfully, the pages are designed to allow for extra height and still fold neatly inside the cover.  To hold the cover closed, you can tie a ribbon around the album or use velcro or another type of connector.  I hope that you’ve enjoyed this tutorial as much as I have.  The Accordion Mini-Album with Gusset (SVG, Silhouette) will make a great addition to your SVG library. Happy crafting!