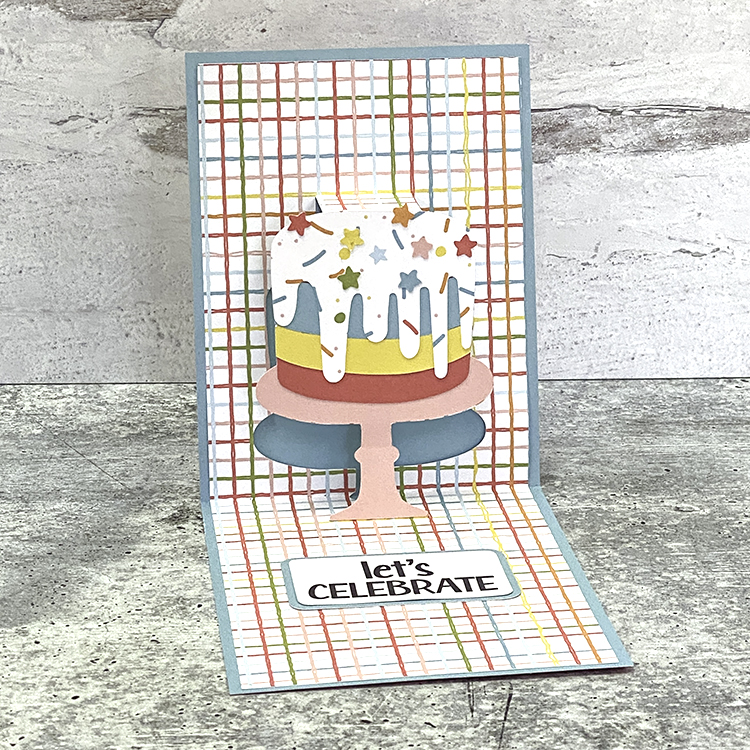
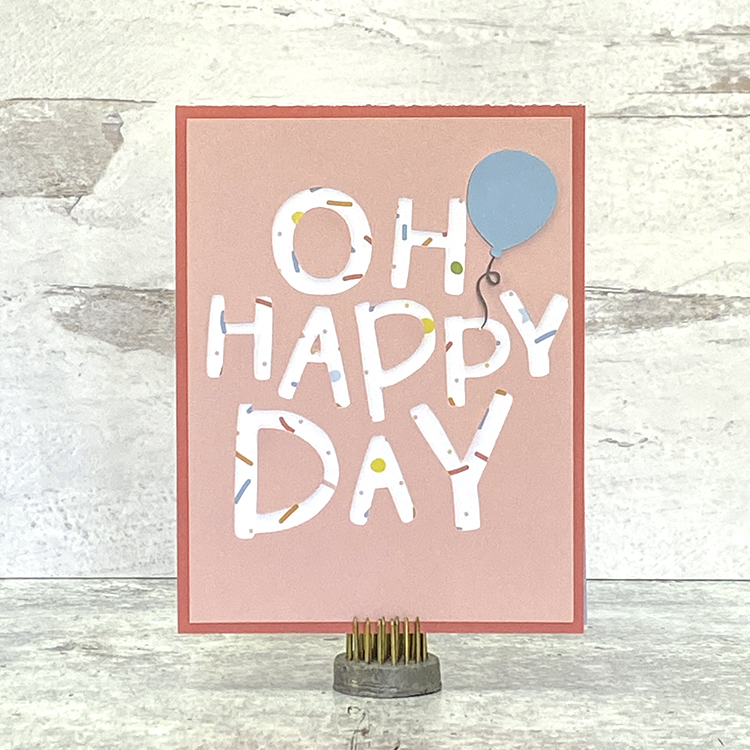
Hi Everyone! It’s Kathy today with one of Lori’s fun new cards from the Awesome Birthday Card Bundle. This Happy Birthday Pop Up Cake Card 2 (SVG, Silhouette) is such a fun card, and really easy to put together. I put my version together with Echo Park Paper’s new Birthday Girl Collection, take a peek…
And the outside is just as cute!
I put together some easy instructions for this card below….
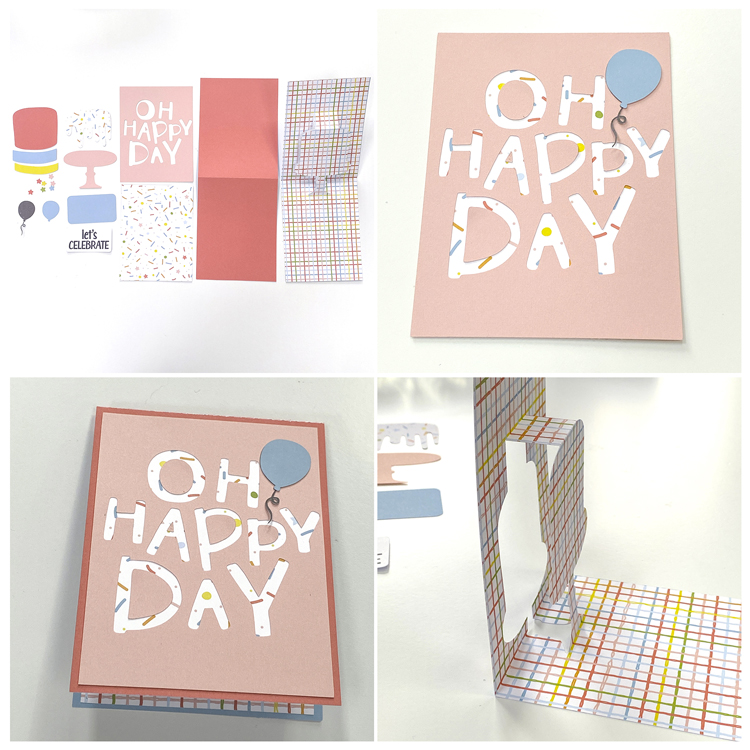
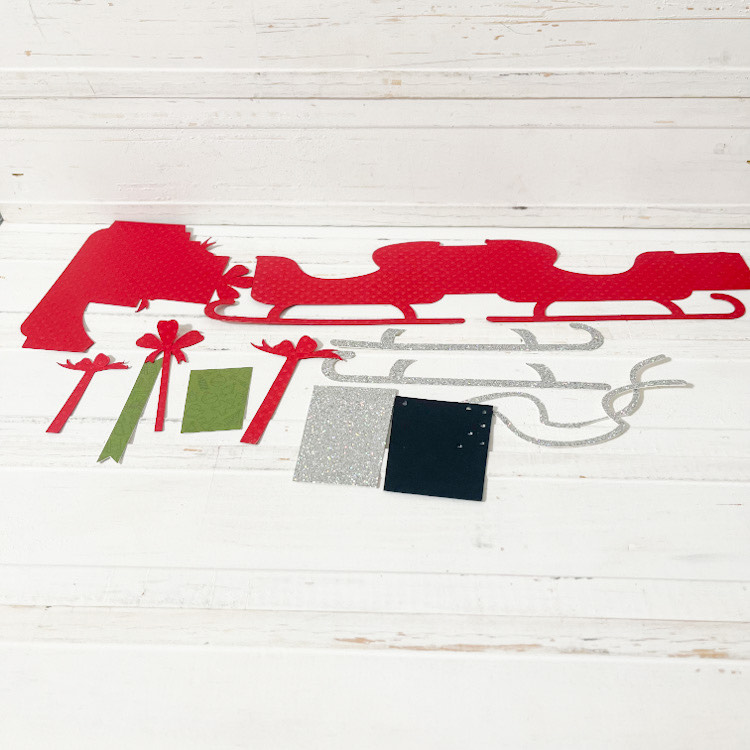
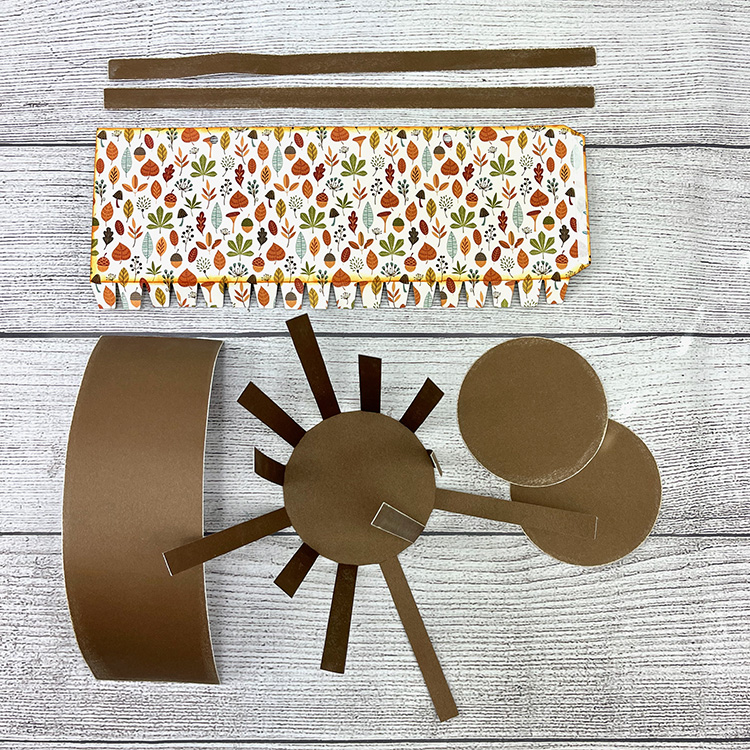
I started by cutting all of my pieces. I also print and cut the sentiment piece. Note that I did save the “inside pieces” of the letters on the Oh Happy Day piece so that I could add them to the card.
Next I assembled the front pieces of the card. Layer the words panel over the background piece. Add the insides of the letters and the balloon
Add the completed front to the front of the main card base.
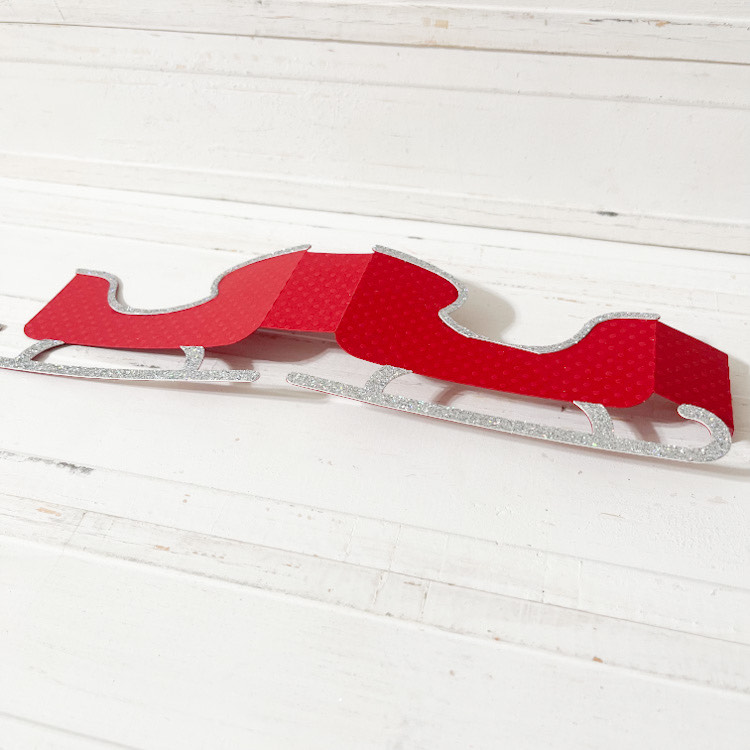
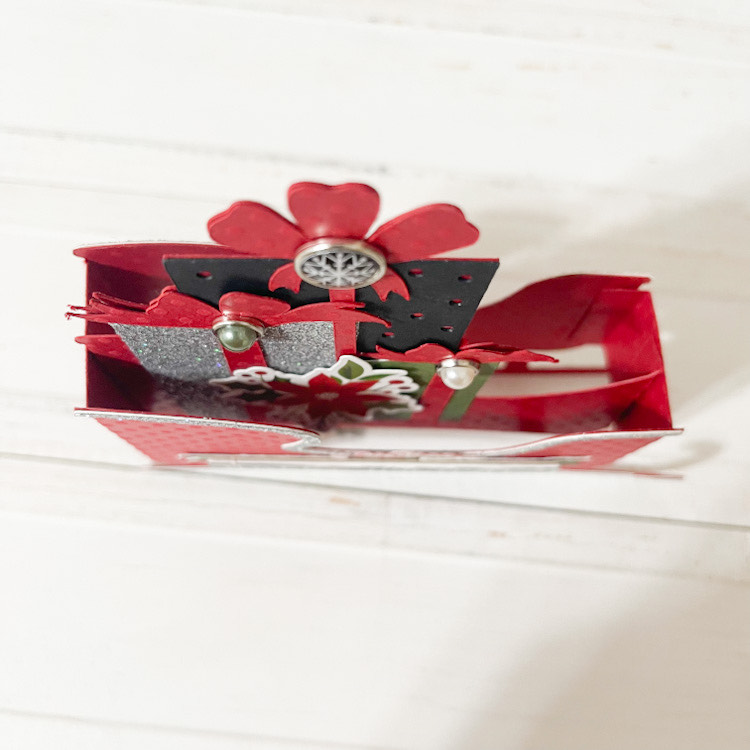
Next, I folded the pop out insert along the score lines so that the cake “pops out” when the card is opened. Here is a side view so you can see how I folded it.
I added another view of the folds.
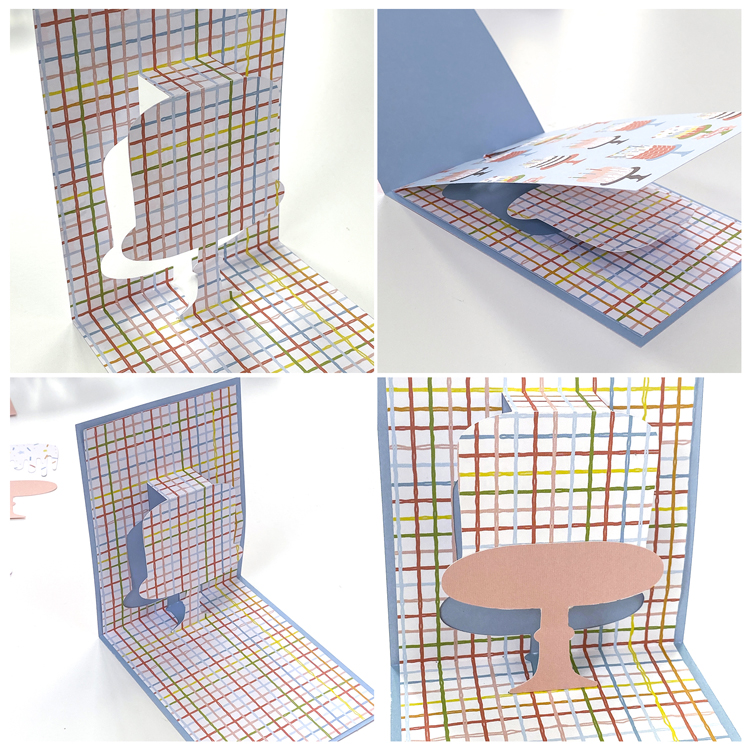
To add the insert to the inside of the inside of the card, I added adhesive to the “top” or cake side of the insert. Do not add any adhesive to the part that pops out (the cake) Fold the insert along the center score line and align and center the fold of the insert with the inside crease of the card base. Press down to secure the first side.
Add adhesive to the remaining side and fold the whole card over and press to secure. Note: Make sure the outside front of the card is on the same side as the cake so it opens correctly
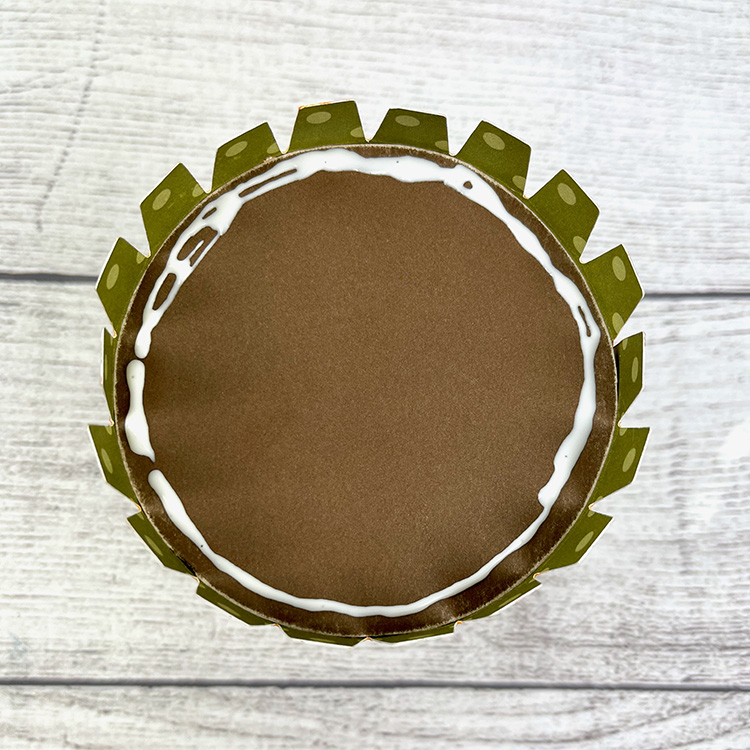
Once the insert was added, I glued cake stand and pieces to the pop out part of the card. I started with the base.
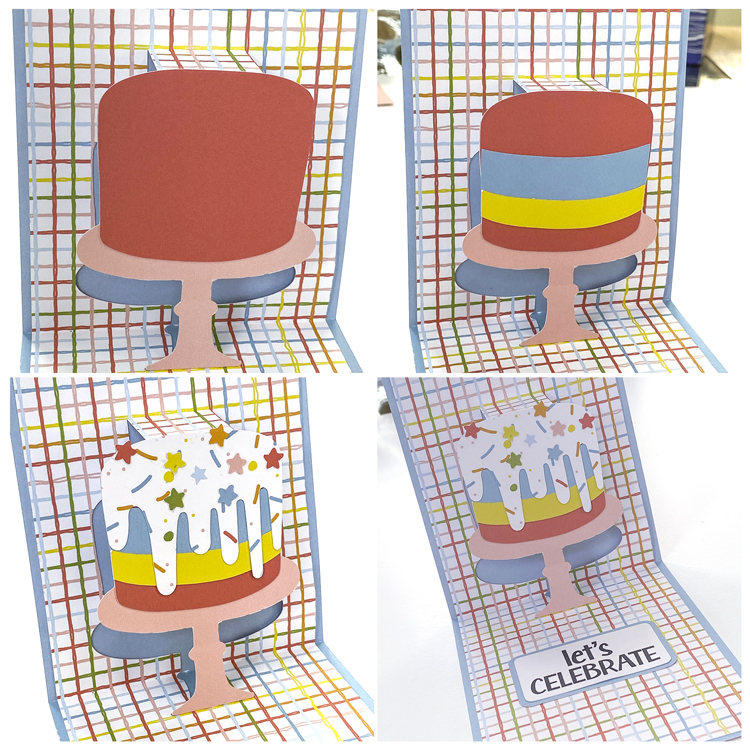
Next, I glued the cake on the base, added the stripes to the cake and lastly the frosting and stars. To complete, I added my sentiment.
Check out all of the fun cards in the Awesome Birthday Card Bundle, there is something for just about everyone on your list! That’s it for me today, thanks for stopping by to peek!