Happy Thursday my crafty friends. When I saw this cute little chicken card, the A2 Shaped Box Card Chicken, (SVG) it reminded me of soup, and since everyone around me is currently sick with some cootie or another I thought this would be the perfect little project.
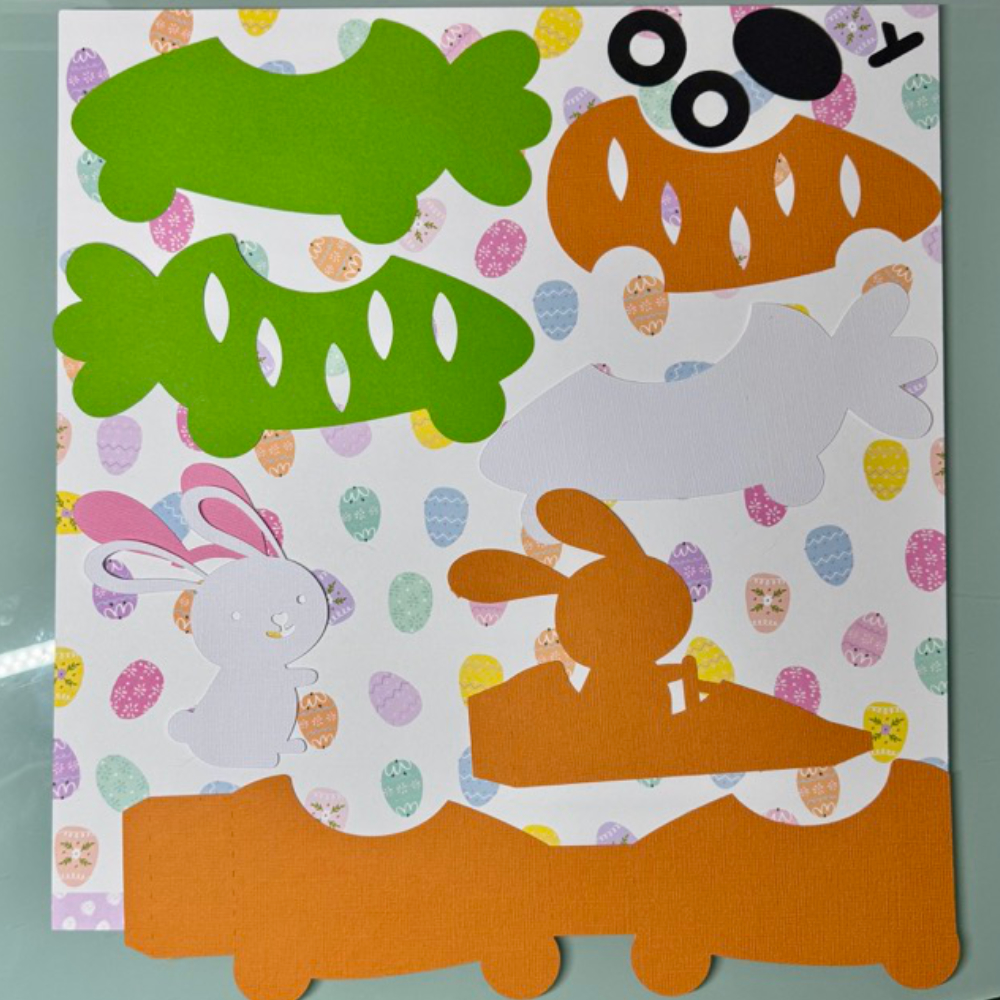
First cut all your pieces. As always I have my Cricut write my words on the tag.

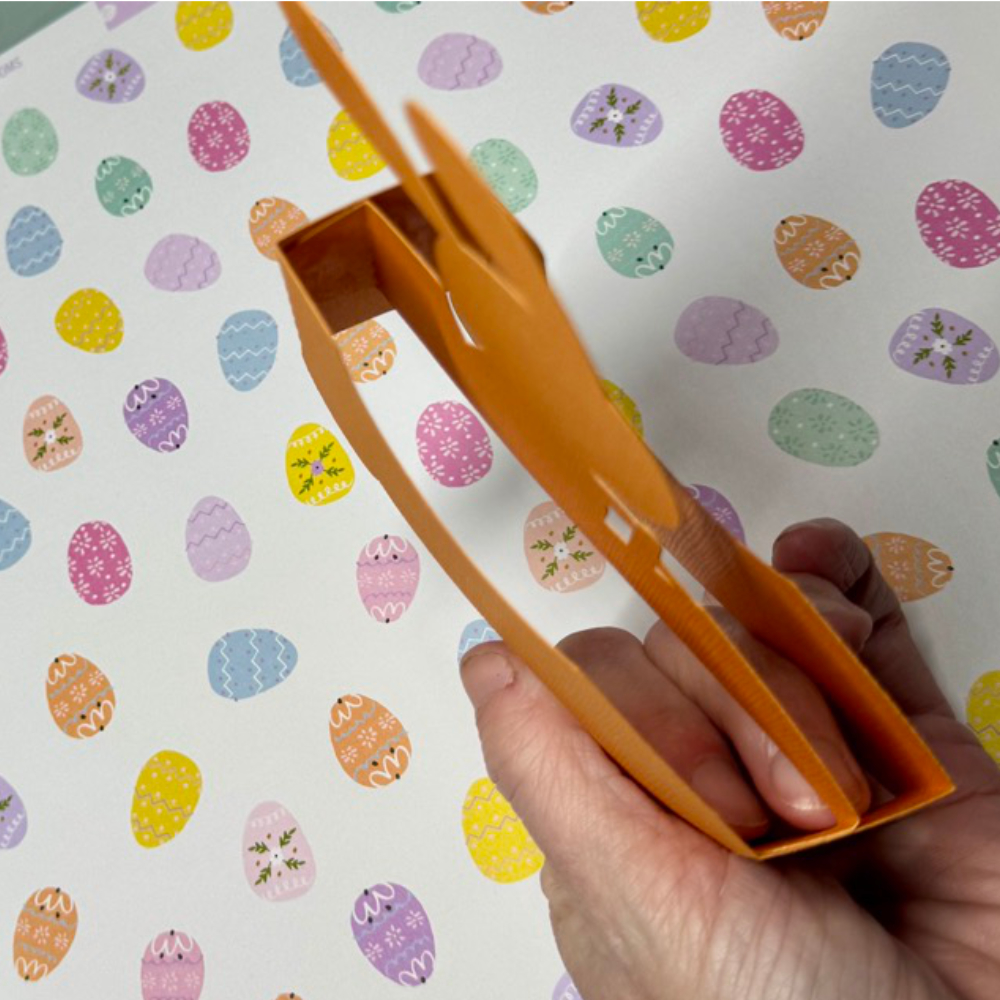
Fold your pieces on the score lines

Add your adhesive to these pieces

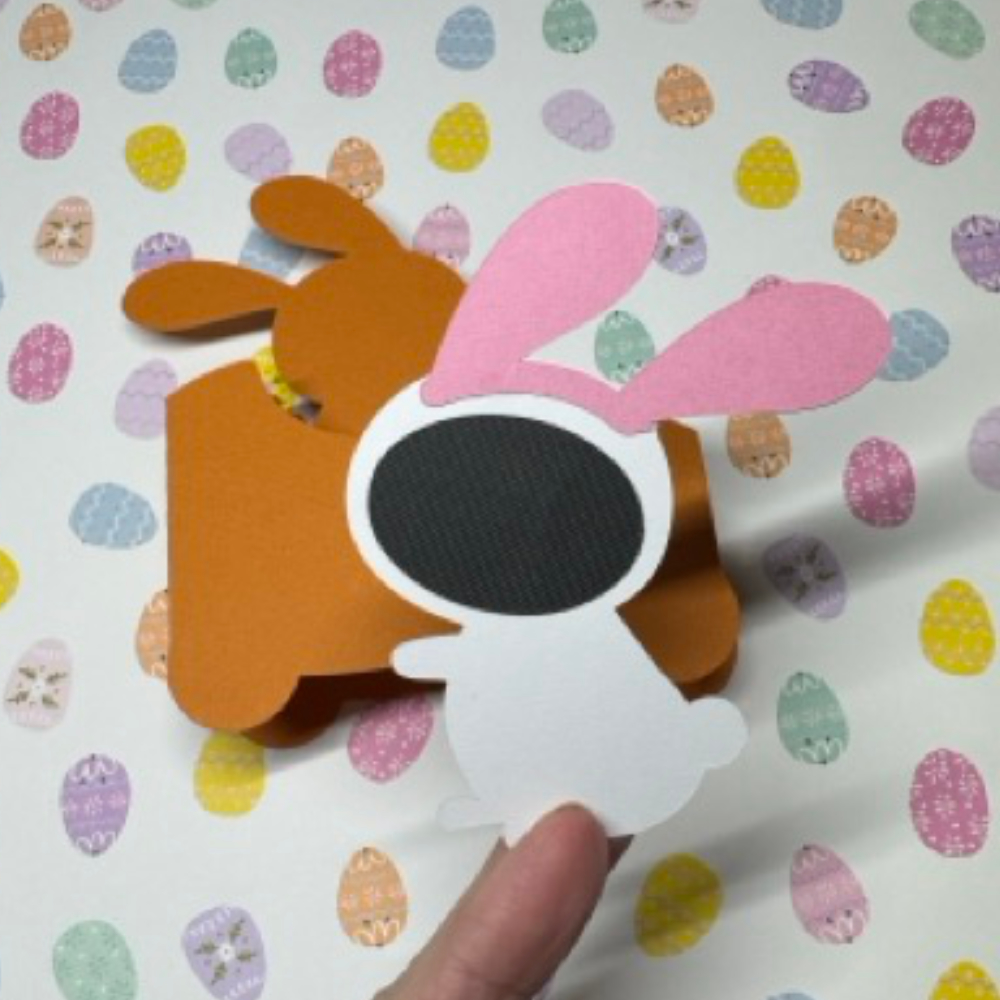
Glue your beak, wattles and comb to the chicken insert. Don’t put the eye on yet.

I added the insert piece into the box. I put it as close to the front as possiable as I wanted to use it as a box with goodies too.
Once my box was assembled, I added adhesive around the square part on both the front and back, 1 side as a time.
![]()
I put the bowl shaped pieces on the fron and the back.

This is where you will attach the eye. Top left corner of the bowl piece.

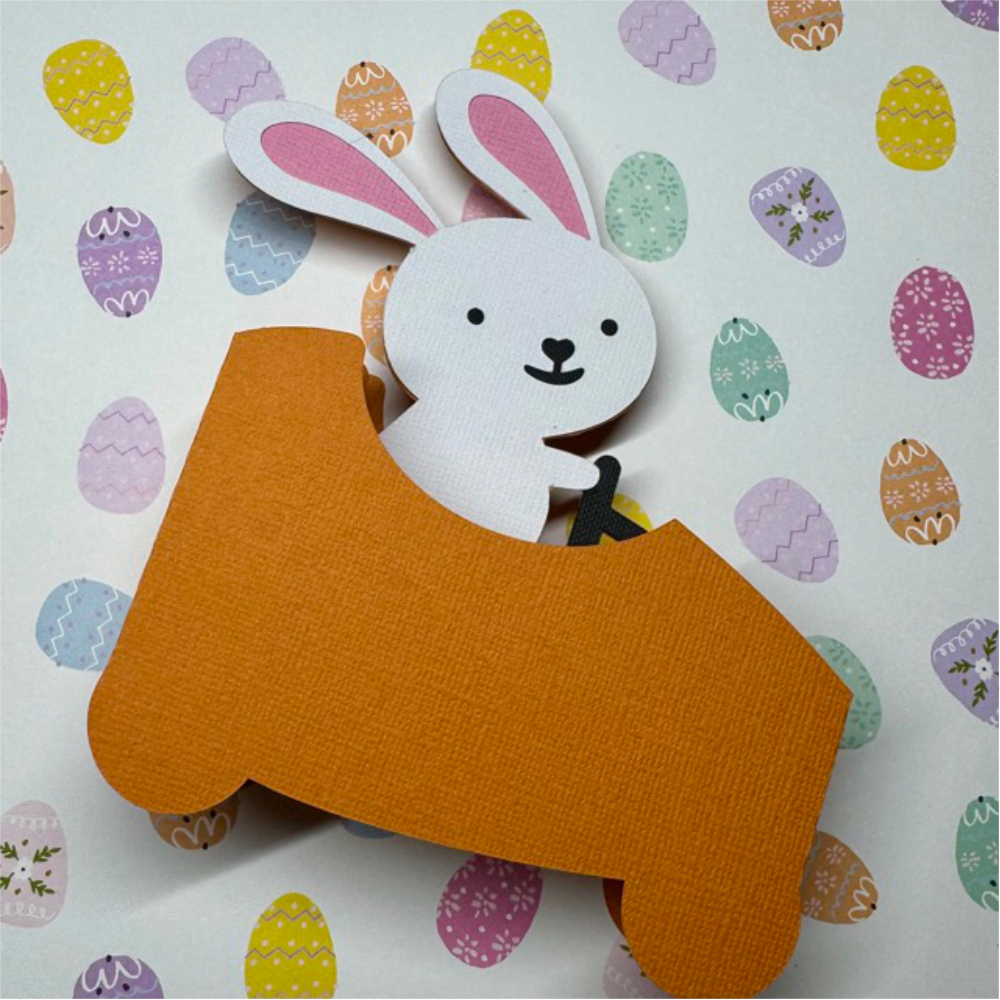
I used pop dots to pop the wing (heart) piece on both back and front. Embelished with a little bakers twint on the tag.

I added a soup packet and kleenex as well as some tylonal and cough drops. I did place a piece of packing tape along the bottom to keep my goodies from falling out.

Thanks for stopping by and happy crafting!
Chelsea