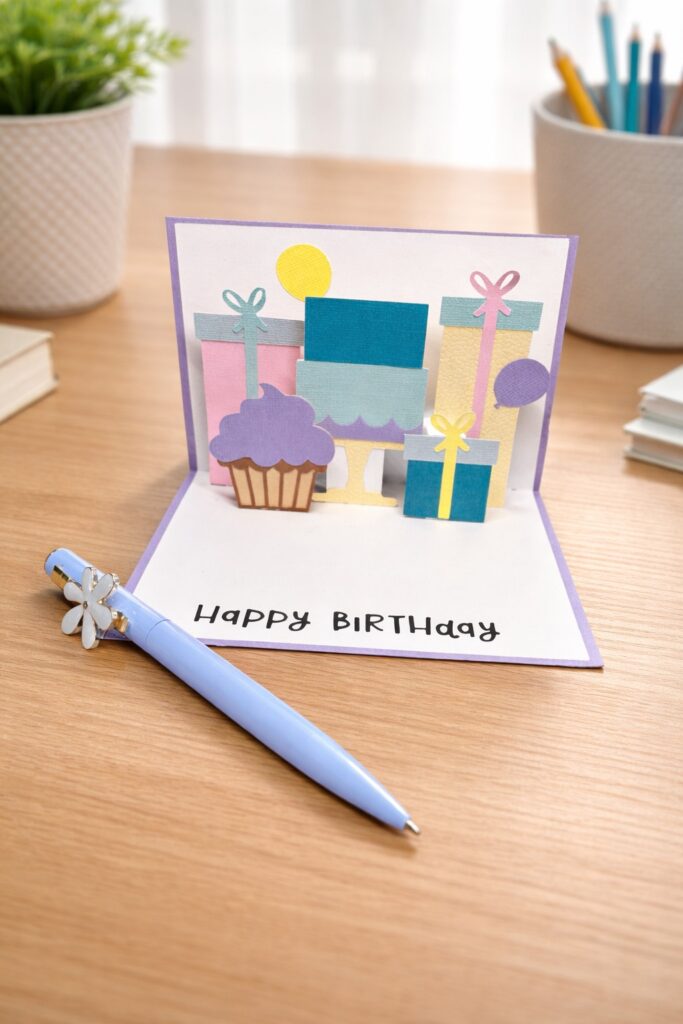
Today I’m excited to share a fun birthday project I made using the “Happy Birthday Pop Up Card” file from Lori.
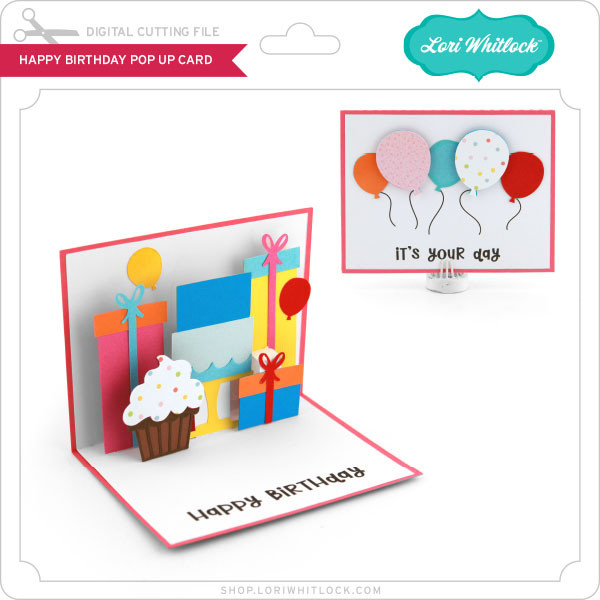
This card is perfect for surprising someone special because honestly, nothing beats receiving a handmade 3D card in the mail!
You can download the file here:
Step-by-Step Instructions
Step 1
Open the file in your cutting machine software.
Step 2
Cut all the elements using the correct colors of cardstock. I used 80 lb (216 gsm) cardstock for a sturdy result.
Step 3
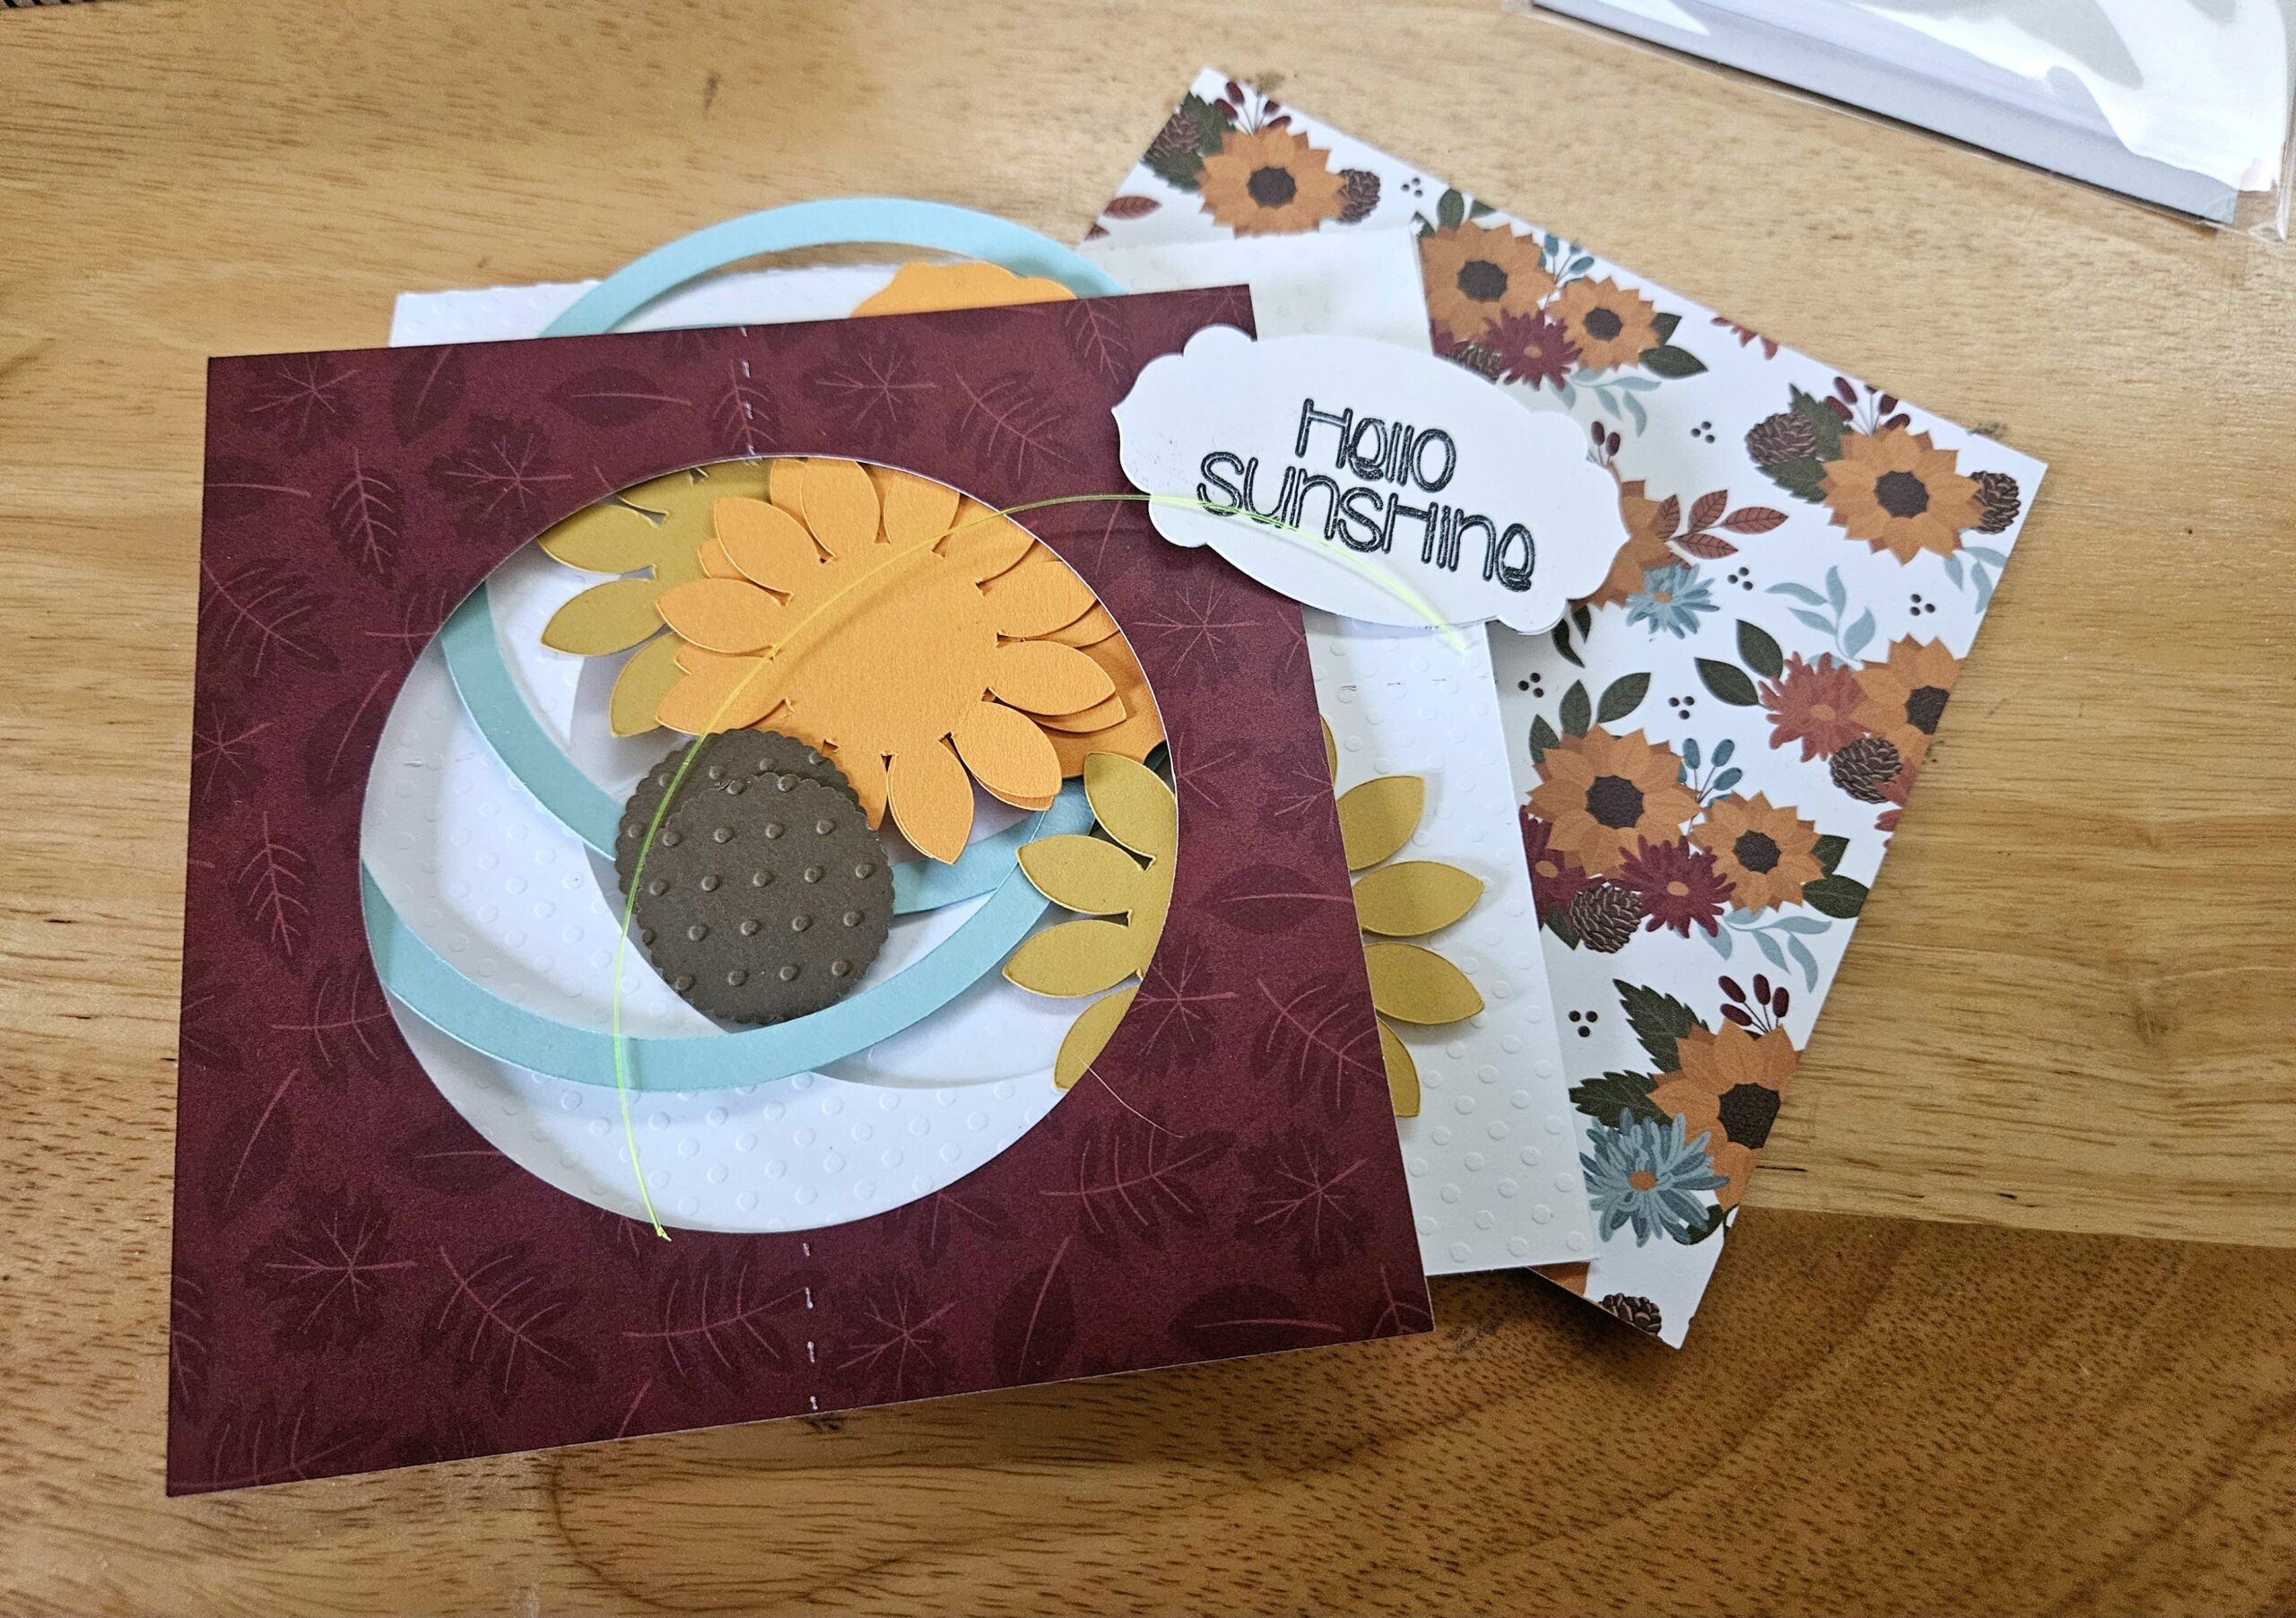
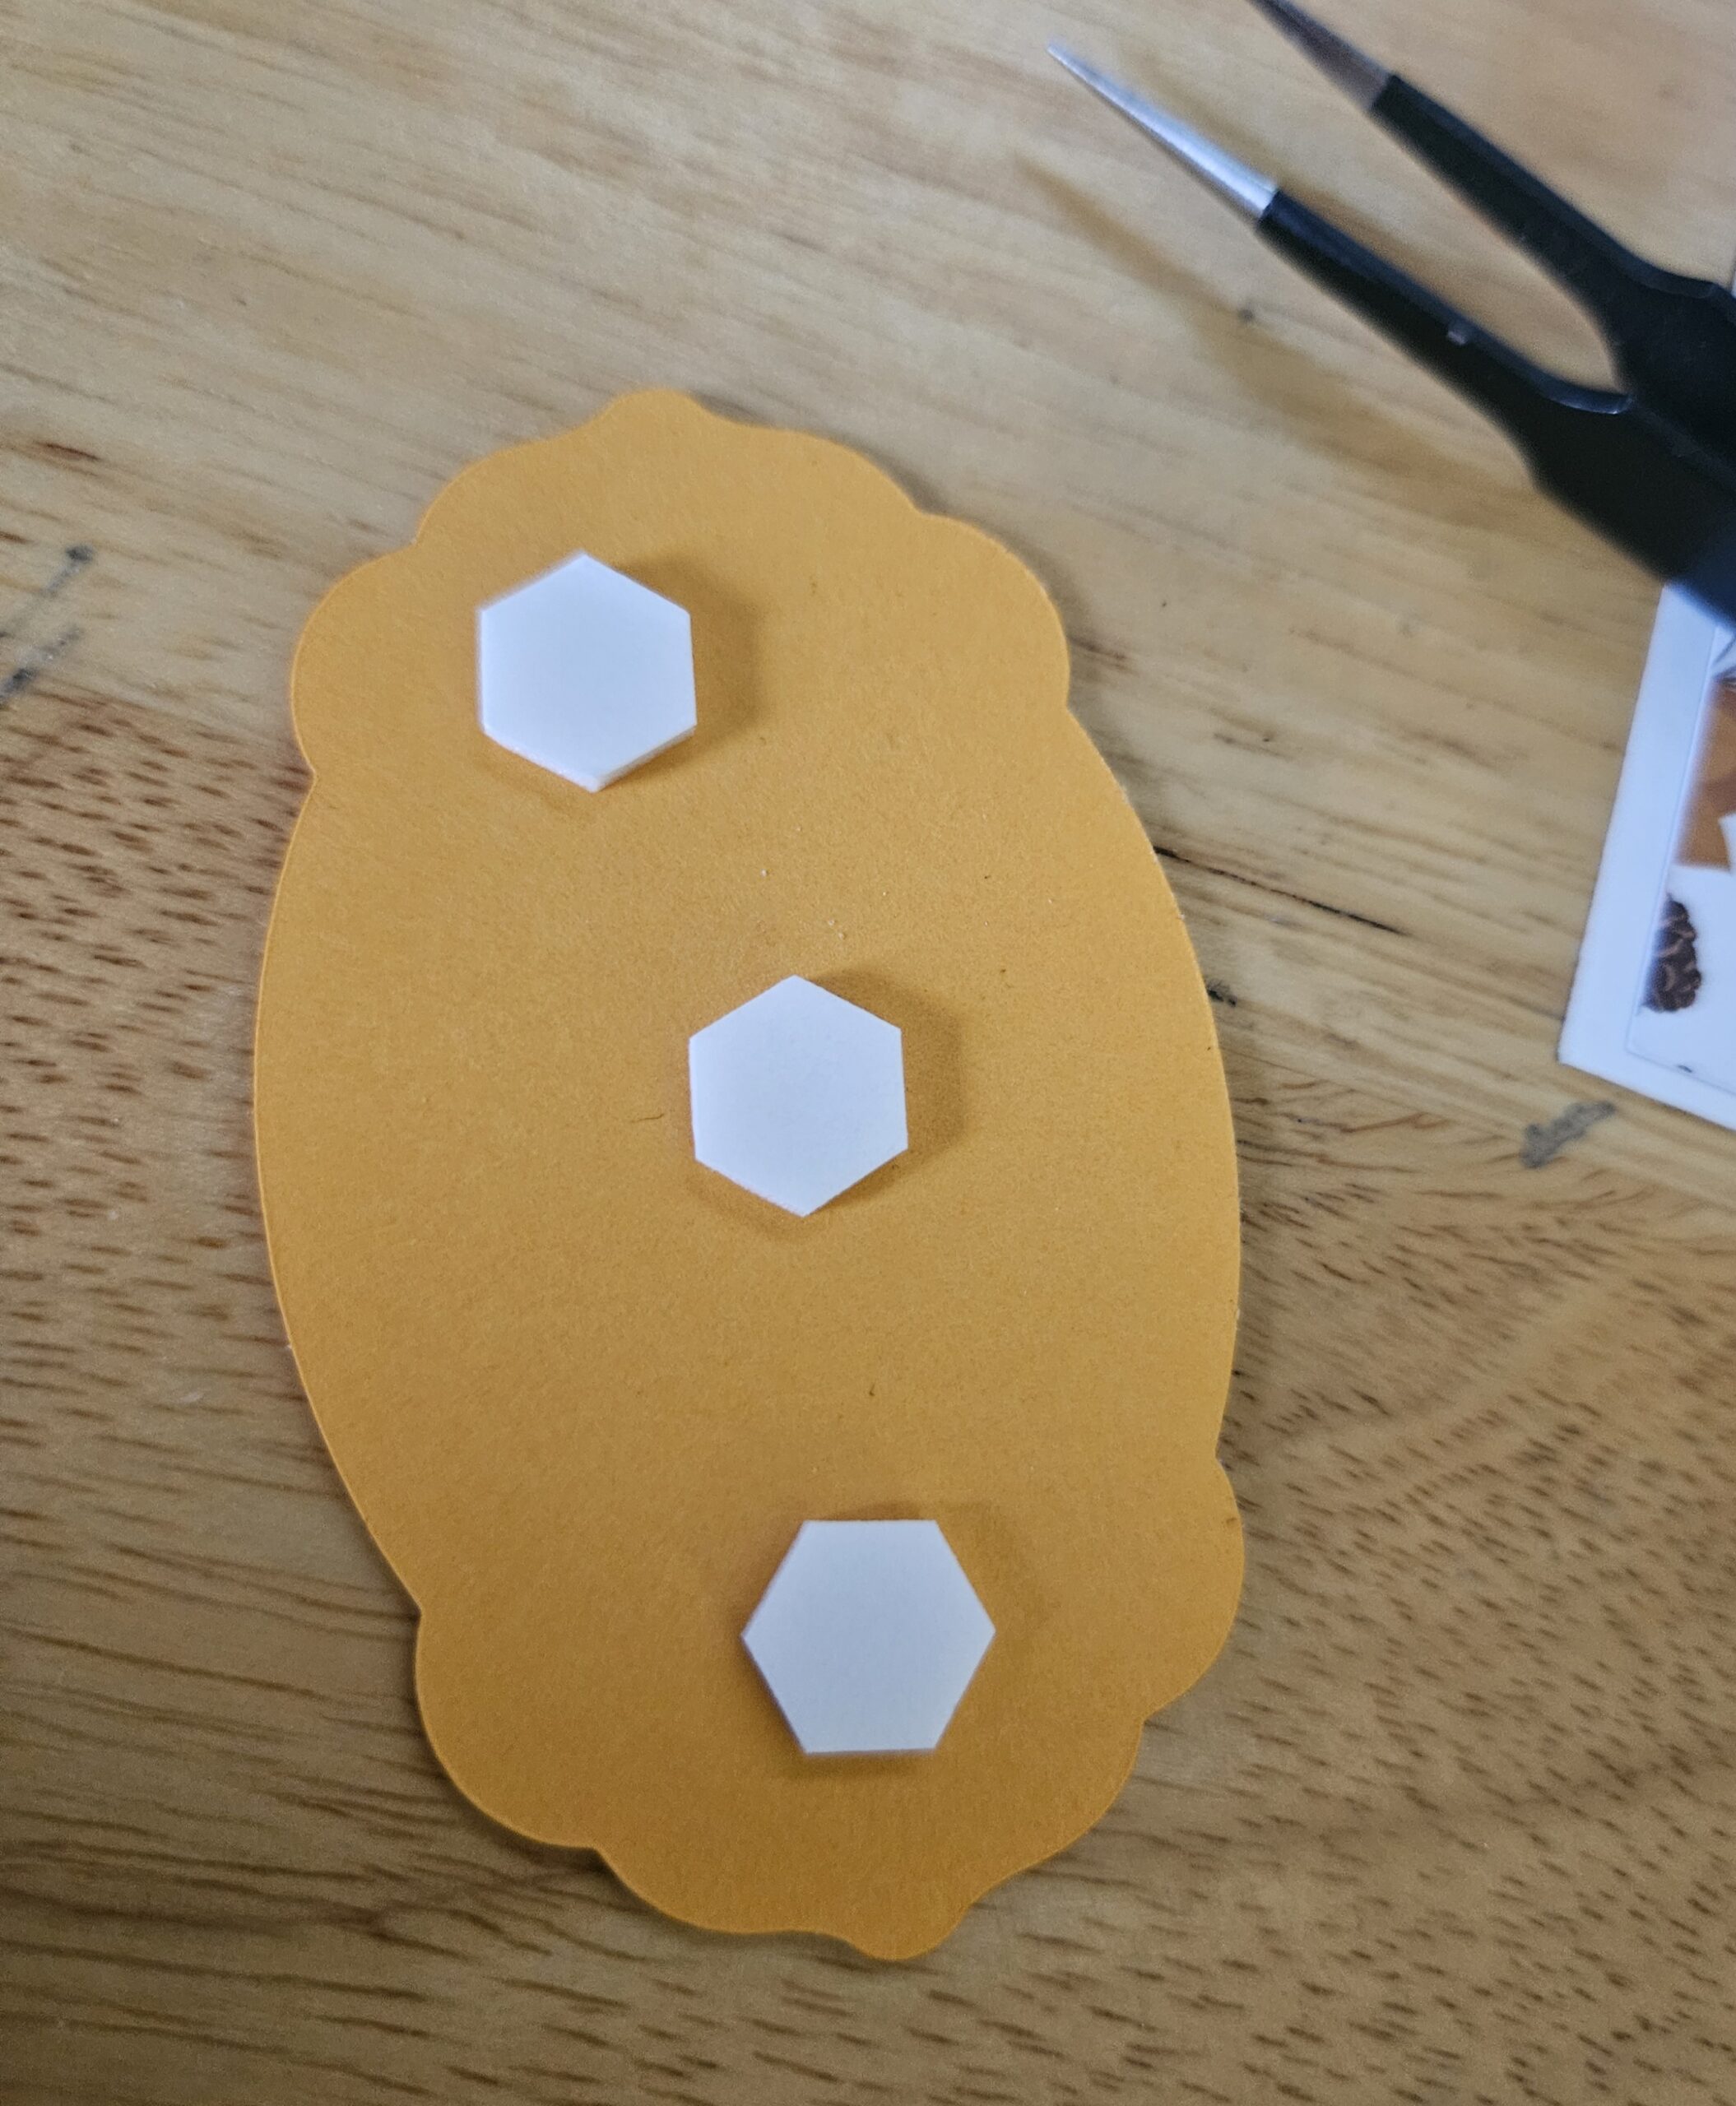
Sort all the pieces that belong together so assembly becomes easier (see photo).
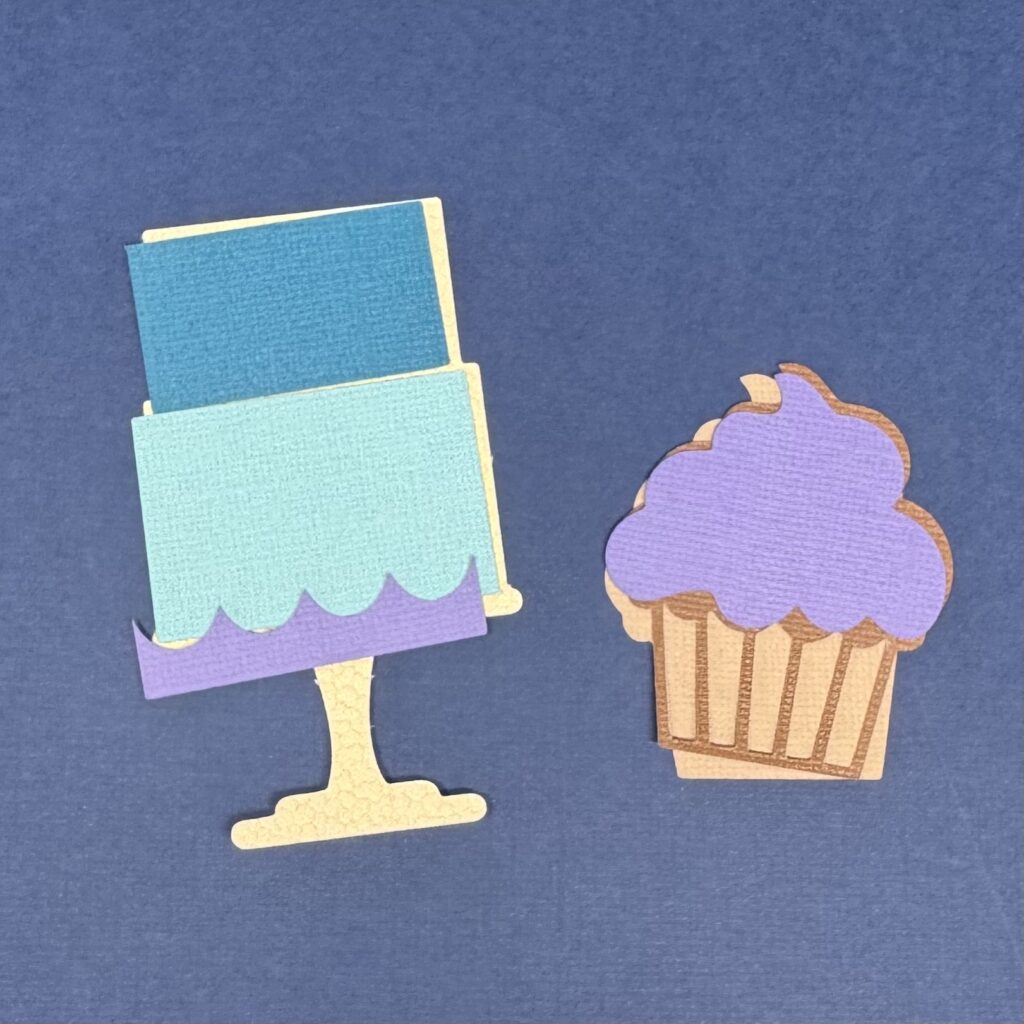

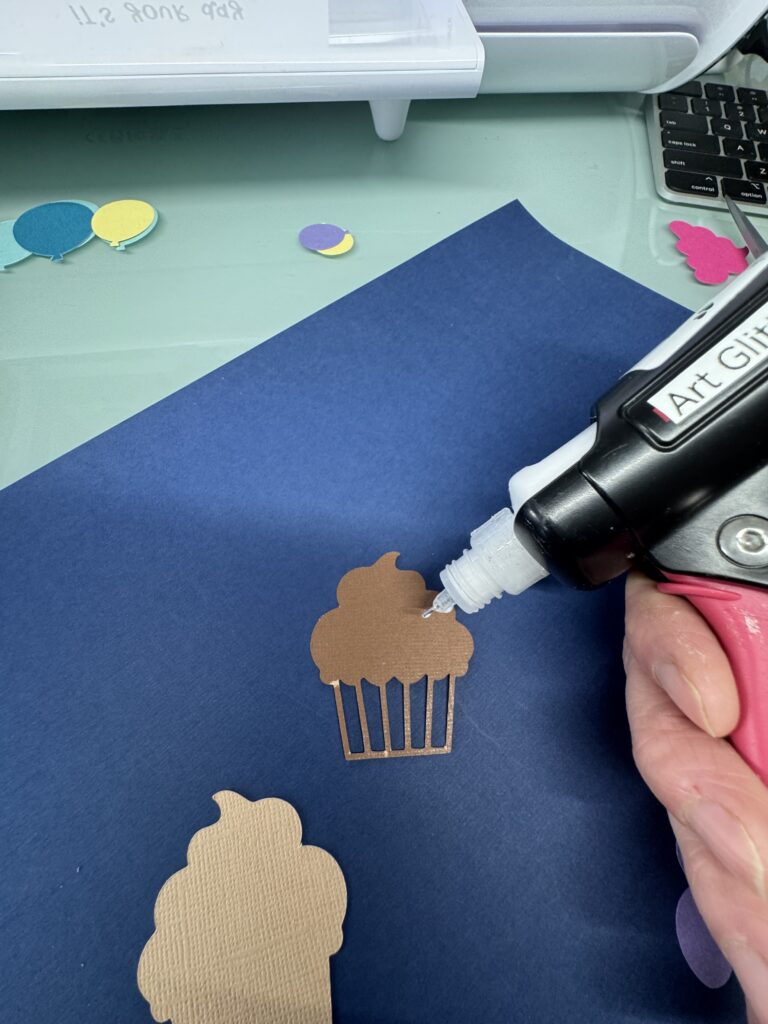
Step 4
Glue the cupcake together.
Step 5
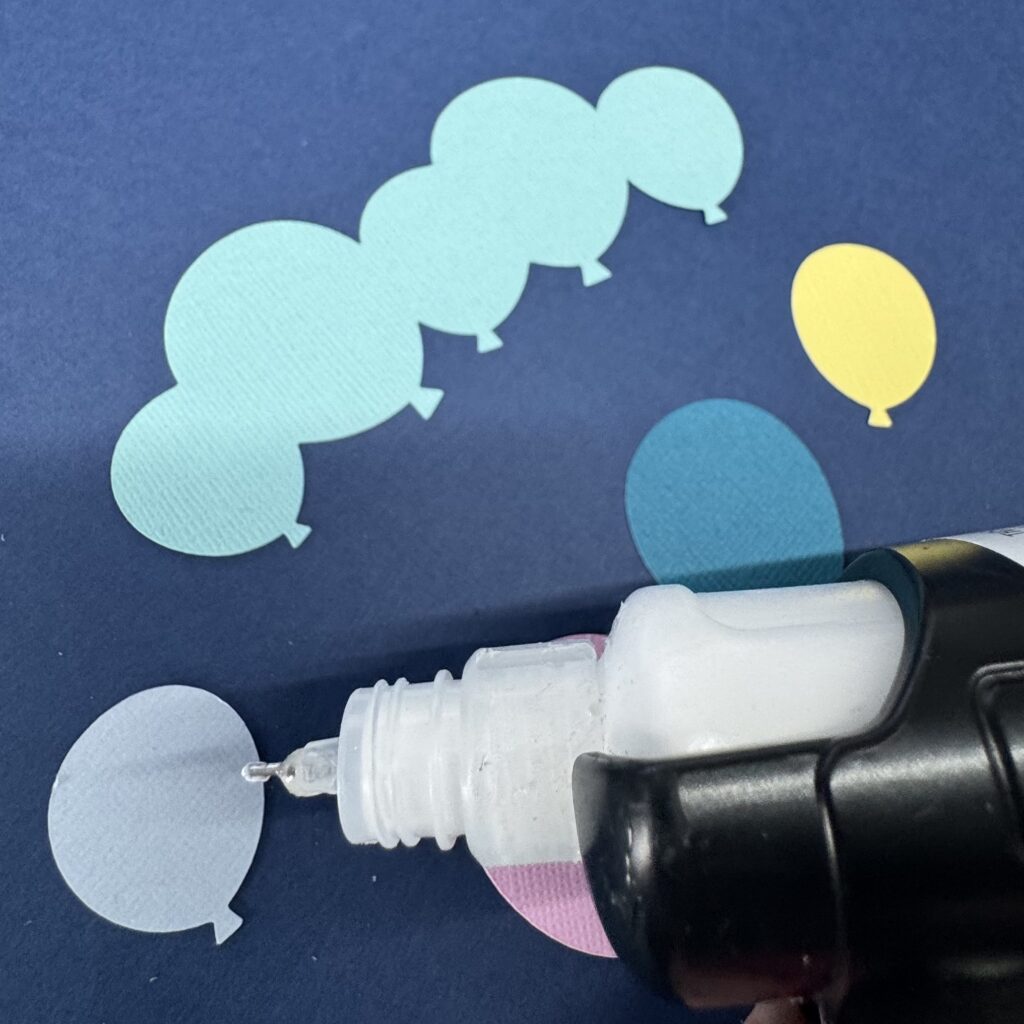
Assemble and glue the balloons the right way.
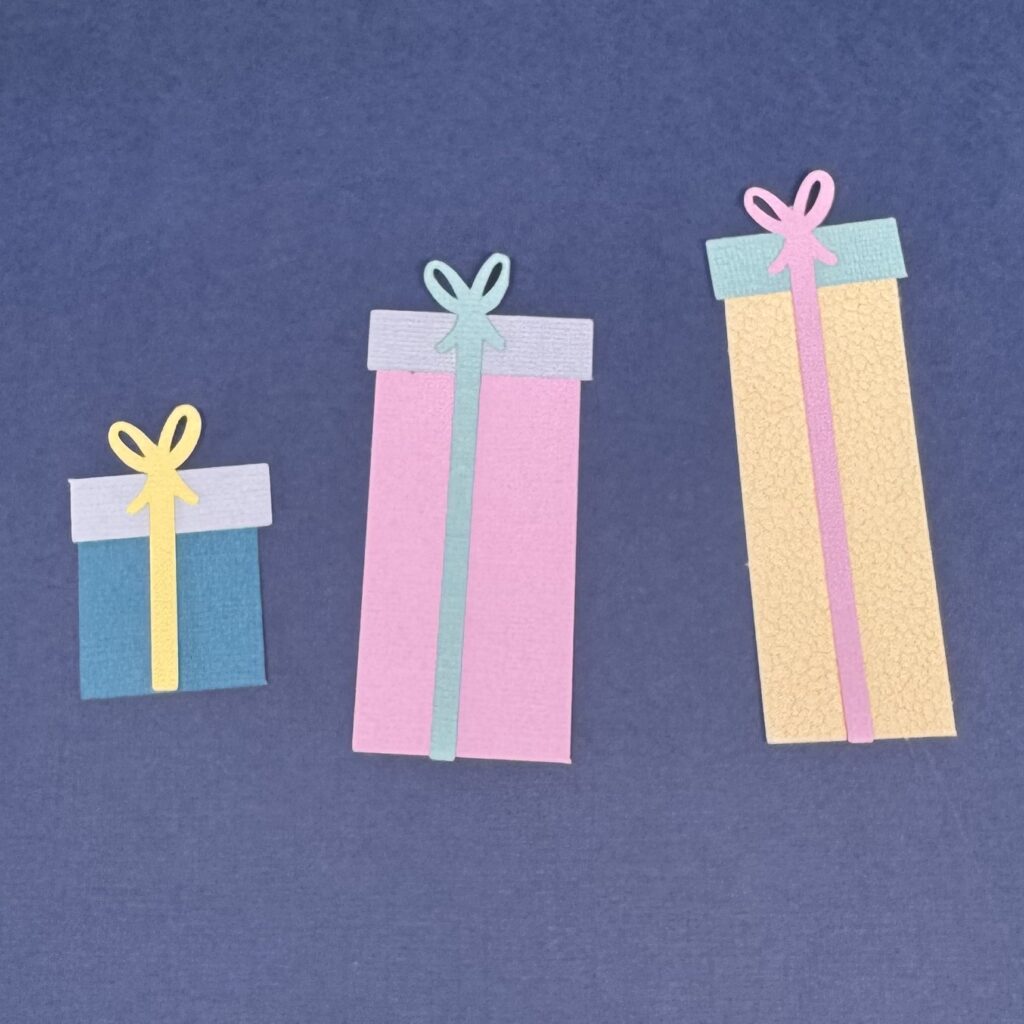
Step 6
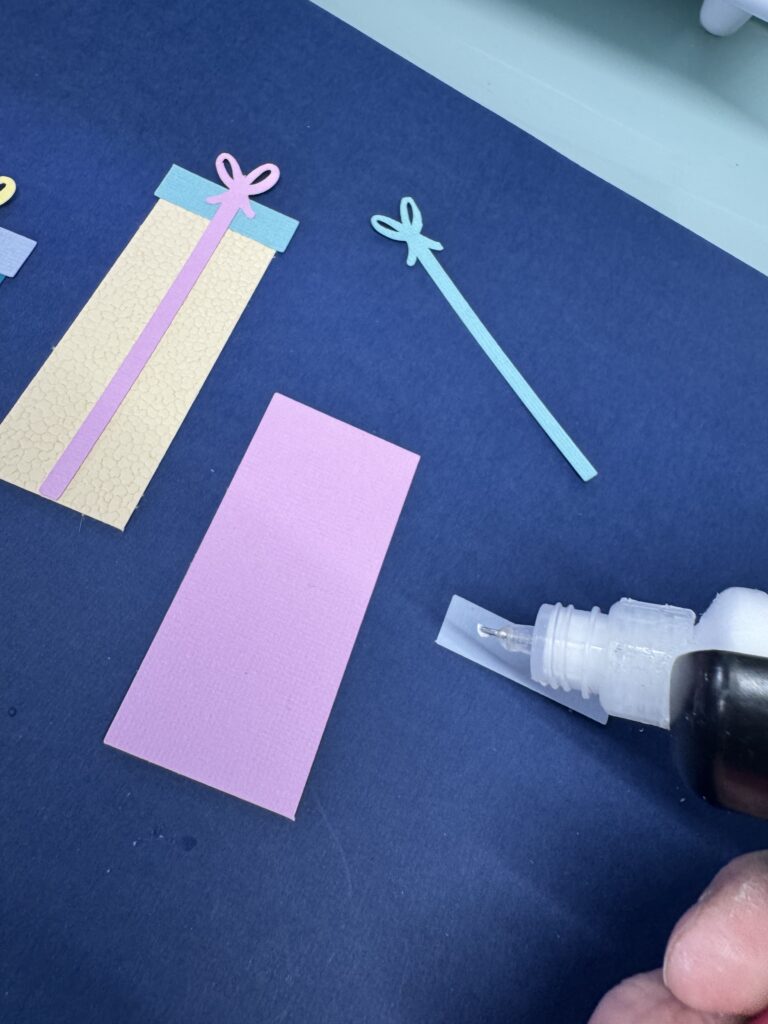
Glue the gift boxes together.
Now that everything is assembled, it’s time to put the card together!
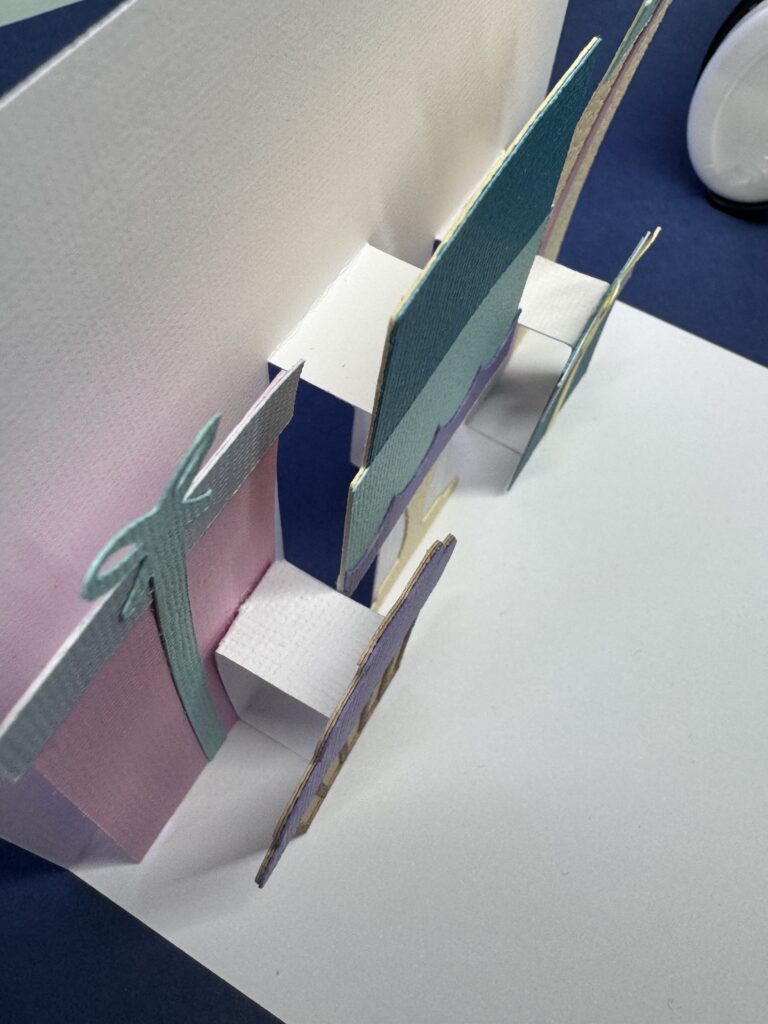
Step 7
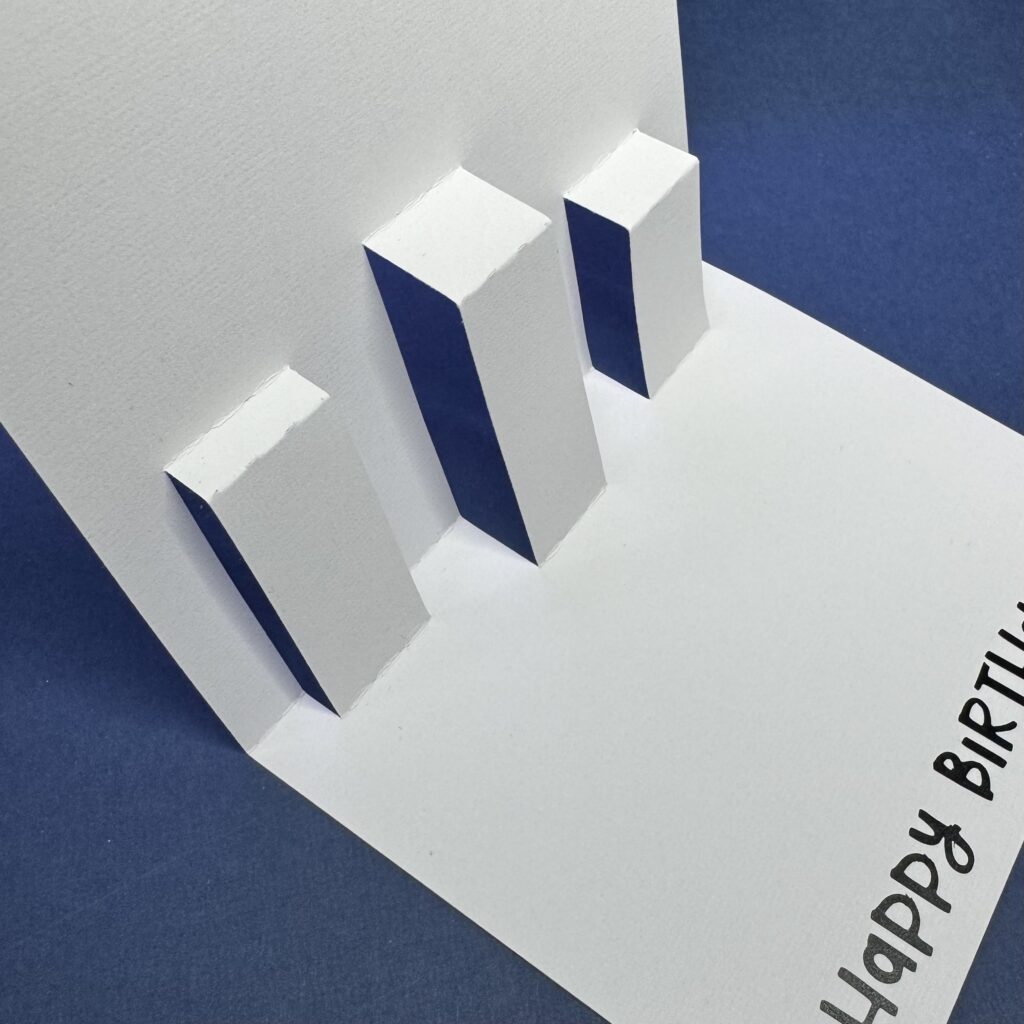
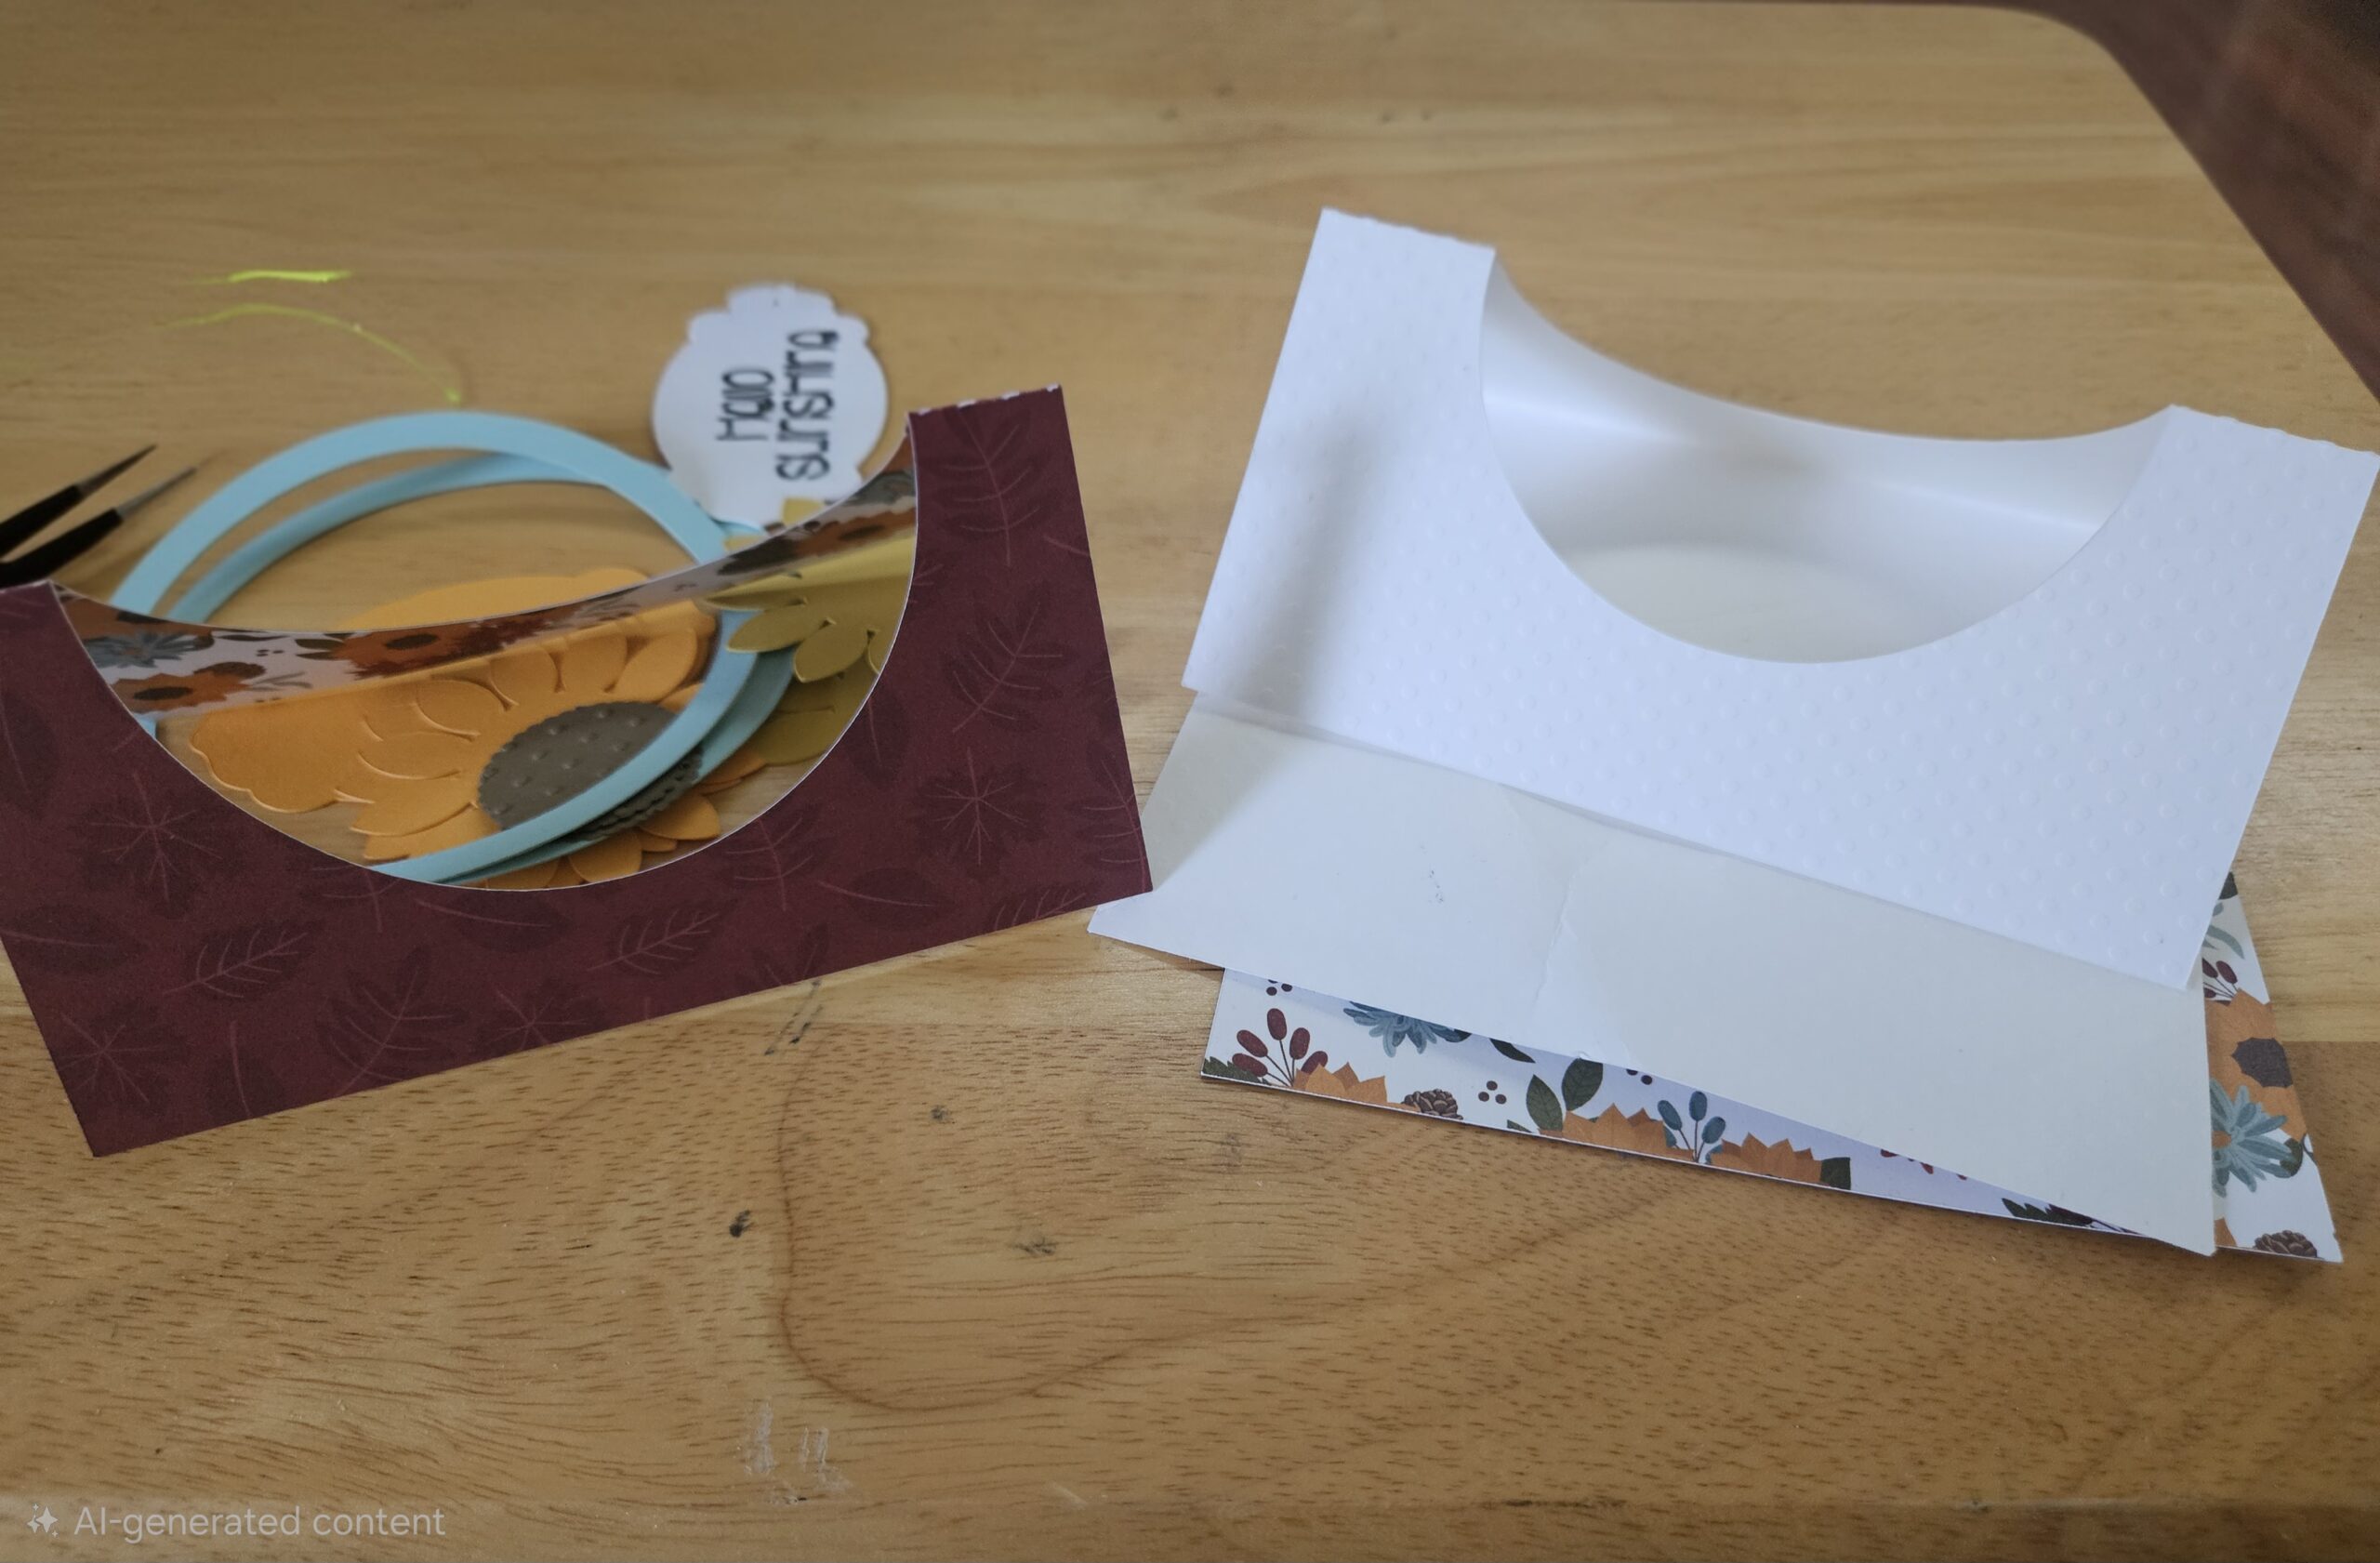
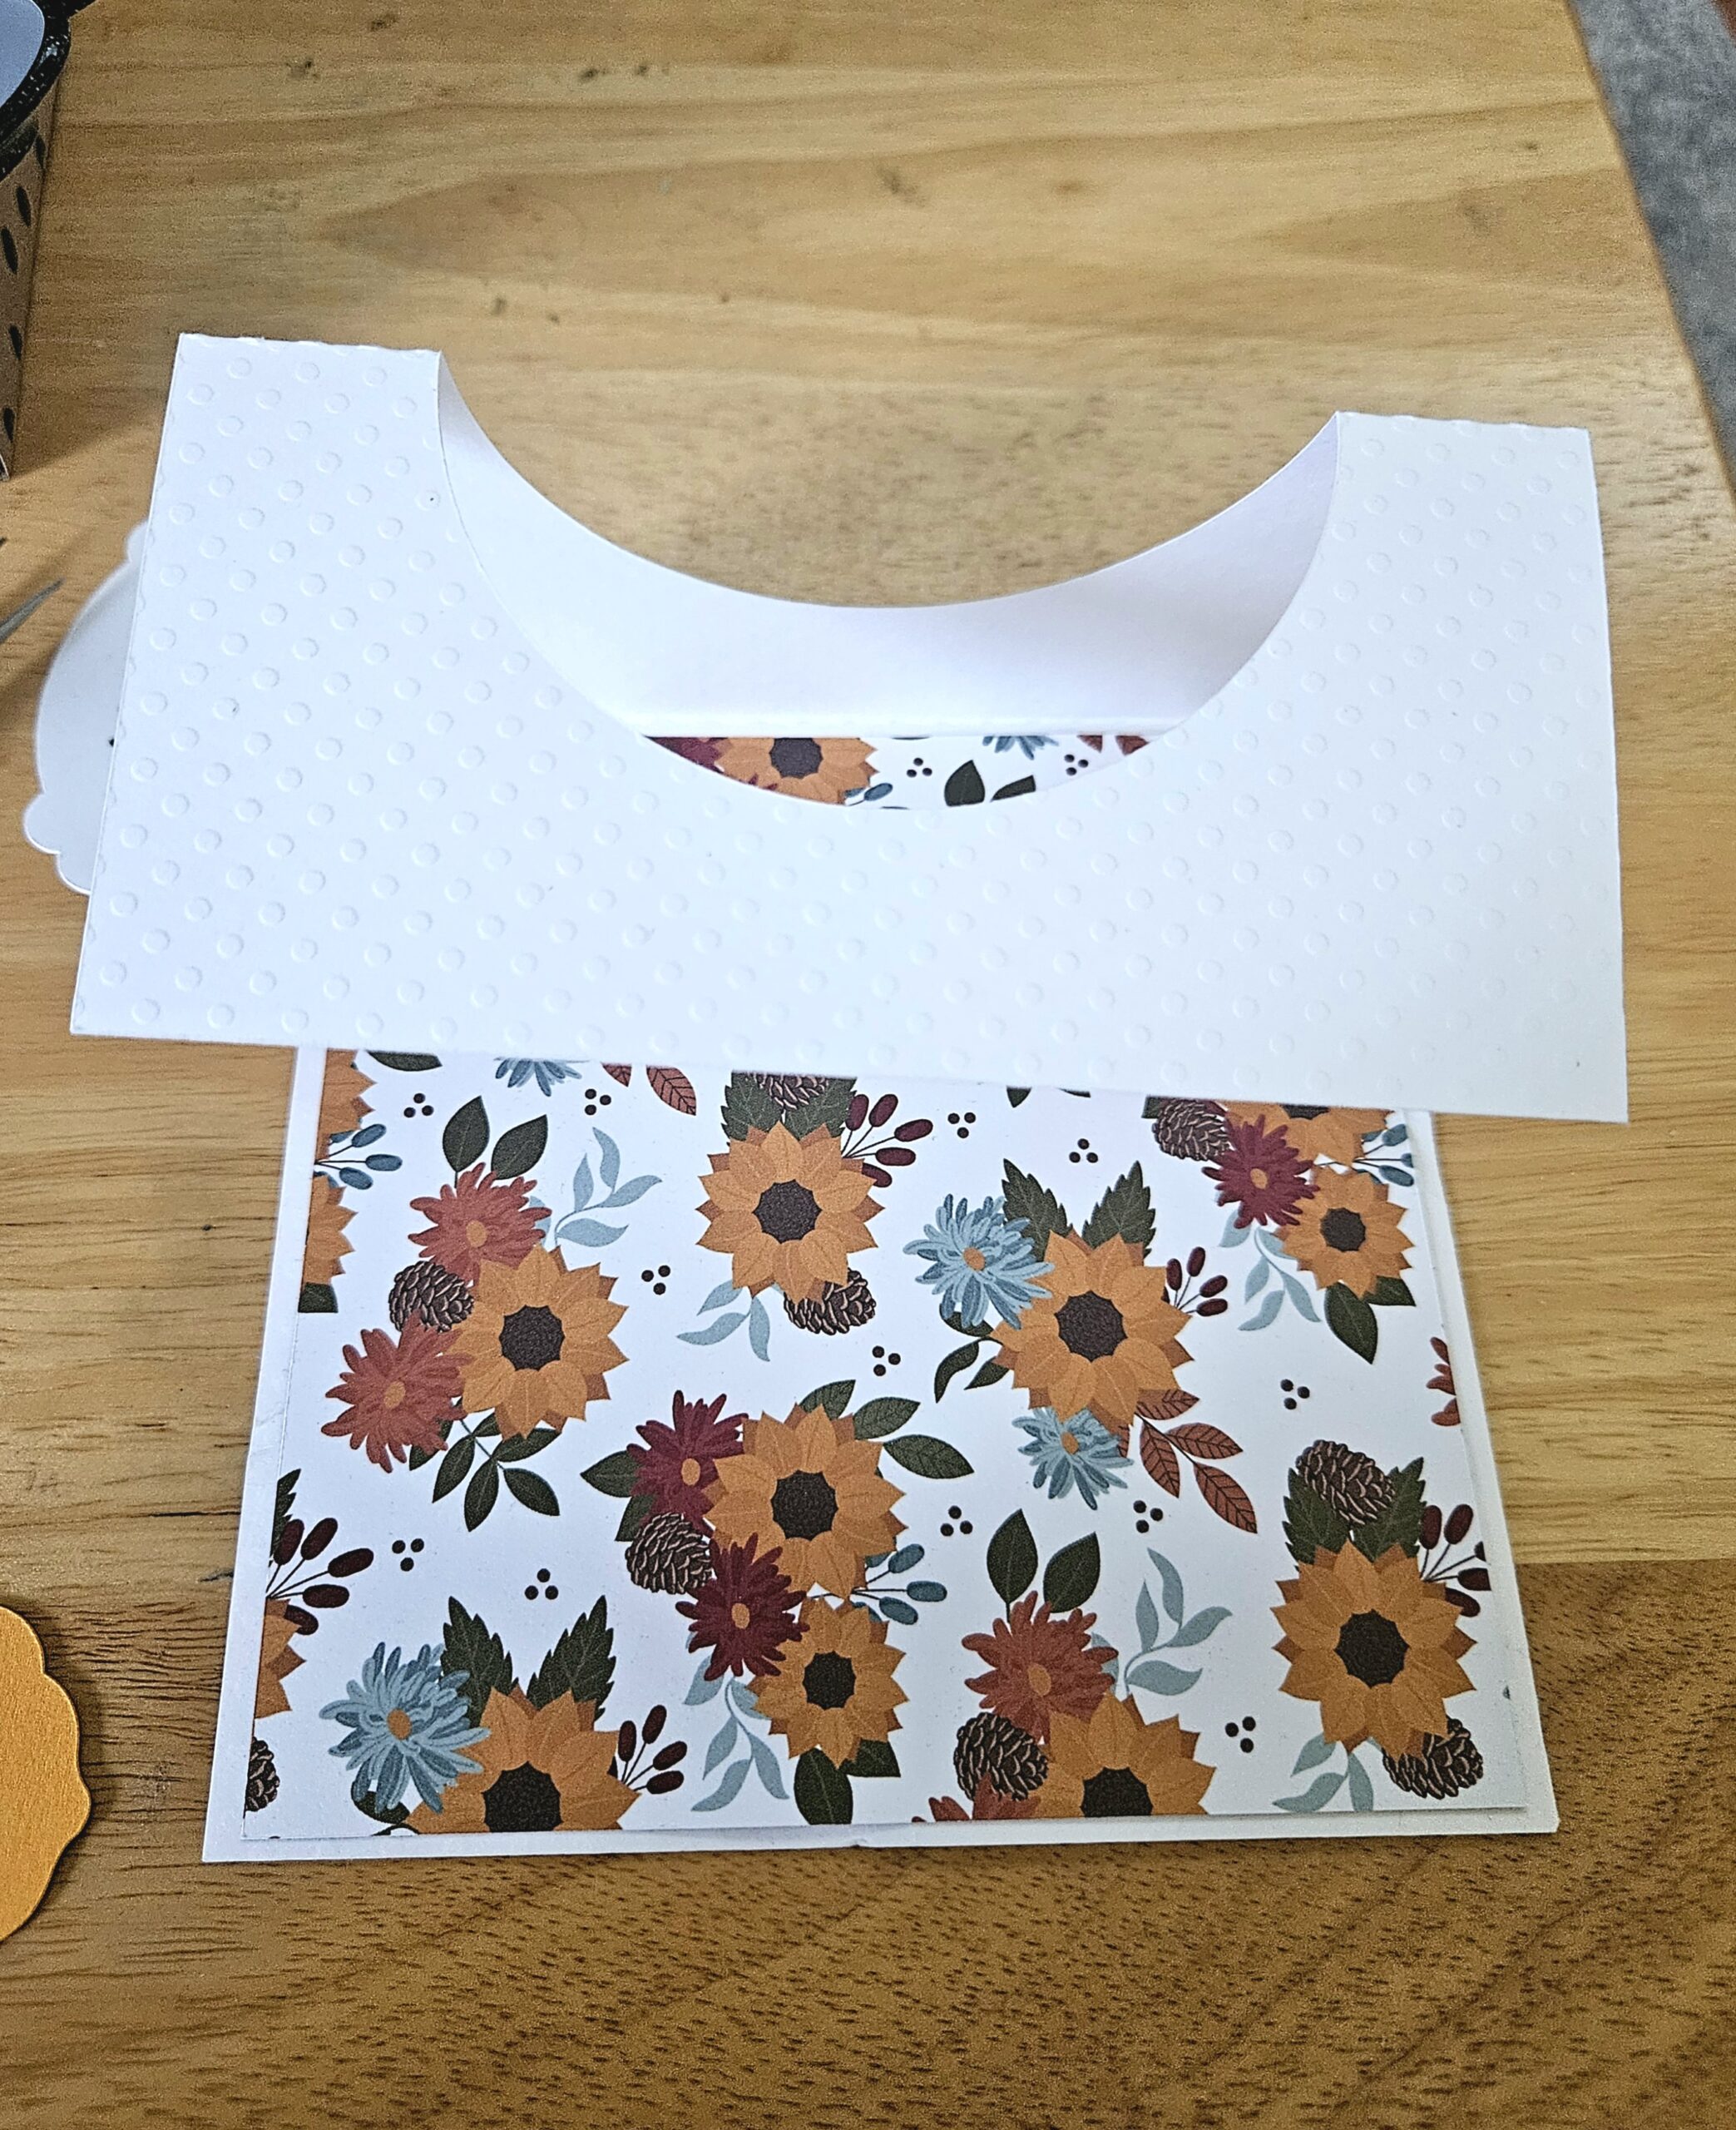
Fold the white card base as shown in the photo below.
Step 8
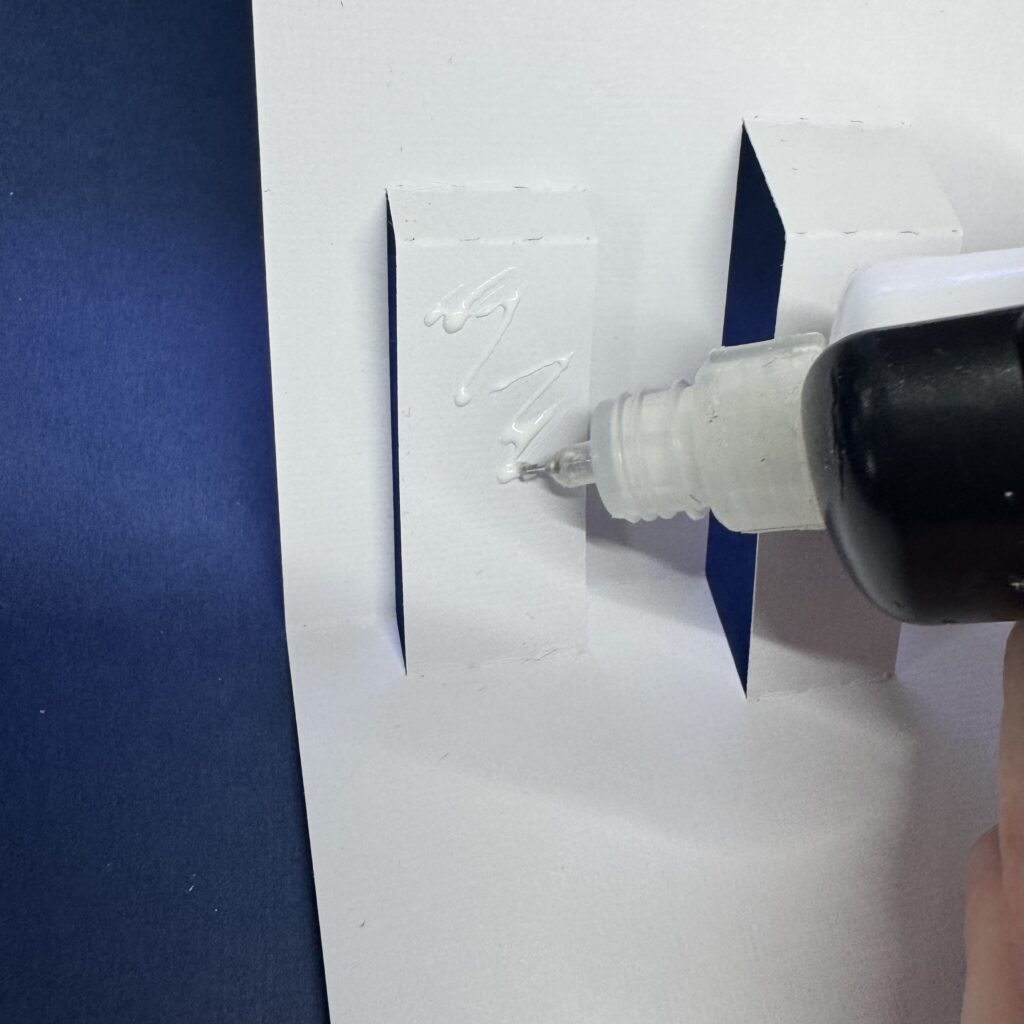
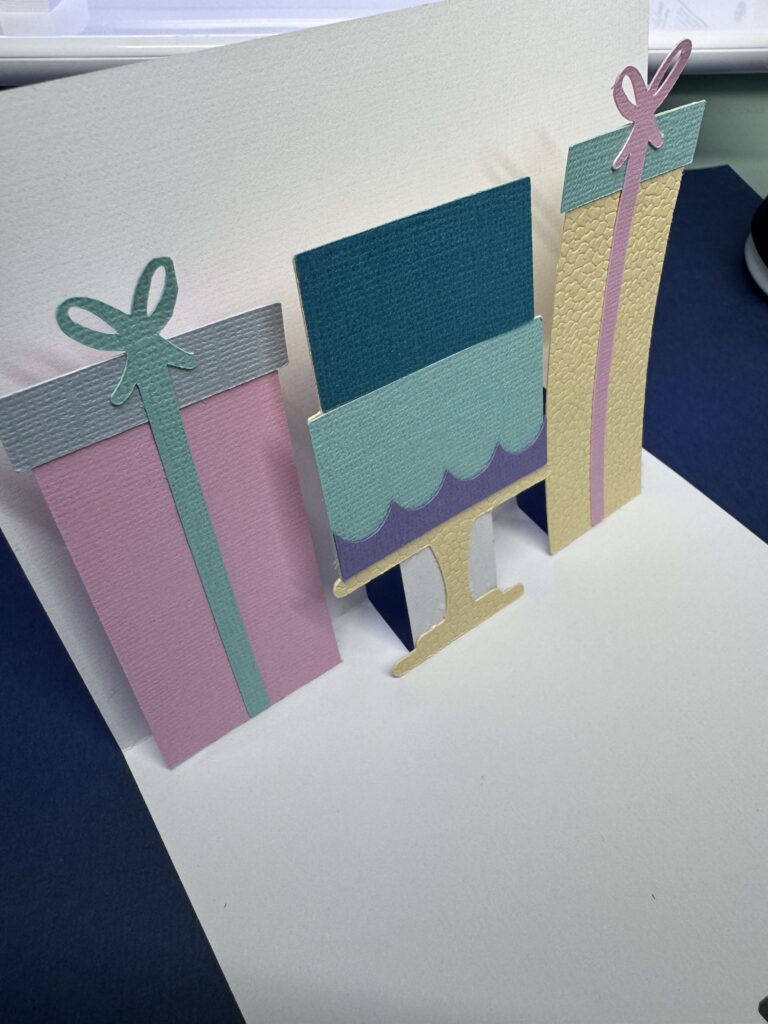
Apply glue to the first pop-up tab and attach the first gift.
Step 9
Add glue to tab 2 & 3 and attach the cake and second gift.
Step 10
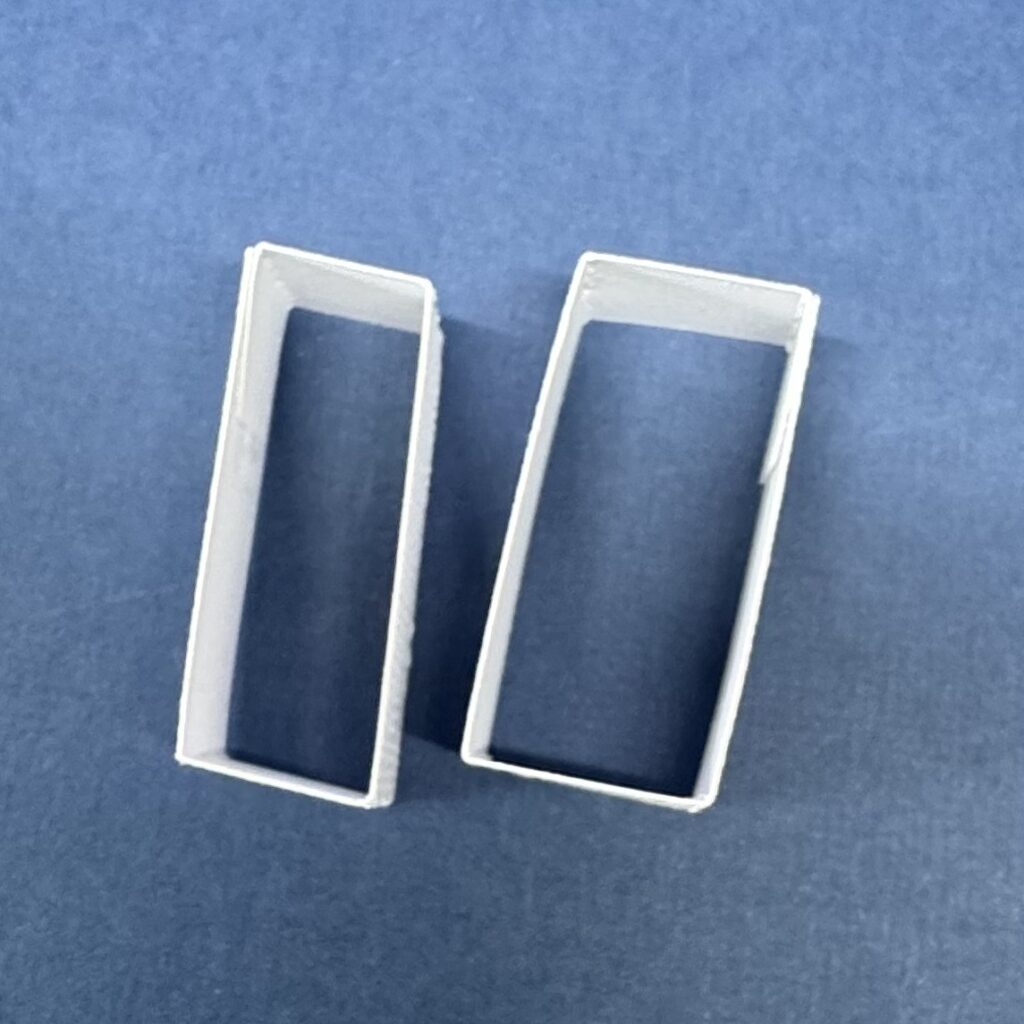
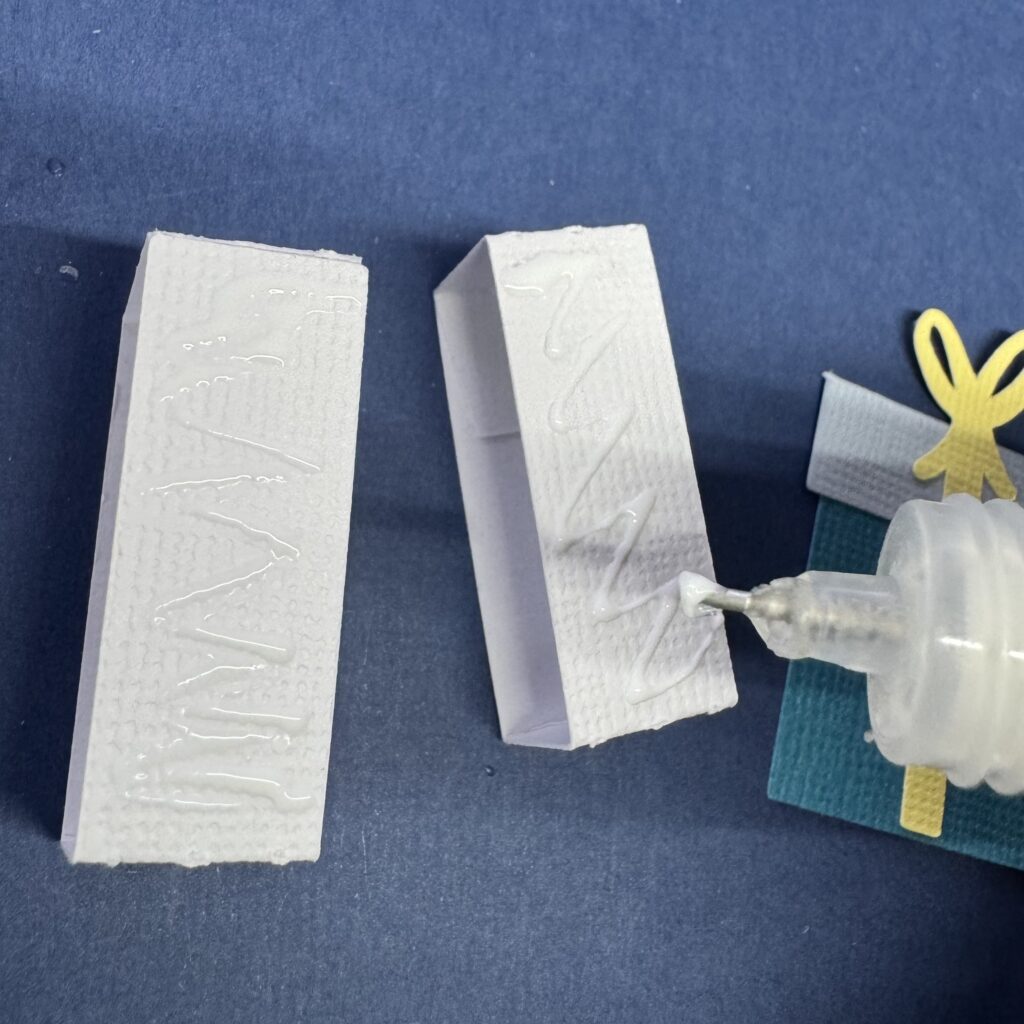
Take the two white strips and glue them into squares, 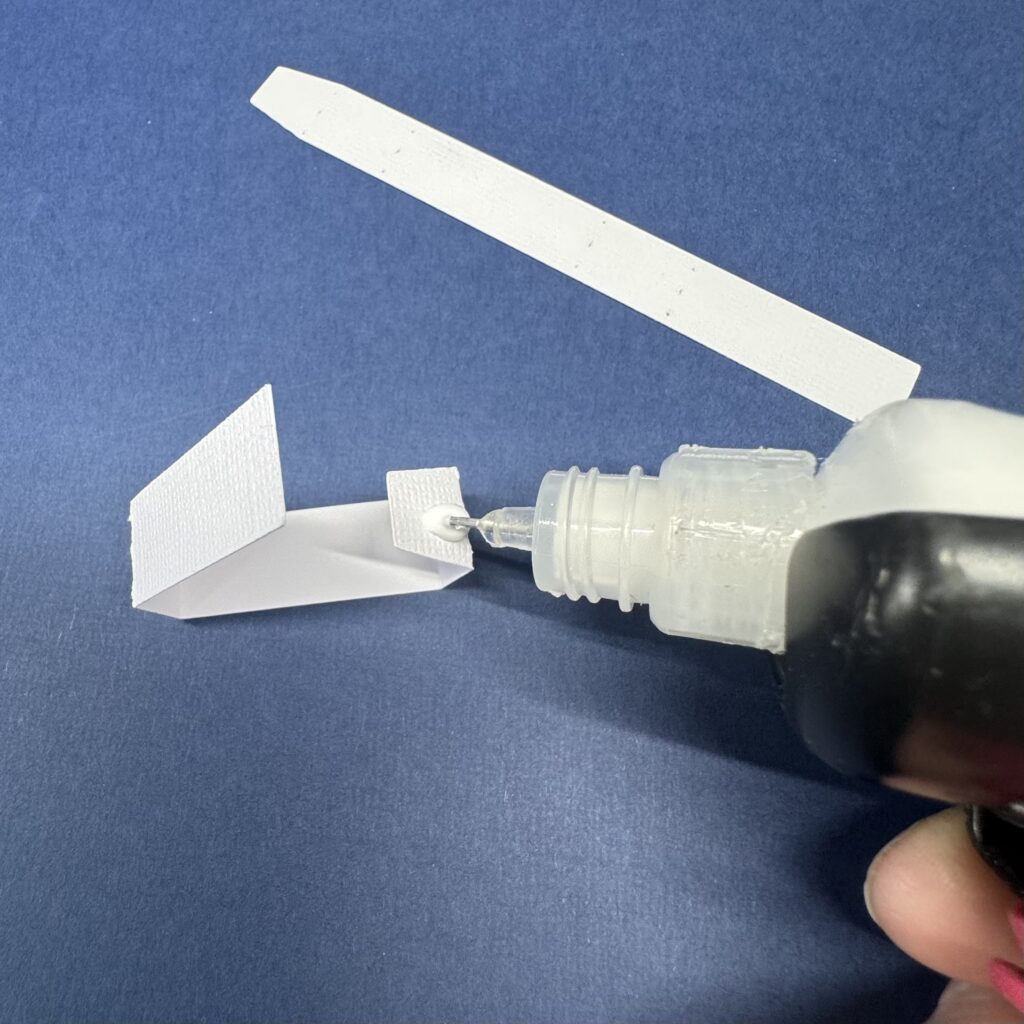
Step 11
Now apply glue to the long side of each. Attach the cupcake to the wider piece and the smallest gift to the other one,

Step 12
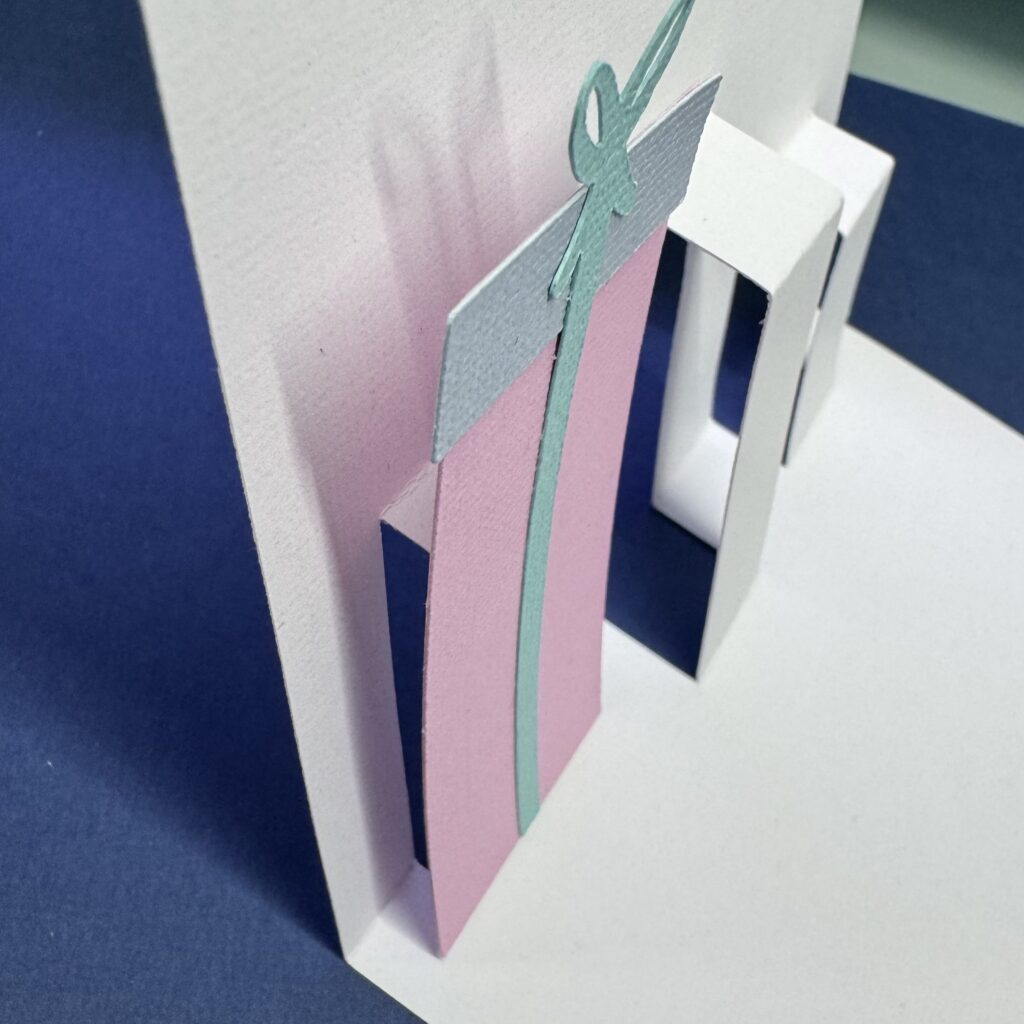
Apply glue to the bottom of the white block with the gift and attach it to the right side of the card, slightly in front of the right gift.


Step 13
Glue the bottom of the white square behind the cupcake and attach it to the left side of the card, halfway next to the left gift.
Step 14
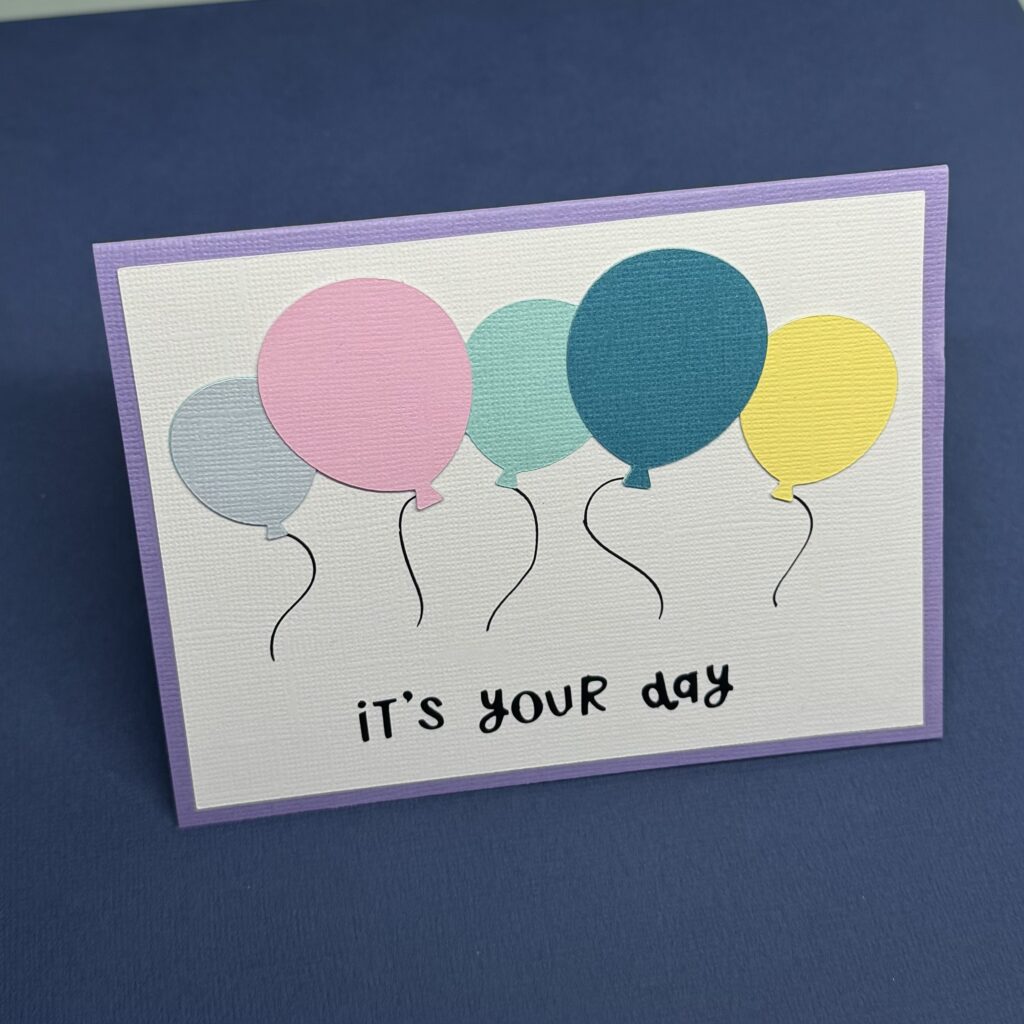
Attach the balloons to the white card panel with the black strings and the text “It’s your day”.
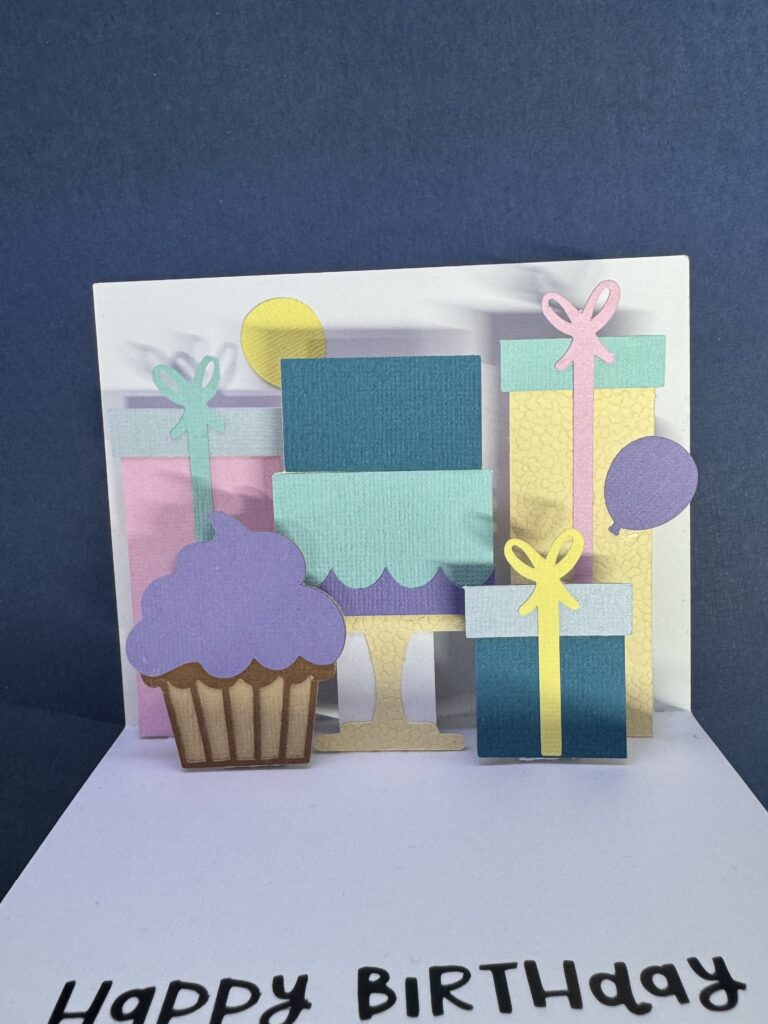
Step 15
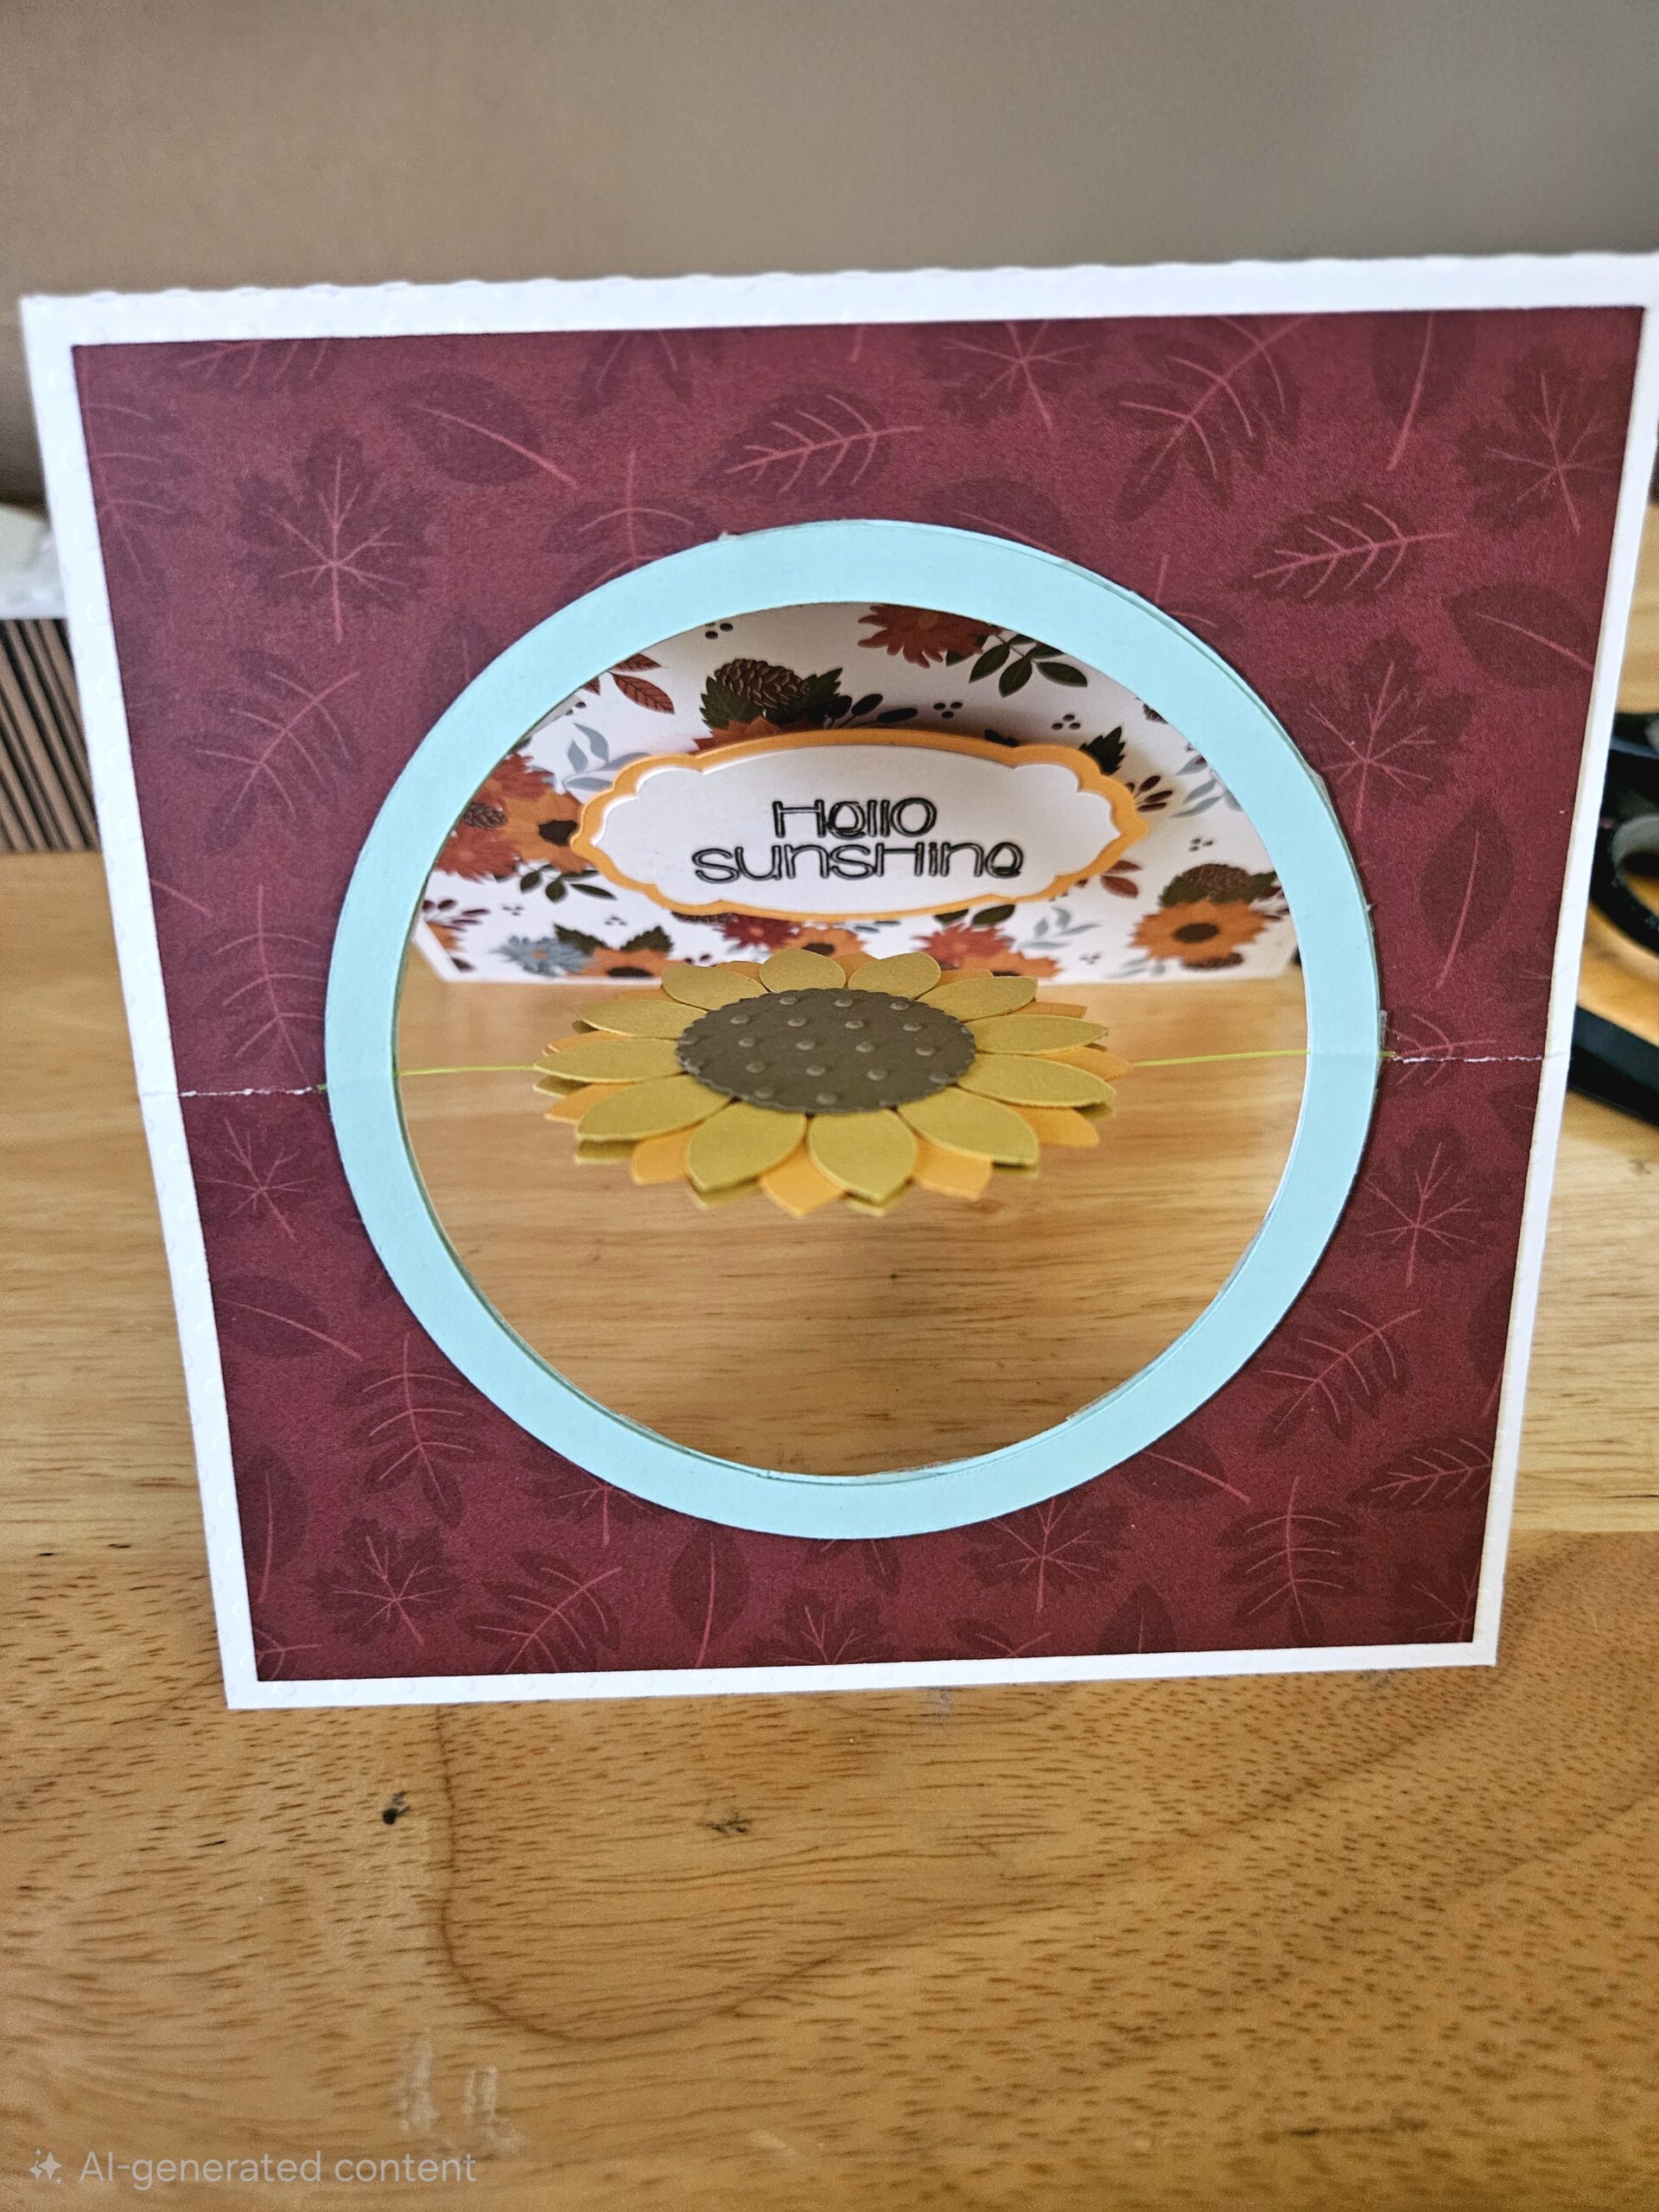
Glue the pop-up card into the folded base card as shown in the photo.
Step 16
Attach the white panel with the balloons to the front of the card.
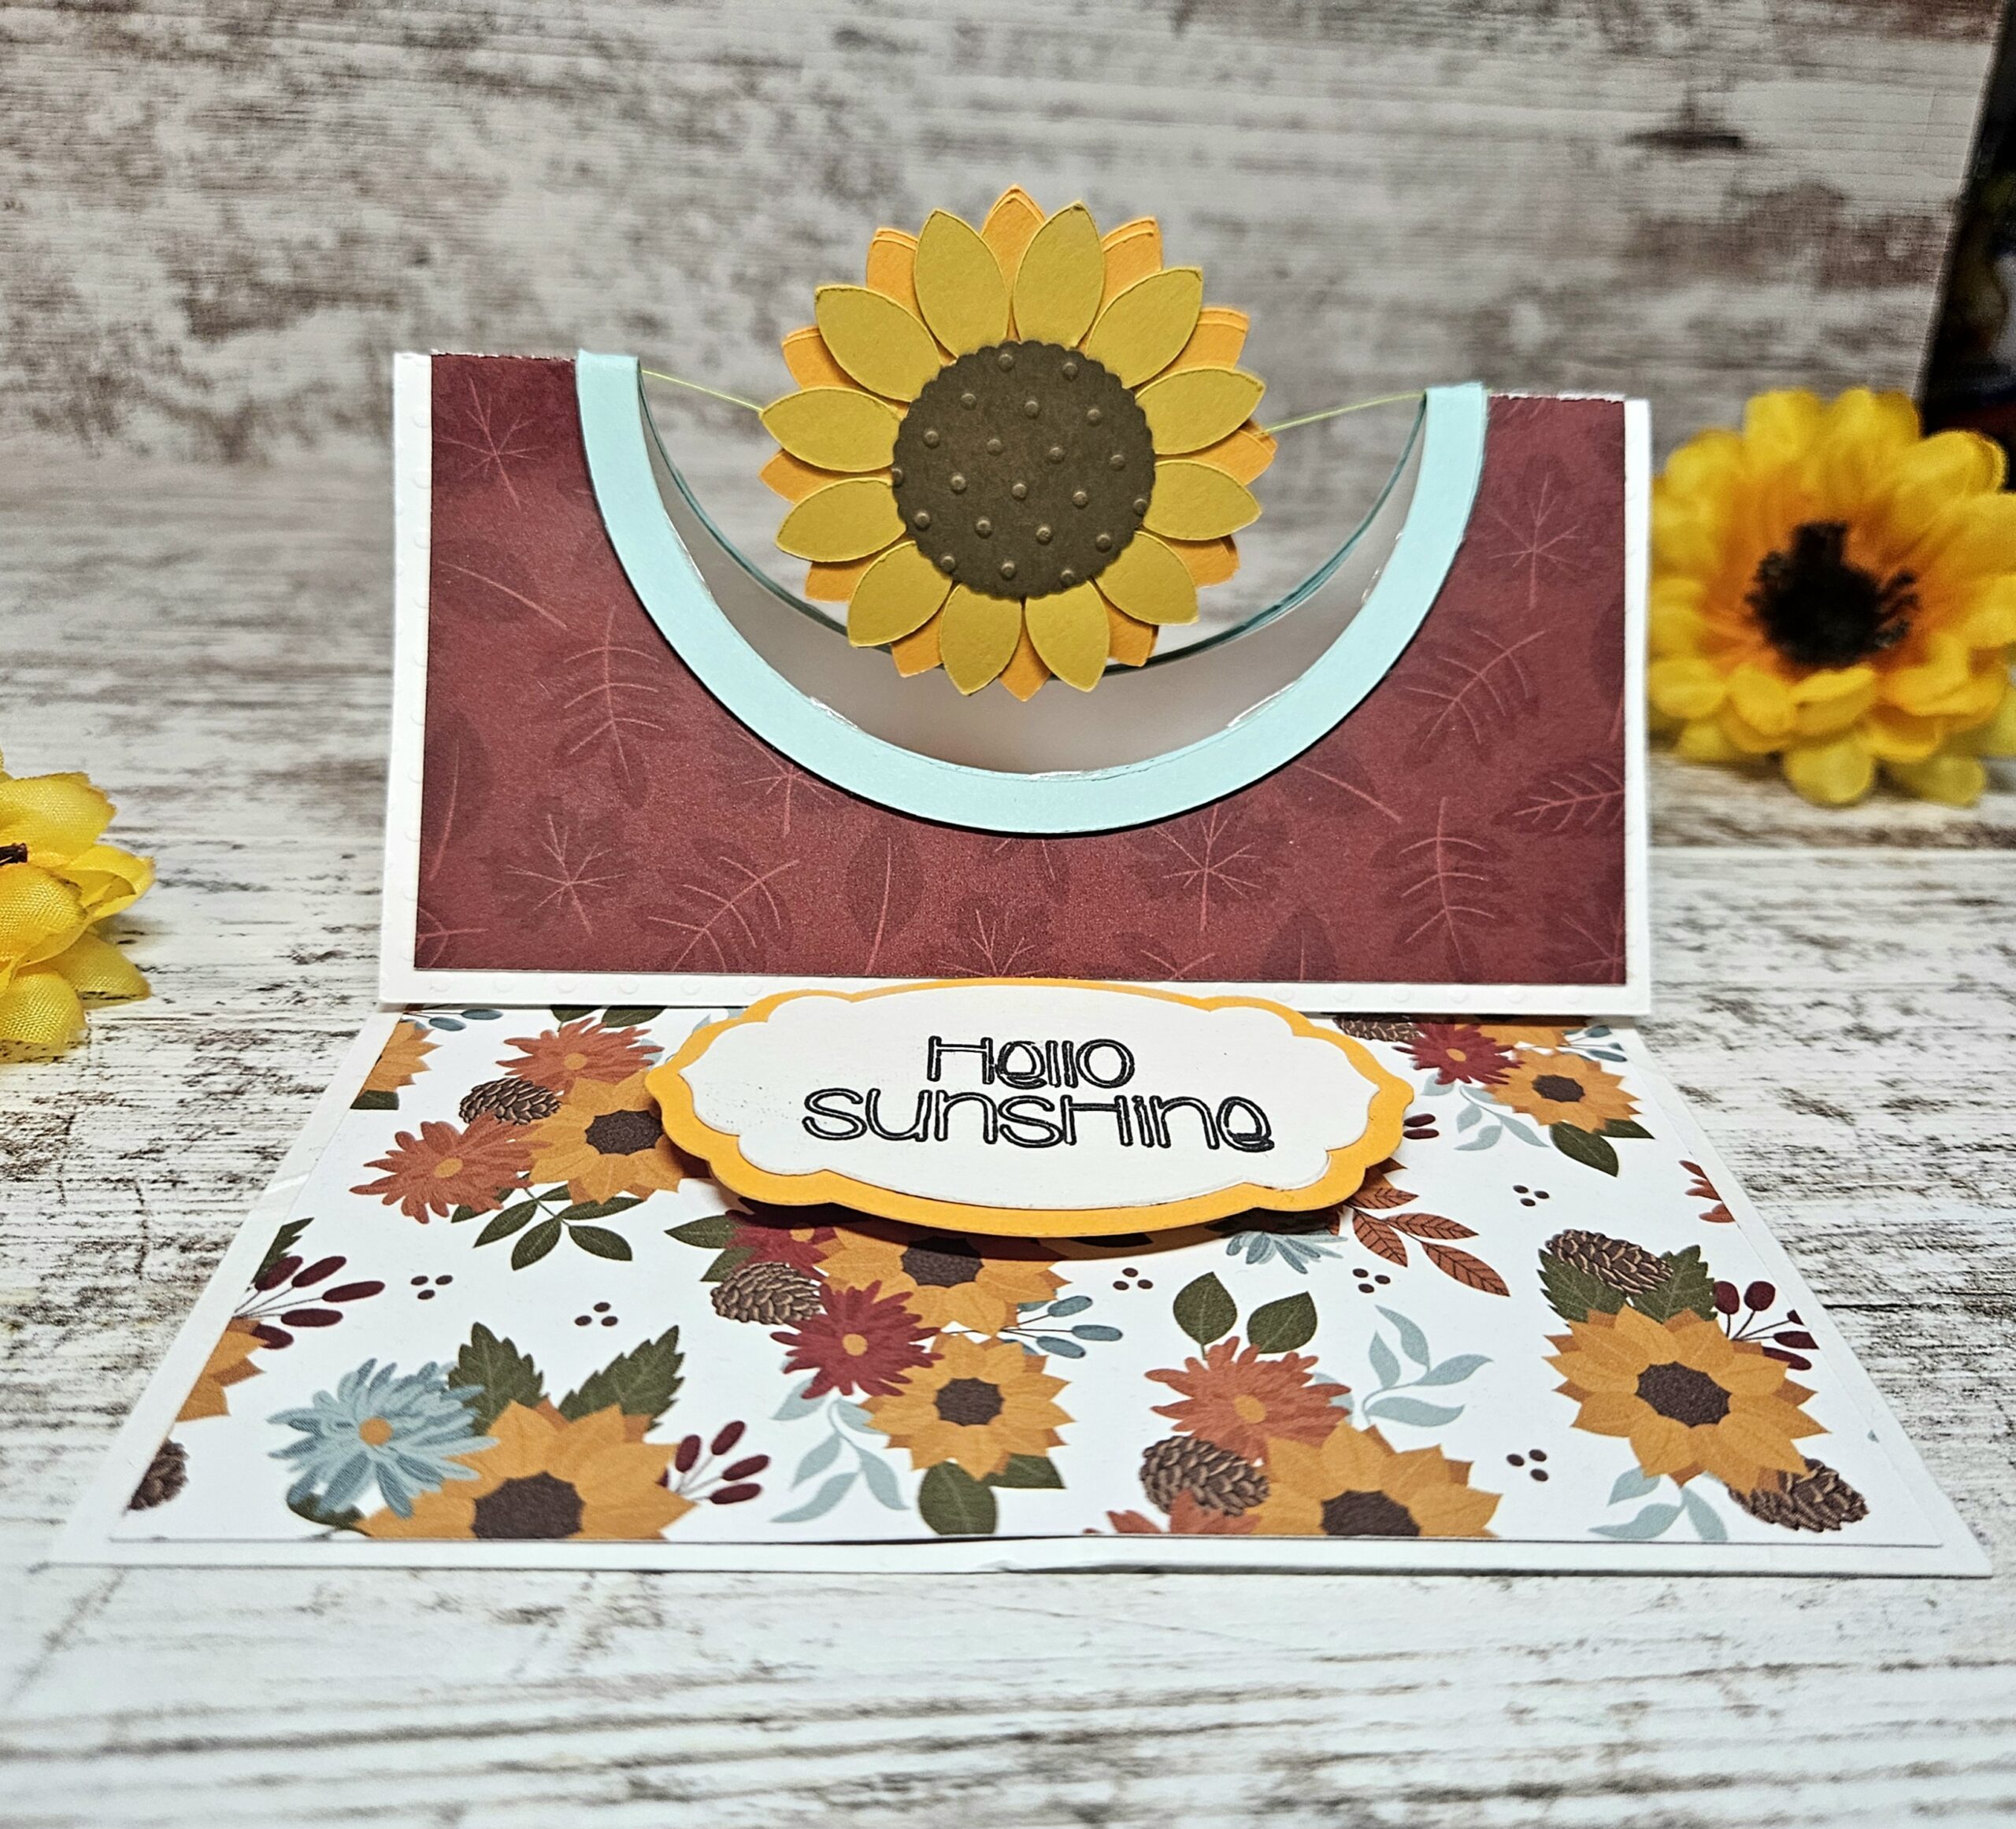
I hope you love this card as much as I do! The 3D effect really makes it feel like a little celebration in an envelope!
Happy crafting!
XO Tamara


.jpg)
.jpg)