Have a great day!
Cathy
Have a great day!
Cathy
We’re excited to introduce the brand-new Doodlebug Farmhouse collection of SVG files, now available in the shop! This adorable set is perfect for all your fall and farm-themed projects. Featuring charming designs like pumpkins, sunflowers, a cornucopia, scarecrow, and turkey, it’s a must-have for anyone who loves the cozy, rustic feel of autumn. Whether you’re crafting for Thanksgiving or simply embracing the harvest season, these files from Doodlebug Designs will add the perfect touch to your creations!
Thanks again for dropping by! Have a GREAT day!
~Lori
Welcome to my Thursday Tutorial !
We are so close to Halloween and I’ve always wanted to make this Halloween Scene Decor file (Lori Whitlock Store or Silhouette Store)-so here it is. It’s actually very easy but it is a decor file so it is much bigger than normal creations.

Here it is all done! It’s over 18 inches long and very cool!

Here you can see the six panels. The bottom three panels are glued on top of the main panels.

You will cut 6 panels with different scenes. They are big–11.5 inches tall and a bit over 6.5 inches wide for each panel. Plan on using 6 pieces of black cardstock with extra left for other projects. I used Michaels paper 65lb cardstock because it cuts details so well, but it wasn’t really strong enough for this stand up scene. My solution was to cut 3 extra panels for a bit more extra strength. I would suggest using heavier paper and all will be good!
You will glue the three full scene panels together. Two panels have a tab. Glue those together and then add the third panel. I would then glue the other three top panels to the main panels, making sure to line up the elements.
You can cut the top panels different colors but I stuck with all black for the panels and changing up the colors for the paper piecing. You can see all the pieces laying on the glued panels so you can see the placement .

Here you can see where all the pieces should be placed. I did cut a purple spider for that third panel for a little more color balance. To isolate the spider I made a copy of that panel (in the Silhouette software hit the Ctrl key and arrow key to make a copy of the selected piece you want) and then I used my knife tool and cut it out of the panel. A little extra trimming with my scissors after it was cut and I was ready to add it to the panel. My favorite pieces of this file are the little brown door boards. They even have itty bitty nail holes at each end! Such detail!
I also used a brick stencil on my buildings to make them look like haunted castles. Scuffed up the rest of the pieces with black chalk and then glued them on. I found a little black bat on my floor so had to add that LOL! I have a lot of Halloween things floating around. Ha! I think it would be fun to add velum behind each panel and then add lights behind it…I might still do that!

I’m excited to add this to my Halloween decorations-it will look spooky on my mantel!
Sue
Hi friends!
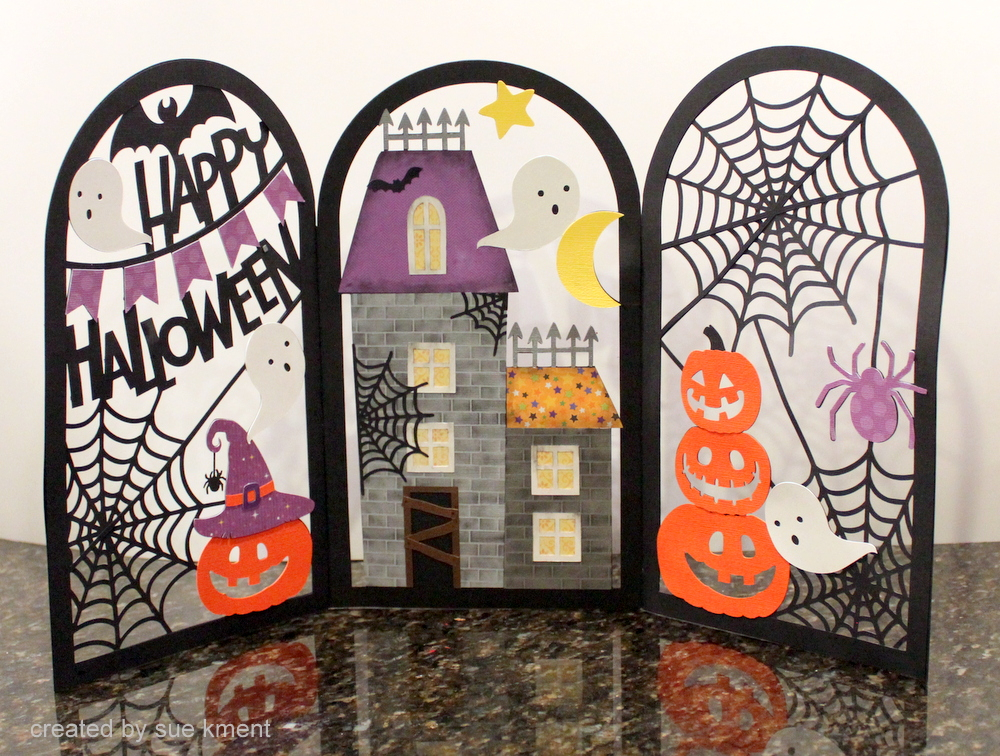
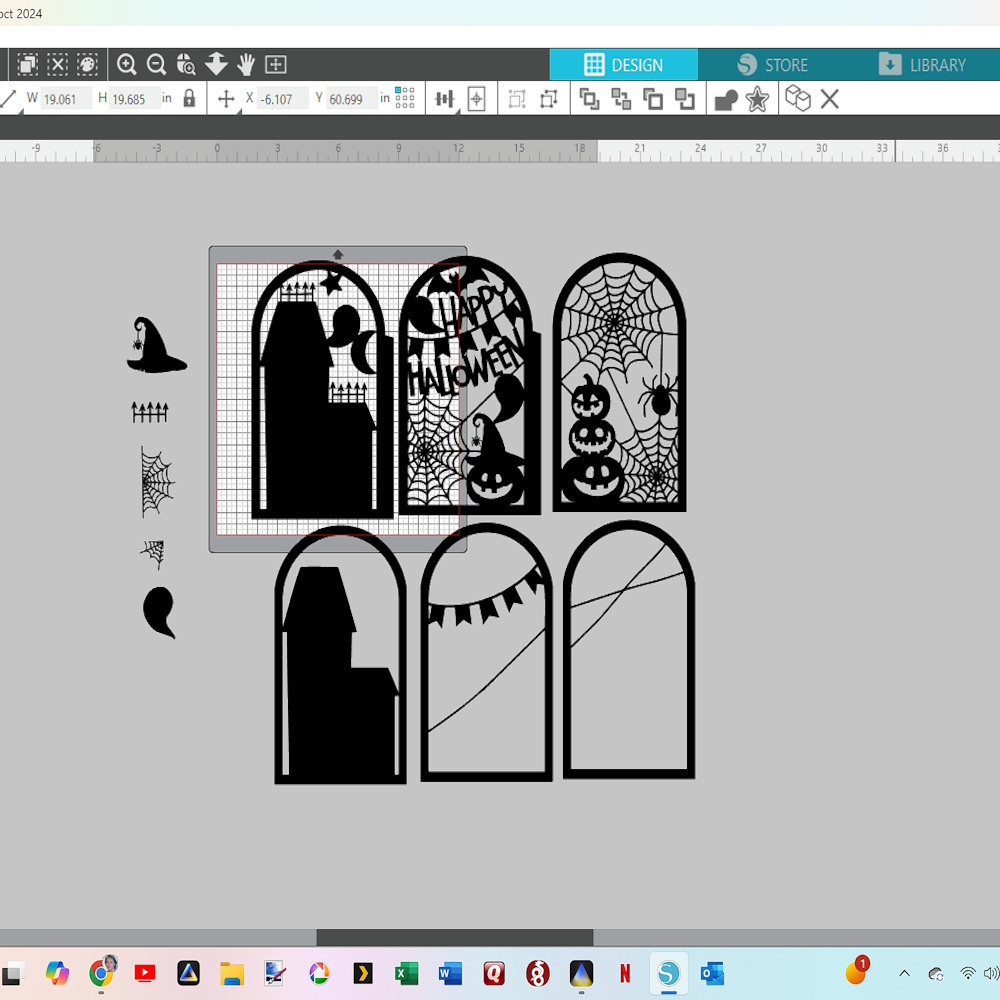
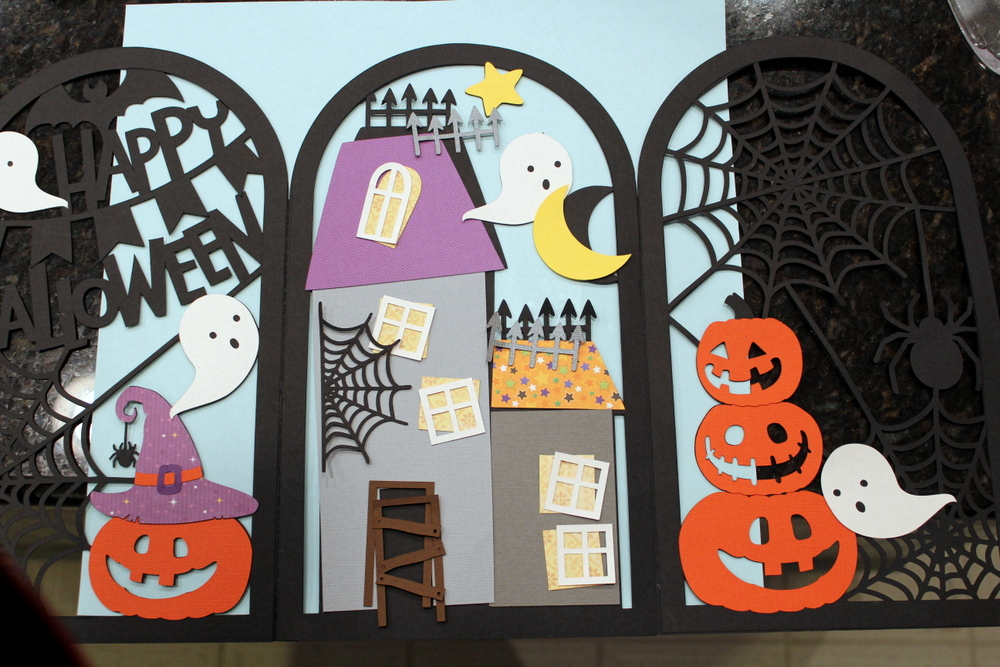
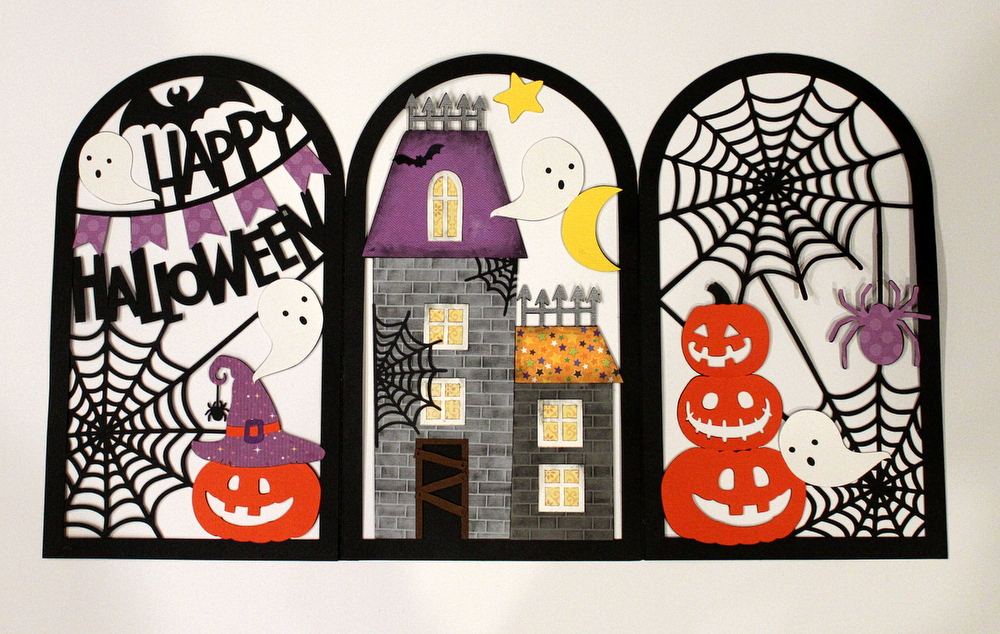
Traci here and today, I’m sharing a fun Halloween Mini Album that’s in the shape of a not-so-scary little haunted house. I made it with a wonderful Lori Whitlock cutting file called Hidden Binding Mini Album House (SVG, Silhouette) and I just love it!
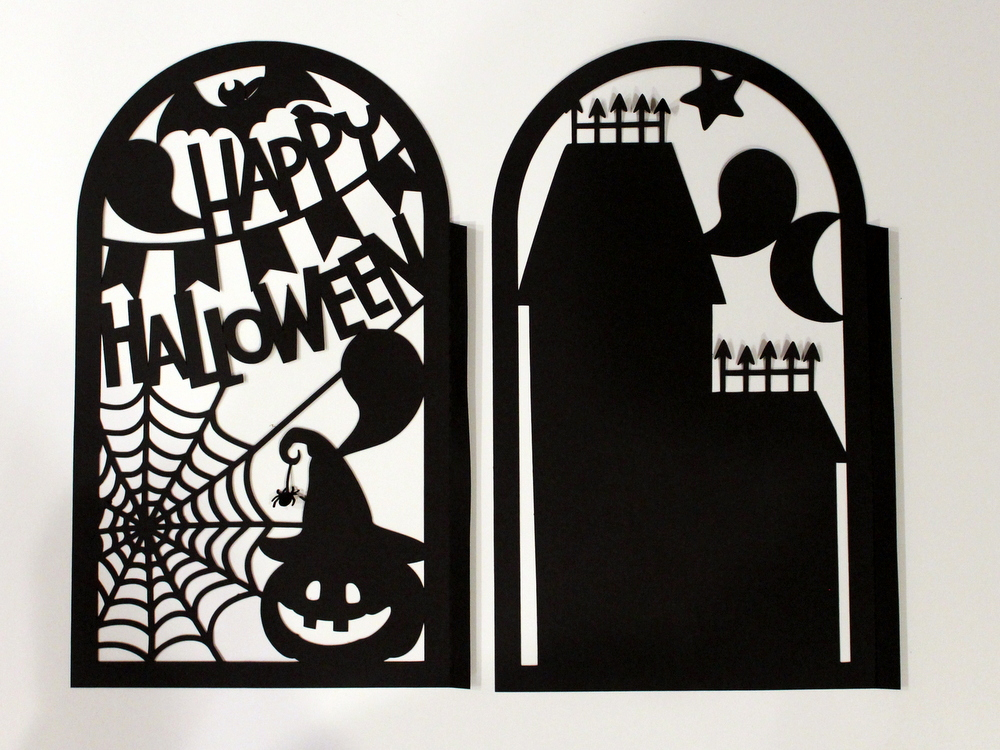
To start, I cut the base out of Bazzill card stock in raven black, then added some cute pattern paper and mini icon stickers from the Doodlebug Happy Haunting Collection. Lori’s file comes with 2 pretty flowers and a front door but, I added some stickers instead to keep with the Halloween theme.
The album uses a hidden binding technique to secure the pages. That allows
enough room in between for pop dots, stickers, die cuts, tags, twine, etc. And, it lays
perfectly flat when closed! You can watch the assembly tutorial for it over on Lori’s YouTube Channel here.
Inside, I wanted 4 pages that were super sturdy so I cut 8 pieces out of black card stock and adhered two back to back to make each of my 4 pages. But, you could create this album with just 4 single pages.
I covered each page in cute pattern papers, photo mats, then decorated with stickers. It’s “frightful & delightful”!
While I designed this as a haunted house, the file could be used for ANY theme just by changing the paper collection. You could decorate it for pictures of family/home, a dog house, fall, a summer beach house, a cabin in the woods, or a winter wonderland in the mountains. It’s so versatile!
On some of the pages, I added scalloped circular photo mats. To make these, I used a 3″ scallop circle punch and a 2.5″ circle punch.
This cute mini album would be great filled with Halloween photos of family, friends, the pumpkin patch, pumpkin carving, a party, a haunted house, a festival, a corn maze, awesome costumes, trick-or-treating, and loads of sweet treats!
This would also make an amazing gift idea for the holiday. Give it to a friend, teacher, babysitter, dog walker, or the hostess of a Halloween party.
Lori has other hidden binding mini album shapes too. I’ve made the flower, telephone, and the tag shape and I’ve loved them all. But she has even more, so be sure to check those out.
I hope you like my Halloween version of this house shaped mini album and it
inspires you to create one yourself. Until next time … happy scrappin’!
Thanks again for dropping by! Have a GREAT day!
~Lori