Life is Better on the Farm

Happy Monday everyone!

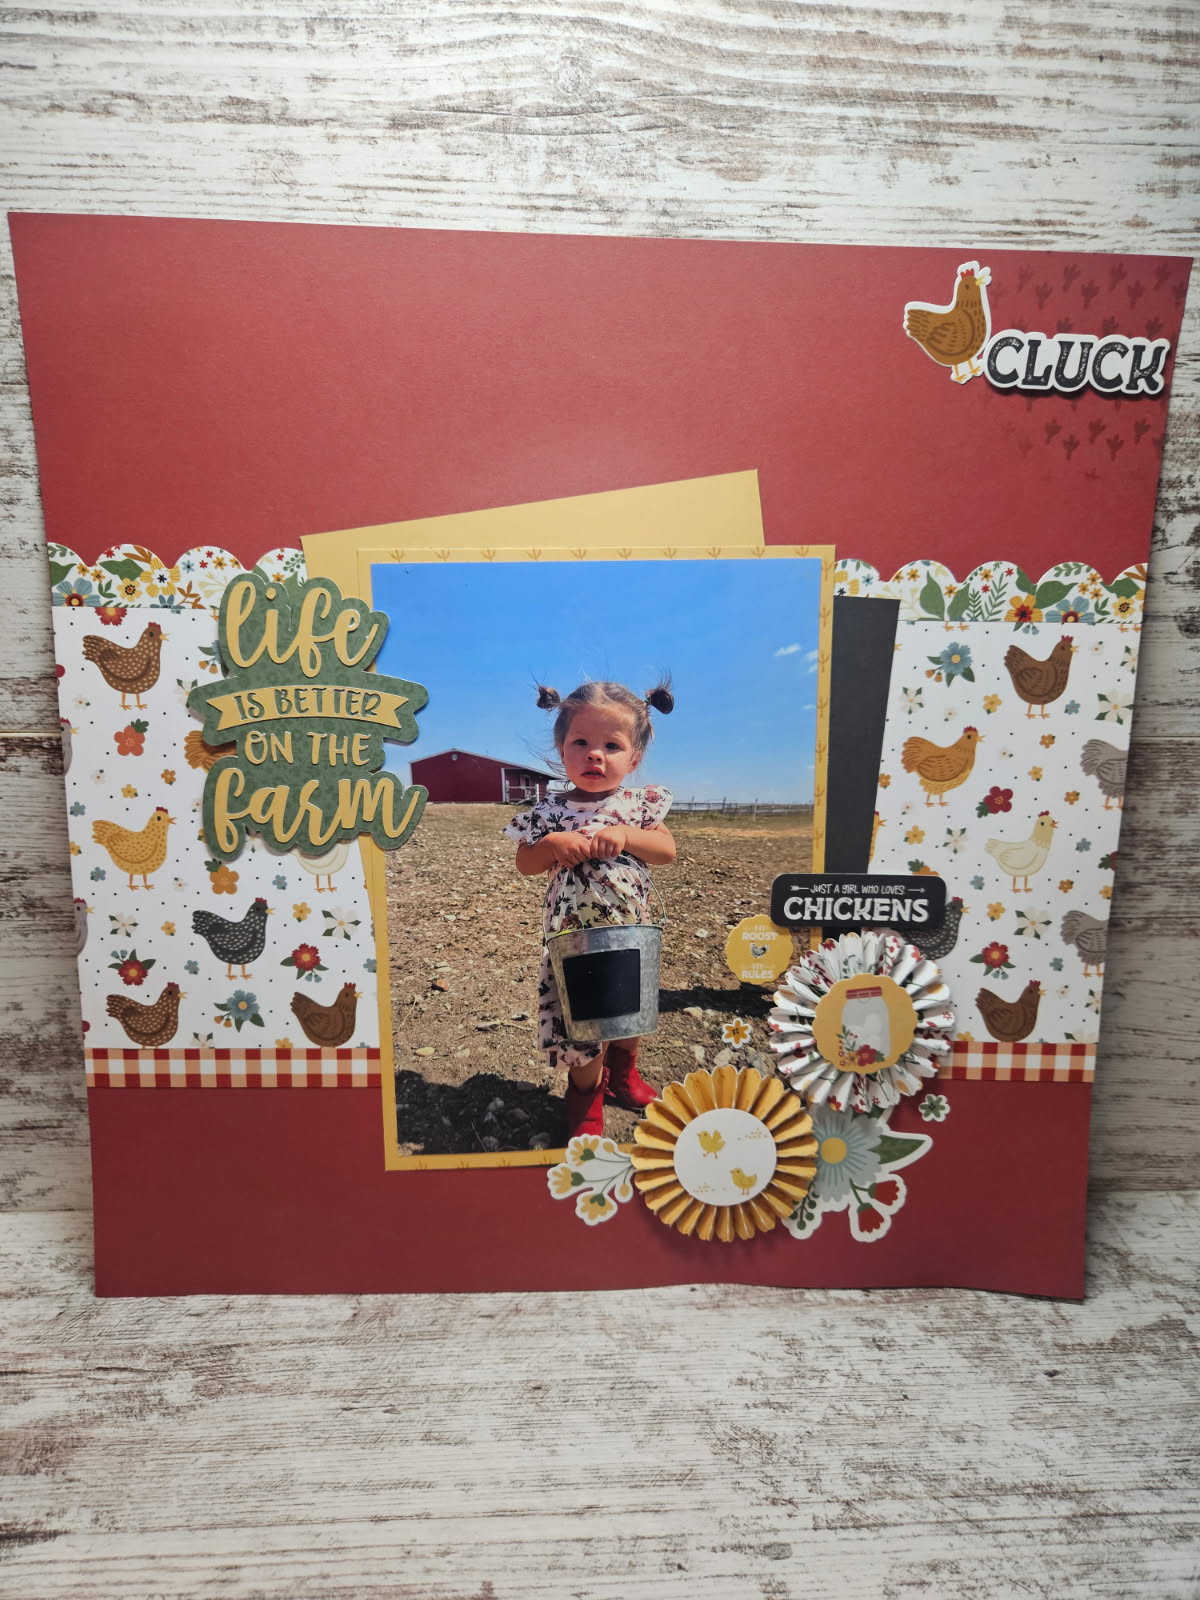
I was so excited when this Chickens paper from Echo Park Paper and Lori Whitlock arrived on my door step. I knew this egg-stra cute photo of my granddaughter taking her bucket of chicken feed to the chickens needed to go on here. Last summer I took the grandkids to their aunt’s farm to see all the animals. Mary was all about feeding the chickens and horses.

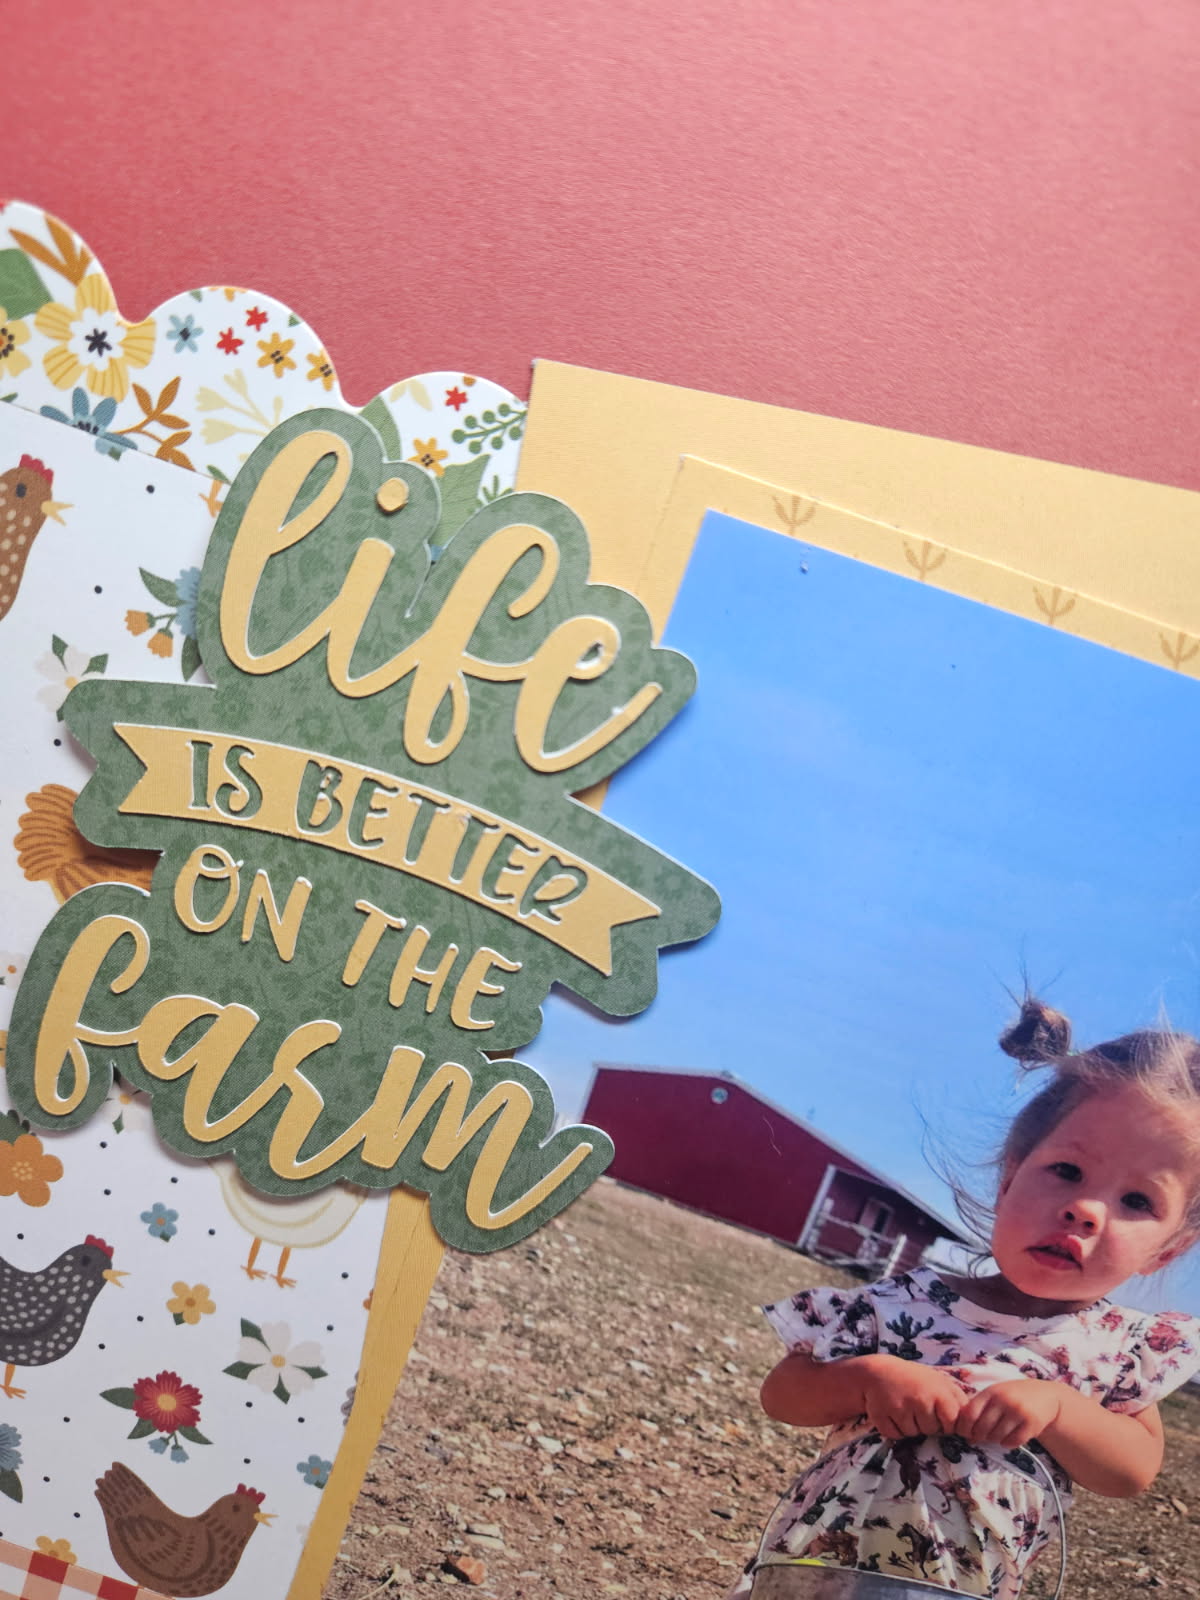
I used the Chickens paper and for my title I used the Life is Better on the Farm 2 image for my title and added a shadow backing.

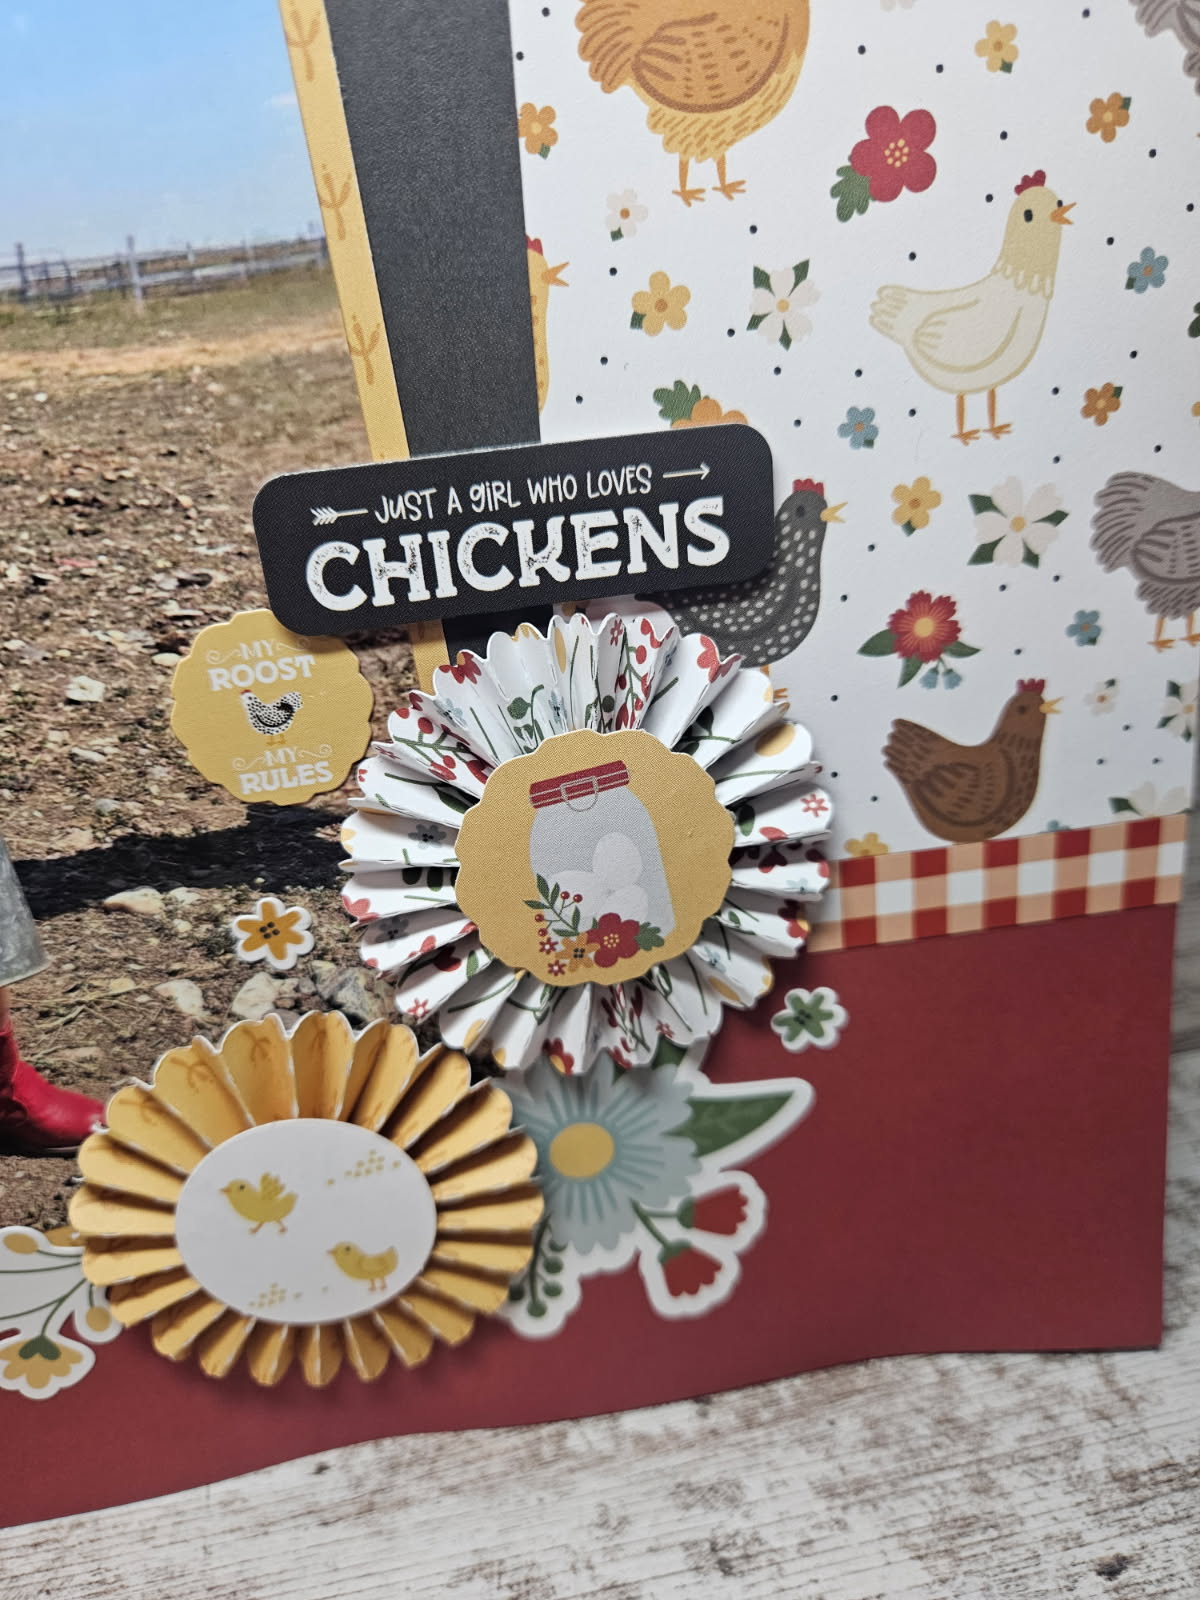
Then I added some rosettes. I used just the rosette part from the A2 Easel Card Valentine Rosette. I used stickers and frames and tags for the centers of the rosettes and around the rosettes.

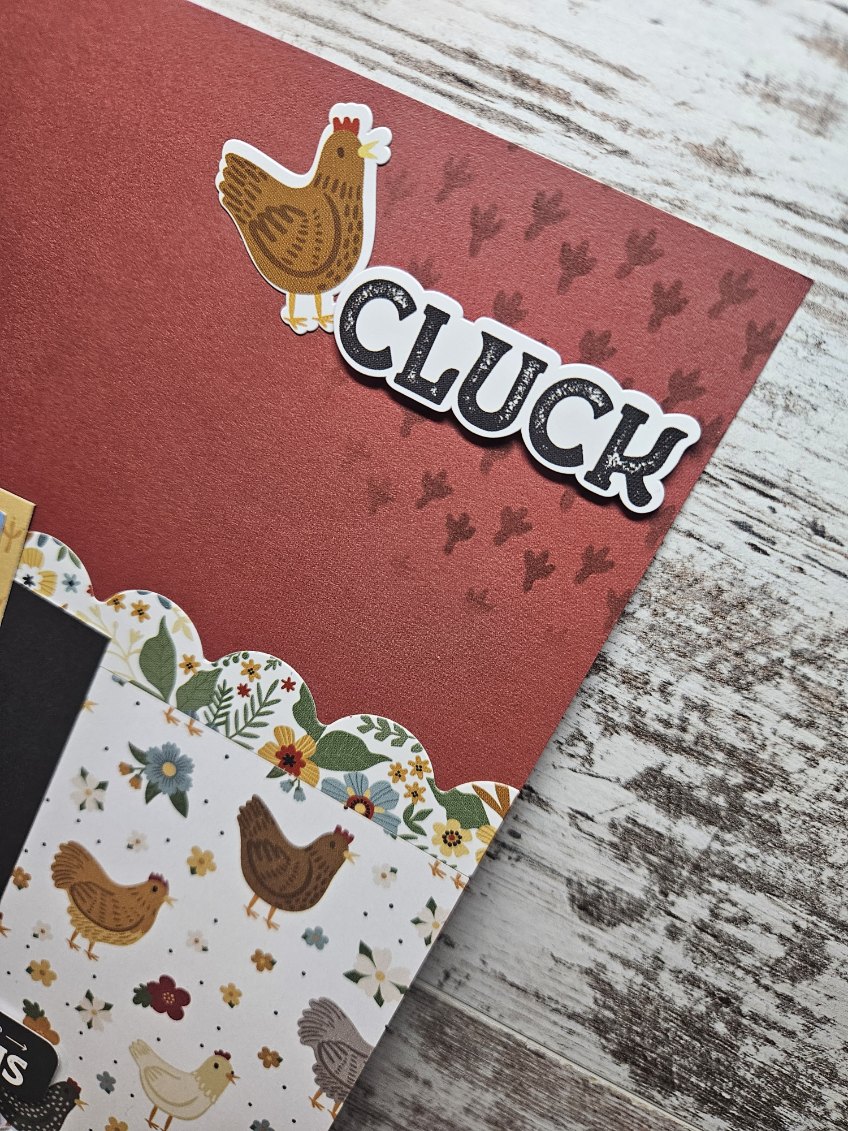
I finished off the layout by inking some feet from the Free Range Feet stencil and adding some stickers.

Thanks for stopping by and  happy crafting!

Number Lace for a Birthday Page Tutorial

Hello everyone! Traci here and today, I have a fun 12×12 scrapbook page and simple tutorial to share with you. I wanted to create a layout for a picture of my sweet grandson’s 4th birthday and I found one of Lori’s cutting files that would be perfect for it.


12x12 Birthday Scrapbook Page layout and Tutorial with numbers, a cake, and balloons

I chose her Number Lace Cutting File (SVG, Silhouette). Not only did it have a number 4 on it, but I also loved the positive and negative spaces it created in the background.


Lori Whitlock Number lace Cutting File

Here’s how I made this layout … 

1. I added the cutting file to my mat and resized it to 10.75 x 10.75”.  I cut it out of white card stock and set that aside. 

2. Next, I used the knife tool to chop down the background into smaller pieces so that I could focus in on the number 4.  I didn’t want to cut the entire background piece again just to get the 4. 


3. Once I isolated the 4 in the file, I deleted everything else and cut this section out of orange paper.


4. Then I used my scissors to trim the rest of the paper from around the number. 


12x12 Birthday Scrapbook Page Layout and Tutorial with numbers, a cake, and balloons


12x12 Birthday Scrapbook Page Layout and Tutorial with numbers, a cake, and balloons

5. Now that I had the white background and the orange number cut out, it was time to create my layout!


12x12 Birthday Scrapbook Page Layout and Tutorial with numbers, a cake, and balloons

I used the Echo Park, Vroom Collection that was also designed by Lori. I decorated my Race Car Mini Album with it and the colors and patterns were just what I was looking for. 


12x12 Birthday Scrapbook Page Layout made with the Lori Whitlock Number Lace Cutting File

I started with the orange 12×12 pattern called Ready Set Go Stripes as my base and layered the blue Winner Winner print and Ready Racers paper on top. Then, I added the white number lace sheet and I backed each corner with a yellow triangle cut from a solid in the Vroom Collection.


12x12 Birthday Scrapbook Page Layout and Tutorial with numbers, a cake, and balloons

Next, I adhered the orange 4 on top of the white 4 that’s part of the background. I cut some photo mats out of a few other papers from the Vroom Collection and I added my photo.


12x12 Birthday Scrapbook Page with numbers, a cake, and balloons

Then, I finished the layout with lots of fun embellishments. The “Let’s Go” is from the Vroom 12×12 sticker sheet. And the other birthday themed stickers and die cuts are from the Bella Blvd, Birthday Bash Collection. 

I hope this project inspires you to create something wonderful with Lori’s Number Lace Cutting File (SVG, Silhouette). Until next time, happy scrapping! 😊


Blog * Shop * Facebook * Instagram * Pinterest

12×12 Easter Bunny Page

Hello friends! Traci here and today, I have a cute 12×12 Easter scrapbook page to share with you. I made it using two of Lori’s pretty cutting files and lots of colorful papers. Since Easter is this Sunday, I thought a fun layout would be perfect for a few holiday photos of coloring eggs. Take a look …


12x12 Easter Bunny Scrapbook Page with pretty flowers, carrots, and colorful eggs

This sweet bunny rabbit is the star of this page! I just 🩷 her little flower crown. So, let’s start with her …

12x12 Easter Bunny Scrapbook Page with pretty flowers, carrots, and colorful eggs


I used Lori’s adorable 5×7 Easter Bunny Card 4 file (SVG, Silhouette) and a colorful mix of solid card stock. I assembled the pieces, then added
some enamel dots to the flowers for sparkle. 

12x12 Easter Bunny Scrapbook Page with pretty flowers, carrots, and colorful enamel dots


She’s so cute … she deserved a close-up! 


12x12 Easter Bunny Scrapbook Page with a scalloped border, pretty flowers, and enamel dots

Next, I chose another one of Lori’s cutting files called 4 Spring Borders (SVG, Silhouette) to make this pretty scalloped piece. Now … time to build the page!


12x12 Easter Bunny Scrapbook Page with pretty flowers, a scalloped journaling spot, and colorful stripes

To begin, I chose a rainbow stripe pattern paper from the Doodlebug Design Bunny Hop
Collection as the base. Then, I added bubblegum card stock at the top and the scalloped border in the middle.

In the top corner, I adhered the “coloring”, “eggs”, and flower die cuts from the Bunny Hop Collection along with some pretty enamel sprinkles. And for the journaling spot, I used 3 punches to make this … a 3″ scallop circle, a 2.5″ circle, and a 2.25″ circle then layered them all.


12x12 Easter Bunny Scrapbook Page with pretty flowers, colorful eggs, and a scalloped border

Next, were the photo mats. I cut 2 out of limeade paper and added more die cuts, dots, and the “Happy” tab.

12x12 Easter Bunny Scrapbook Page with pretty flowers, carrots, and colorful eggs

As a finishing touch, I gave the bunny 3 colorful egg die cuts to hold on to, and … she’s ready for Easter! Yep … she and her carrots are pretty cute. 🥕🐰🥕

I hope this layout gives you a little holiday inspiration. I had so much fun using the 5×7 Easter Bunny Card 4 and the 4 Spring Borders cutting files. Highly recommend! Thanks for stopping by and have a great day.


Blog * Shop * Facebook * Instagram * Pinterest

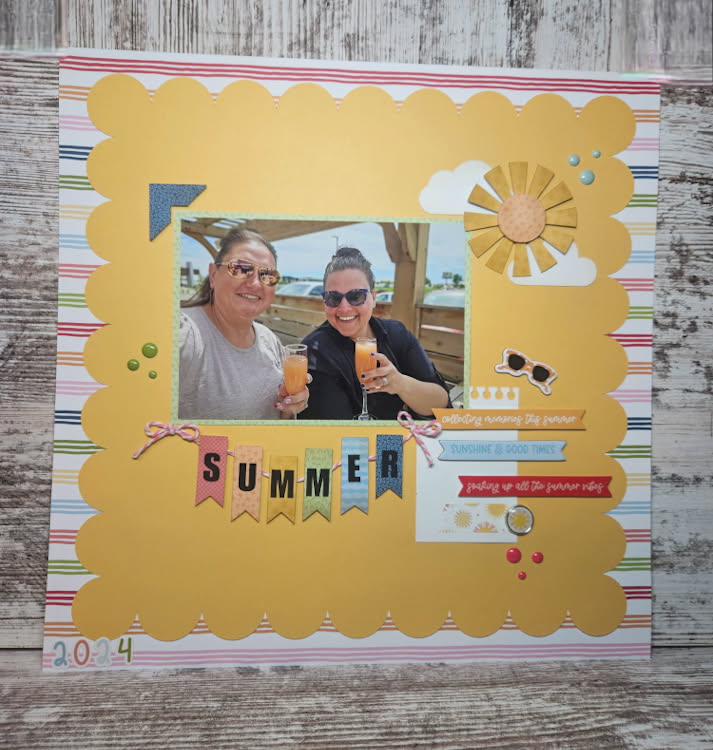
Summer Layout Tutorial

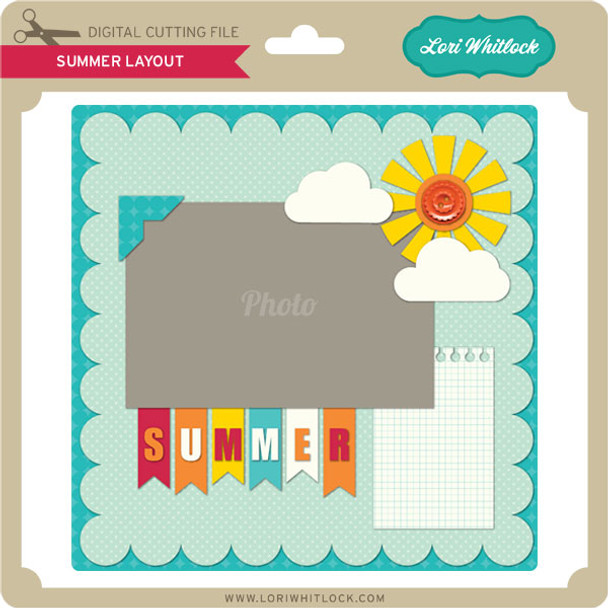
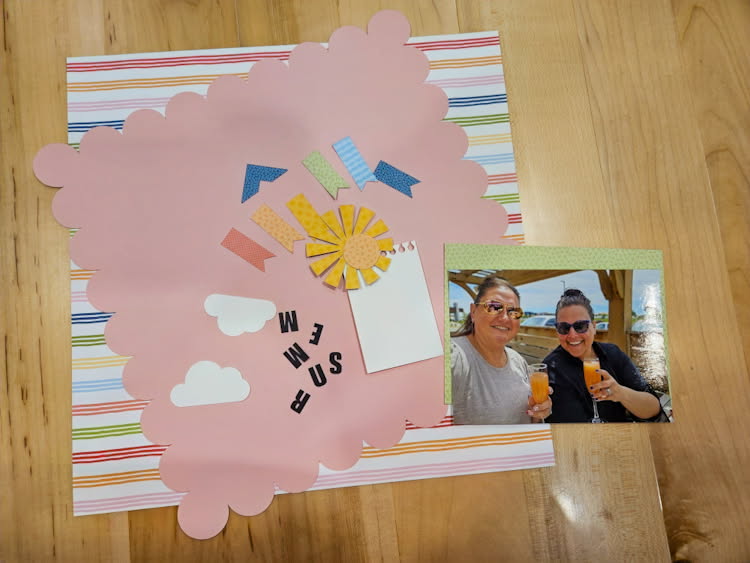
Hello! We got the dreamiest paper in the mail last week and I couldn’t wait to create with it.  Echo Park’s Have A Great Summer designed by Lori Whitlock has all the best colors and papers. It made me think of how fun this layout would be with these papers.

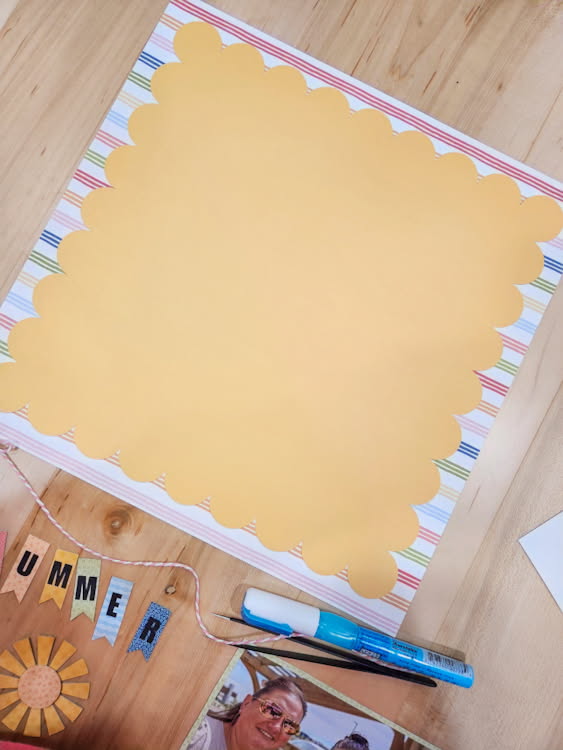
First I decided on papers and made my cuts. (*If you are making this on cricut, check your sizes, my scallop page cut 7×7 so I had to adjust.)

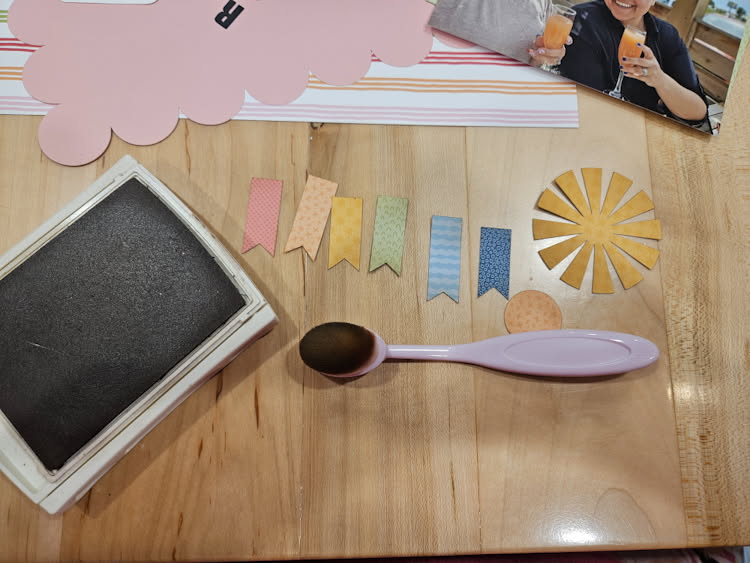
I went ahead and inked all my little pieces

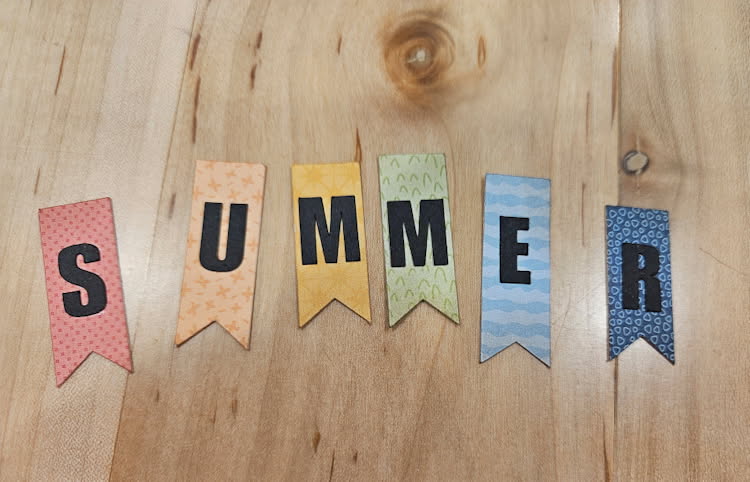
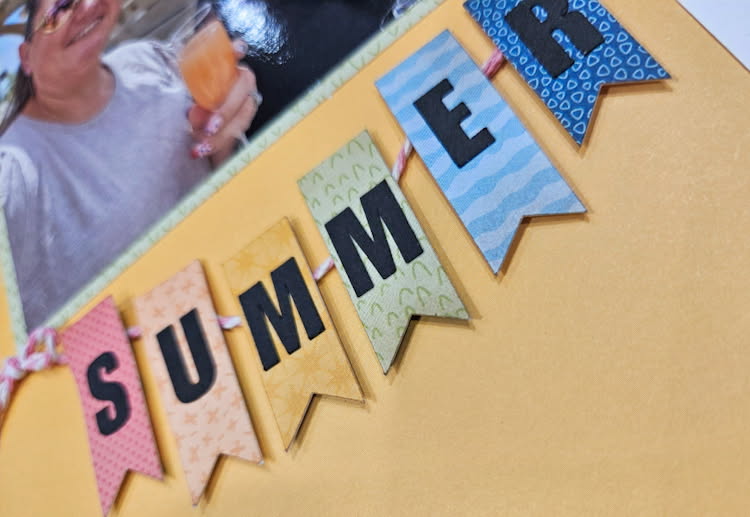
And then I added letters to the banner pieces.

One thing I’ve learned over the years is it’s never a bad things to flip the paper over. I had originally thought I wanted to use the pink side of the solid paper, but it just wasn’t as summery so I flipped it and used the yellow. I love that I did. So bright and fun.

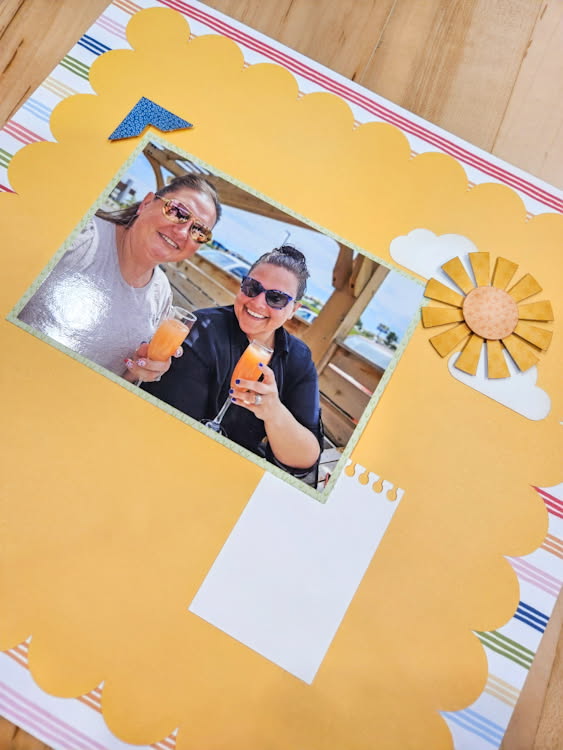
I added my photo and took a few liberties with positioning the other elements. I made sure my sun was over my clouds so it wouldn’t blend into the background and popped the photo corner up on the outside of the photo.

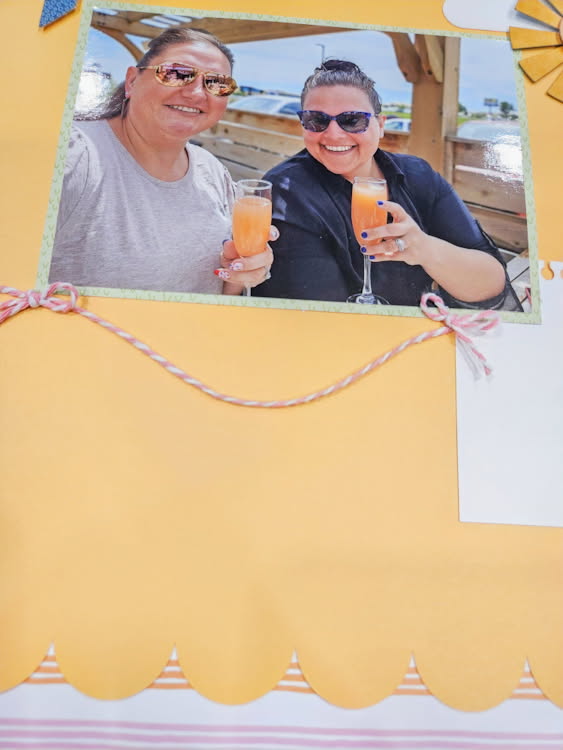
My banner I wanted on a string so I added my bakers twine and then popped the banners up over top of the bakers twine.

Finished off the layout with some chipboard and stickers from the Have A Great Summer line and a few enamel dots.

Thanks for stopping by and Happy Crafting!

Chelsea

Bee-utiful Day! Layout

Happy Monday everyone!  I have some fun layouts to share with you today featuring Lori’s Bee Happy Collection,  This collection is just pure joy as are these pictures of me and my besties visiting the Friends set in Denver a couple years ago.  We had the best time.  Oh the memories of that trip!

For the first layout I used this Shaped Bee Card in Lori’s Shop or here in the Silhouette store,  and I just used the top layer to create this little guy and I used 11 Hearts in Lori’s Shop or here in the Silhouette Store, for all the little hearts scattered and stitched on the layout.

And for this next layout with that famous door to Monica’s apartment…I used just the top layer of the Flower Shaped Mother’s Day Card in Lori’s Shop or here in the Silhouette Shop,
Flower shaped mothers day card,  I love it on this page!


Thanks for stopping by!
Cathy