5×7 Shaped Card Flower Cluster turned Layout

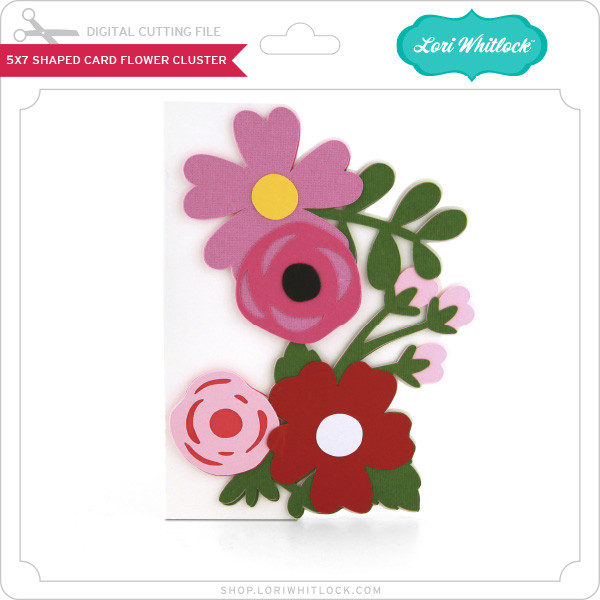
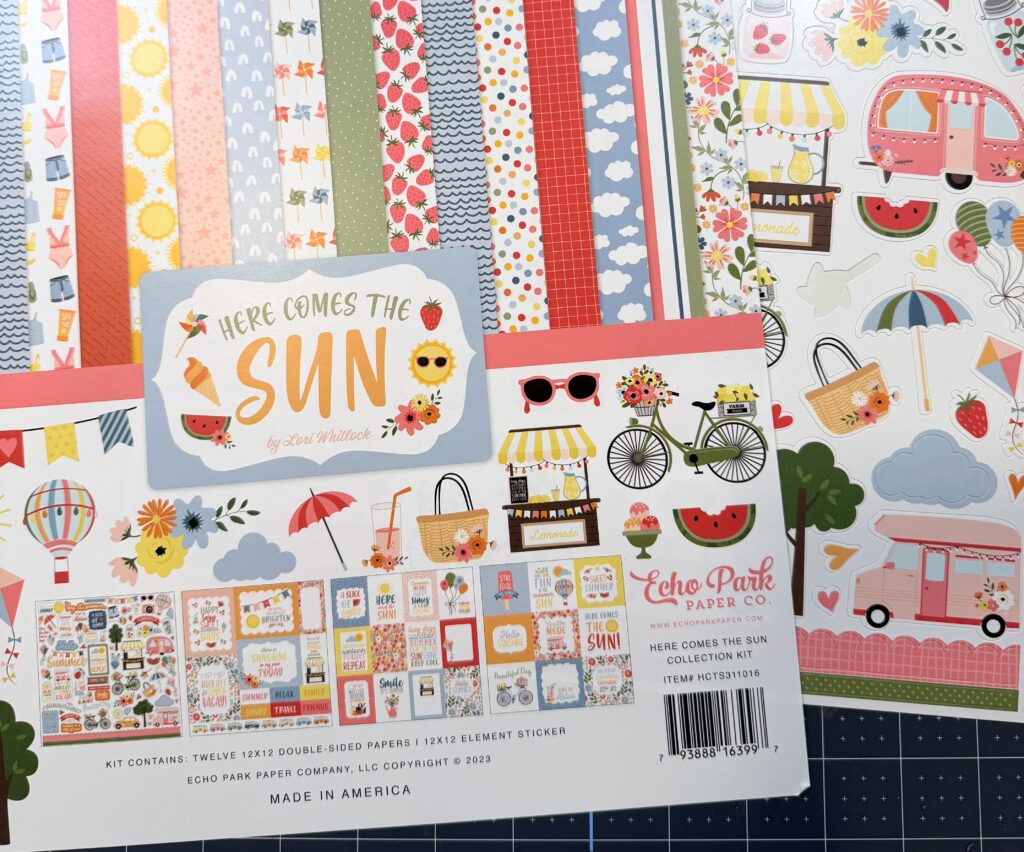
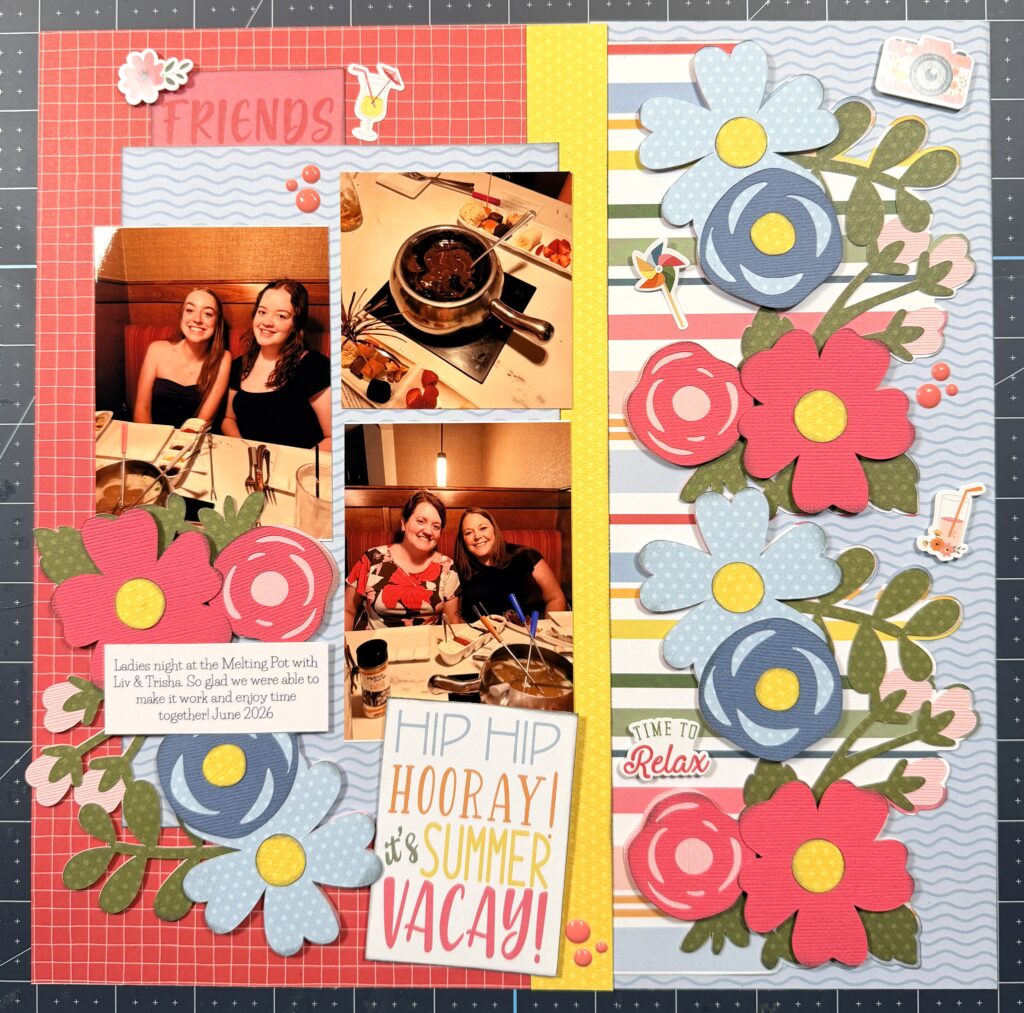
Hello, crafty friends! This is Lindsay, sharing a layout that I created using the 5×7 Shaped Card Flower Cluster (svg, silhouette). I combined bright, colorful cardstock with the “Here Comes the Sun” collection, designed by Lori for Echo Park. I am a layout girl at heart. When I saw the outer offset shape of this card, I just knew it would be the perfect layered border. Let me show you how I did it!

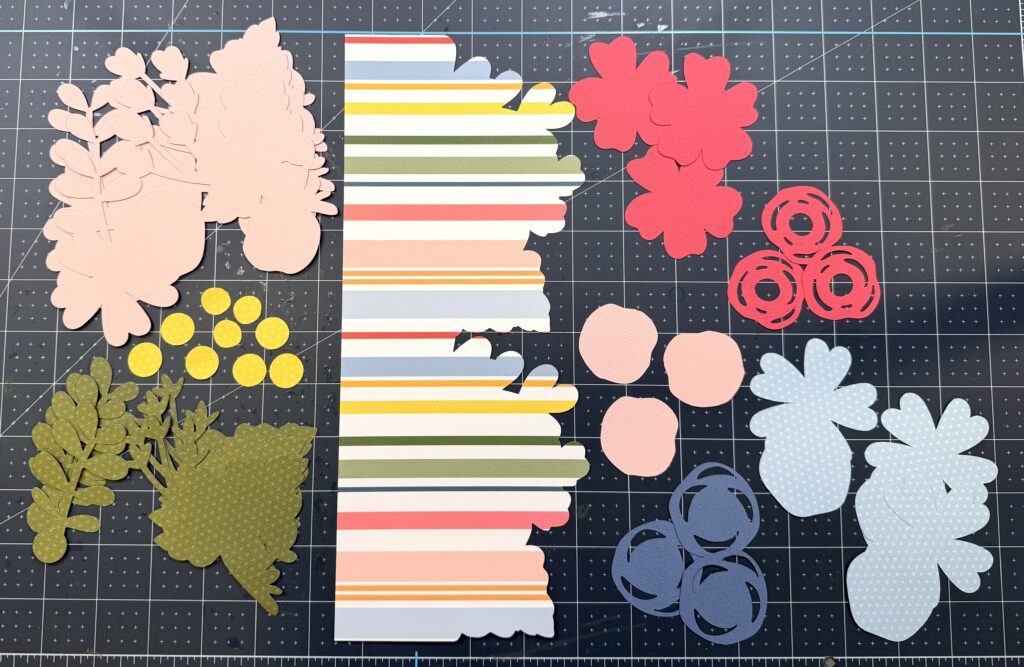
I started by opening the project in Design Space. I changed the card height to 6″, and the width automatically adjusted. Then I created a second copy of the entire card. I welded the base card pieces together (bottom of one card to the top of the other card), making one long 12″ piece, and then I sliced off the back panel of the card. If that sounds too complicated, just cut the card twice, remove the back panels (on the other side of the fold) and hide the seam. Because I used striped paper, I could easily camouflage a cut line. Then, I cut all of the florals 3 times with various colors of coordinating cardstock. Two sets will be used on the offset card panel, and an additional flower cluster will be used to accent my photos.

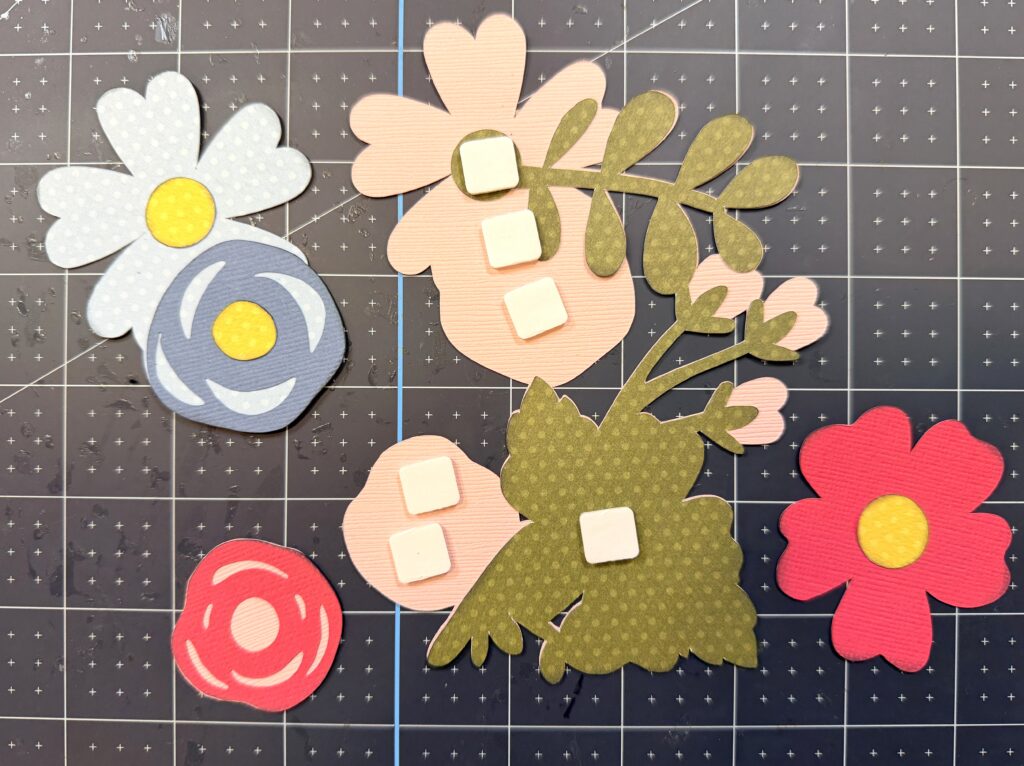
Next, I assembled all of the flowers. I inked the edges and then used foam adhesive for some of the layers.

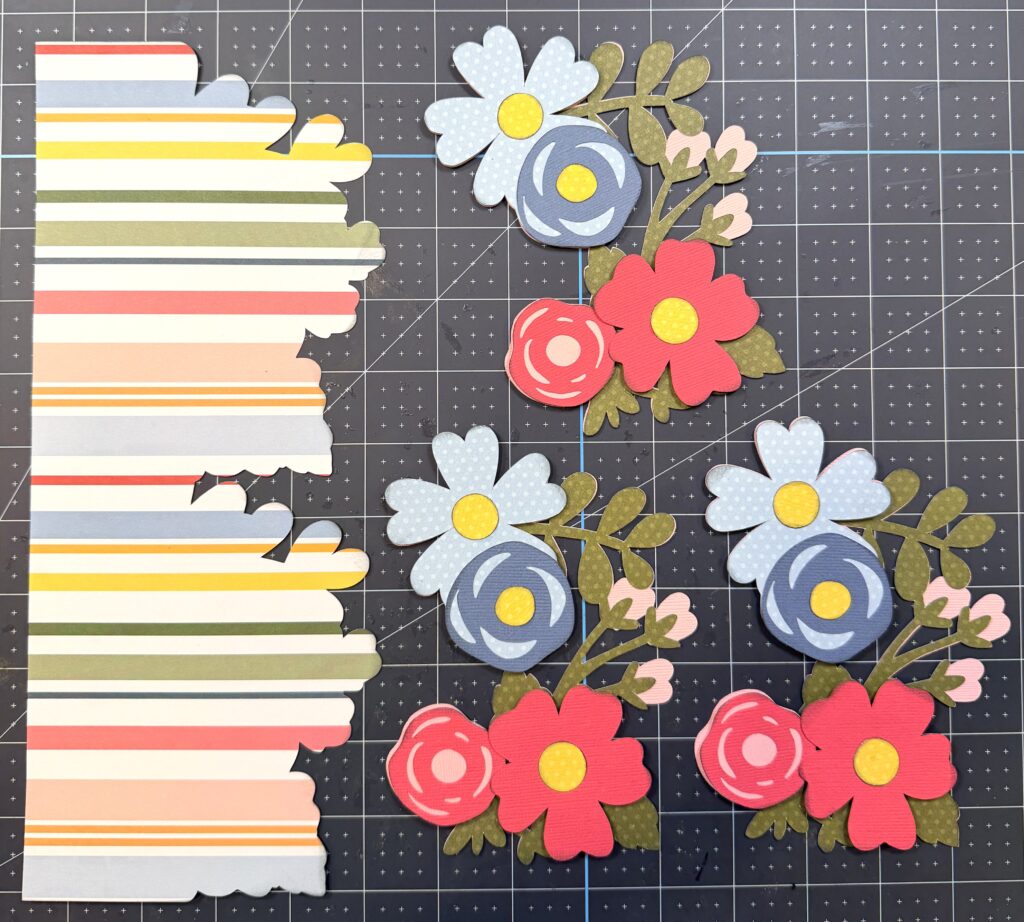
Now it’s time to add the florals onto the large offset and create the layout. I used the red grid paper as my background piece. The blue waves paper is 5″x 12″. I added a 1″ yellow accent strip before adhering my floral piece. I added a 5.5″x 8.5″ piece of blue waves paper behind the photos. My photos measure 3″x 4″ (2) and 3″x 3″. At the corner of the photo piece, I added the third floral cluster. I finished off the page with some stickers, the title card and enamel dots. I am so happy with the end result!

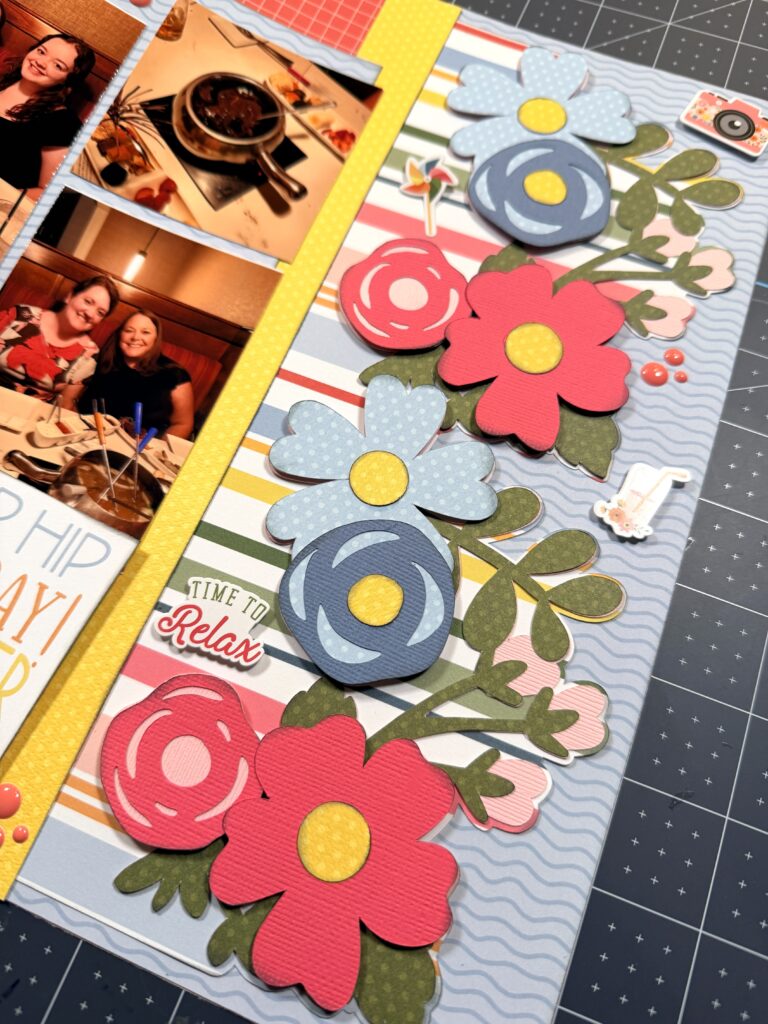
Here is a closer look at the beautiful accent border.

I hope this layout has inspired you to think creatively about all of the files you see on Lori’s site. Most can be modified to be amazing accents on scrapbook layouts. Thanks for stopping by today. Happy crafting! — Lindsay

5×5 Mini Album in a Box

Hi ladies! Traci here and today, I’m sharing a super cute mini album with a video tutorial. I’ll walk you through how I made this scrapbook using one of Lori’s amazing cutting files. It’s a fun project that’s perfect for photos of spring, family, friends, St. Patrick’s Day, and fun every day memories!


Since my Lori Whitlock and Doodlebug Design Team Projects fell on the same day, I combined their products to create this happy and colorful keepsake. I used Lori’s 5×5 Album with Box File (SVG, Silhouette) and Doodlebug’s cute Lucky Me Collection.


The cut file makes a box and a mini album that fits perfectly inside. I cut the base out of white cardstock, then decorated it with lots of 12×12 pattern papers and fun embellishments.


I made this with a spring theme but you could use ANY collection and create it for Easter, Mother’s Day, a birthday, summer, etc. What a great gift idea, and … it comes with it’s own box, lol!


The 
album is a perfect size. At 5×5 inches, it’s not too big, not too small … but just right for pictures of a fun event, family, friends, or baby pics. I’m thinking cute mom / grandma’s brag book!


Inside, there are 12 scrapbook pages (6 double-sided). I covered them in bright and cheerful 12×12 pattern papers, then added lots of cute die cuts, colorful enamel dots, and photo mats. 

Here are a few more pages … 


To watch my step-by-step YouTube Video Tutorial for this project, click on the video below …


I hope you like this fun mini album and it inspires you to create one too with Lori’s 5×5 Album with Box File (SVG, Silhouette). Have a great day and happy scrapping! 😊


Blog * Shop * Facebook * Instagram * Pinterest * YouTube

12×12 Heart Background Page

Hello, crafty friends! Traci here and today, I’m sharing a 12×12 scrapbook layout that’s perfect for your Valentine’s Day photos. I created it with one of Lori’s gorgeous cutting files called Square Background Set 2 (SVG, Silhouette). It’s filled with the cutest heart cutouts and ohhhh, how I love it! 


12x12 Love Bug Valentine's Day Scrapbook Layout with heart cutouts, flowers, a rainbow, and a ladybug

I used the file to create the beautiful white heart border / background. Then, I added square photo mats made from pattern papers and embellishments from Doodlebug’s Lots of Love Collection.  


12x12 Love Bug Valentine's Day Scrapbook Layout with heart cutouts and pretty flowers

To make it, I started with a sheet of 12×12 red Bazzill cardstock as the base. I cut Lori’s file out of white cardstock and a blue pattern by Doodlebug called Buffalo Check and Woodgrain in the swimming pool color. 


12x12 Love Bug Valentine's Day Scrapbook Layout with heart cutouts and pretty flowers

Next, I layered the white paper on top of the base cardstock. I love how the red shows through the cutouts. But for a little more color, I glued the little blue hearts from my second cut all around the edge. 


12x12 Love Bug Valentine's Day Scrapbook Layout with heart cutouts, flowers, a rainbow, and a ladybug

The heart cutouts are perfect for my Valentine page and I love how they can be customized. You could make all of the hearts different colors or every other heart a different color.  

Here’s what the file looks like … 


Lori Whitlock Square Background Set 2 Cutting File


So gorgeous! And it’s definitely not just for Valentines Day – hearts can be used for anything! With a different paper collection, you could use this file for birthday, wedding, family, pets, etc. The possibilities are endless!

Lori has lots of amazing background cutting files in her shop and they’re so fun to create with. I hope today’s layout inspires you to use one in your next project. Thanks for stopping by the blog and happy scrapping! 

Blog * Shop * Facebook * Instagram * Pinterest * YouTube

Heart Shaped Box and Mini Album

Hi sweet friends! Traci here and today, I’m sharing a fun Valentine’s Day project with a tutorial. I made a heart shaped box with scrapbook pages tucked inside that are perfect for photos of your loved ones. I used Lori’s beautiful cutting file called Big Heart Shaped Box Roses (SVG, Silhouette) and it turned out so pretty. 💕


The lid of this box is gorgeous. I love its scalloped edge and the rose flower cut-outs. I used pink and white card stock and the Doodlebug Design, Lots of Love Collection to create this project.  

Here’s what the file looks like …


This box is so pretty. It measures 6″ x 6.75″ x 2.5″ and could be used for small gifts like jewelry, a toy, love notes, cookies, candy, a gift card, money, or directions for a Valentine’s Day scavenger hunt. How fun!


I used the same file to create the heart shaped pages. I didn’t bind them because, with a ring, they didn’t fit properly in the box. But that’s ok … they’re perfectly secure inside and now they’re even more interactive! 


I covered the white pages in 12×12 and 6×6 prints from the Lots of Love Collection and created photo mats with a 3″ scalloped punch and a 2.5″ circle punch. Then, I decorated with lots of cute die cuts. Love!

Now, time for the tutorial …


1.  First I cut out all of the pieces. 

2.  The pink ones are for the lid. 

3. And the white pieces are for the base of the box. 

4.  Next, I folded all the long strips (2 pink and 2 white) along the score lines. The little notches will be glued around the flat heart shapes to create the sides of the lid and box.

5.  Each strip fits around one side. I prefer liquid glue for this so that each of the notches can slide into place around the curves of the heart. 

6.  Once both strips are adhered, the lid will look like this.

7.  I repeated the same steps for the box, folding on the score lines and then adhering each strip around the base heart shape. The cutting file includes 2 heart shapes for the box, and two for the lid. Once the sides are adhered to each piece, the extra hearts are glued over the notches for a seamless look.  

8. For my shaped pages, I made a smaller heart by creating an internal offset of the original and cut out 4 pieces. This gave me 8 scrapbook pages (4 double sided), but there’s plenty of room in the box for more.

9.  I created another internal offset to get an even smaller shape for the pattern paper. 

10. I layered the card stock pieces, making these pages nice and sturdy. 

11. And finally, I adhered the intricate rose design on top of the white scallop heart and added both pieces to the lid of the box. It’s so pretty!

I hope today’s project and Lori’s amazing cutting file inspire you. This box and mini album make a beautiful gift idea for Valentine’s Day, a birthday, Mother’s Day, graduation, or any day! Thanks for stopping by the blog and happy scrapping. 😊


Blog * Shop * Facebook * Instagram * Pinterest * YouTube

Cookies For Santa Layout

And the countdown to Christmas is on! Who’s ready? NOT ME!! But I did take a great cookie decorating class recently to have some cute Christmas cookies and what a better way to show everyone the cookies than creating a layout!

I used the Echo Park Paper line that Lori designed called Santa Claus found HERE.

I used 3D Cookies For Santa SVG from Lori’s website found HERE. But instead of making it a card, I added a background to the words and used it as a title. I cut one of the cookies and turned it into a shaker piece for one of my embelishments.  The rest of my embelishments were sickers and chipboard pieces from the paper collection.

Thanks for stopping by and Happy Crafting!