Unicorn Cake Stitched Layout

Hi everyone!  I’m excited to share a layout with you today that I created with Lori’s 5×7 unicorn card.  You can find the file here in Lori’s SVG shop or here in the Silhouette Design Store.  I wanted to show you how to add stitching lines to your layouts with your sketch pens.  It’s pretty simple and it adds so much detail.

I first picked out my papers and then brought the file up on my screen.  I only need the cake, stand and flowers.  I un-grouped the file and grabbed what I needed, and then regrouped the remaining pieces.  Next, I enlarged the remaining pieces to 14.75 x 18.5.


Next I set up the stitching lines for the pieces.  I started with the unicorn face, but removed the eyelashes first by releasing the compound path.  I  cut the eyelashes separately.


When I add stitching with pens to my layouts, I almost always do an internal offset of .130, then change my line style to the second stitch design that you see in that window.

It’s easier for me to cut first, leave on the mat (don’t remove the mat from the machine)  and then go back and do the pen.  You can also do cut by line color.   Once you are ready to add the lines just insert your pen and change the setting from cut to sketch, and blade to sketch pen.  Next, let your machine go to work.

This next screen shots shows the flowers, cut three sets in different colors.  This is before I removed to main flower shape.  So you can see the detail you can get with the pens.  I added sketch lines to all my pieces except the eyelashes.

Check out the detail you can get. Love it!

I used Lori’s All Girl Echo Park collection and embellishments.  I added a few punched circles for a border and vellum circles.  It’s just the sweetest layout of my little grand baby!

Cathy

Love You Layout

Day 30 something of lock down, I’ve honestly lost track of how many days I have now been home from work.  But I am happy to be safe and healthy, I hope this finds all of you doing great as well.

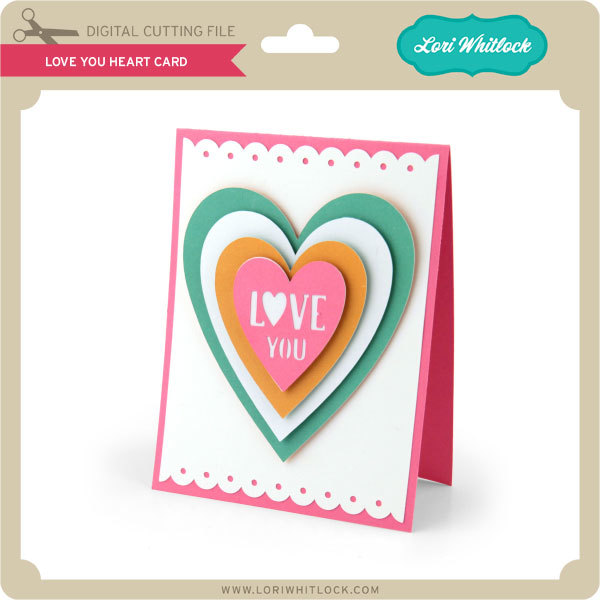
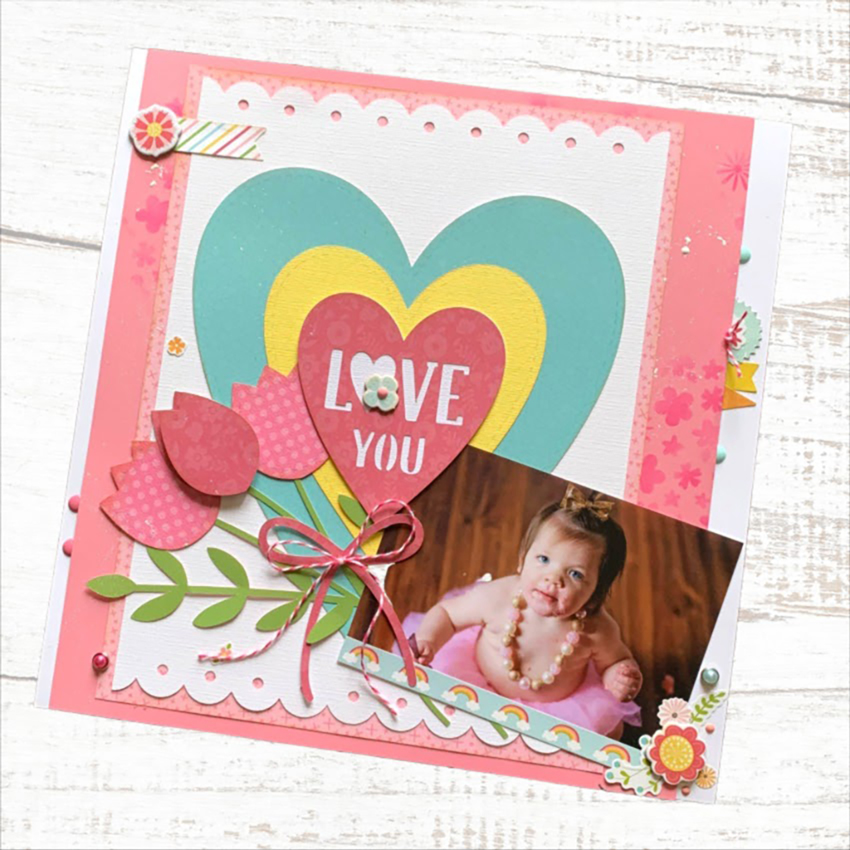
I have a layout to share with you today where I took two of Lori’s card files, enlarged both of them, then used them as the main design elements of my layout.  I had a blast with Lori’s and Echo Park’s new All Girl Collection.  I used the collection pack, enamel dots, the new stick on brads, chipboard, stickers and even the stencil.  This collection is beyond perfect for my two grand daughters…..everything that they love is in this collection including llamas and unicorns.

I used these two files from Lori.  I enlarged the love you heart elements to 11 x 8.5, then cut all the layers. You can find the files here, Silhouette Design StoreLori’s SVG Shop.

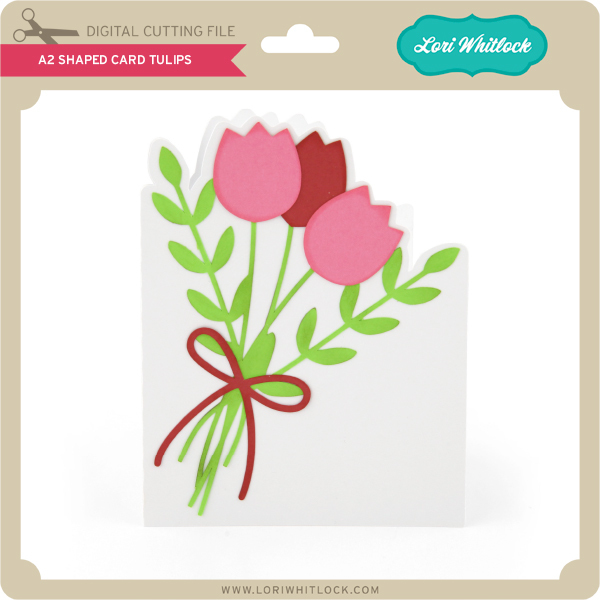
For the tulips, I enlarged them to 8.5 by 6.5.  You can find the file here in the Silhouette Design Store and here in Lori’s SVG Shop!

Here’s the finished product.  I love how this turned out.  I love using big design elements when I create a layout and these card elements were perfect for what I had in mind.  So always fun to look through Lori’s Card SVG files and imagine how else I could use them.


Thanks for joining us today.  Stay safe and healthy!

Doodlebug Design Cut File Feature

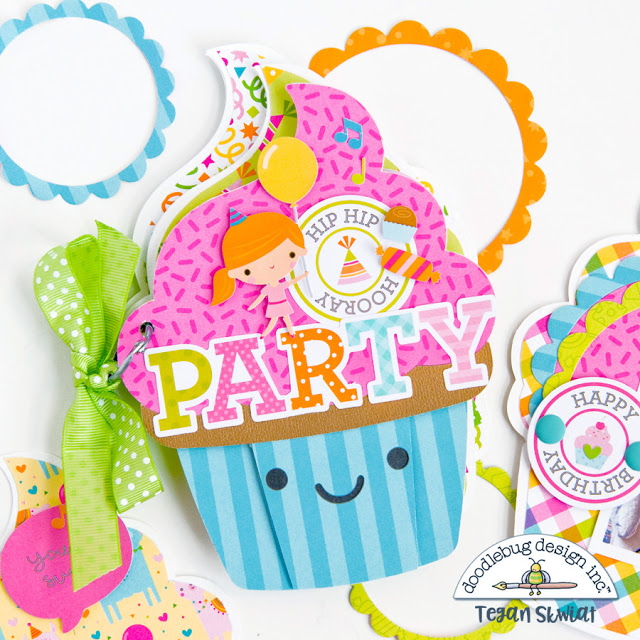
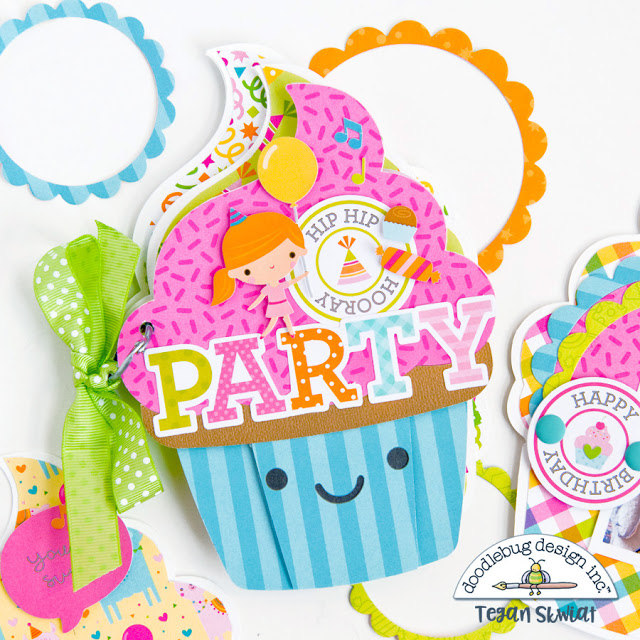
Hi Everyone!  Today I’m showcasing another fabulous project using Doodlebug Design’s cut files!  This adorable little mini album was created by Tegan Skwiat for Doodlebug Design.

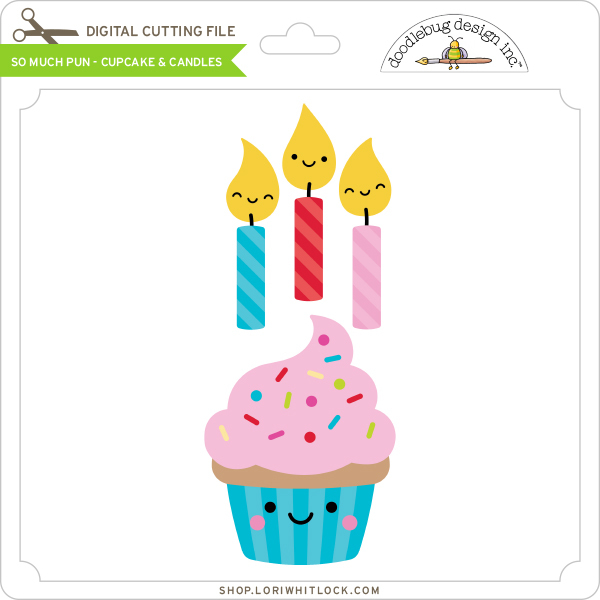
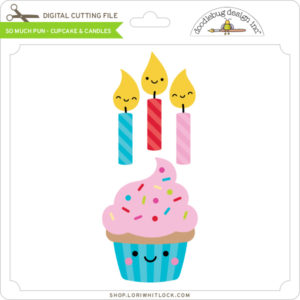
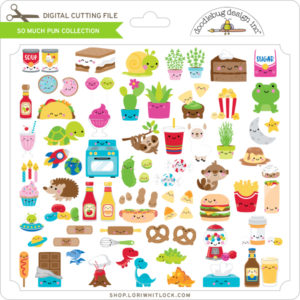
Tegan used the Cupcake and Candles file from the So Much Pun Collection to create her album.


For more details you can see her original post here.   New Doodlebug Design SVG files are being added to the Lori Whitlock SVG Shop on a regular basis, so stop by to see all of the fun SVG files HERE!

Have a great day!

Accordion Mini-Album with Gusset

Hi there paper crafting friends!  It’s Michelle Starcher, aka the Bookish Designer, popping in on the blog to show you how to create the Accordion Mini-Album with Gusset (SVG, Silhouette)  I used one of  Lori’s newest collections from Echo Park Paper, All Boy, to make this mini-album.   This set is loaded with boyish graphics and sayings, along with a primary color pallet. I used the sports themed papers and stickers from the collection to create the mini-album.

To build the Accordion Mini-Album with Gusset, follow these steps…

Once you have all of the pieces cut, you are ready to assemble the mini-album.  I started with the cover since it was the most straightforward part of building the album. I used double-sided colored cardstock from the All Boy collection for the cover’s base, so I had to decide between orange and navy for the outside cover.  I decided to go with the navy and distressed the edges with a nail file to give the cover more boyish grit.  If you decide to distress the cover of your album, I suggest only sanding the outside edges and not the folds.  When applying the second layer of paper to the cover, be sure to check for the correct orientation, especially if you are using patterned paper.  When the cover is laid out flat, the cover’s flap (orange) should be on the left side as pictured.  Once you are sure you have the correct layout, go ahead and adhere the second layer to the cover.

Next, you are ready to start assembling the inside pieces.  I used three different double-sided patterned papers, so I wanted to make sure I had the correct orientation.  I did a preliminary fold of the pieces using the score lines.  Then I laid out the pieces to see how they would connect.  Of the three pieces, only one doesn’t have a tab and is shorter than the others.  I started with that piece, and connected the other two using the “provided” tabs.  To make sure I had everything connected the way I wanted it, I used paperclips to hold the pieces together.  This allowed me test the connection, layout, and orientation without making anything permanent.

Once I was certain I had the layout of the accordion pieces correctly placed, I used adhesive tape to connect the three pieces.  Next, I added adhesive tape to the bottom layer that would connect the accordion pages to the cover of the mini-album.  At this point, I didn’t actually tape the accordion pages to the cover, but I wanted to make sure I didn’t add pictures/decorate the section that would connect the entire album.  Also, this gave me a chance to make sure I had the right orientation for the inside pages before make the actual connection.  Then, I folded the pages back and forth using the score lines to create the up and down motion of the pages pictured.  I tucked everything inside the front cover and closed it to test the orientation once again.  At this step, I still didn’t connect the inside pages to the cover.  (If you are using solid colored paper, the orientation won’t really matter.  However, all of the patterned papers I used in the album had a specific top and bottom, and I didn’t want to mess up!)

I decided to go ahead and decorate the inside pages before connecting them to the album cover.  To do this, I laid out the accordion and decorated/added photos to each section on one side.  Then I flipped it over and repeated the process.  (Checking for orientation along the way!) Once I was done with the inside pages, I was ready to make the final connection and actually adhere the inside accordion pages to the cover.  This is what the pages look like when connected to the cover from both sides.

I love adding extra dimension to my projects, so I used pop-dots to give some of the elements a little more height.   Thankfully, the pages are designed to allow for extra height and still fold neatly inside the cover.  To hold the cover closed, you can tie a ribbon around the album or use velcro or another type of connector.  I hope that you’ve enjoyed this tutorial as much as I have.  The Accordion Mini-Album with Gusset (SVG, Silhouette) will make a great addition to your SVG library. Happy crafting!

Carriage Mini Album

Hello to all! Aimee here today with a mini album for that special little girl in your life! It’s fun for me to look at all of the different SVG files from Lori and get ideas on how to use those files by thinking out of the box. There are so many possibilities when you do a little altering with the files.

When I looked at the Princess Carriage Treat Box (Lori’s ShopSilhouette) I could perfectly envision a mini album made with it. And it looks quite adorable made with the new All Girl collection! If you are interested in making one of these, grab your papers, stickers, embellies, and some thick white cardstock and check out my simple instructions down below.

Here is a closer look at the inside pages:

Instructions: Delete any of the pieces not needed. I did not need the box, the inside wheel pieces and the heart.

Cut out the pieces needed for the front cover of the mini album. I choose different shades of pink for the carriage and some wood print cardstock for the wheels. For the inside pages of the mini, cut out 2 of the full shapes for each page and glue them together for sturdy pages. I have 5 inside pages so I cut out 10 of the full shapes.

Using the Internal Offset, create a shape that fits inside the cuts that will be the pages. This will be for the pattern paper that fits just inside of the white pages. Assemble your album and then all that is left to do is have fun decorating each page!! You will have a blast decorating your mini with all of the fun elements of the new All Girl collection!

I hope you all have a great day.  Thanks for stopping by and stay safe and healthy!!

Aimee