A New Friday $5 SVG Bundle

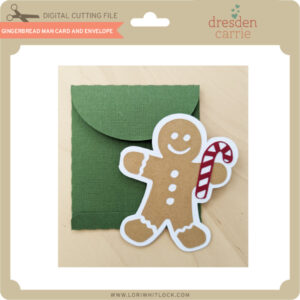
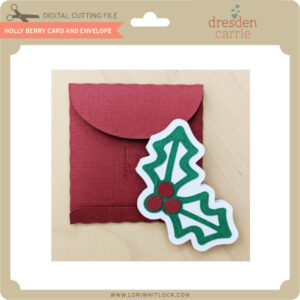
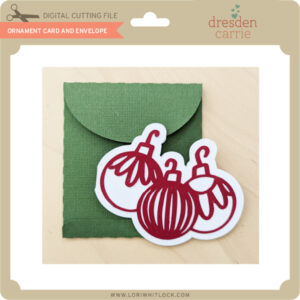
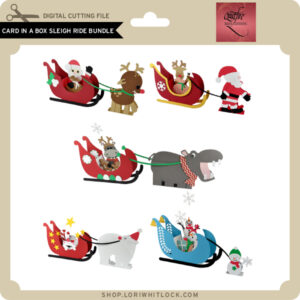
Hi Everyone! Today we have a new Friday $5 Bundle! It will ONLY be available until Midnight Sunday and when it’s gone it’s gone. These SVG files can be used with Cricut Explore, Silhouette Studio (with the Designer Edition upgrade), Scan N Cut, and any other cutter that will work with SVG files. Help spread the word by telling your friends and announcing it on social media!

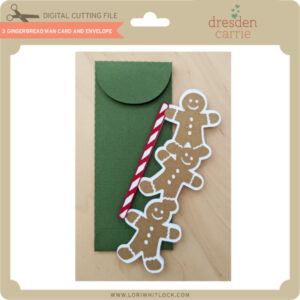
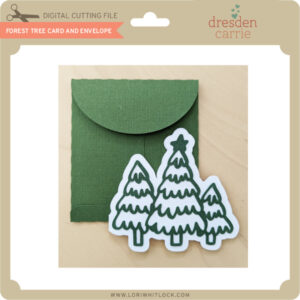
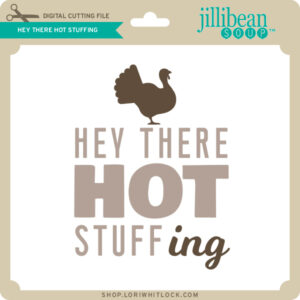
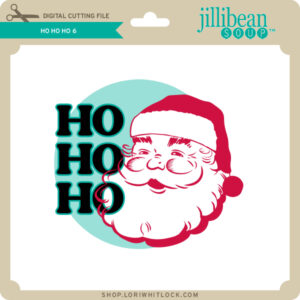
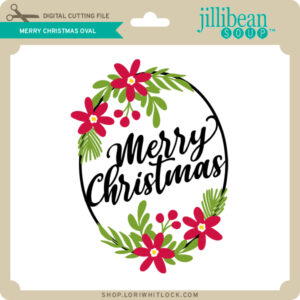
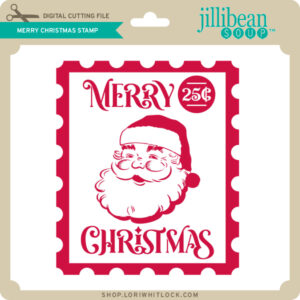
Now through Sunday, you can pick up this Holiday Card Bundle including 5 SVG files for just $5**!

The cost of this bundle is $5, for $12.45 worth of SVG files, over a 59% savings! But don’t wait, this bundle will only be around until Sunday at midnight!
 
** Because Friday $5 Bundles are already heavily discounted they are not eligible for further discounts including monthly, seasonal and flash sales.

Have a great day!

Christmas Shaker Card Tutorial

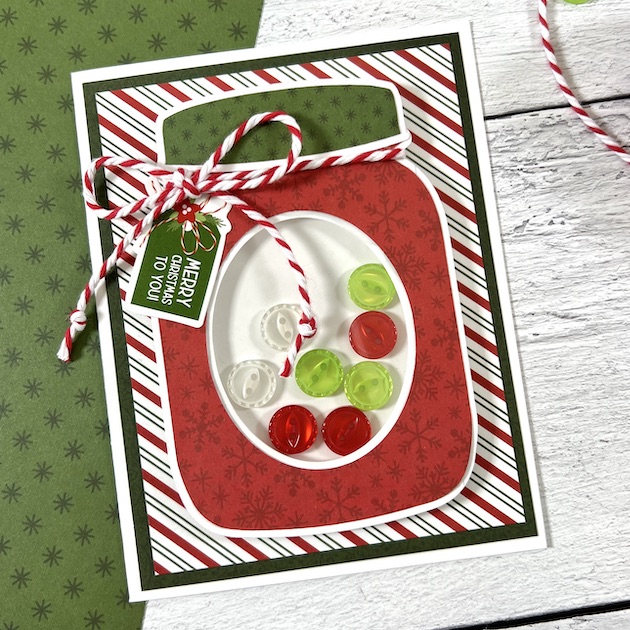
Hello everyone and Happy National Button Day! Traci here and yep … there’s actually a day that celebrates these little fasteners. I wanted to incorporate them into my project and I knew Lori would have something wonderful. I found a cutting file for an embellishment called Shaker Mason Jar and I turned it into a cute holiday card. Here’s a quick tutorial on how I made it …

For supplies, I used the Shaker Mason Jar cutting file (SVG, Silhouette) and Echo Park’s beautiful holiday collection called Magic of Christmas (also designed by Lori). I used the 6×6 paper, the 12×12 sticker sheet, white card stock, buttons and twine.

To create the A2 size card, I cut out a piece of white card stock measuring 8.5”x 5.5” and scored it at 4.25”.  

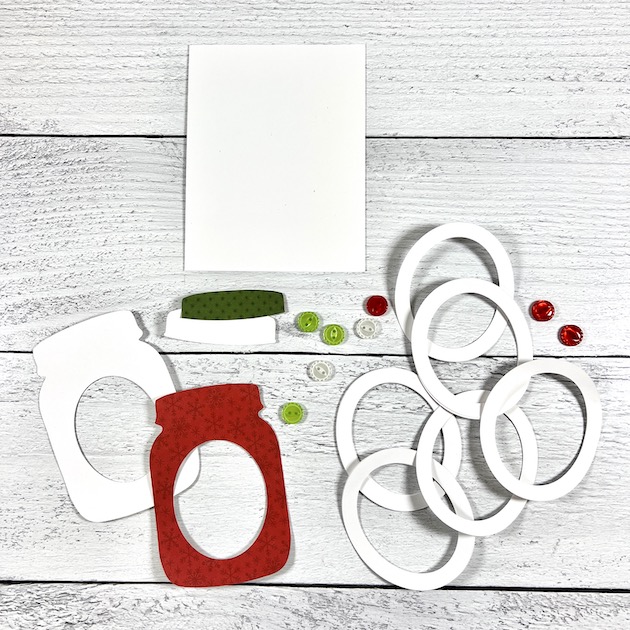
Then using the file and my Silhouette Cameo machine, I cut out all the other pieces. I chose the red snowflake print called Poinsettias & Pine for the jar and the green dot from the 3×4 journaling cards for the lid.

To make the shaker part, I cut out the ovals and glued them together until I had enough to make a frame thick enough to allow my buttons to move around.

I sandwiched a piece of 2.5” x 3.25” clear acetate in between my white jar base and the red inset piece I cut from the 6×6 paper.

I glued the oval frame to the back of the jar pieces, added my buttons, then glued the solid white oval piece on top to keep the buttons in.

Next, I took my white card base and layered 2 sheets of 6×6 paper in dark green and stripe on top and added the jar shaped shaker. I wrapped the lid with chunky red twine and included a cute sentiment sticker to finish it off. It’s the perfect card for someone special and I just love it! 

Thanks for stopping by and I hope you’ll visit Lori’s shop for more amazing craft ideas!


Blog * Facebook * Instagram * Pinterest

Tuesday New SVGs & a Free File!

ALL WEEK, this SVG file is FREE with any $1.99 purchase!

Hi Everyone! We have a FREE file with purchase all this week! Simply add this Candy Hugger Turkey file to your shopping cart along with ANY $1.99+ purchase from the SVG Shop and this file is yours FREE. Be sure to use Coupon Code: GOBBLE (case sensitive) at checkout. This offer is good through next Sunday.

(Your cart must reach at least $3.98 before the coupon will be applied and then $1.99 will be subtracted from your total at checkout. The files will be available for immediate download after you pay for your order by visiting MY ACCOUNT>COMPLETED ORDERS>ORDER DETAILS inside of your account. Only one discount code per order allowed.)
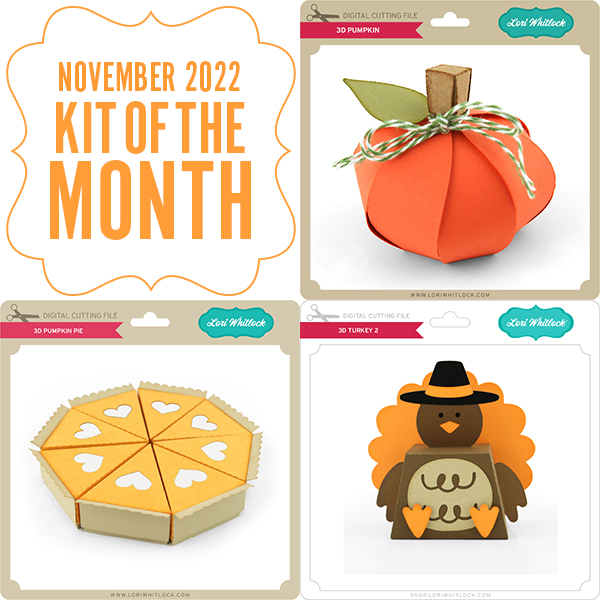
In addition, don’t forget about this special! You can get this Free Kit of the Month with any $20 purchase (Purchase must be in one transaction.) Simply add the 2022 November Kit of the Month to your shopping cart along with ANY $20.00+ purchase from the SVG Shop and this file is yours FREE. Be sure to use Coupon Code: NOV22KOTM (case sensitive) at checkout. This offer is good through November 30, 2022.
(Your cart must reach at least $27.95 [including the Kit of the Month] before the coupon will be applied and then $7.95 will be subtracted from your total at checkout. The files will be available for immediate download after you pay for your order by visiting MY ACCOUNT>COMPLETED ORDERS>ORDER DETAILS inside of your account. Only one discount code per order allowed.)

Check out the new SVG files releasing this week!  This week we have some new Christmas in July files. The NEW SVG files will be ON SALE 25% OFF through the weekend in the SVG Shop. These downloads include SVG files that may be used with Cricut Explore, Silhouette (Designer Edition upgrade required), Eclips, Brother Scan and Cut, and any other software that will open SVG files. No coupon code necessary, the newly released files are all discounted in the shop! Be sure to go get them while they are on SALE this week.

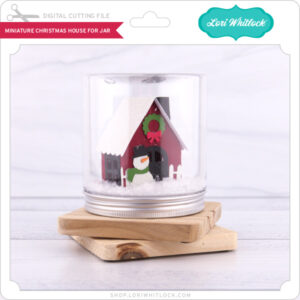
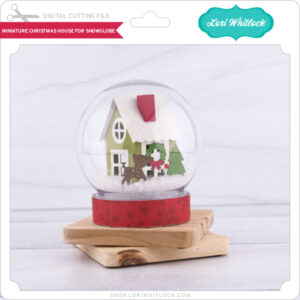
This week I have a FUN new Tiered Tray Miniature House Bundle.  The beautiful tiered tray is made out of THIS Silhouette Chipboard and THIS hardware. For the adorable snow globes and the jars you’ll want THESE and THESE. If you’re interested in making them you may want to order your parts today!  I will have tutorials on my YouTube Channel for these projects later in the week.  We also have files from Dresden Carrie, Jillibean Soup, Pebbles in My Pocket and Quietfire.

CLICK HERE TO GO TO NEW FILES


Have a great day!

Snowglobe Shadow Box Card Snowman Tutorial

Have you seen the new Snowglobe Shadow Box Card Bundle?  There are nine designs… and each is cuter than the next!  I put together the Snowglobe Shadow Box Card Snowman file (SVG, Silhouette) for my post today.  It’s one of my favorites from the bundle.  These cards are super easy to assemble, I’ve included a quick tutorial as well.  Take a peek…

How cute is that little snowman??  Below, I have outlined the assembly steps….

To start I cut out all the pieces of the file.  On one side of the base I added the decorative panels, bow and the print and cut sentiment. I flipped the card base over and added the blue sky piece to the inside of the base. Next I added some adhesive to the two tabs (circled)  It’s just easier to add the adhesive at this point.   The inserts come next.  For this card the back insert is the one with the houses and church.  I inserted the tabs on either side of the insert into the backmost slots on both sides.  It takes a little wiggling, but they slide in and stay put!

Then I added the second snowman insert into the front group of slots.  Once both inserts were in place, I folded down the card so that it laid flat and the tabs with the adhesive were facing up and flat.  To finish I simply folded over the front of the card, and pressed down to secure the tabs to the front panel of the card.  So easy!

This card will fold flat for mailing and fits into a standard A7 envelope (5.25″ x 7.25″).

That’s it for me today, thanks for stopping by to peek!

BLOG | INSTAGRAM