3D Lantern Bats Tutorial

Hi there! Thanks for stopping by today. I am sharing an assembly tutorial for the 3D Lantern Bats (SVGSilhouette) file. This cute lantern has several versions and makes a cute decoration for Halloween. For one lantern you will need two sheets of cardstock. I also used a few scrap pieces of cardstock to make some fall leaves for embellishment.

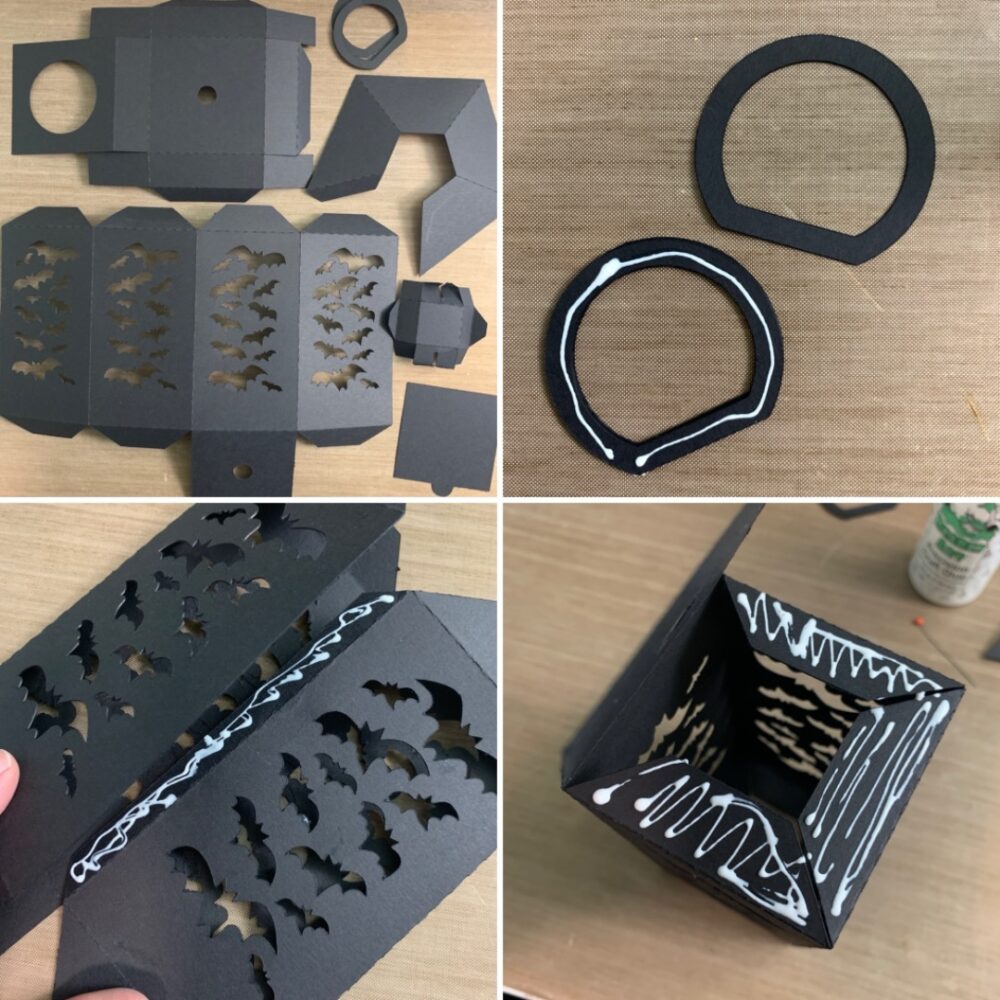
Once all my pieces were cut, I folded all of the score lines as mountain folds. I then glued all of the D ring shapes together. The lantern body is one piece with one long tab, I added glue to the tab and lined up the opposite edge of the lantern body to the tab. After the glue was set, I flipped the lantern over and added a generous amount of glue to all the bottom tab and folded over the base and applied even pressure while the glue set.

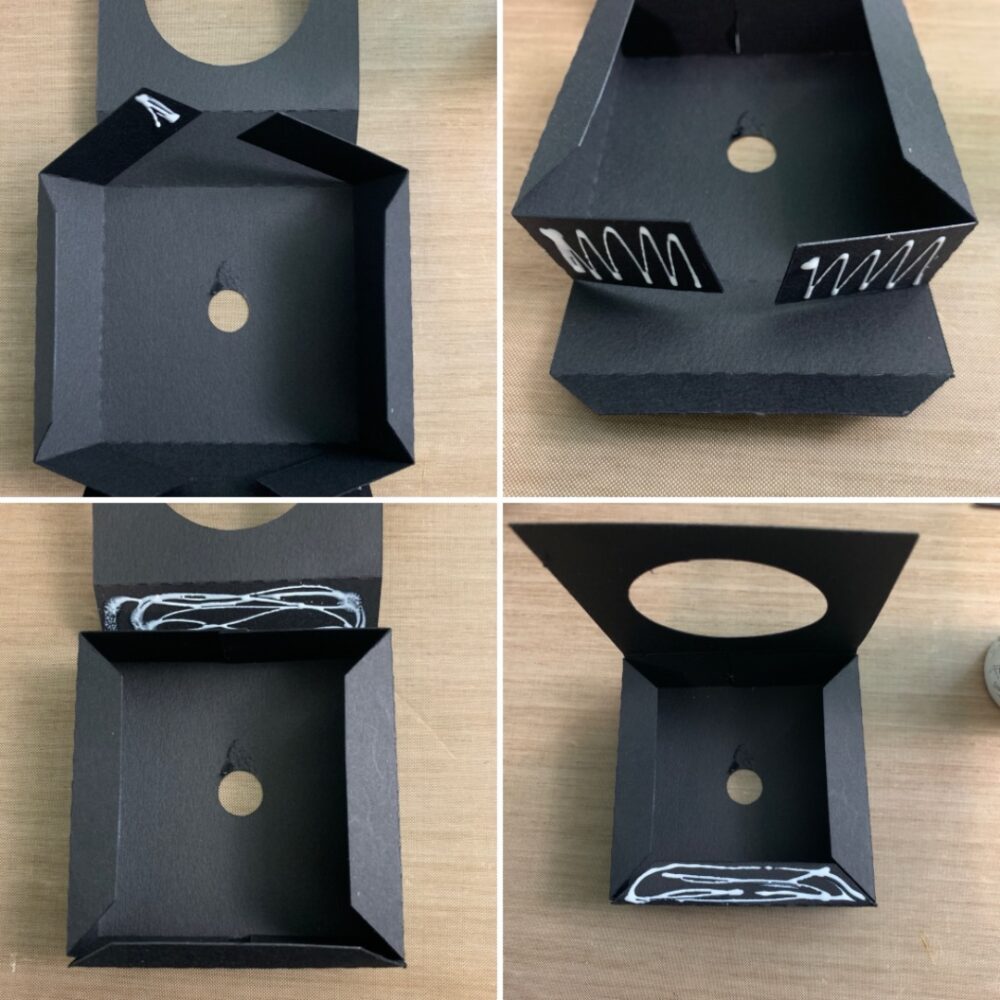
For the base I flipped the base piece over so that the top is on the bottom. I then glued the two longest tabs together. I then added glue to the other long rectangular tabs and folded up the side to secure. Back to the first side I glued I applied glue to the side of the base and held in place. For the flap with the large hole, I only applied glue to the opposite tab. This is to create a sleeve for a battery tea light.
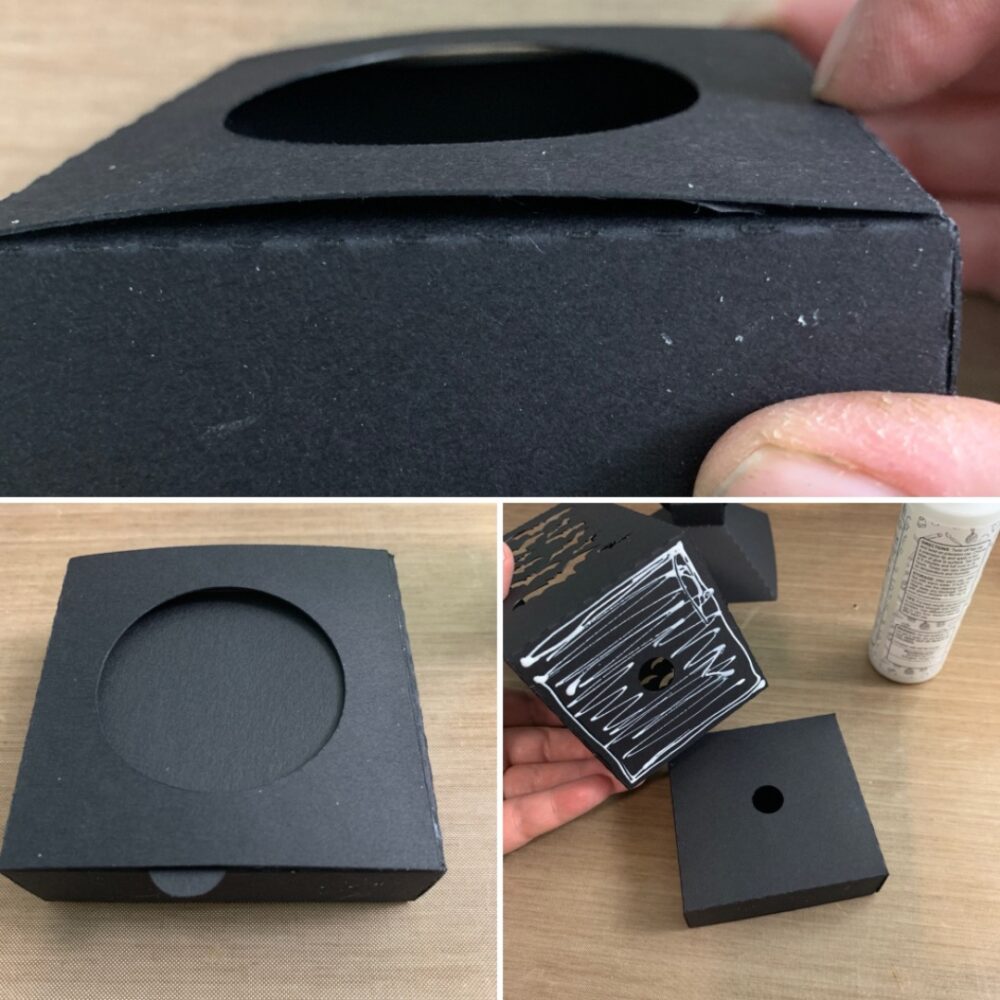
I then slid the square with the small tab through the sleeve to cover the large hole in the bottom. I then flipped the base over and add a generous amount of glue to the bottom of the lantern body and secured the base. I used the two small holes to line up the body to the base.
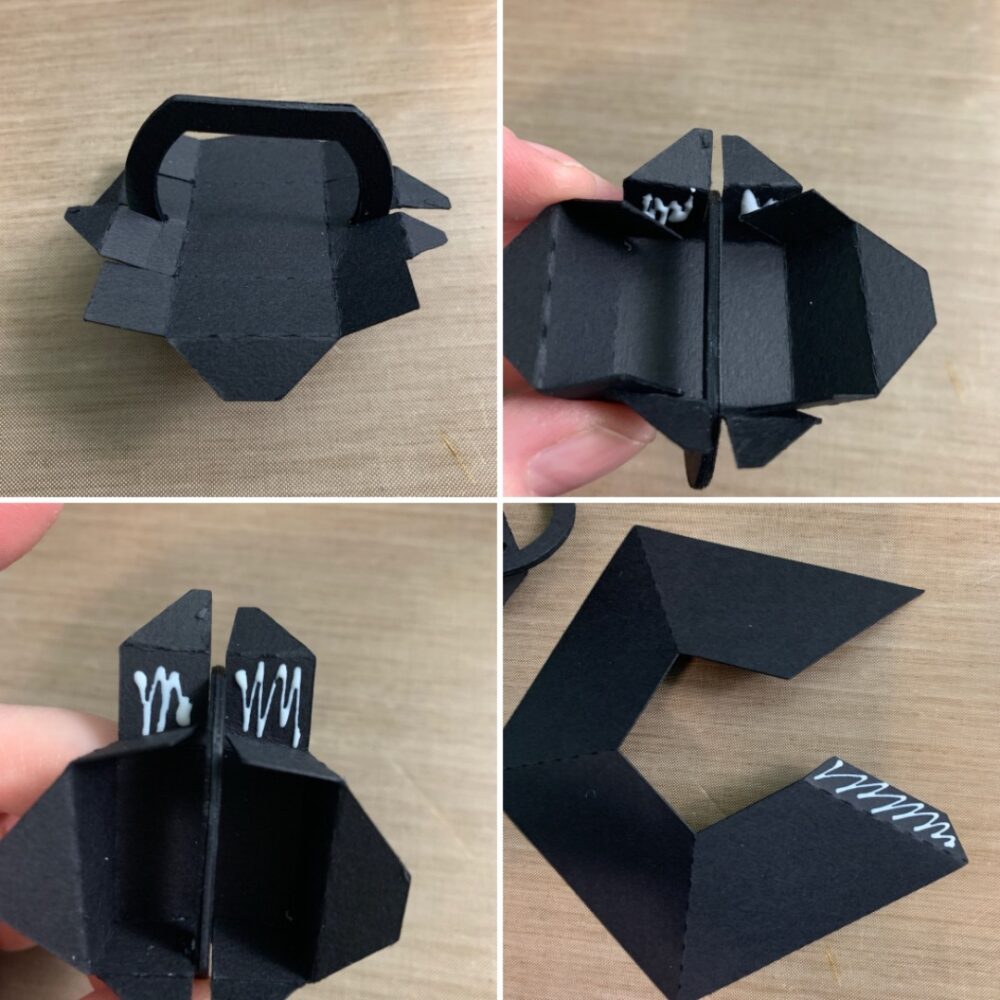
 
For the top small box for the lid the of the lantern I flipped it over and pushed all of the rectangle shaped tabs back into mountain folds (this helps keep them out of the way while I glue the box together). I added the D ring between the notches. I added glue to the square tabs and held in place while the glue set. I also glued the c shaped piece together by adding glue to just the tab.
Once the small box was dry and set, I pushed all the small tabs through the square in the roof of the lantern and added glue to the small tabs on the inside of the lantern roof. I then added glue to the tabs on the top of the lantern body and held the roof on with even pressure while the glue set.
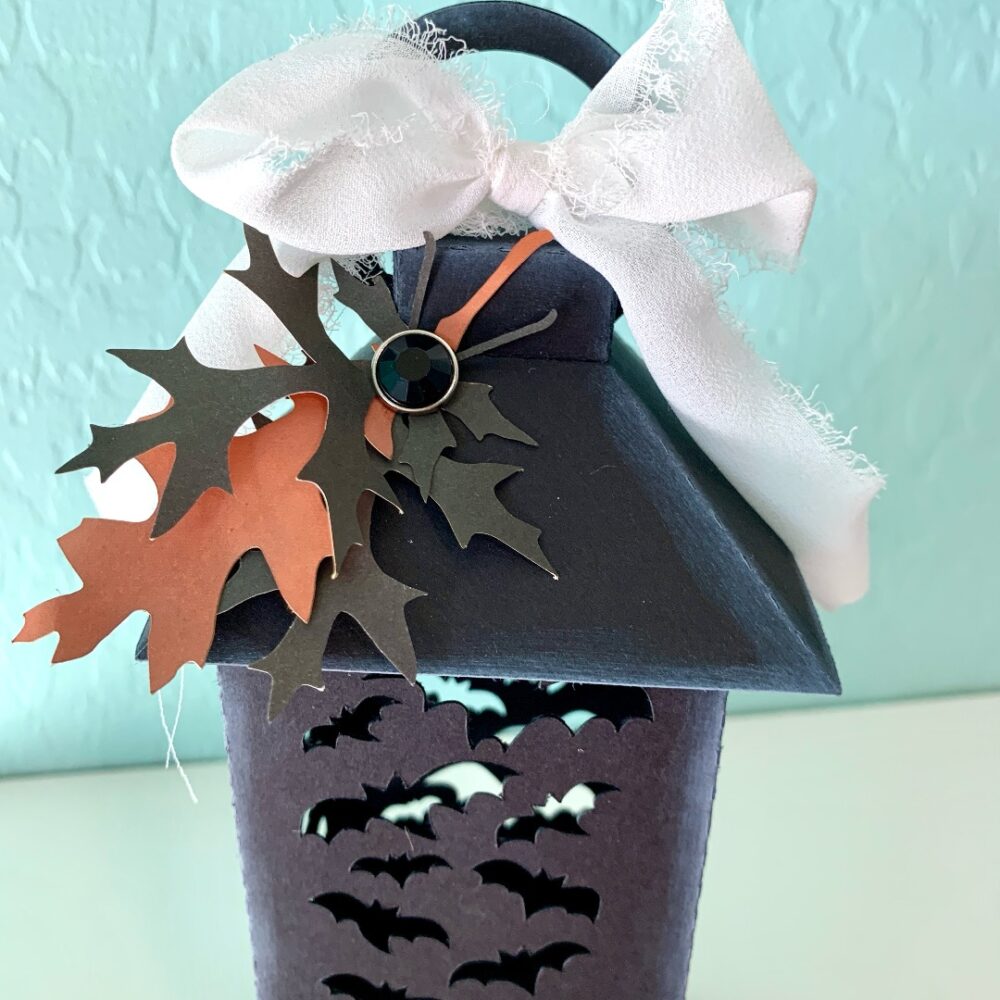
After the lantern was dry, I cut some oak leaves (SVG, Silhouette) and inked the edges of the lantern. I used some chiffon ribbon for a bow and glued on the oak leaves.
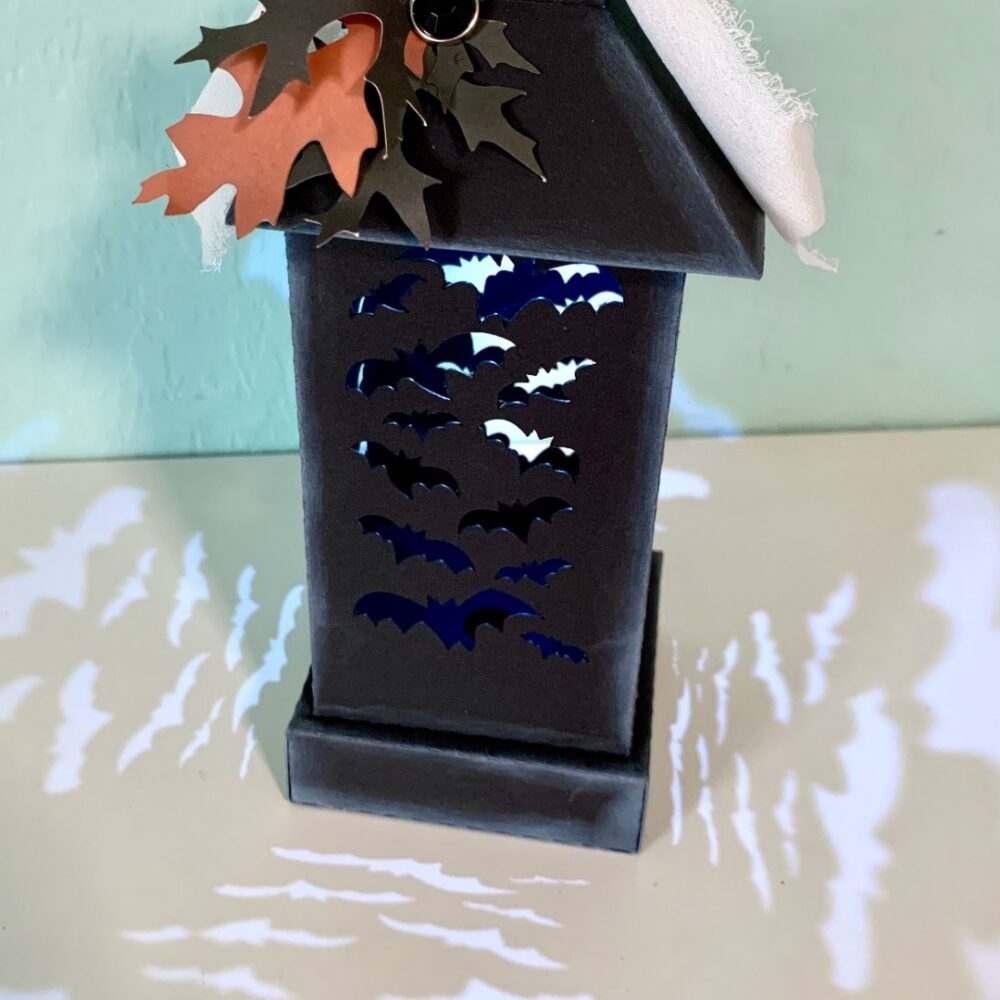
I had a little ballon light to my lantern to get the bats to cast on the walls and shelf.
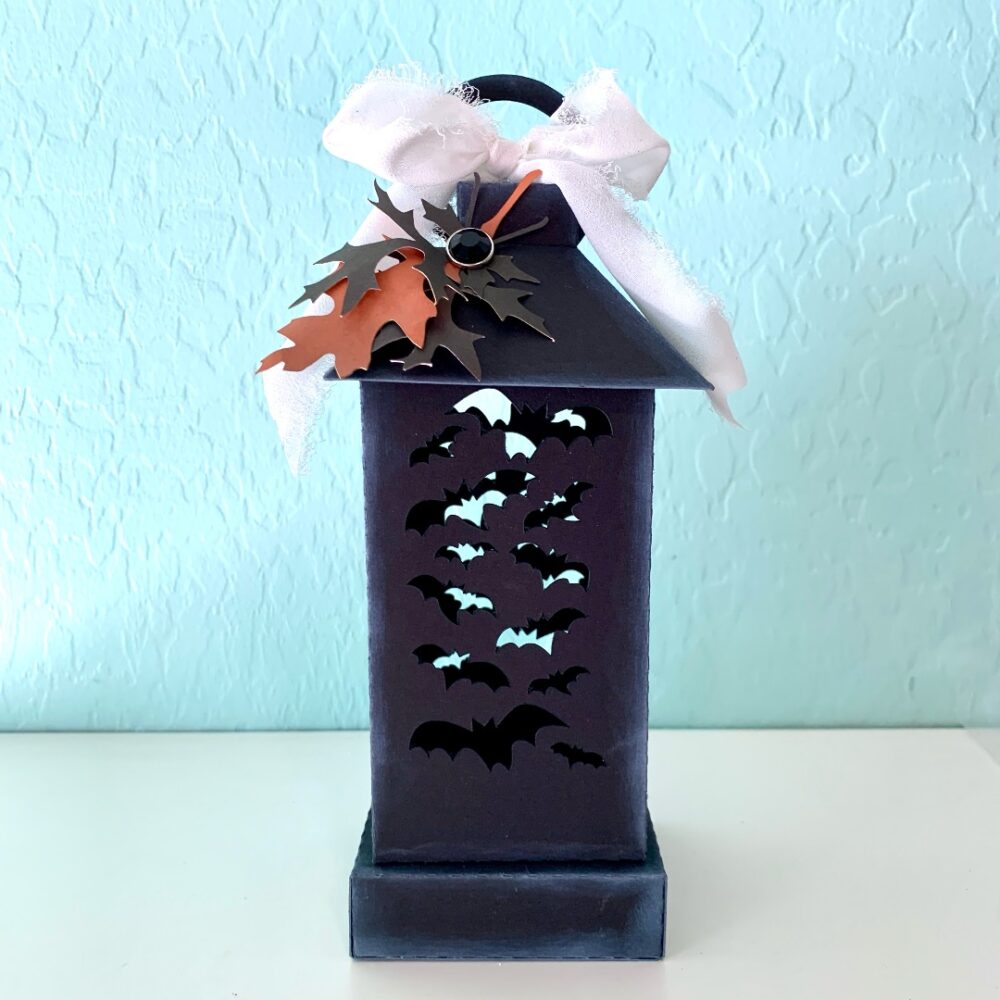
This would be a fun addition to a Halloween table or tiered tray display. Thats all for me today. Thanks again for being here.

Brandie
A2 Box Card Halloween Mailbox Bat

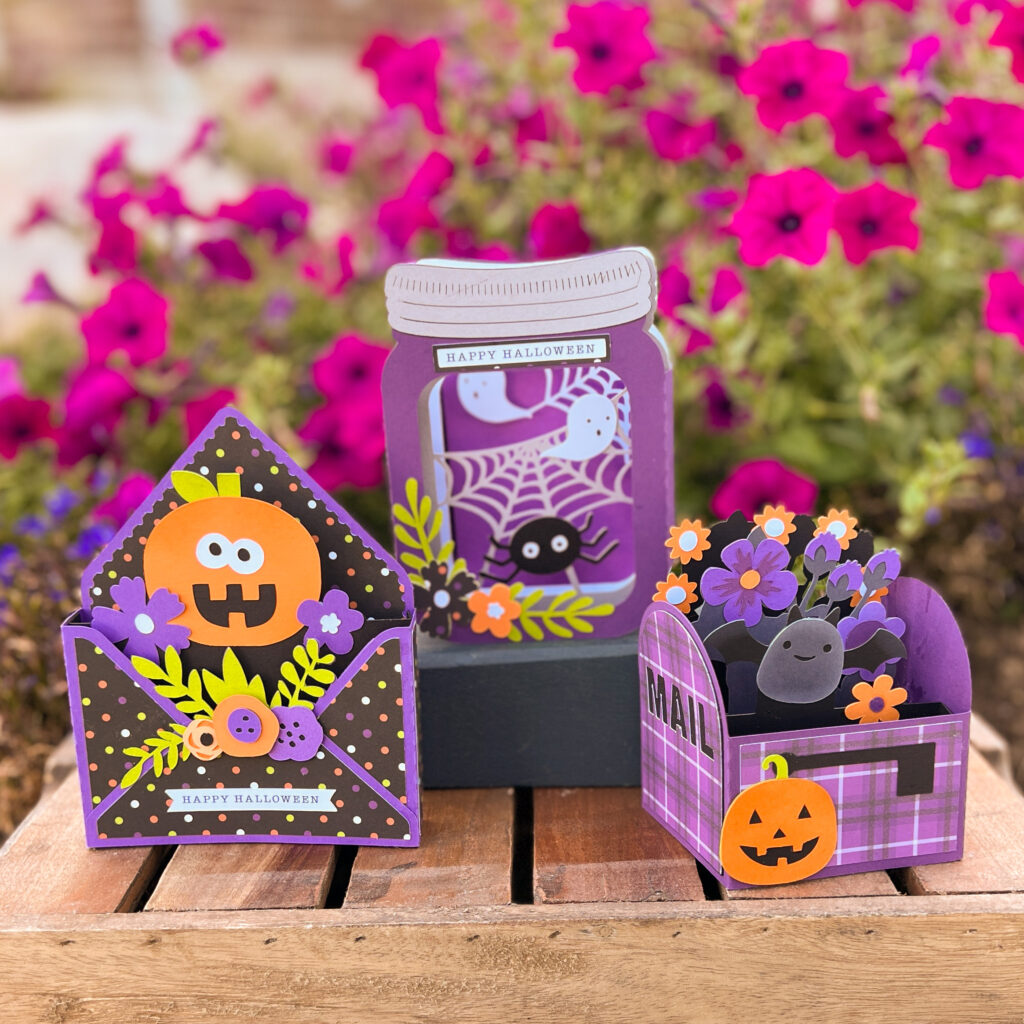
Hi there friends! Do you send cards for Halloween or know someone who loves spooky season? If so, Lori has some cute new Halloween cards available. I made the A2 Box Card Halloween Mailbox Bat (SVG, Silhouette). But the entire bundle is worth having! (SVG). I love the cute characters and all the florals in these cards. I used papers from the Halloween Party by Echo Park Paper Co.


Thanks for stopping by today and happy spooky season!
Brandie

New Halloween Box Card SVGs – 30% OFF!

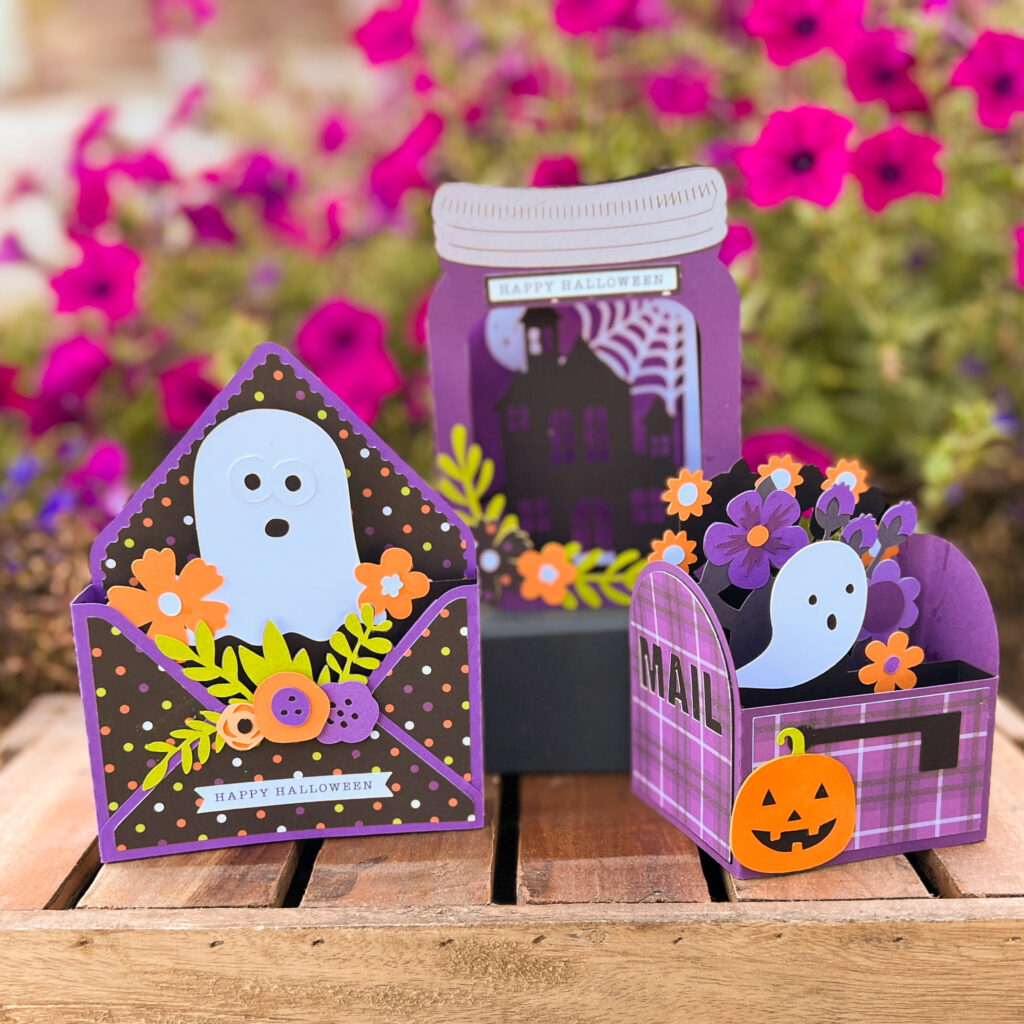
Did you see our spooktacular new Halloween box card SVG file collection that launched yesterday? With the crisp autumn air settling in, it’s the perfect time to dive into some seasonal crafting! I’m thrilled to introduce six brand-new Halloween-themed box cards, each capturing the eerie and fun spirit of the season. Choose from three styles, each featuring two distinct designs: haunted houses, playful ghosts, spooky spiders, and grinning jack-o’-lanterns. These handcrafted cards are not only charming but also set the perfect mood for Halloween festivities.

Don’t miss out on this chance to add a touch of Halloween magic to your crafting stash and celebrate the season with your creativity. And don’t forget: ALL SVG files are 30% OFF until Sunday at midnight with code SEP2024!

***CLICK HERE TO GO TO NEW FILES***

Thanks for checking out the NEW FILES and be sure to go grab the FREE Kit of the Month with your purchase.

Have a great day!

Lori

NEW Shadowbox SVG Files! 25% OFF!

Hey there! Did you get a chance to check out the new releases yesterday? I’m so excited about the three new 8×8 shadowbox SVG files that I designed! There’s something for every season:

  • Gorgeous Sunset: Perfect year-round, with customizable colors and optional snowflakes for winter.
  • Autumn Bliss: Embrace all the cozy fall vibes.
  • Spooky Halloween: Featuring a fun haunted house to get you into the festive spirit.

Using foam dots between layers adds wonderful depth to each design, making them not only enjoyable to assemble but also a striking addition to your home decor. Also, the file includes the die line for the 8×8 shadowbox. However, if you have a wooden frame or something else that you would like to use, you can resize the insert layers as desired.  And, don’t forget: ALL new releases are 25% OFF until Sunday at midnight! Do any of these designs catch your eye?


Thanks for checking out the NEW SHADOWBOX FILES! Have a fun day and make something beautiful!

Sincerely,

Lori

3D Pumpkin 24 Sides

Today I’m sharing Lori’s 24 sided 3D pumpkin (SVG, Silhouette). These pumpkins are really fun to make.  Lori has several styles of the 24 sided pumpkin.  You can find the SVG bundle here.  Make several styles, or just customize one style by using different papers.  I’m using Echo Park’s Collection I Love Fall designed by Lori.


You are going to want to fill your table with these pumpkins.

Thanks for stopping by!

Ashley