A2 Halloween Scene Pop Dot Card with added Shaker Bits

 Happy October!  My favorite time of year for paper crafting…simply love it!  I used an older card of Lori’s and added a bit of fun with shaker bits.  Lots and lots of layer created with pop dots and just plain Halloween fun!

A2 Halloween Scene Pop Up, Silhouette Store


Start with cutting all your pieces. I cut all the pieces white but then changed my mind.  So maybe layer it a bit with different colors and ideas before your start.

1 and 2~  All of my pieces cut
3~ adding the diecut pieces
4~where I switched to a green back ground
5~just zoomed in so you can see this layer


This next set is how I created the shaker frame.  I simply cut a bunch of layers of white with my Silhouette.  The frames are 4×5 and my transparency piece is just slightly smaller.


 1~ just the frames cut
2~showing the frame and transparency
3~gluing the transparency to 1 frame piece
4~adding more layers of frame and dimensional strips of adhesive
5~showing the depth of the frame


1~Start by adding the green piece with the tombstones to your card base, then the haunted house layer.
2~Next for the fun part, dump in your shaker bits.
3~add your frame with the window to secure all those bits in
And last, add your last layer of paper with the spooky tree.


Next, add your embellishments and just like that you have a spooky scene with added fun!


~Cathy


Dollar Tree Craft: Transform a Box into a Halloween Mini Album with Lori Whitlock Designs!

Create a spooky Halloween mini album using a treat box from the Dollar Tree. I am so excited to share my latest Lori Whitlock Halloween Extravaganza with you today. We will be going step by step to construct this unique album, which is perfect for anyone looking for budget-friendly Dollar Tree crafts. It is such a fun way to use your seasonal supplies and create a memory book for your photos. This papercrafting project is easy to assemble and makes for a wonderful gift or keepsake. I hope you enjoy putting this together as much as I did.

Links below:

https://shop.loriwhitlock.com/halloween-stickers/

https://www.silhouettedesignstore.com/halloween-stickers-230054.html

https://shop.loriwhitlock.com/pop-up-box-card-halloween-spider/

https://www.silhouettedesignstore.com/pop-up-box-card-halloween-spider.html

https://shop.loriwhitlock.com/halloween-scene-decor/

https://www.silhouettedesignstore.com/halloween-scene-decor.html

https://shop.loriwhitlock.com/halloween-word-art-bundle/

https://shop.loriwhitlock.com/extreme-pop-up-card-halloween/

https://www.silhouettedesignstore.com/extreme-pop-up-card-halloween.html

https://shop.loriwhitlock.com/halloween-and-autumn-life-cards/

https://www.silhouettedesignstore.com/3×4-and-4×6-halloween-life-cards.html

Happy crafting!

Holly

3D Pocket Explosion Box Tutorial

Happy almost Halloween, everyone!  Yes, my very favorite time of the year to create. Today I’m sharing a fun tutorial for one of Lori’s adorable designs — the Pocket Explosion Box (SVG, Silhouette)  I love how quickly and easily this project comes together.

EEEEK!  It’s so cute!
First, start with cutting all your pieces.  Here is the outside of the box and the lid.
This is the inside layer of the box, the little purple pocket like folders.
And the lid.

After cutting all your pieces, start assembling.  I started with the little file folders, just fold on the score lines and just use your regular adhesive to put them together.
There are 4 total of these little cuties.
This is the inside of the first layer, the black star print is on the other side. Adhere a folder to each side.
So it looks like this!
Next, create the inside layer of your box.  You just fold over and adhere, it makes the cutest little library type pockets.  Just add adhesive to the bottom square on the opposite side and adhere to your first layer.
Now you just get to have fun and go to town with all the little embellishments.
Just open and this little box just explodes with fun!  Adorable!
Thank you for joining us today!


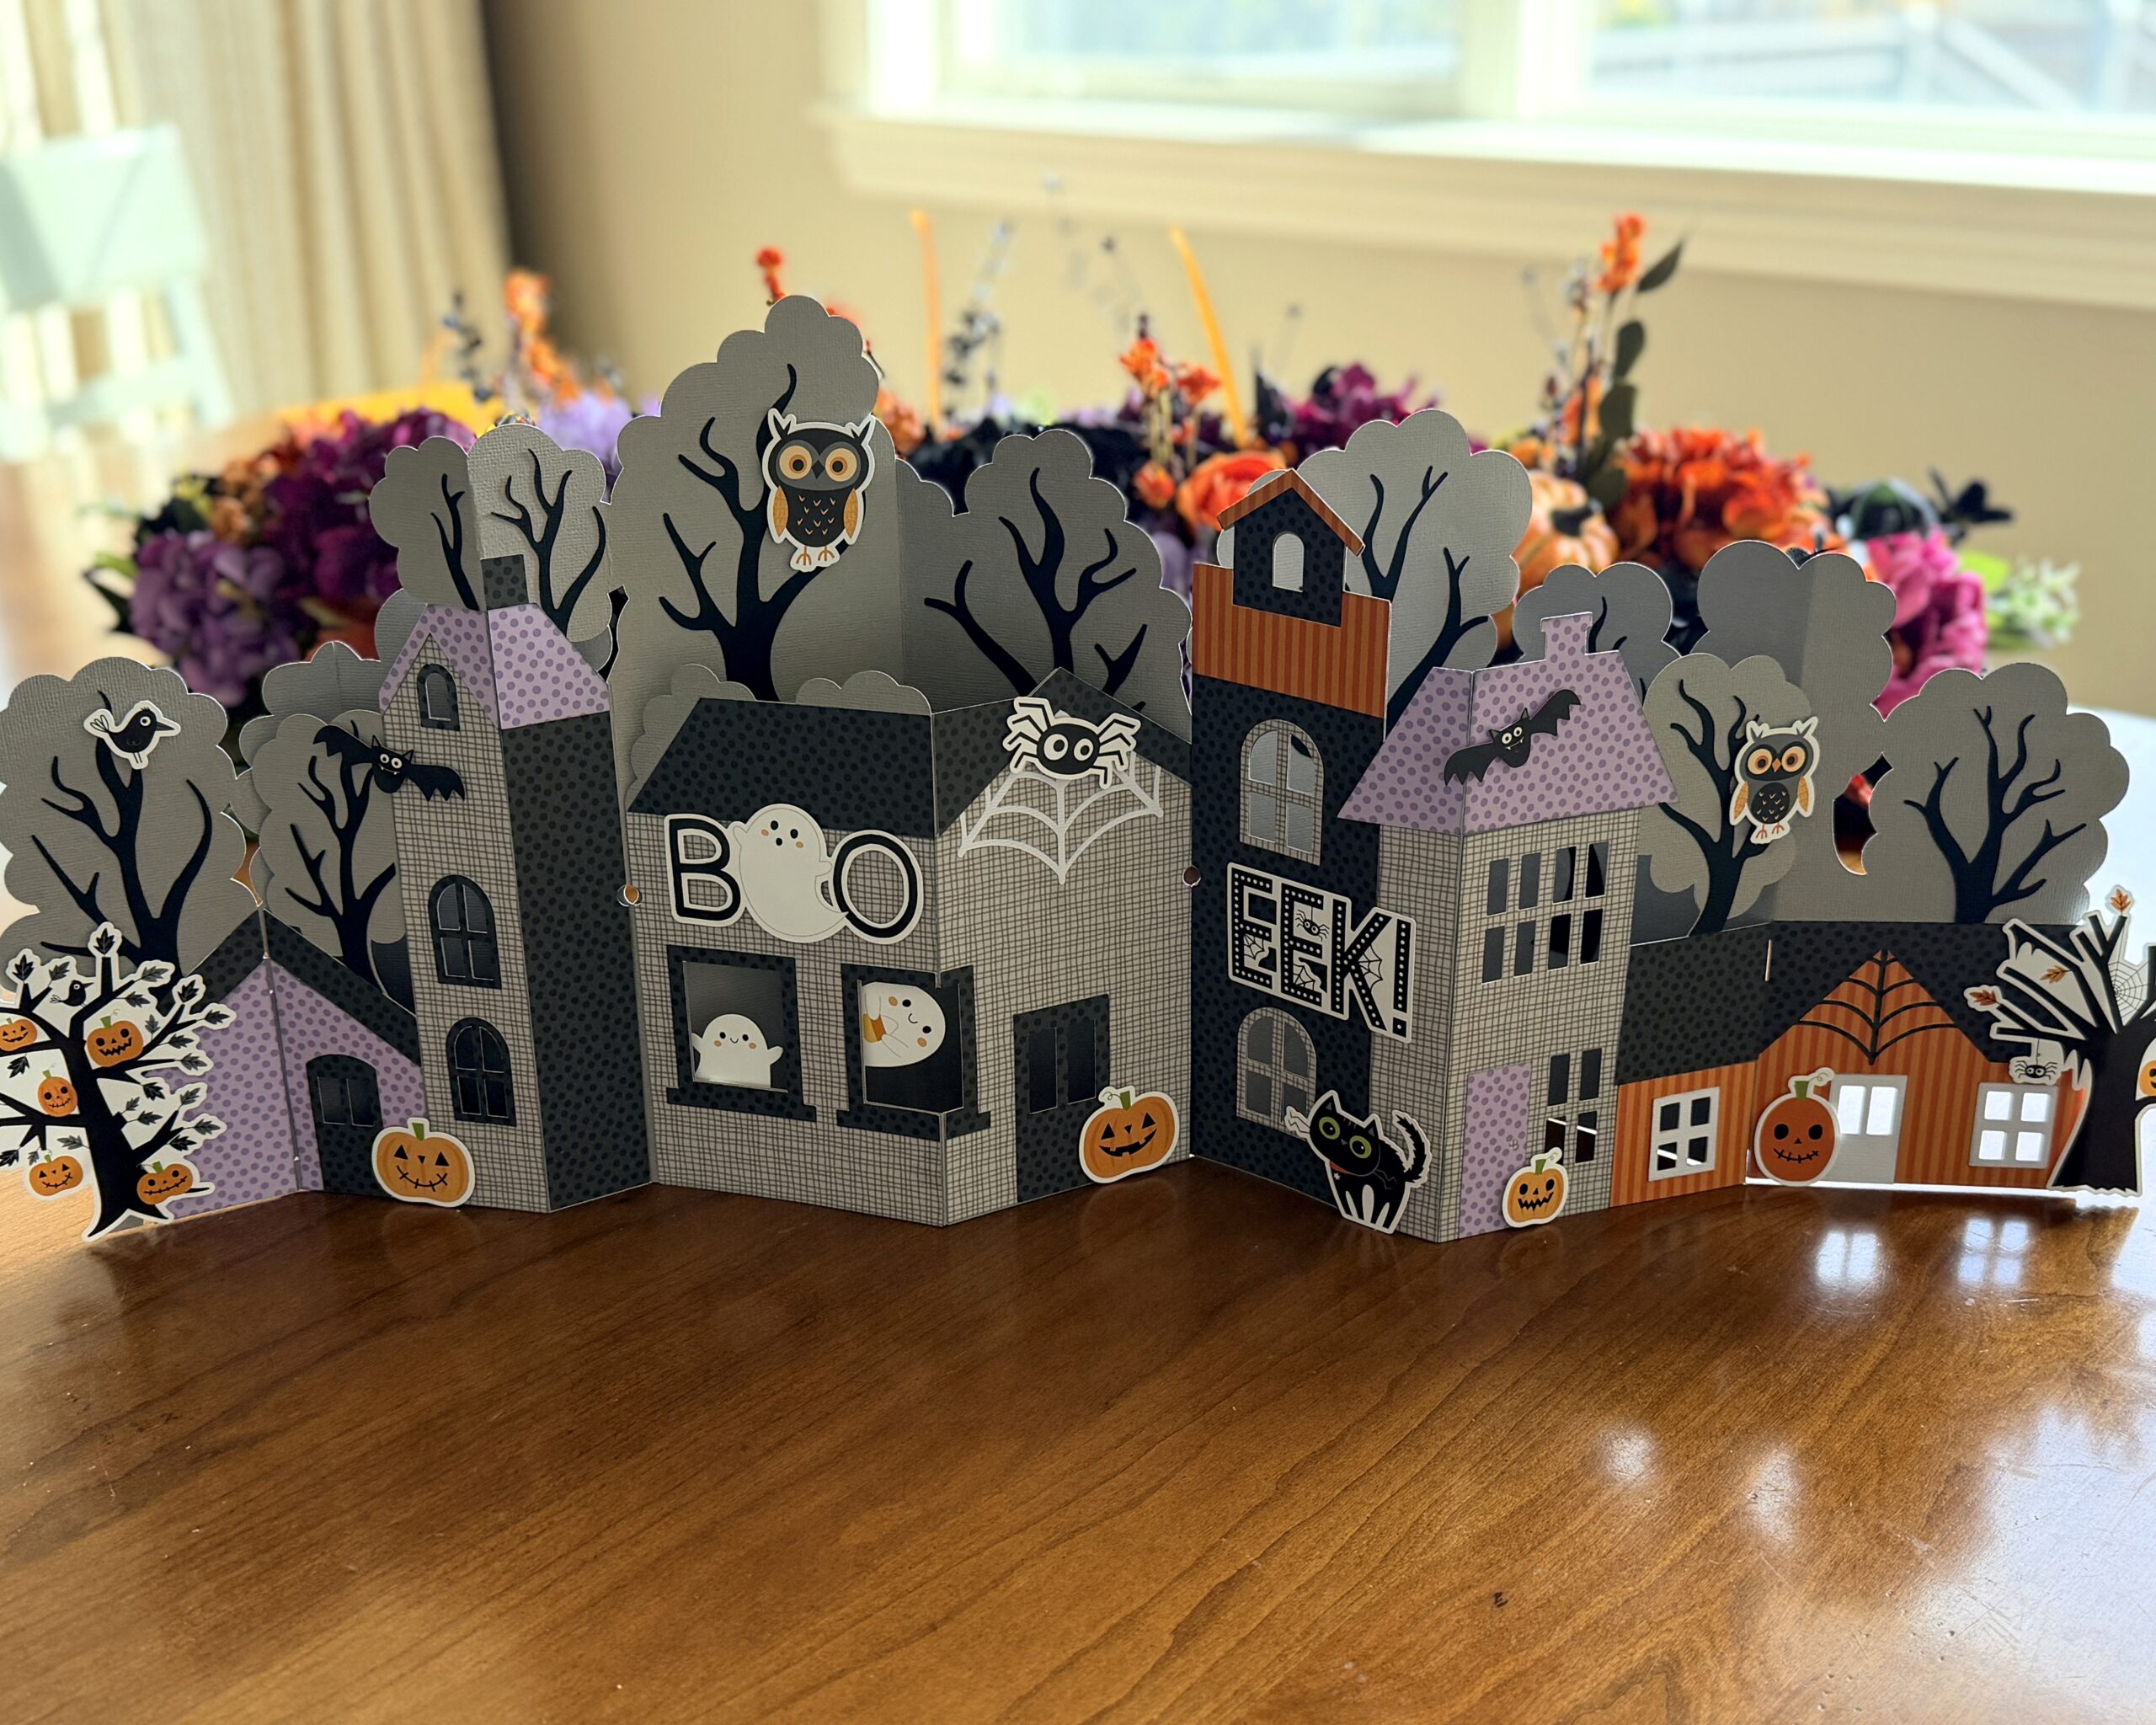
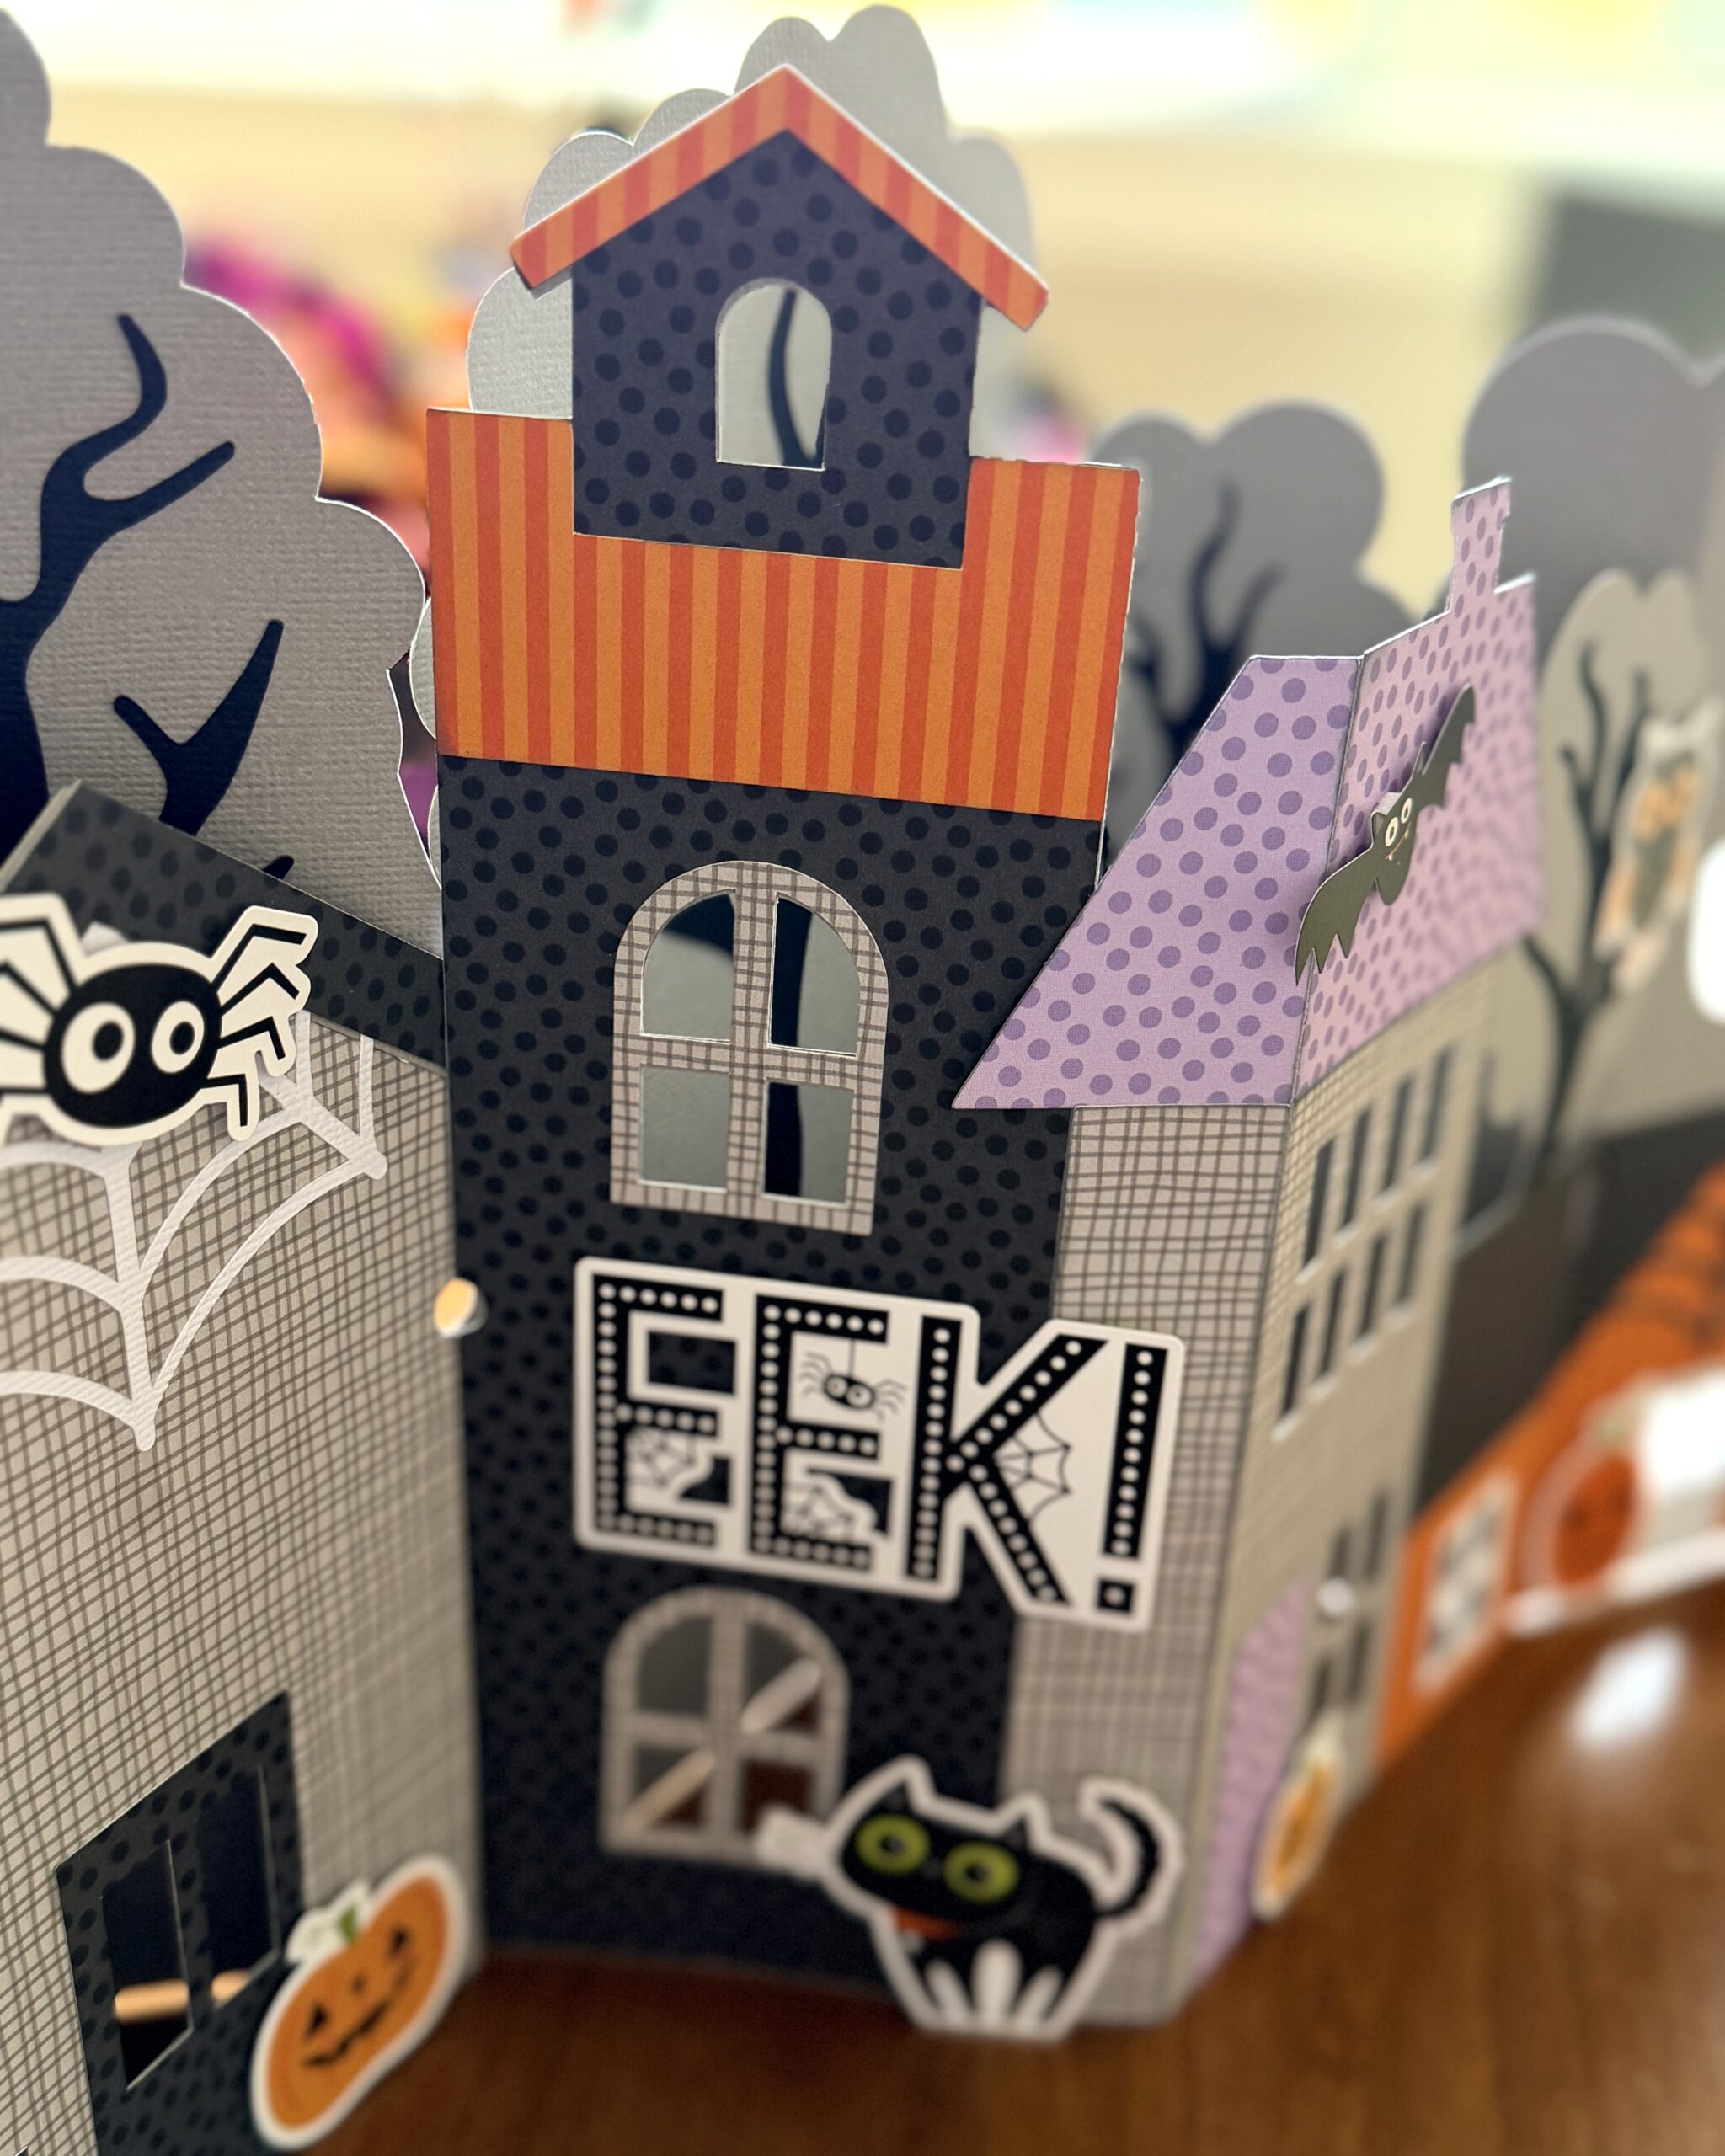
Step By Step Tutorial for Creating this Magical 3D Haunted House Village Scene

Hi friends!
Today I’m excited to share a step-by-step tutorial on how to make the Ultimate XL Fold Flat Halloween Village Scene by Lori Whitlock. This DIY Haunted House scene is fun to make and will be treasured for years and years to come. It folds flat for easy storage. Add a set of battery lights to really bring this spooky haunted house scene to life! (SVG, Silhouette)

Happy crafting!

Holly Jo
Holly Jo’s Youtube Page

A2 Shadow Box Card Jack O Lantern

🎃 Halloween Shadow Box Card – Jack O’ Lantern 🎃

Hi everyone!
Today I’m excited to share a fun Halloween project with you — a Shadow Box Card designed by Lori Whitlock, called “A2 Shadow Box Card Jack O’ Lantern.”

I decided to give this spooky little project my own twist by changing up the colors from Lori’s original version — and it’s amazing how a few color changes can create such a different look! 🧡🖤💜


For the layer behind the pumpkin’s eyes, I used vellum so the light can shine through beautifully when you place a little LED light or fairy lights behind it. It gives the card a cozy (and slightly spooky!) glow that’s perfect for Halloween nights. 

If you’d like to make this project yourself, the file is sold as a single file and as a cute spooky bundle:

Single file Silhouette / SVG
Bundle  SVG

I’d love to know — which colors would you use?
Be sure to share your version on social media so we can see your Halloween creation! 

Happy crafting Tamara