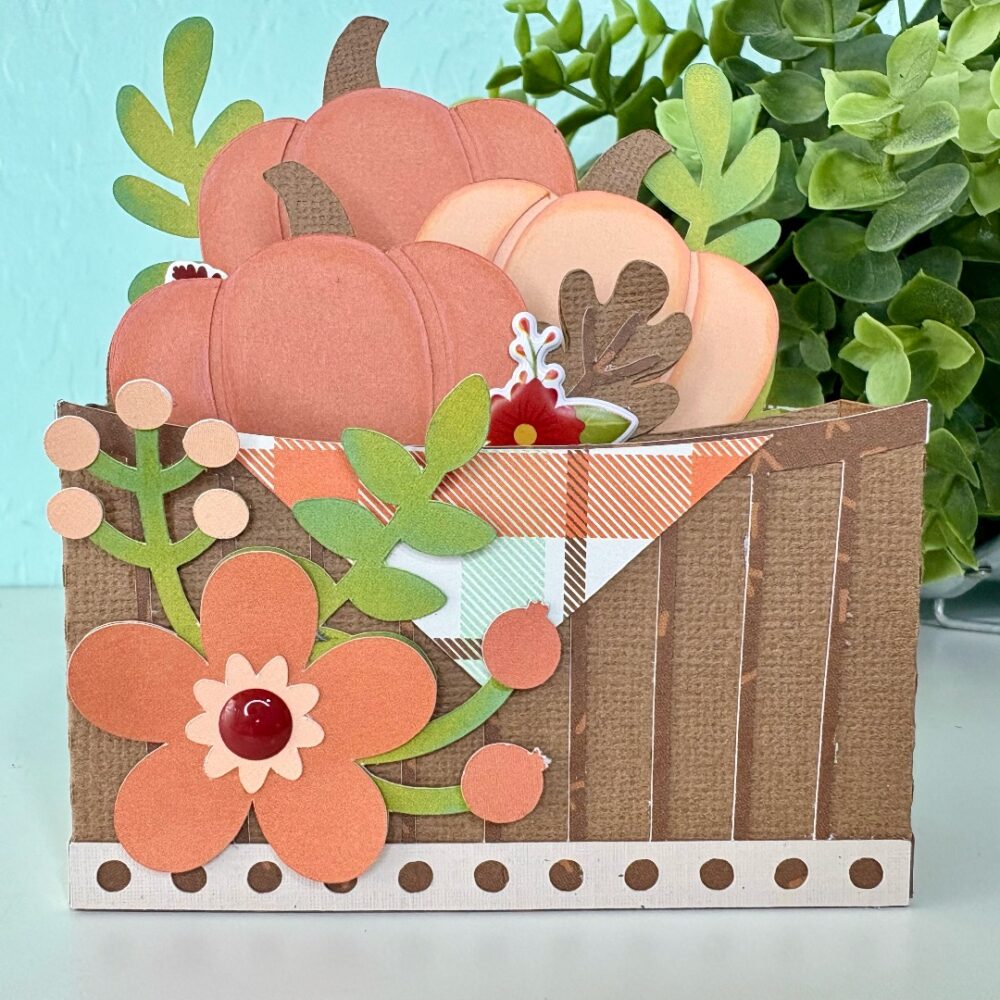
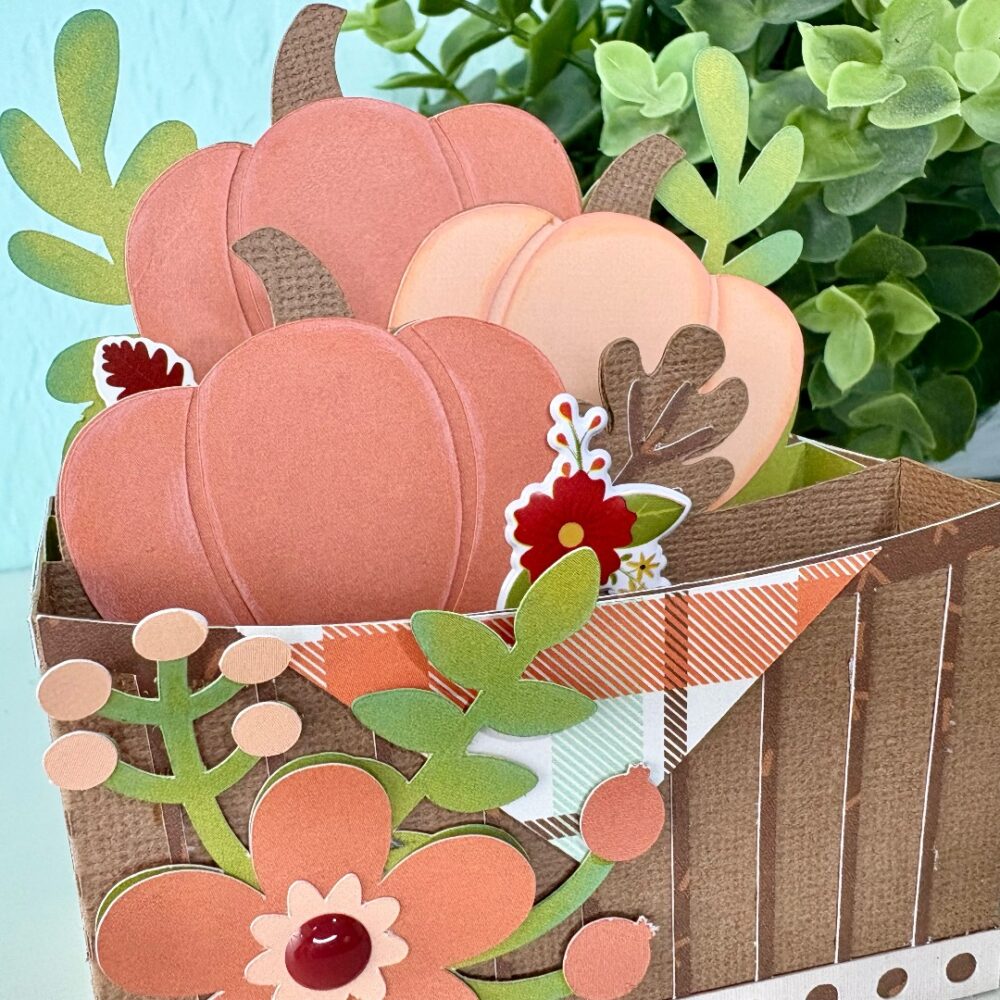
Happy September! Today I am sharing the Box Card Pumpkin Barrel (SVG, Silhouette). This box card is so warm and sweet. I love this time of year and this pumpkin box card fits perfectly. The barrel is a cute twist on the standard box shape. I also added a few stickers from the I Love Fall paper collection by Echo Park Paper. This card is also part of the A2 Box Card Autumn Bundle that you can find here.
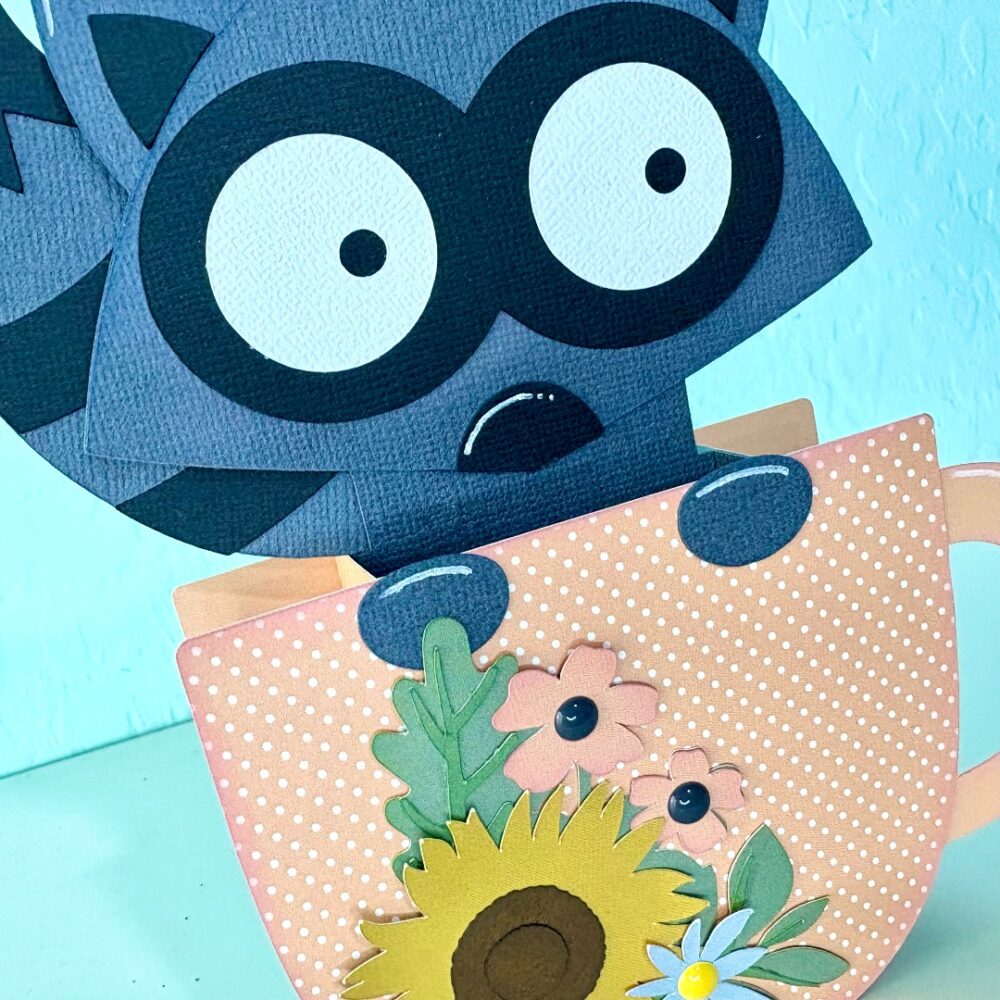
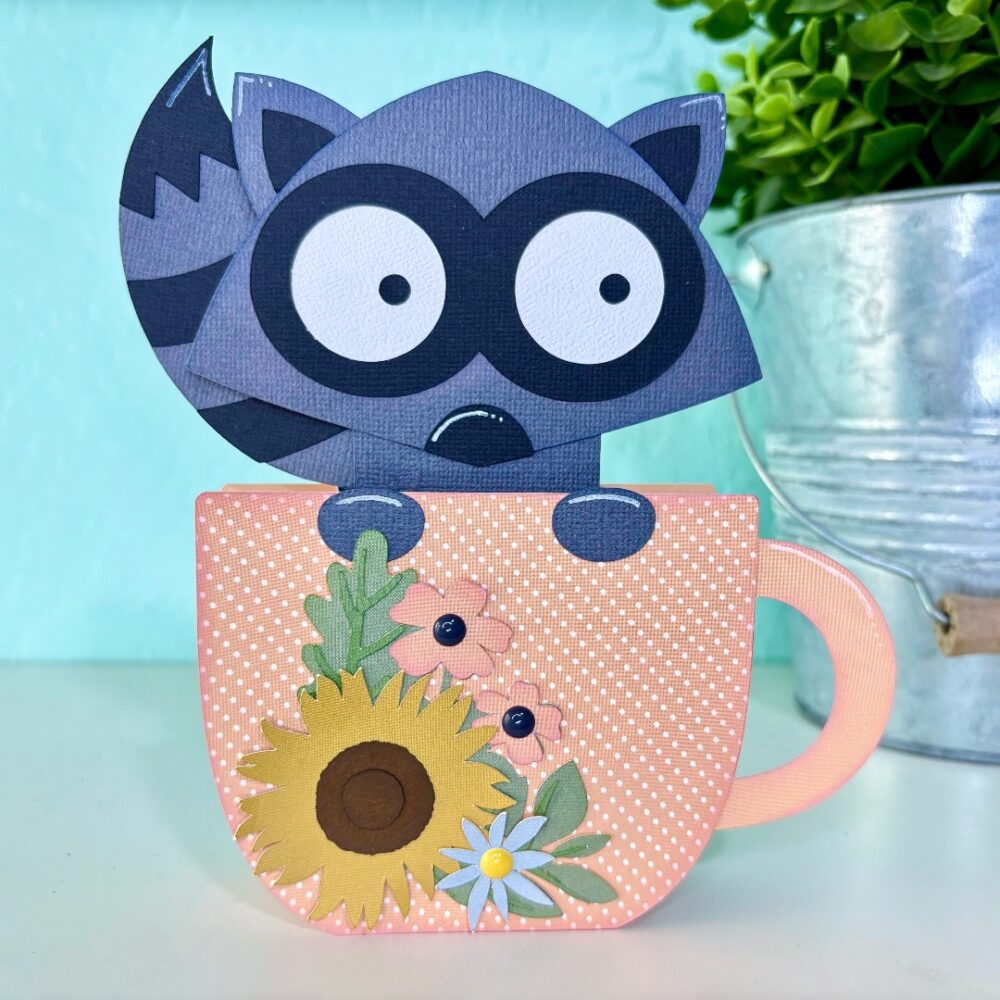
Hello friends! Today I am sharing an assembly tutorial for the Box Card Teacup Fall Raccoon (SVG, Silhouette). This box card works well for any fall occasion, but I will be using it as a birthday card.
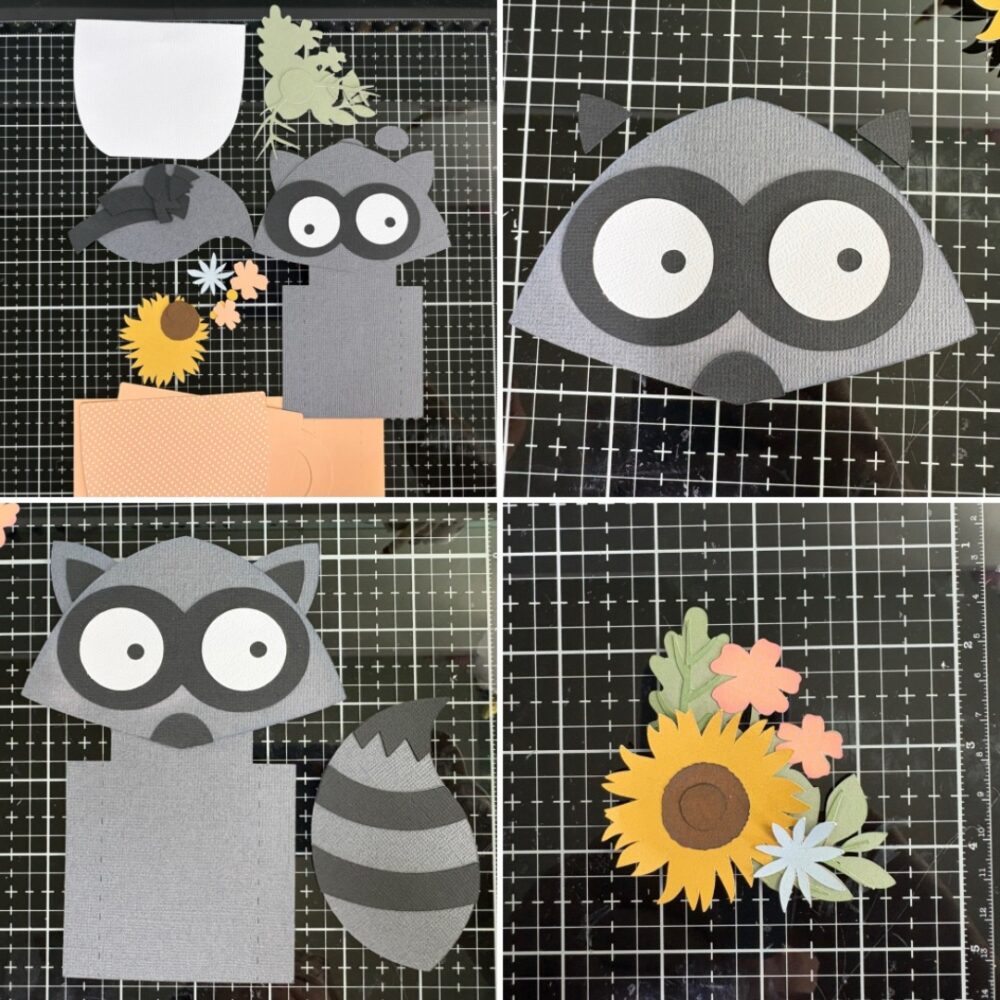
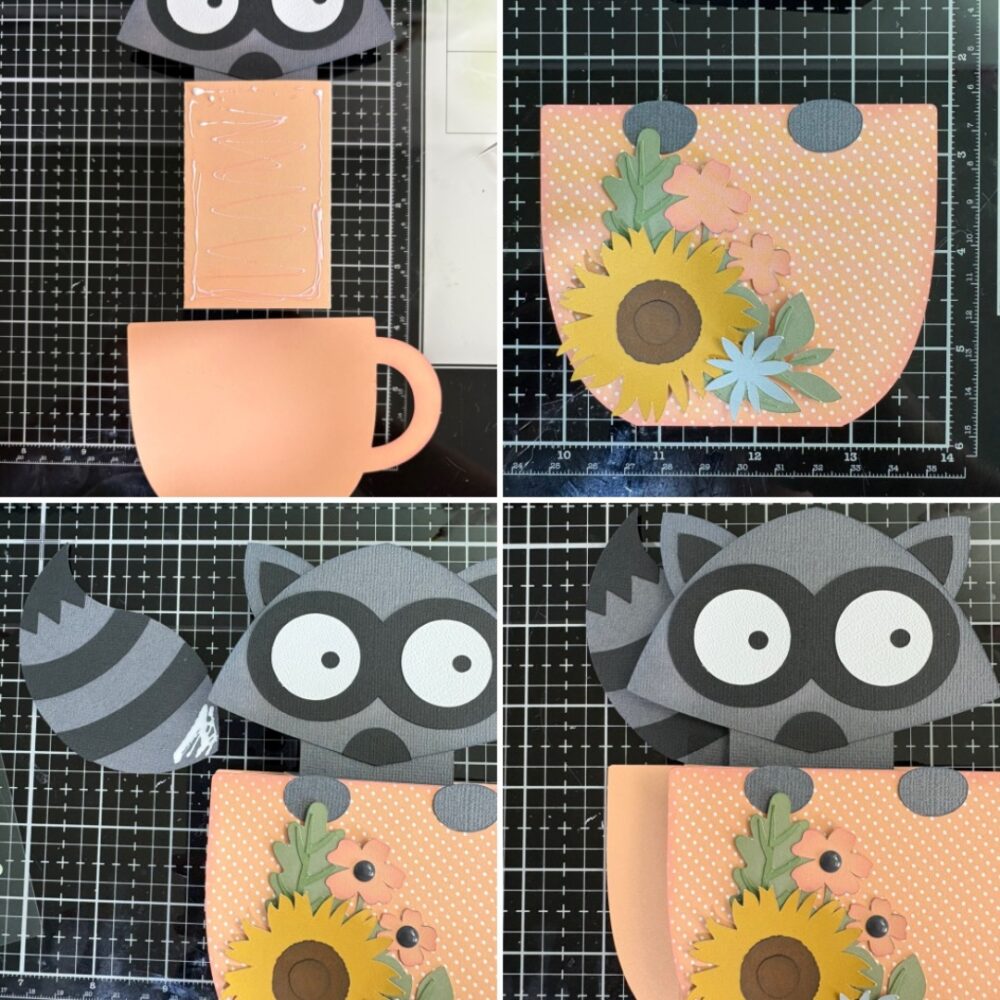
I used the Firefly collection by Echo Park Paper to cut most of my pieces; I also used some cardstock from my stash. Before I started the assembly, I inked the edges of my pieces. The raccoon is the only insert in this box card, and he comes together pretty easily. I glued the eyes and nose to the face piece, and the inside of the ears were glued to the body piece of the raccoon. The tail is separate from the body and will be glued to the back of the insert.
The flowers are all a single layer, except for the middle of the sunflower. There are three circles for the middle of the sunflower, but I lost one and didn’t recut the missing circle.
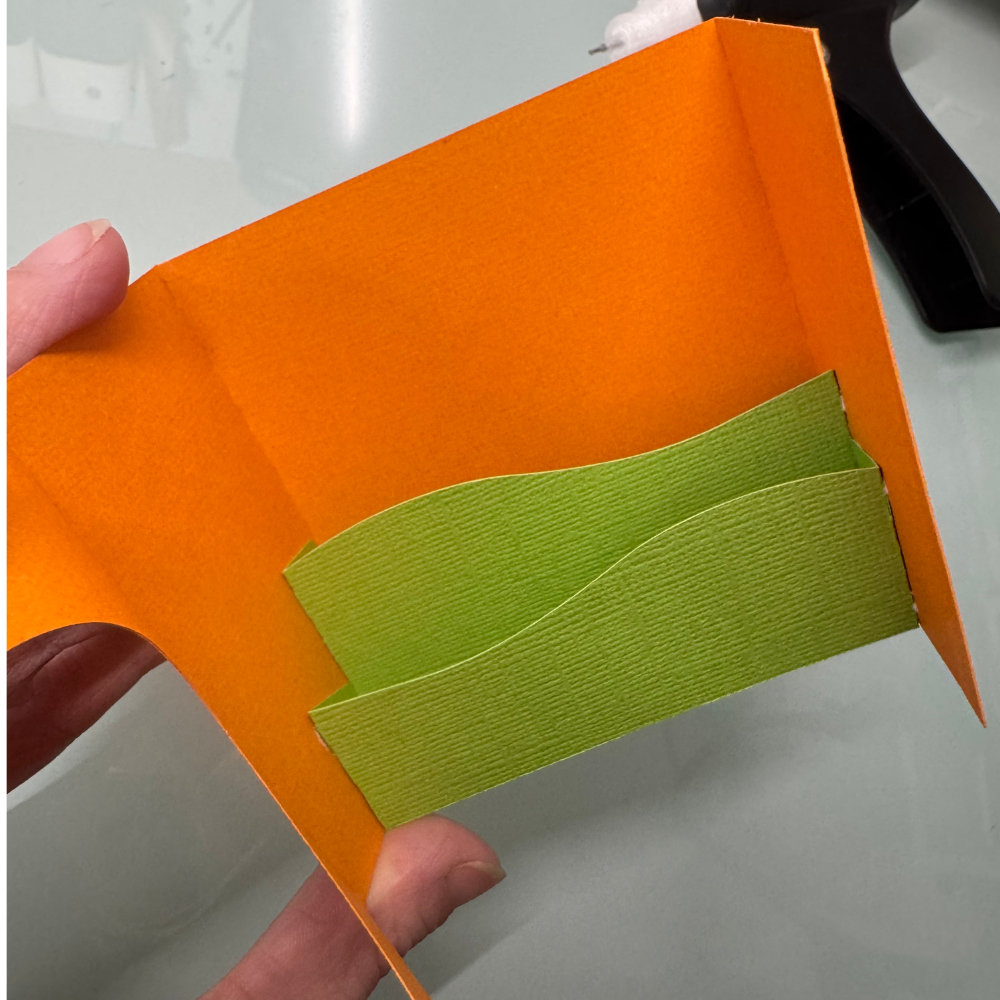
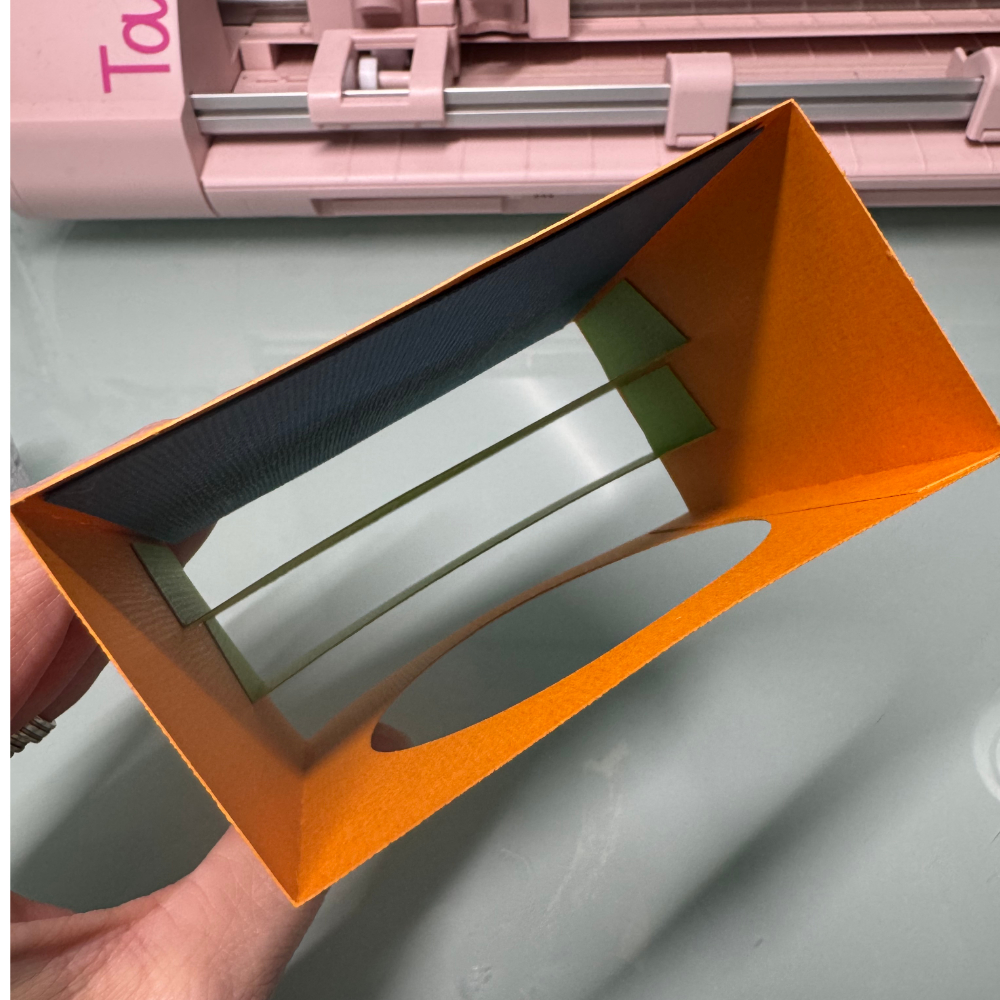
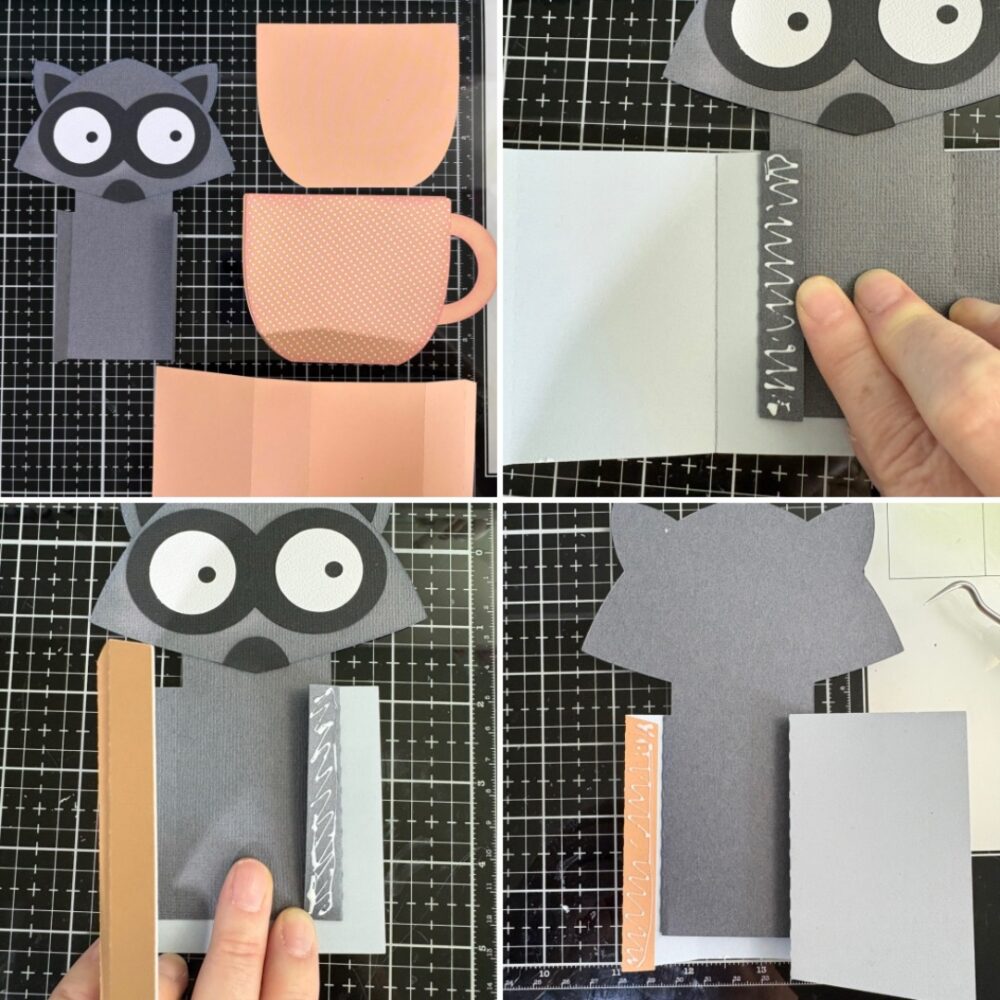
For the teacup I cut an extra cup piece without the handle to give my cup a two-toned look. I folded the score lines of the box portion of the card as mountain folds and the racoon tabs as valley folds. The raccoon insert tabs are glued to the shortest sides of the box. I lined up the tabs of the insert with the score lines and the top of the inside of the box. With one side secure I added glue to the back of the second tab of the insert then folded the box over making sure everything was lined up. Once the tab was secure, I flipped the card over and added glue to the box tab and folded the back of the box over making sure everything was lined up before the glue set.
I then added glue to the front of the box and lined the bottom edge of the cup with a handle to the bottom edge of the box making sure the corners line up. With my extra decorative cup piece, I glued the raccoon hands and flowers into place and glued it to the front of my card. Then I glued the back piece of the cup to the back of the box. Lastly, I glued the racoon tail to the back of the racoon insert making sure the card would fold flat. I also used a white acrylic pen to give my raccoon some highlights.
I love how this card turned out. It is perfect for a fall birthday. Thanks for stopping by today!
Happy Thanksgiving! Traci here and I hope you all have a wonderful holiday filled with blessings and warm, happy moments. Today, I have a tiny scrapbook to share with you titled Give Thanks that would be so fun for those memories. And, it might be the “miniest” mini album I’ve ever made!
Look how small it is! 💕 I created it with one of Lori’s amazing cutting files called 2×2 Accordion Mini Album (SVG, Silhouette) and the Echo Park, I love Fall Collection also designed by Lori.
First, let’s look at this little cutie, then I’ll explain exactly how I made it with a tutorial below.
I just love that it looks like a miniature book. It has an orange and green scalloped spine, pretty pattern papers, and a Give Thanks title sticker on the cover from the 12×12 elements sheet.
Inside, there are 16 little scrapbook pages (8 double-sided). I added some fun shaped journaling spots and photo mats using a 2″ scallop circle punch and a 1.75″ circle punch by Marvy Uchida.
You could use each page in this album for photos, or … mix it up and add embellishments on some of them like I did. Above, I added the Harvest Blessings sticker from the sticker book.
The journaling spots are perfect for adding dates, names, locations, events, or … what you and your family are most grateful for this year.
This project could be a cute little gift idea for after Thanksgiving. Make them for your guests with pictures from the holiday. Or … create this tiny album with ANY paper collection and it could be a fun Christmas present or stocking stuffer idea!
Now, for some instructions …
1. I chose my papers and cut out the 8 pages, 2 inside covers, 2 outside covers, and three pieces for the spine.
2. Next, I folded the paper on the score lines for each of the pages and positioned them on my table with the 1/2″ tab on the left.
3. Then, I adhered each 1/2” tab to the back of the page before it until I had all 8 pages glued together.
4. The very first page still has a tab on the left side, so I adhered the inside front cover here.
5. The inside back cover has a tab on it, so I adhered this to the last page of the album.
6. Once all of the pages are attached, I folded them into a little book and added the front and back covers.
7.
Finally, I adhered the 2 scallop accent pieces next to the spine on the
front and back, then used liquid adhesive to fold the orange spine around the
entire left side of the book.
There
is no need to adhere any of the pages back to back or to the spine. They stay nicely in their accordion shape once the spine piece goes on. Once the book is complete … it’s time to decorate!
I hope you’ll try this fun project made with Lori’s 2×2 Accordion Mini Album cutting file and her fabulous I Love Fall Collection designed for Echo Park.
For a video tutorial of this album, please see Lori’s YouTube video here:
Have a great Thanksgiving and enjoy your day with family and friends! 🍂🦃🧡
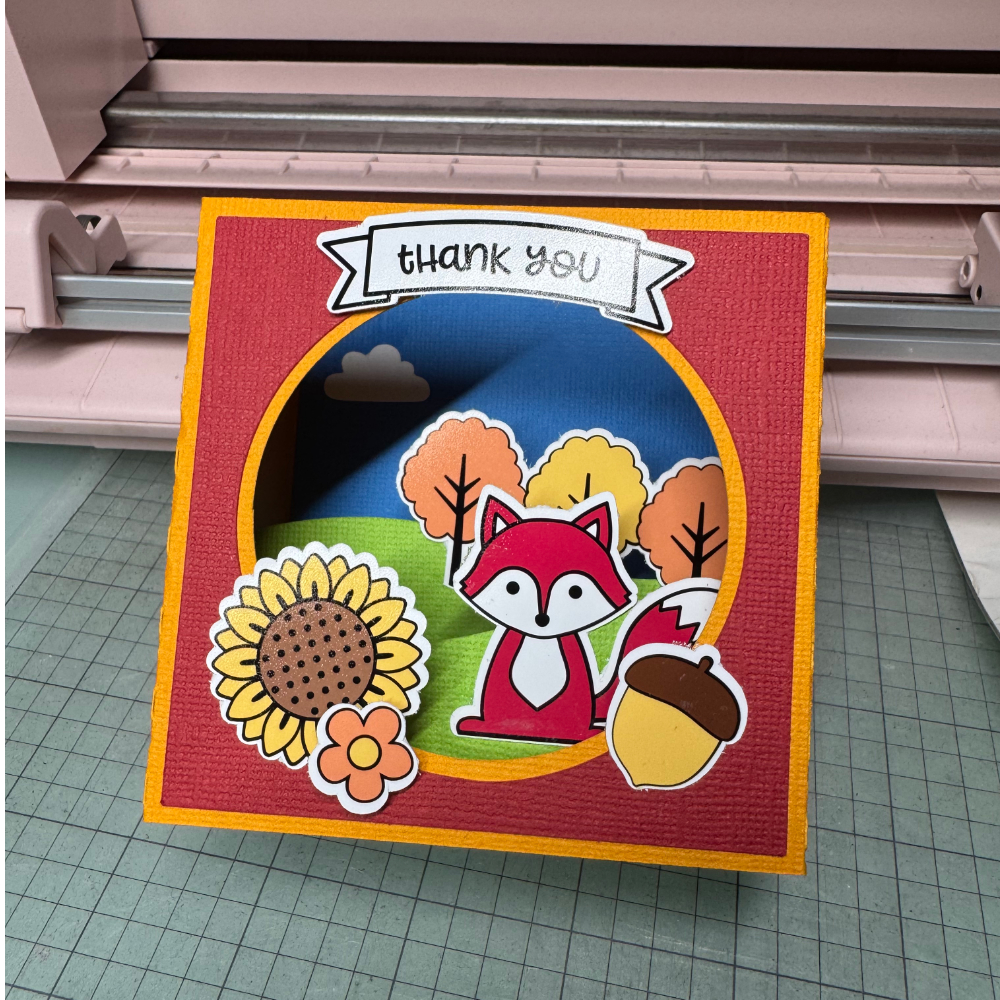
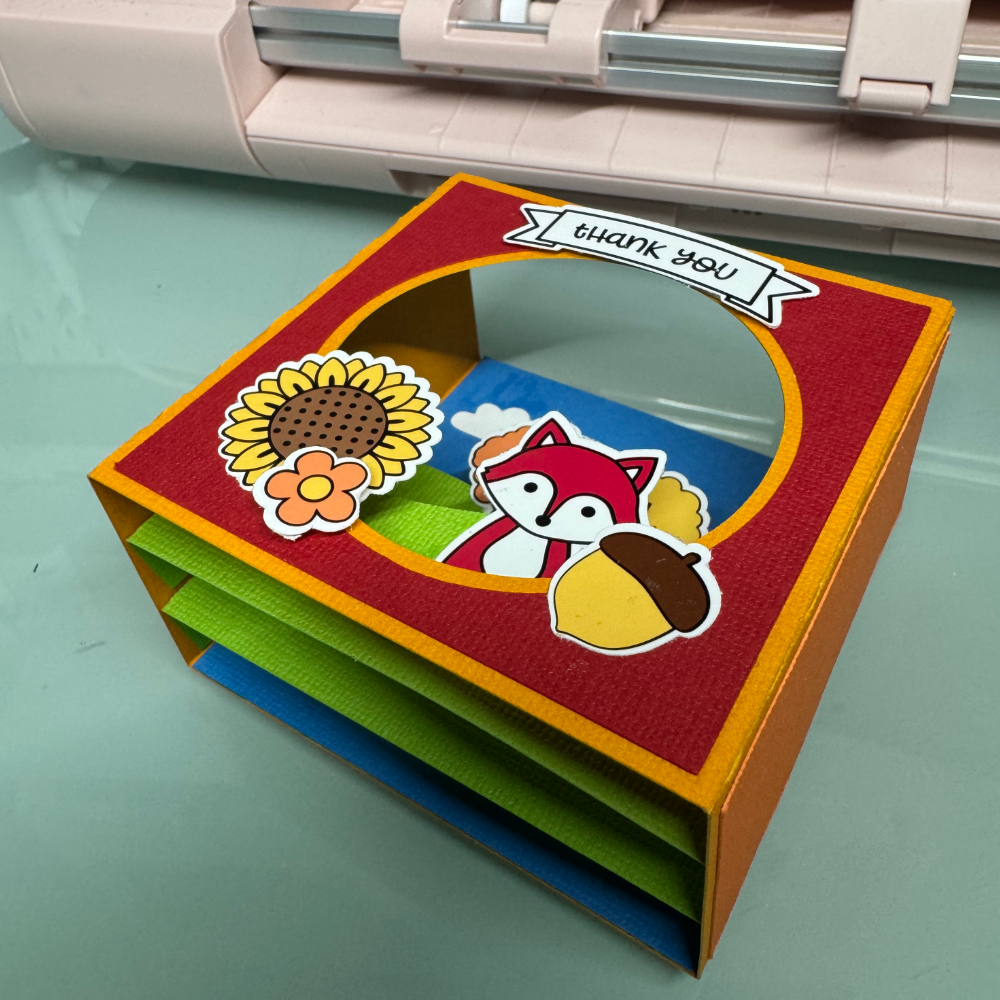
I’m excited to share my latest creative adventure with you: a fun print and cut project! I know that for many people, the idea of print and cut can seem daunting. But let me assure you, it’s actually a lot easier than it looks!
When I first started, I was intimidated by the idea of aligning everything perfectly. I thought I’d end up with wonky cuts and wasted materials. However, after diving in, I found it to be incredibly easy!
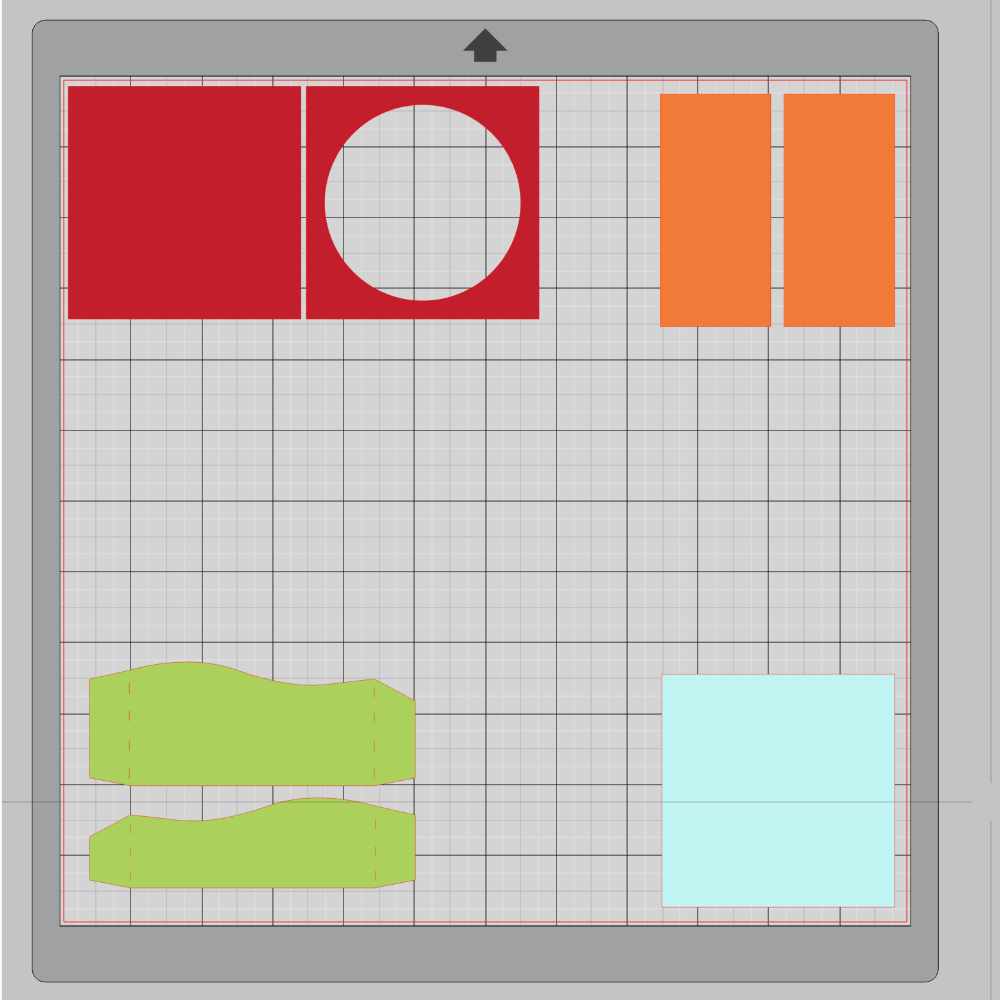
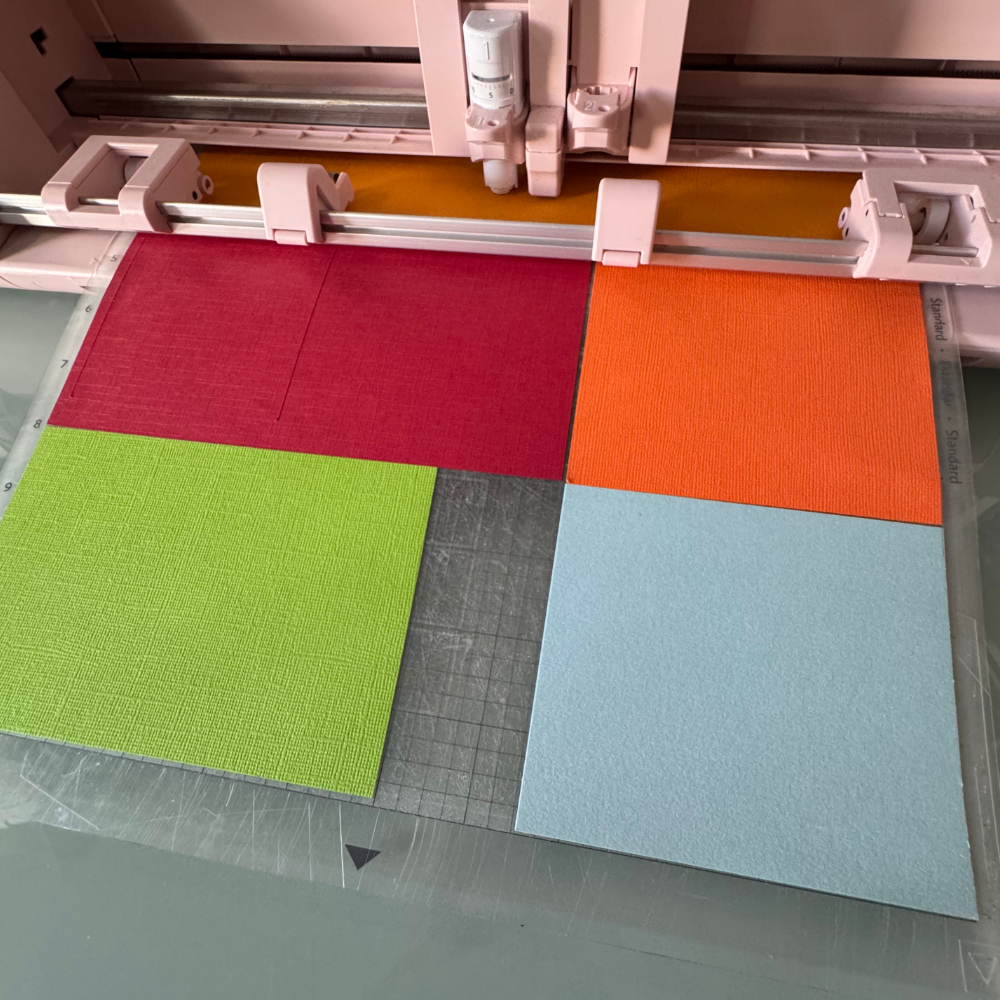
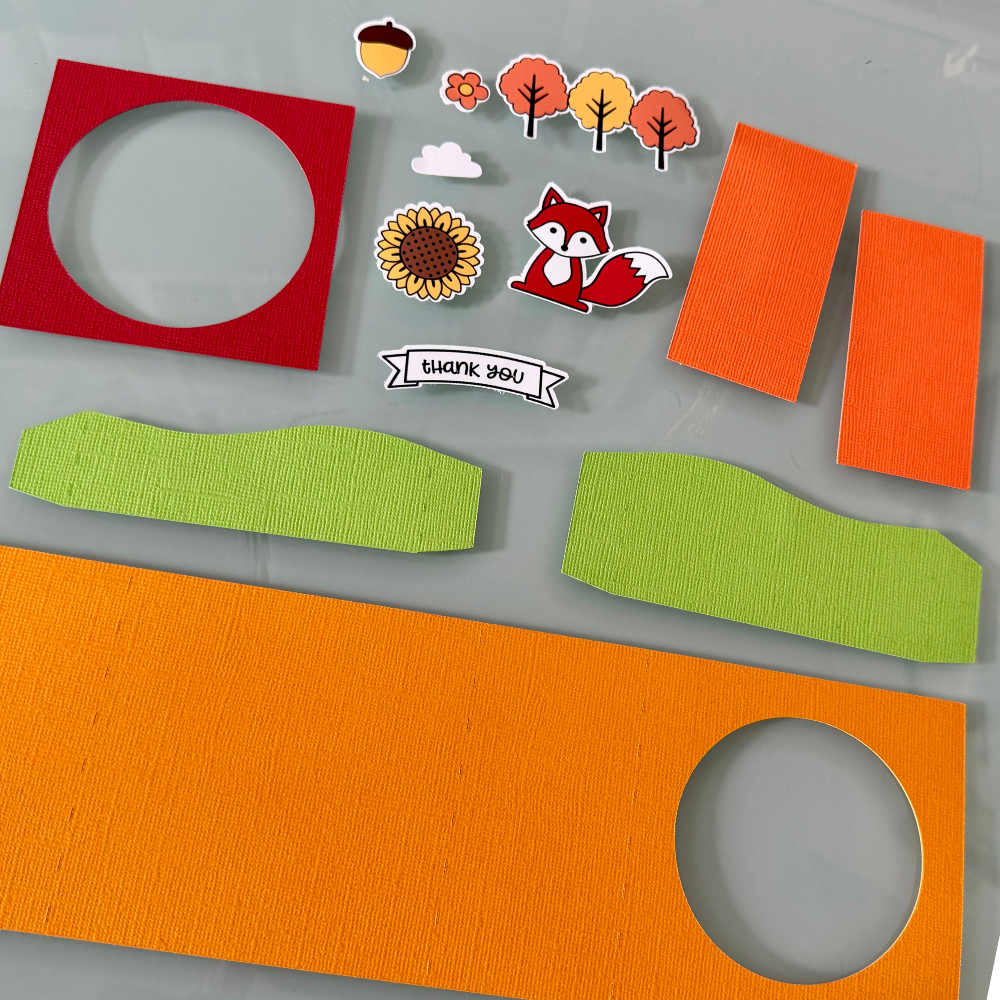
Cutting the cardstock pieces: I love to cut as many colors that I can on 1 mat, so I place more than one color on a mat.
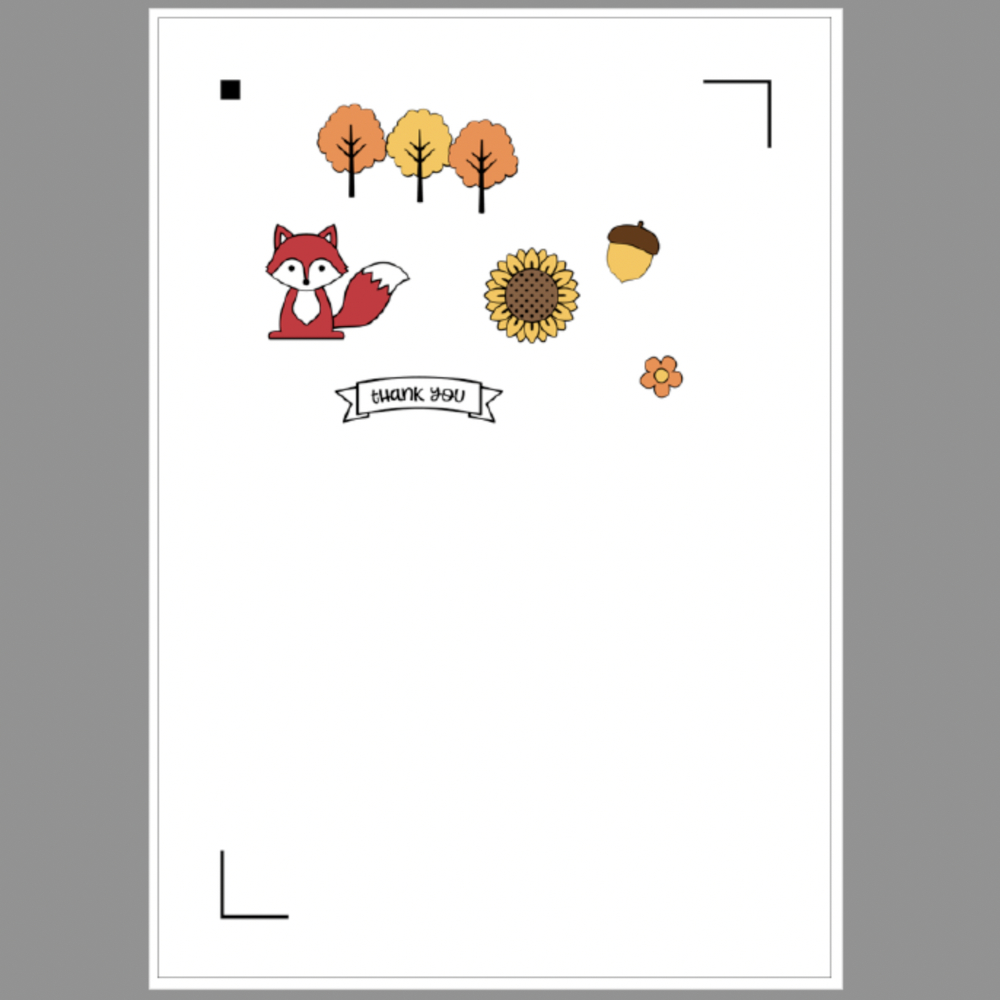
Print:
After I sorted the printable items of my design, I printed it out on quality paper. The key here is to ensure your printer settings are correct for the best results. I used semi glossy photo paper.
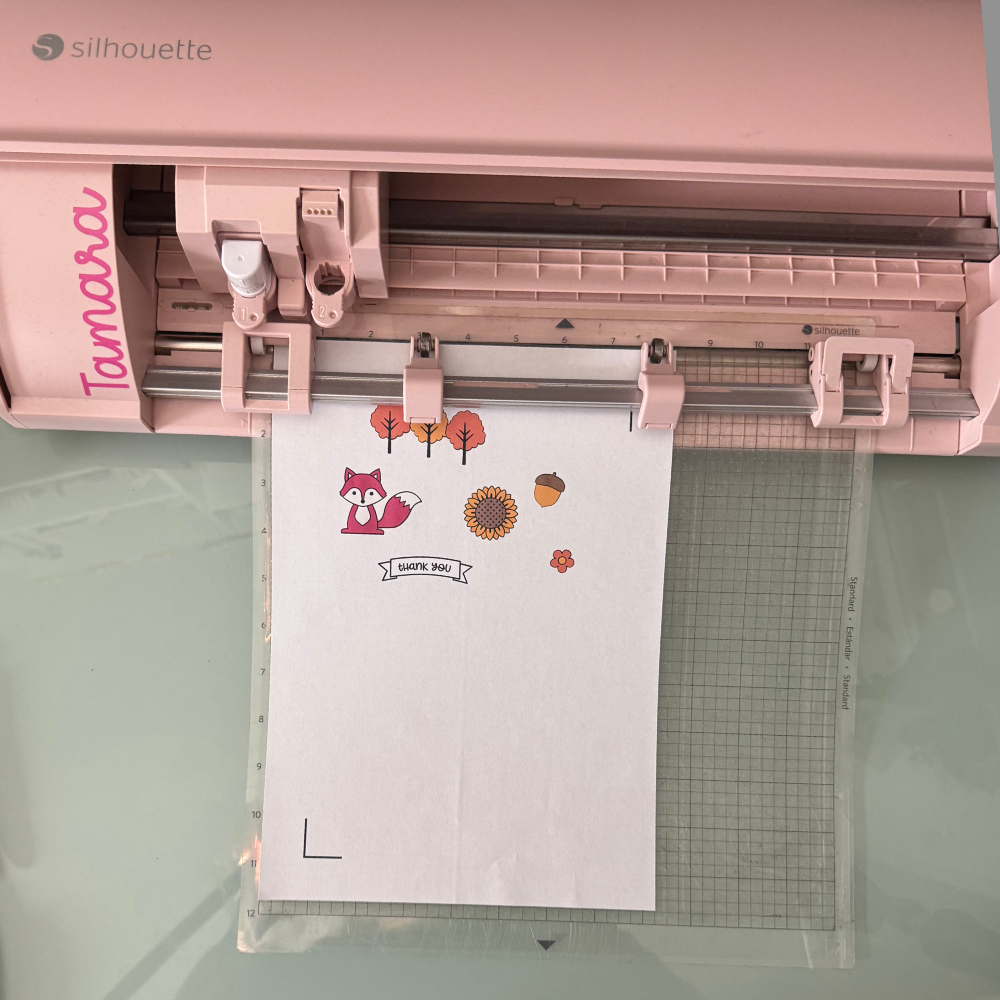
Cut:
After printing, I loaded the paper into my cutting machine. so my machine could cut the images!
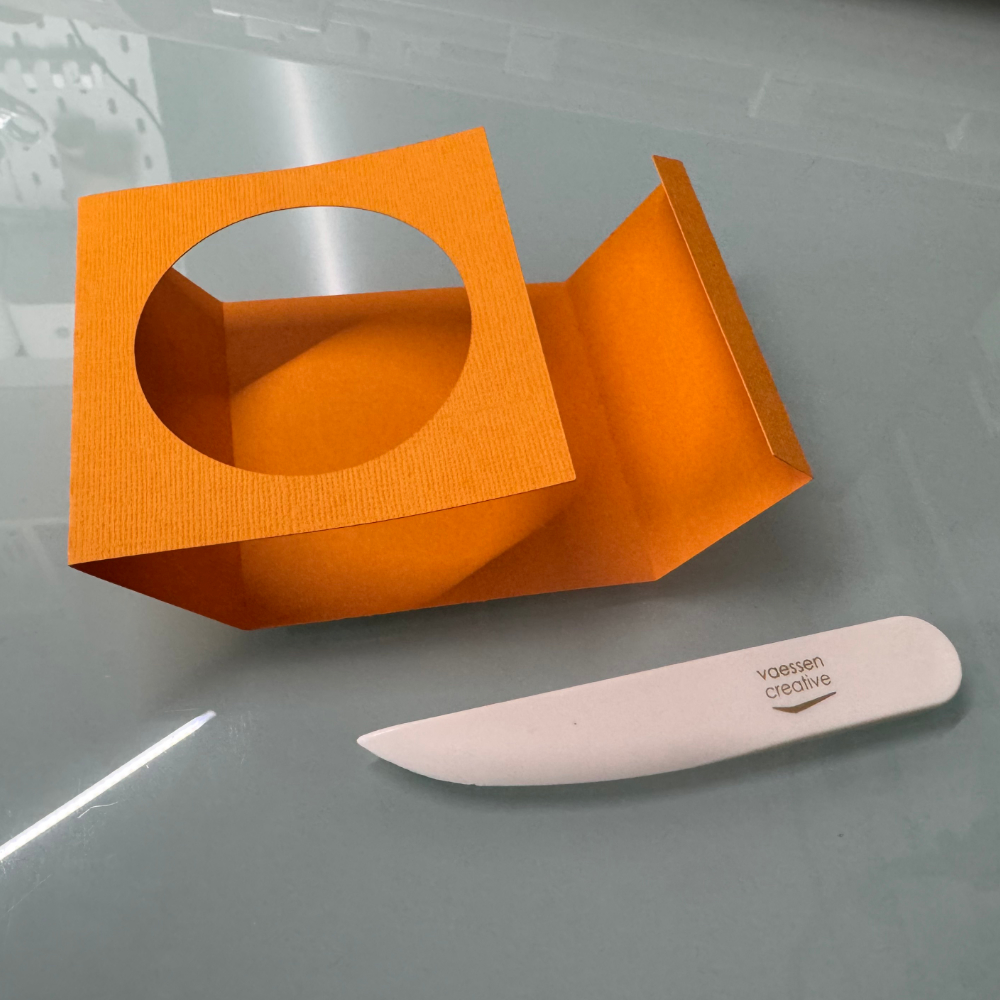
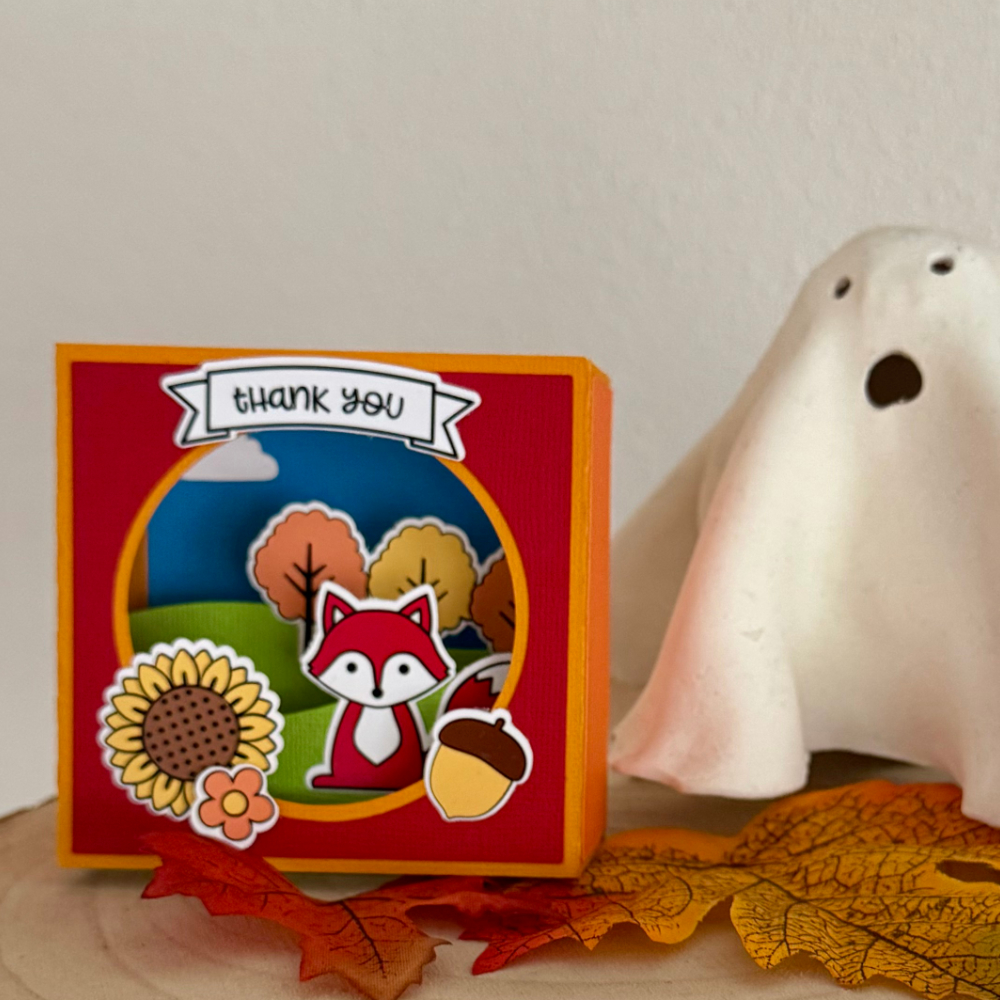
Putting the card together: The card elements are super easy to piece together, as you can see in the photos below!
After you glued these parts together you can start to add the print and cut elements, and decorate the outside panels.
If you’re considering trying a print and cut project, here are a few tips to help you along the way:
Use Quality Materials: Good printer paper and ink can make a huge difference in the final result of the printed images. Practice: Don’t be discouraged if your first attempt doesn’t go perfectly. Each project is a learning opportunity!
I truly enjoyed my print and cut project, and I can’t wait to make more. Remember, it’s all about having fun and experimenting with your creativity. So, if you’ve been hesitant to try print and cut, I encourage you to jump in! You might just surprise yourself with what you can create. And there are so many cute Print and cut projects in Lori her shop, go take a look!
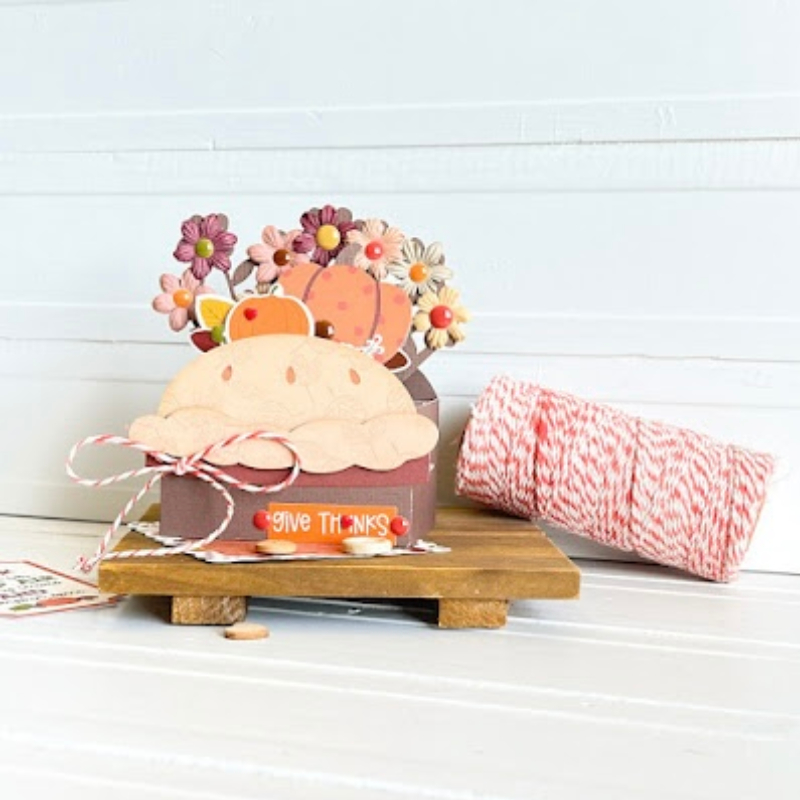
The holidays are just around the corner…hard to believe they are sneaking up on us so fast. I had fun in my little studio creating this adorable box card. It’s Lori’s A2 pumpkin pie flower box card or you can find it here In the Silhouette Online Design Store. It’s just too cute with that little crust edge…love it.
I used Lori’s Echo Park I Love Fall collection. I have used this collection over and over, it is just perfect for everything this time of year.
I adore this little card. Wouldn’t it be fun to use them as place settings at your Thanksgiving table?!
And wouldn’t it be nice it we all had time for that?!

(298).png)
(297).png)
(292).png)
(290).png)
(291).png)
(295).png)


.png)

(299).png)