
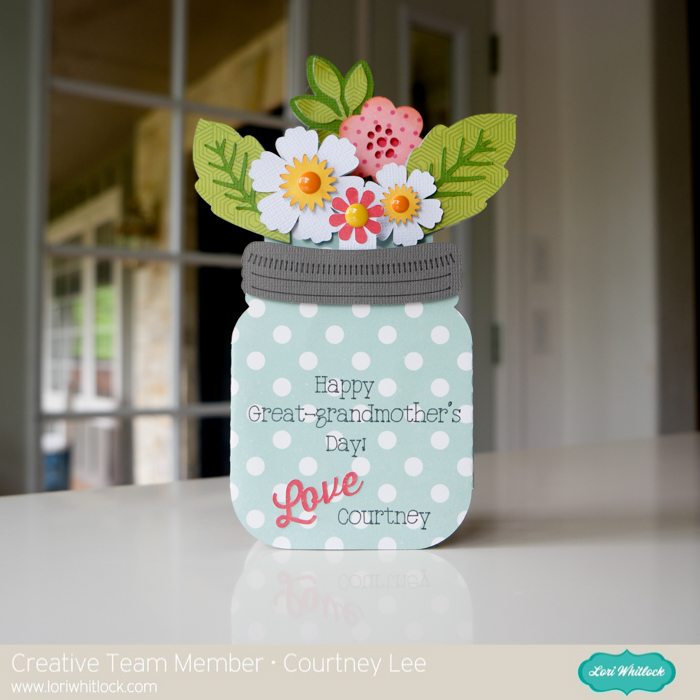
Hello!!! This is Courtney Lee from Court’s Crafts here with the new (and adorable) mason jar box card. I wanted to show you how to personalize it and make it your own using the cut and write feature of your Cricut Explore Air.
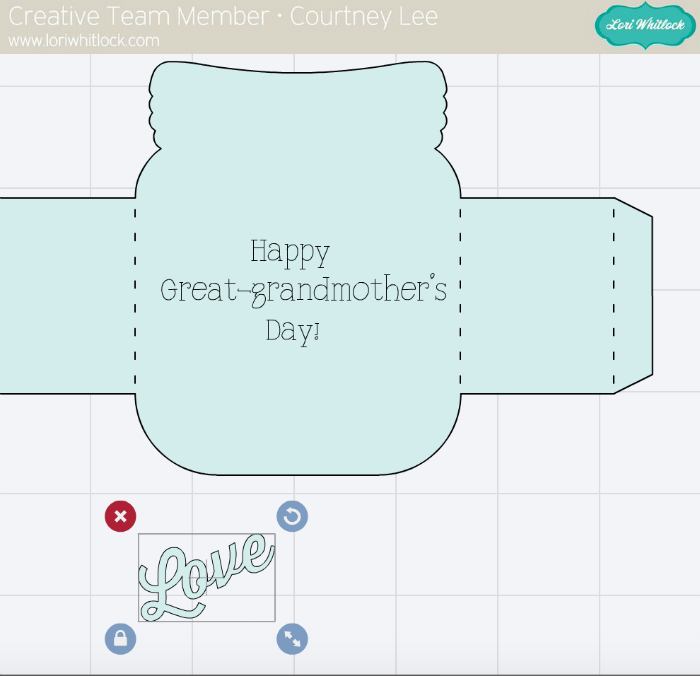
Change the marks on the jar lids to “write”.

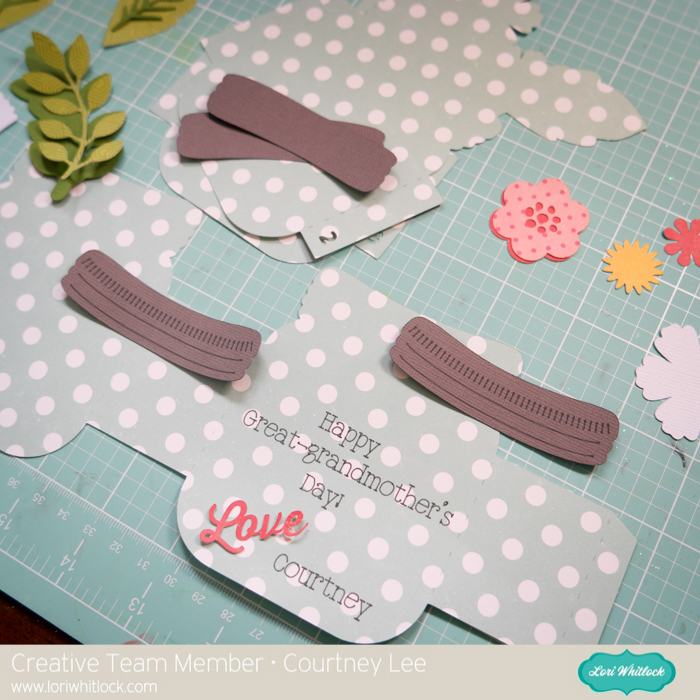
Personalize by adding text.

I’m never one to throw away a die cut so… shrink the “love” to fit on the bottom.
Personalize further by adding your name. (This is going to be CUTE!!!)
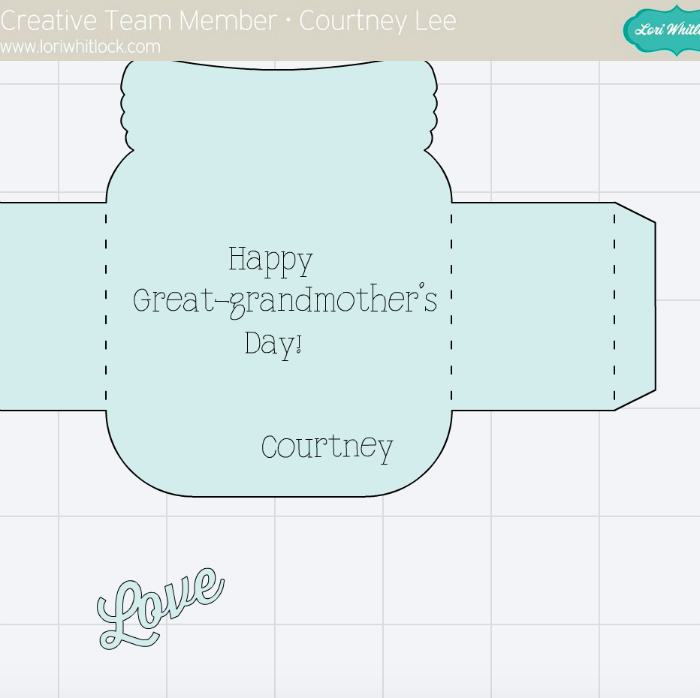
See that “attach” button top right? Attach all layers together by holding down “shift” and clicking all the pieces. This will make it so the cut and write feature happens at the same time. Do the same thing with all of the other pieces just to make sure the scoring marks are attached to the correct pieces, etc.

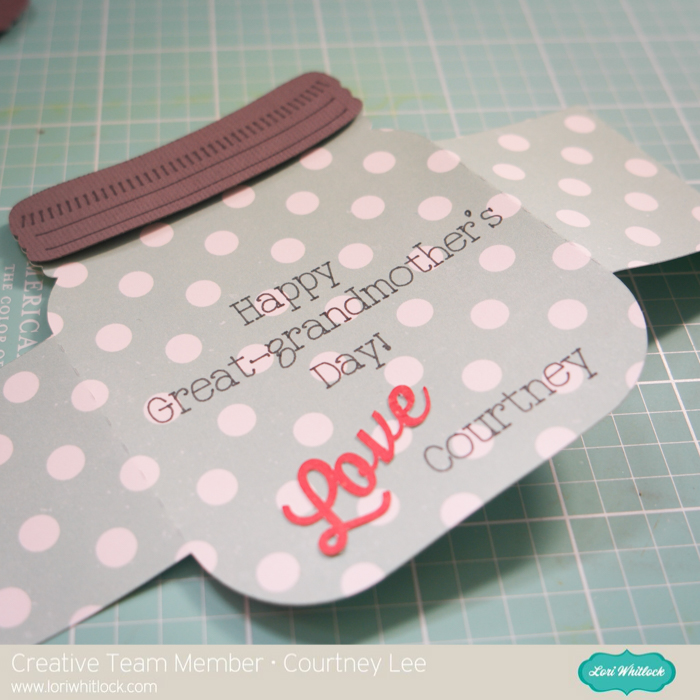
Cut out and check it out!!!! The Cricut Explore is AMAZING with the write and cut feature (with the dual tool holder!! I did it at the SAME time!!! ugh. love..)
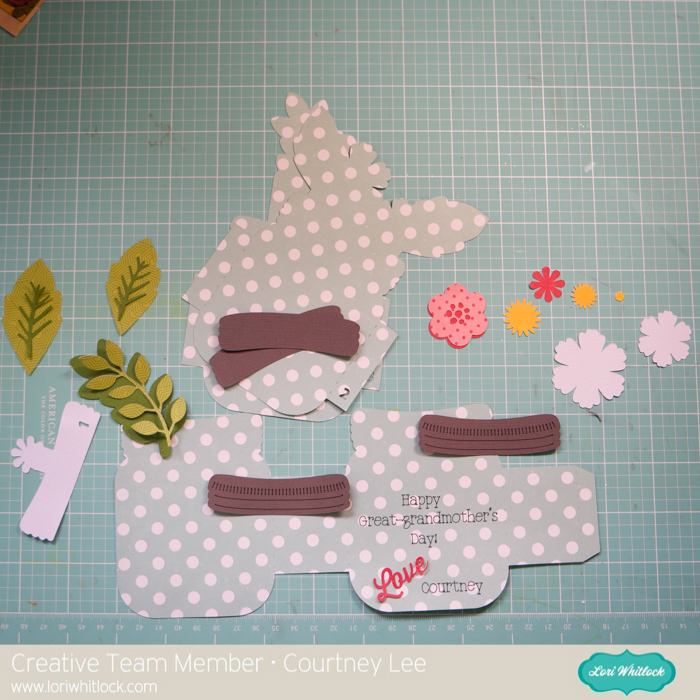
Check out how awesome the Cricut Explore Air did at the “cut and write” feature!!!
I adhered the “love” to the card and popped the jar top to the first layer.
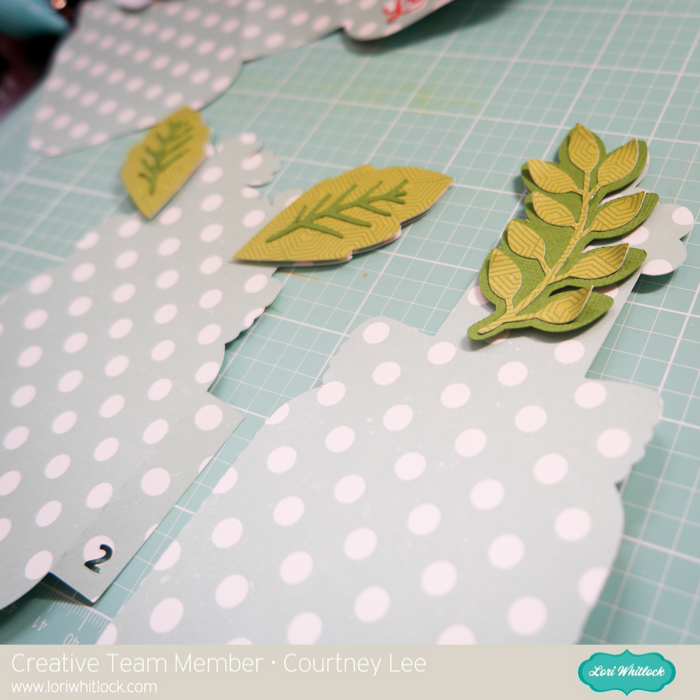
Then I glued the stems to the leaves and curled the ends up on one layer. I adhered those with pop dots too.
Use the enamel dots to add dimension. Paste layer one directly to the inside front of the card.
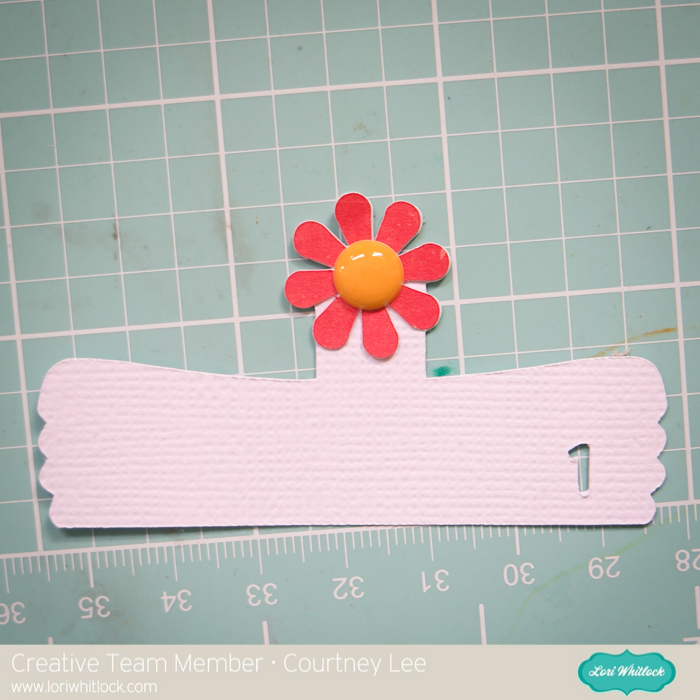
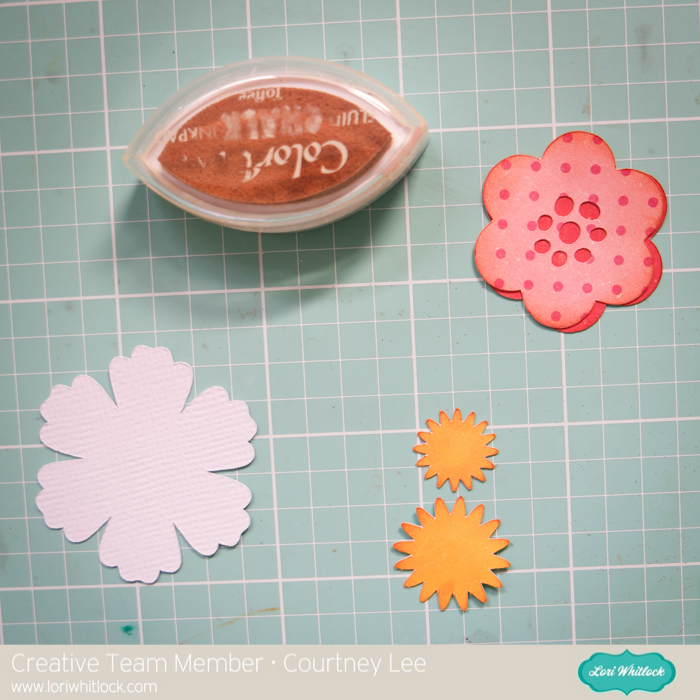
Ink the edges of the pink flower and the yellow flower centers.
Layer 2

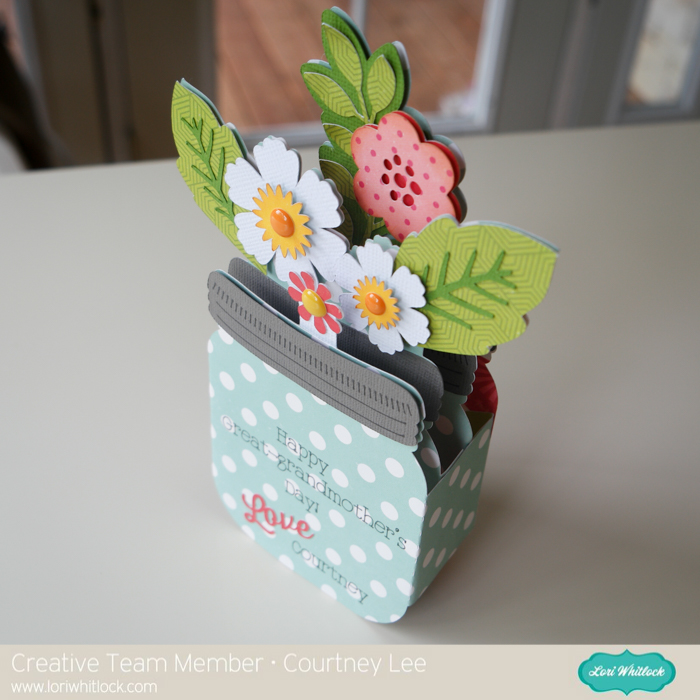
Card complete!


I hope you enjoyed my tutorial today!!! It’s so much fun to use the Cricut Sketch pens on cards in neat and creative ways!
Recipe:
Lori Whitlock’s Shop: Box Card Mason Jar Bouquet
Silhouette Shop: Box Card Mason Jar Bouquet
Lori Whitlock’s Happy Summer collection for Echo Park Paper
Lori Whitlock’s Happy Summer Enamel Dots
Happy Day Flip Flap Card with Corri
Hi everyone! Corri here today sharing my take on one of Lori’s fun new Flip Flap cards . These cards are so fun…the middle panel flips over to reveal a spot for a sentiment.
I used the Happy Summer Collection from Echo Park Paper to make this cute card.

When you open the card the circle in the middle flips over. I added a cute piece of ephemera from the paper collection to the back.
 Head over to Lori’s shop to see all the fun version of this easy to make card! There is one for every occasion!
Flip Flap 3 Bars Card Tutorial with Tya
Hello – Tya here to share with you a quick tutorial on how to put together the new Flip Flap Cards. Lori came out this week with a bunch of these adorable cards so I thought I would show you really quick how to put it together.
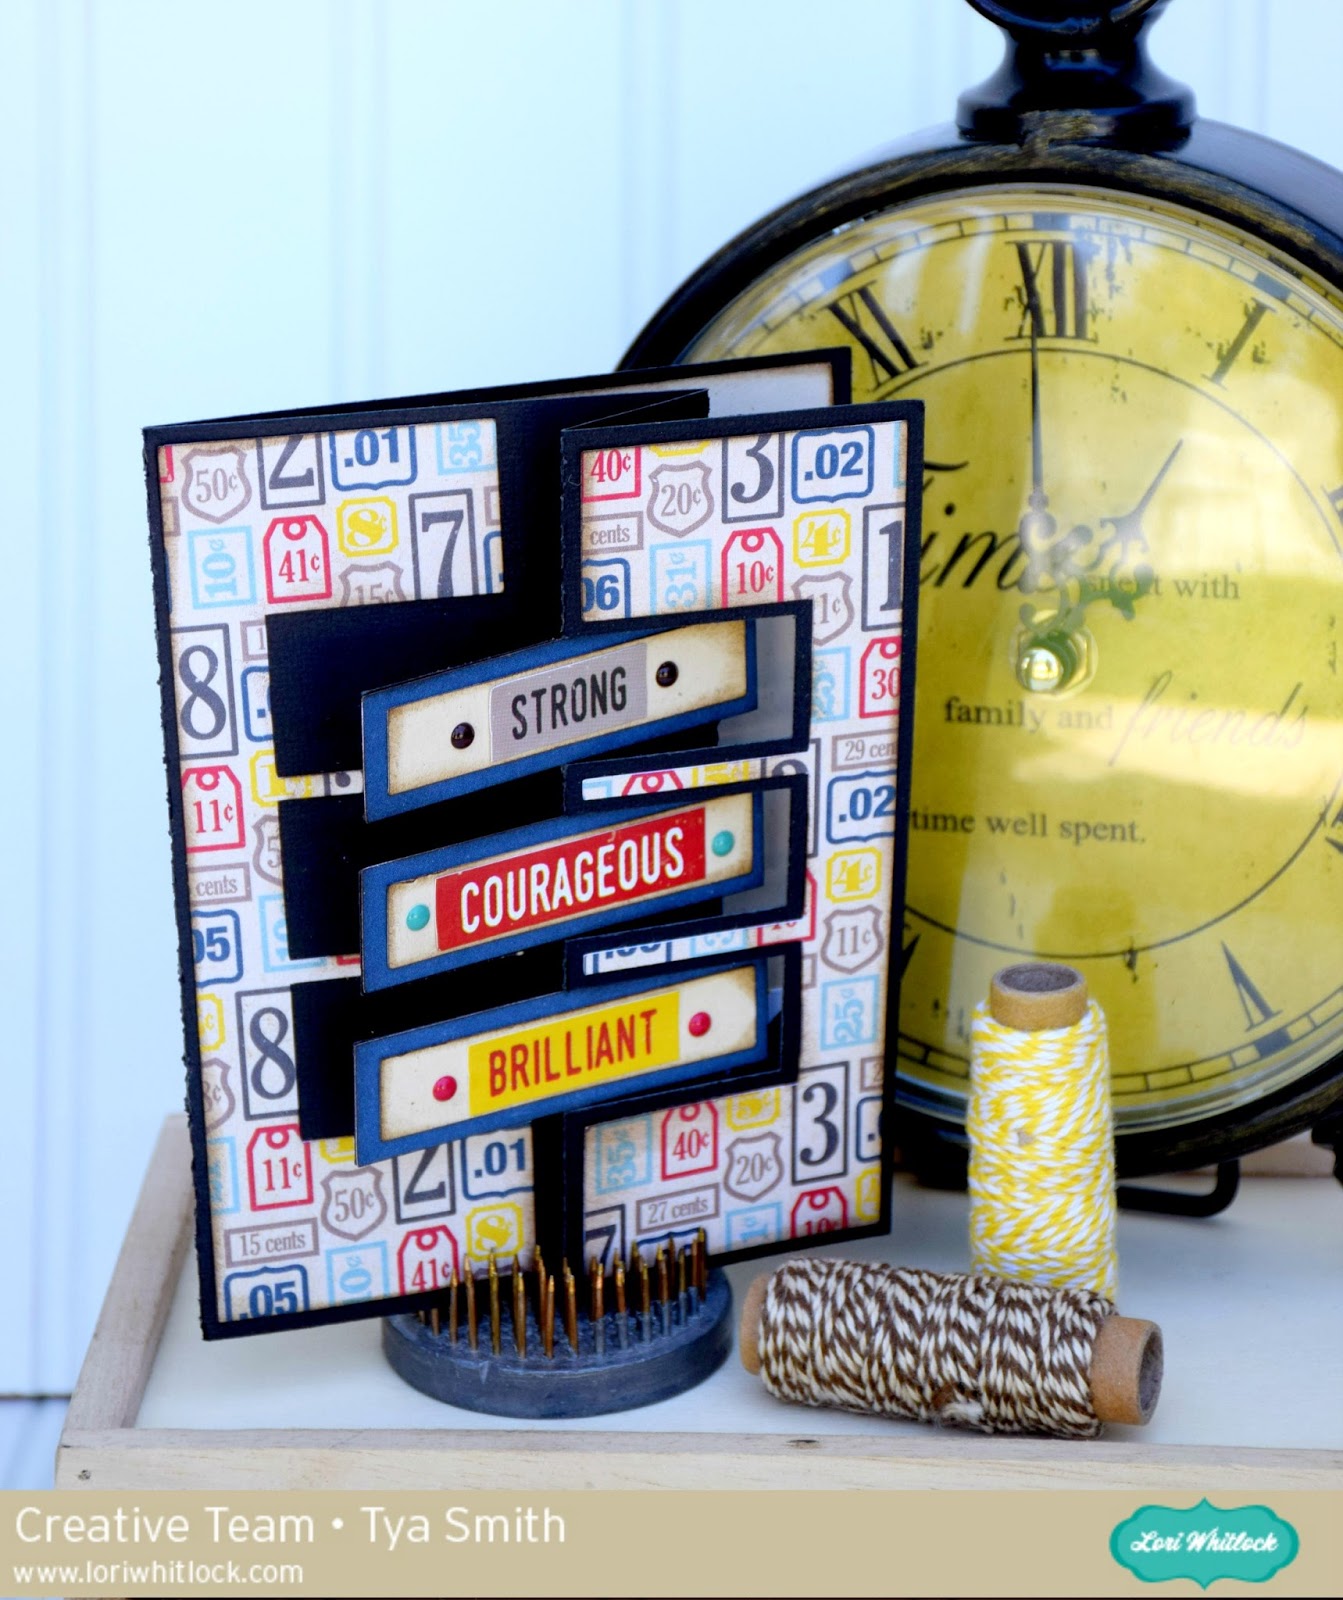
I am using the A2 Flip Flap 3 Bars card (LW SVG Shop) (Silhouette) and the Pinstripes line that Lori designed for Echo Park. This card would be wonderful for Father’s Day!
To start – open the file in your cutting software. Go ahead and cut the papers out.
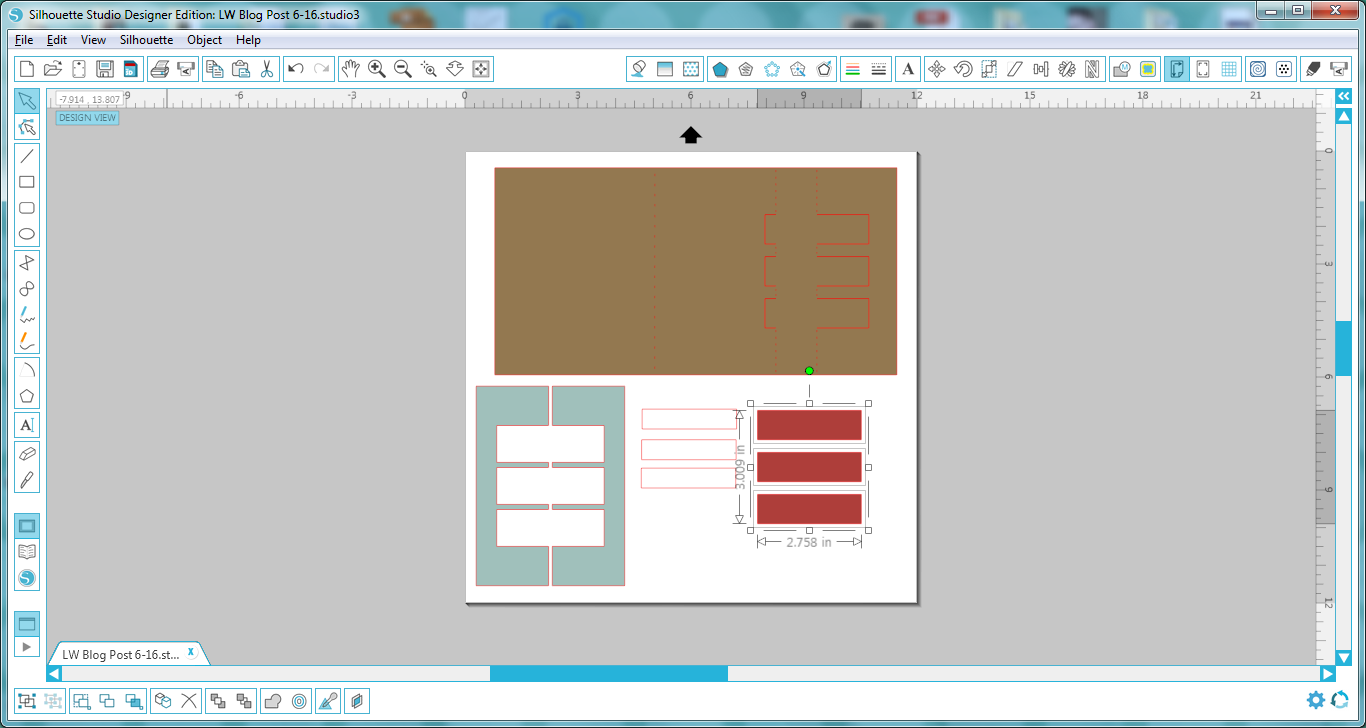
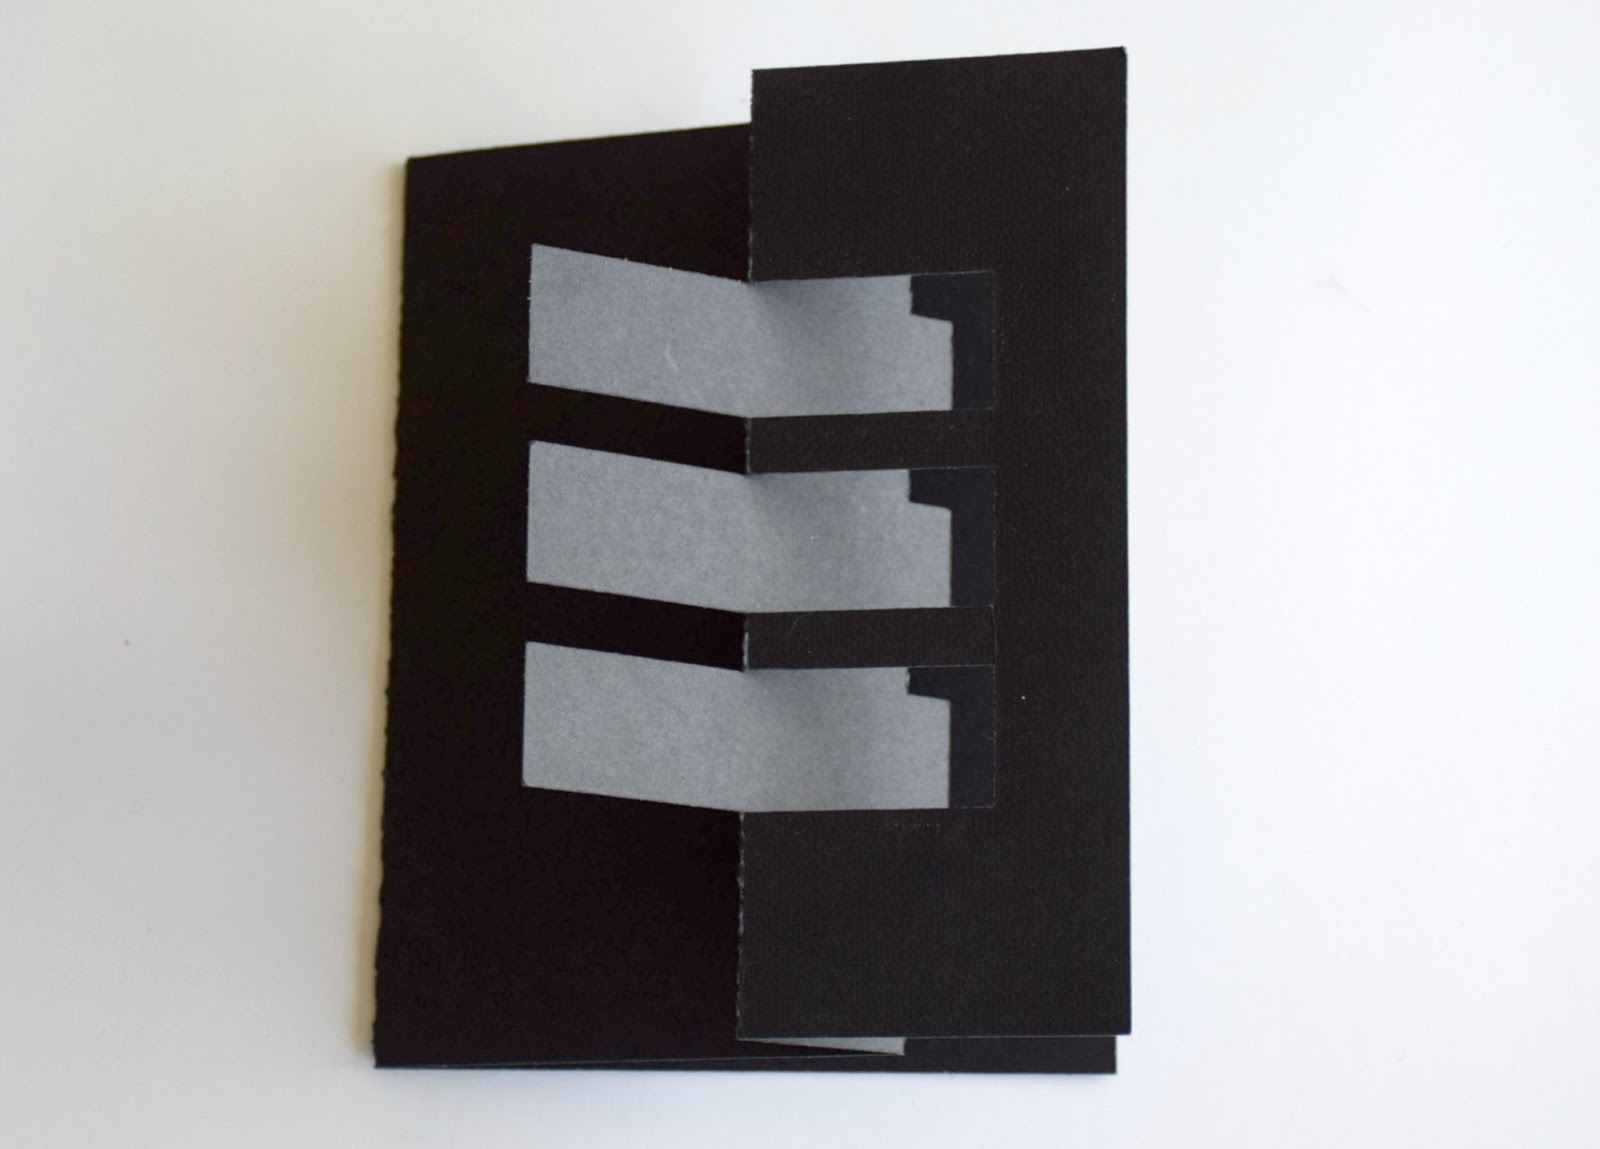
Here are the pieces all cut out. The brown piece is the base and the other pieces are for the front and bars of the card.

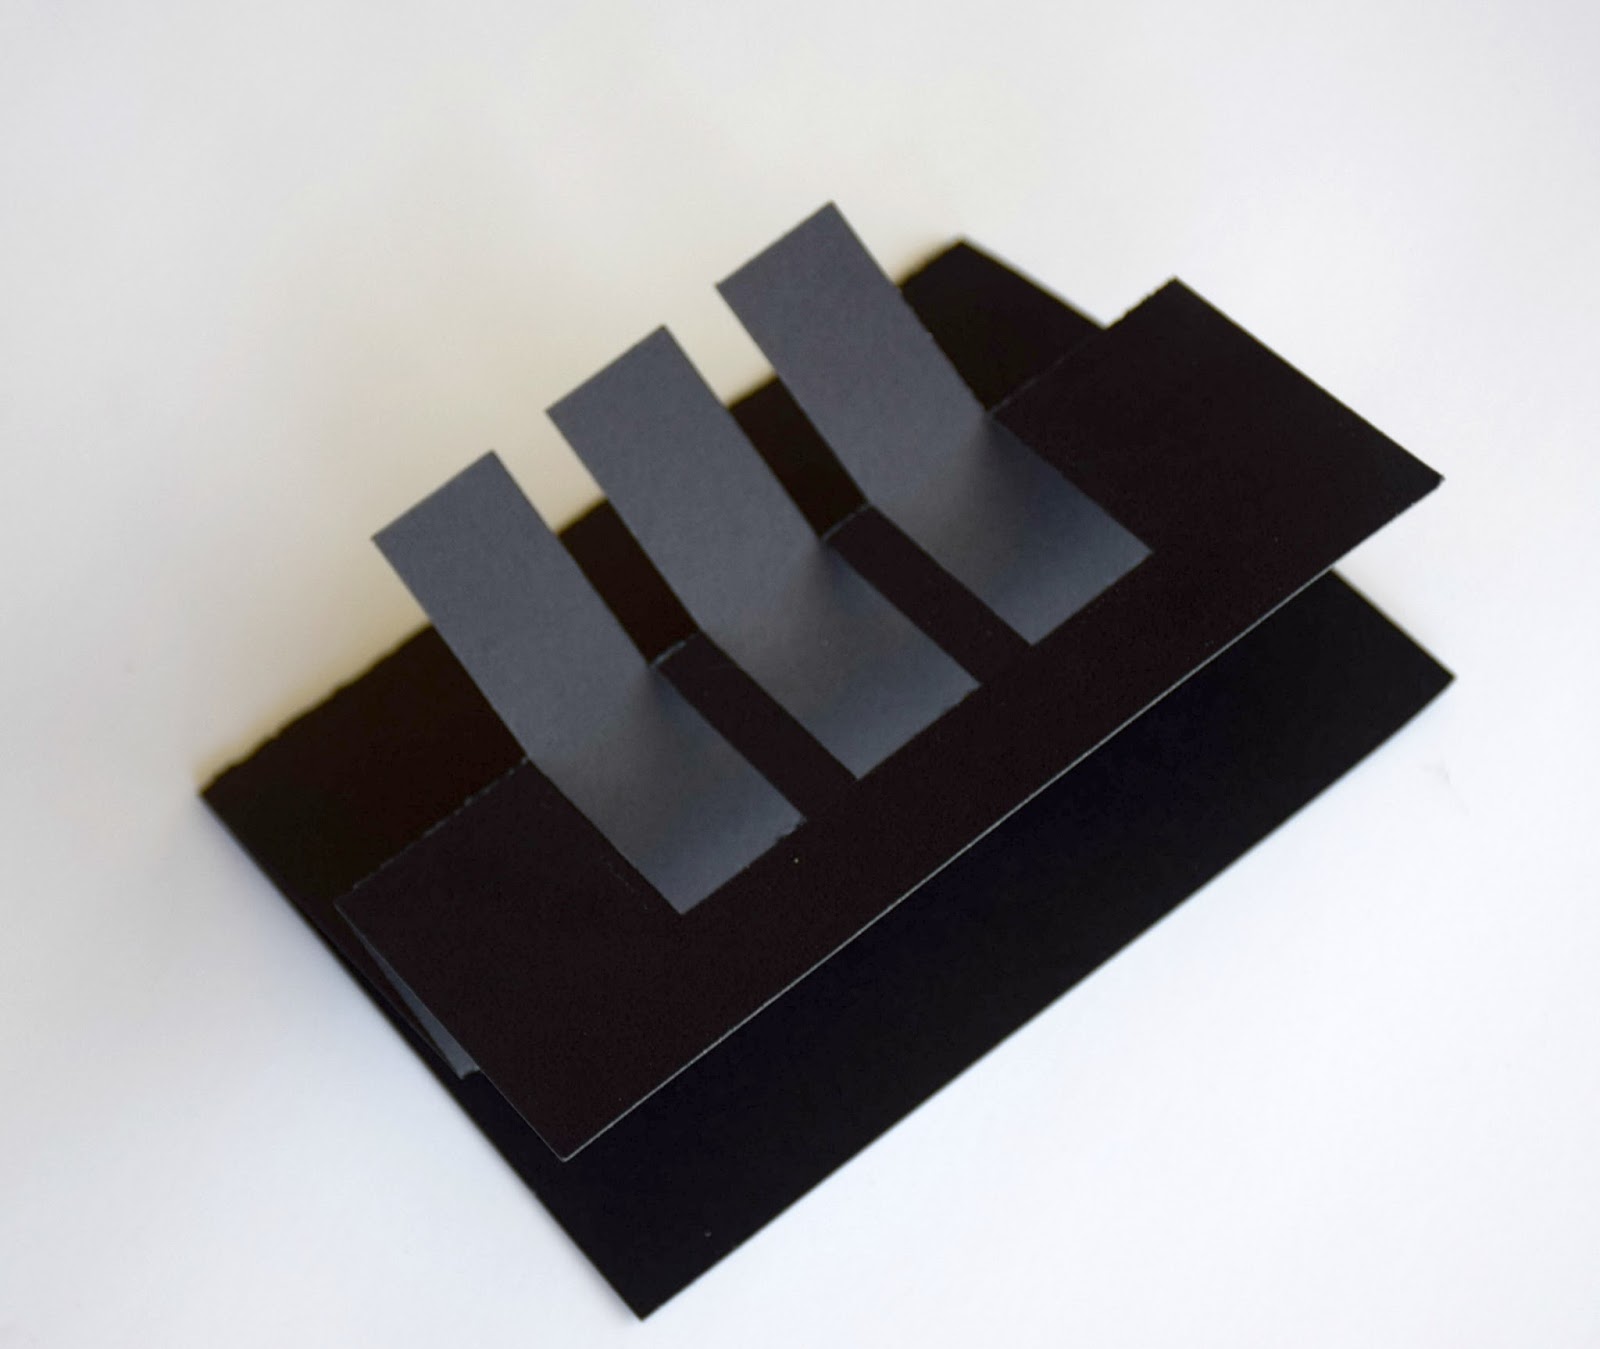
Once the papers are cut out – go ahead and start folding the card base. First fold the far left side of the card into the center on the fold line.

Next fold the right hand side of the card back towards the left on the folded line.

Finally – Fold the left hand side over once again on the folded line. You can see the bars on this fold.
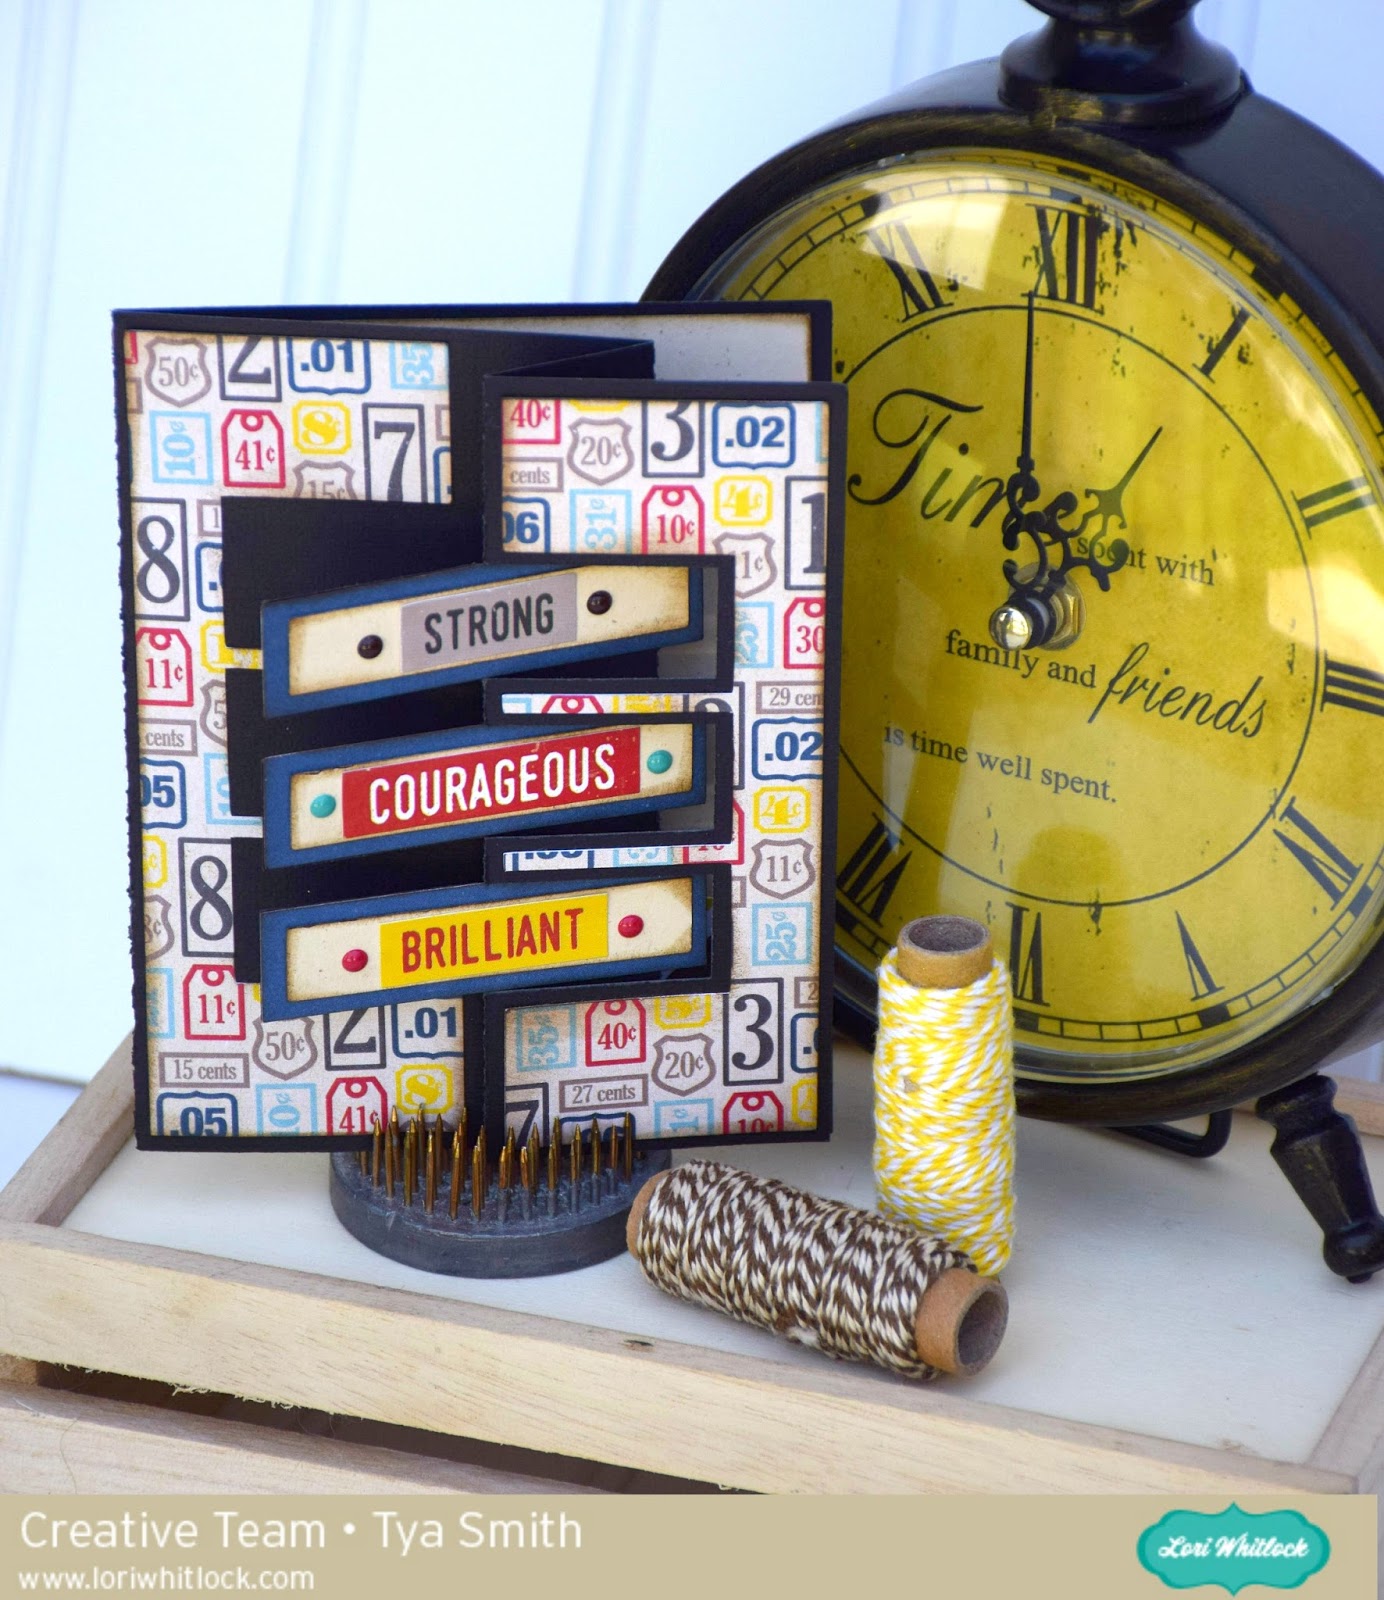
Now – assemble the remaining pieces to the card front. I added some pattern papers from the 6×6 paper pad and some word strip stickers that fit perfectly on the bars. I also added some enamel dots to the bars as well for some dimension.
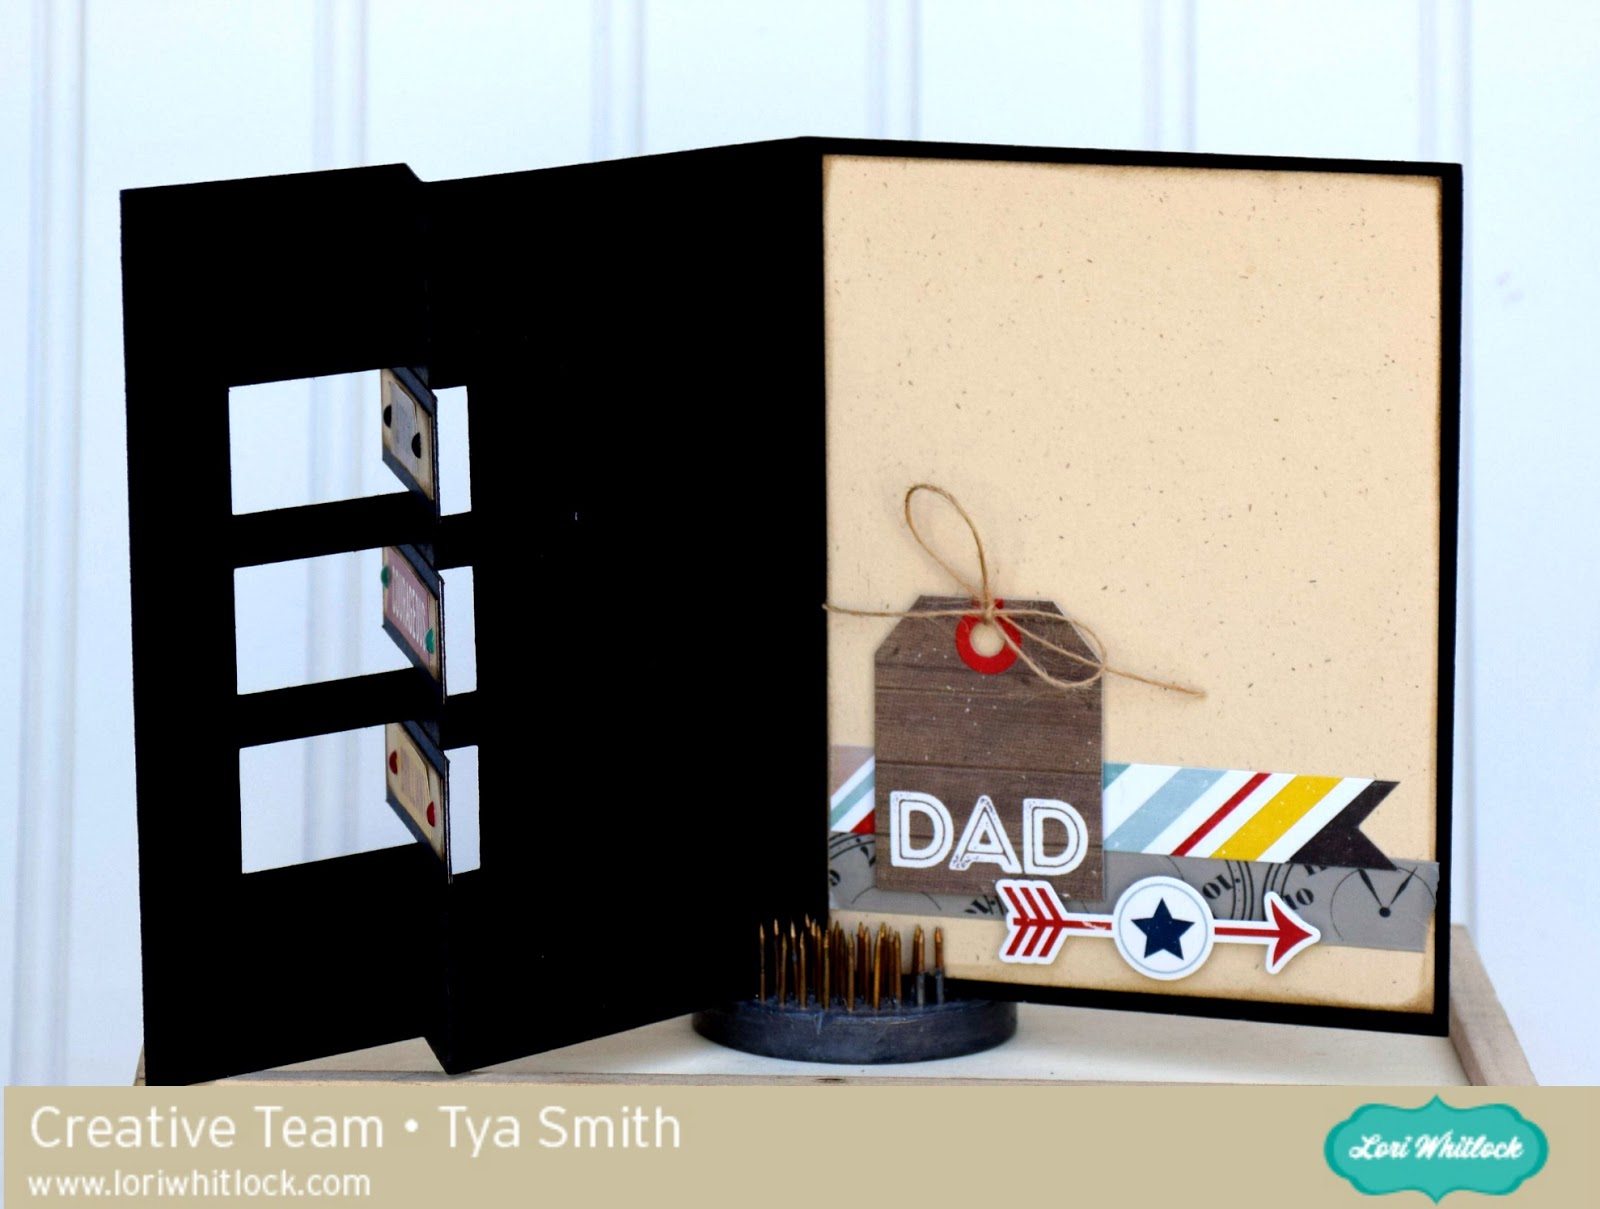
This isn’t included in the cut file – but I added a 4 x 5 1/4 piece of cardstock to the inside of the car and decorated this piece with some washi tape and more stickers from the Pinstripes line. Add some twine to the tag and that’s all there is to it!
I just love fun fold cards and I can see myself using these over and over again! They are so fun! So I hope I have inspired you to try one of these out. After you see how easy they are to put together – I hope you will want to make some of your own! Thanks for stopping by! Have a great week!
Father’s Day Card with Courtney
Hello!!! This is Courtney Lee with Court’s Crafts here to give you some Father’s Day inspiration!

This card was SO quick to put together. I love that about Lori’s files but this one was extra fast. So if you are in need of a last minute Father’s Day card grab this file! (Spoiler alert: I have ANOTHER Father’s Day card for your inspiration tomorrow on the blog hop! Come check it out!)
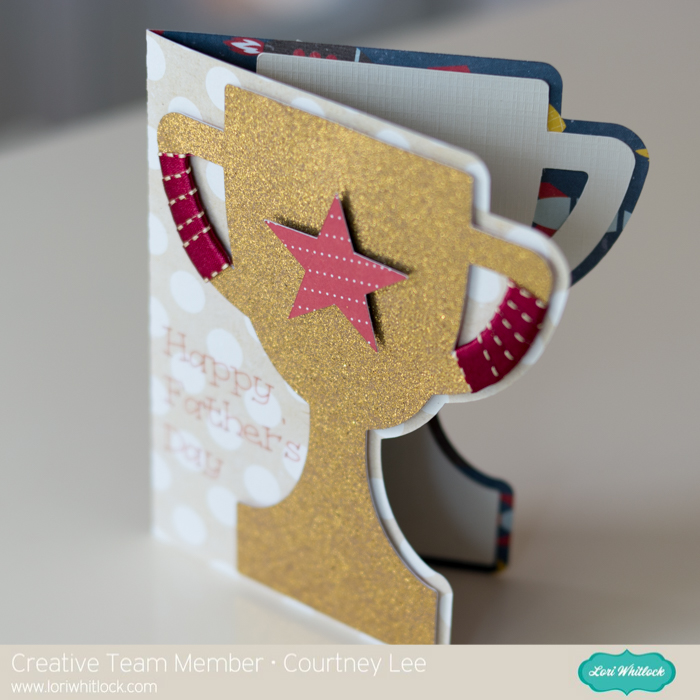
I cut the outside a second time out of neutral paper so that I had a place to write on the inside as I chose some awesome rocket ship paper for my card. It’s part of the Pinstripes collection by Lori Whitlock for Echo Park Paper.

Here is my completed card. I wrapped some ribbon around the handles and I used Cricut Design Space to add the words and I had my Cricut Explore Air write them with the pen.

I hope this inspires you and don’t forget to check back here tomorrow to start the hop! Hop on through to find my blog with another Father’s Day card!
Recipe:
(Lori’s Store) Lori Whitlock’s Shaped Card Trophy cut file
(Silhouette Store) Lori Whitlock’s Shaped Card Trophy cut file
Lori Whitlock for Echo Park Paper: Pinstripes: Rocket Ships (PS104005)
Lori Whitlock for Echo Park Paper: Pinstripes: 6×6 Paper Pad
Digital Inspiration with Ashley and Craftsy 50% Off Sale
Hi everyone, it’s Ashley today! I can’t get enough of a nice Wood Slat Background. Lori has a few different ones in her collections designed for Echo Park. Today I am featuring The Story of Family Collection found at Snap, Click, Supply. The entire collection has beautiful paper and embellishments.
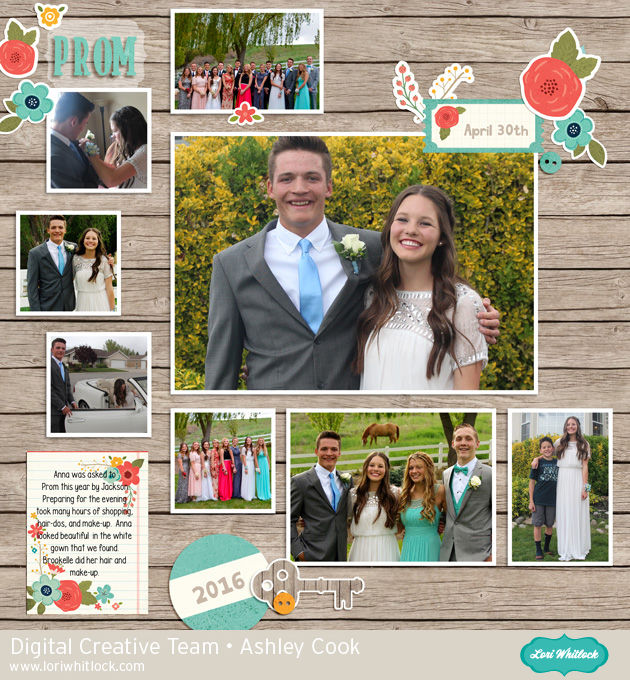
Find some time to record your memories this weekend.
and now…
Don’t miss out on the Big June Sale at Craftsy! Make summer a blast with 50% off ALL classes from now through Monday, June 13th! This includes my Next Steps in Silhouette Class as well as many other paper-crafting and other crafting classes!
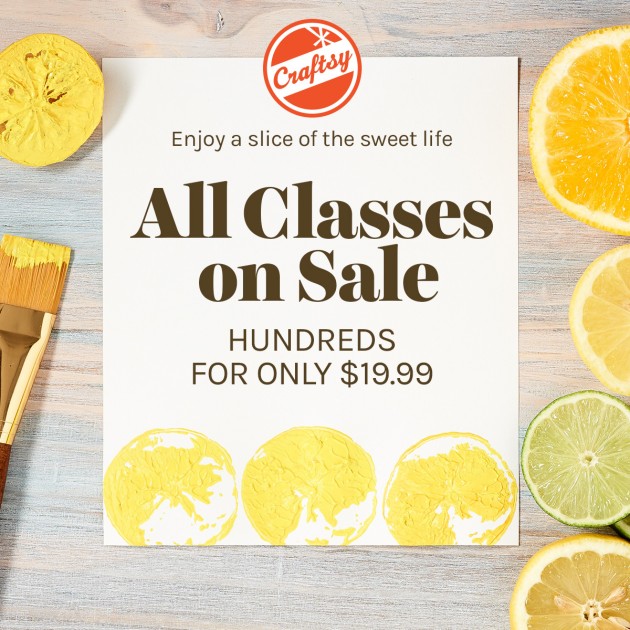
Don’t miss out, sale ends Monday!!
Have a great day!