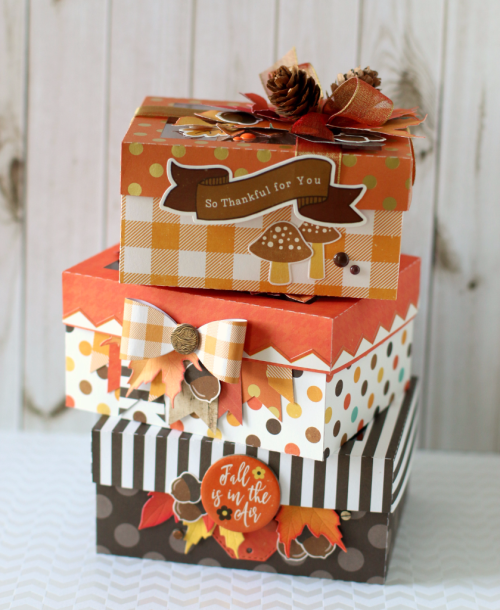
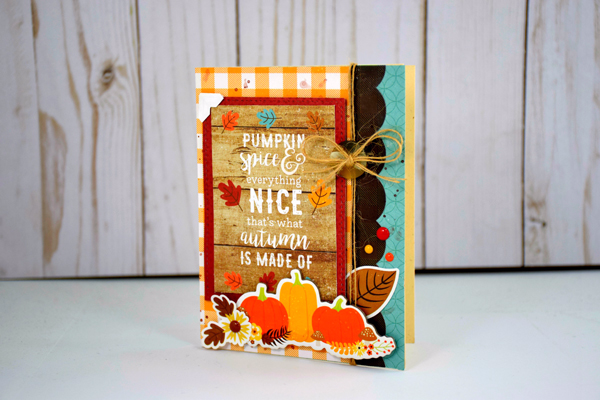
Thankful Jar with Anita


Hi Everyone:

Anita here with a fun project that I made for one of my best friends to use during the month of November.  The idea is that the fry box is full of cards that the members of her family can write something that they are thankful for on and then take a Hershey Kiss from the jar.  Hopefully the jar will be empty by Thanksgiving and the cards full and ready to be shared around the table on this special family holiday.  I used some papers from Lori’s Echo Park Collection called A Perfect Autumn.  The cut files that I used are the following:

Flourish Pumpkin which you can find  here in the Silhouette store
Elf French Fry Box which you can find here in Lori’s store and here in the Silhouette store
There Is Always Something to be Thankful For here in Lori’s Store and here in the Silhouette Store
3 Print and Cut fall 3X4 Cards which you can find  here in the Silhouette Store
3 Print and Cut Fall 3X4 Cards which you can find  here in the Silhouette Store

I used the Elf Fry box and un-grouped the elements to make it a plain box.    I cut out ten pumpkins and scored them down the middle.  I glued the middles together and fanned them out to give my pumpkin some dimension.

Here is a close up of the jar.  I hope that my friend loves this and enjoys it as much as I did making it for her.

Hugs,

Anita


Projects featuring A Perfect Autumn

Hi Everyone!  I thought it would be fun to feature a few projects made by the Echo Park Paper Design Team using my “A Perfect Autumn” Paper Collection!  A Perfect Autumn really is “the perfect” fall collection featuring warm colors and fun embellishments!

Take a peek at some of the awesome projects from the Echo Park Paper Design Team using this collection…

Anya created these sweet little boxes using the collection, what a fun way to package up a fall treat!  I just love the little mushrooms!  For details, see her original post here.

Anya also created this adorable card.  I just love the little raccoon, the layering and how she used the journaling card for her sentiment!  See her original post here for products used.

The last feature today was created by Tya for Echo Park.  She also used the journaling card for her sentiment, and I love how she layered the chipboard pieces!  You can see her original post here.

A Perfect Autumn collection is available wherever Echo Park Products are sold including here.  Thanks for stopping by, have a great day!

Baby Month Sign with Anita

Hello Everyone:

Happy Monday.  I made this sign set for a friend’s daughter who is having a baby in January.  I used Lori’s cut file called Baby T-Shirt Months which you can find here in her store and here in the Silhouette Store.   I also used Scalloped Shapes for the background of my months and you can find that file here in her store and here in the Silhouette Store.  I used Lori’s Echo Park collections called Happiness is Homemade and I Love Family.

I bought a chalkboard stand online and put two sided sticky tape on the back of each oval and then stuck a piece of wax paper over the tape so that they wouldn’t stick together.


Thanks for stopping by and be sure to check out Lori’s store for these cut files and many more new and fun cut files.

Hugs,

Anita

Twist Pop Early Autumn Card and More with Michelle

Happy Labor Day! I’m Michelle Zerull from Pinch Your Chic and for me, Labor Day signals the end of Summer and the beginning of Autumn. Even in 80-degree weather, I’m anxious to get out my fall decor and start those fall crafts. Today I would like to share a cute Twist Pop Card to announce the Fall Season.

I used papers from Echo Park’s “A Perfect Autumn.” I love the colors! By adding a lot of white, it lightened the mood for this time of the year. When opened, the card sentiment literally pops! Isn’t that a clever design? 3-D Crafting is awesome!

The Twist Pop Card Digital Cutting Files can be found in the Silhouette Design Store or at Lori Whitlock’s Digital Cut File Shop. Lori has many different styles of this Twist Pop Card available, and with this Video Tutorial, they’re easy to put together.

I had so much fun playing with my pretty “A Perfect Autumn” Papers, that I made a coordinating Milk Carton Treat Box too! This little carton can be also be found at the Silhouette Design Store and here at Lori’s shop.

And if you put both projects together on a sweet little 5X7 Paper Serving Tray (or here at Lori’s Shop) that you crafted, you have the perfect gift to present to a friend or neighbor to start “A Perfect Autumn!”

Happy Labor Day!

Michelle

Mega Monogram Shadowbox Tutorial with Kathy

Hi Everyone!  It’s Kathy today with a tutorial showing how I created this fun Mega Monogram Shadowbox for a friend.  I’ve seen many similar projects done with vinyl, but I was looking to make something more dimensional.  I decided to make mine with a shadowbox frame, Lori’s Mega Monogram M (available here in the Silhouette Store) and papers from Lori’s Go See Explore Collection for Echo Park Paper.

The hardest part of doing this with paper is to make sure that everything is lined up correctly.  With vinyl, it’s easier since the whole design is transferred at the same time, and in the proper position.    I’m going to show you a way to make this easy.  My shadowbox measured at 9″ x 9″.  To start, using the page set-up function in my Silhouette software, I set my page size to be 9″x 9″.

I loaded the M Mega Monogram from my library into my work space.  I wanted the monogram to be more square than the original.  To change the size, I selected the monogram, then using the sizing function I set my monogram to be 7″ x 7″.  This did skew it a bit from the original shape, but not enough to make a difference.

Next, I added the name for the center of the monogram.  Lori’s Block Font is the perfect match for the Mega Monograms.  I typed the name in all capital letters, this made it more uniform and easier to center in the monogram.

I resized the name by dragging the corners and edges until it fit in the center of the monogram.  Again, the font was slightly skewed from the original but not enough to make it look odd.

Once I had all of my design on the page, I needed to center the design on the page.  To do this, I first drew a square measuring the same size as the page (9×9) and placed it over the page on the mat.  I clicked on the monogram and the square to select both.  I opened the transform panel, and clicked on both the Center Horizontal, and Center Vertical tools.  This aligned the M to be in the exact center of my page.

Next, I centered the name.  To do this, I selected both the square and the Name and clicked on the Center Horizontal tool.  This centered the name in the monogram.  Once everything was centered, I deleted the square that I drew.

I cut my paper to be 9″ x 9″, added it to my mat, and sent it to cut.

Once the design was cut, I carefully peeled the “negative”.  I used the negative as my guide for laying out my design in the shadowbox.

I layered the “negative, over my background piece and held it in place with a couple of clothes pins.

I added thin strips of foam tape to the backs of my design pieces.

I then carefully taped the pieces down inside their slots in the negative.

Once all of my pieces were taped down, I undid the clothes pins and carefully lifted the negative off of the design. (be patient and slow so that you do not bend or rip your design)

I was left with a perfectly centered design!  I added the design to the shadowbox and closed it all up!

I’m giving this to my friend to celebrate her newly redone kitchen tonight!  That’s it for me today, thanks for stopping by to peek!