Presidents’ Day Shaker

Happy Presidents’ Day Everyone:

Anita here with a fun shaker to celebrate this holiday.  I used Lori’s 4th of July Shaker Star (SVG, Silhouette).  I also used Lori’s Echo Park Paper collection called America. I used a layer of foam tape between one of the layers as I like a fuller shaker.

Hope that everyone has a great day and thanks for looking.


Hugs,

Anita

Rectangle Pop Up Baby Cards

Hello friends!  It’s Traci from Artsy Albums and I’m excited to share a few of Lori’s adorable new pop-up baby cards with you!  

Aren’t these adorable?  What new mommy would not love to receive one of these cute cards?  They fold flat for mailing, and then pop up into 3D rectangles to sit on display!
 

For the baby girl card, I used Echo Park’s new Birthday Girl collection (designed by Lori) and some white card stock.  The pieces are easy to cut out and organize, but Lori has a video tutorial here if you need a little help like I did :).


Lori also designed a Birthday Boy collection for Echo Park so I used that for the boy card.  I love his little star pajamas!

You can find both cutting files in Lori’s SVG shop, or in the Silhouette Design Store (links below).  Have fun with these! 
Rectangle Pop Up Card Baby Girl (SVG, Silhouette)
Rectangle Pop Up Card Baby Boy — (SVG, Silhouette)


Love You Card and Treat Box

Hi there friends! Dropping in today to share another quick card and treat box. This card would work if you need something easy and fast to make for today. But it will also work for an Anniversary, Birthday, or even just because. The card is the Love You Heart Card (SVG, Silhouette) and the treat box is the Bon Bon Box (SVG, Silhouette).

I used papers and stickers from the Farmers Market collection by Echo Park Paper. I hope you have a Happy Valentine’s Day and a great week! Thanks for stopping by.
Brandie

Valentine Heart Candy Box

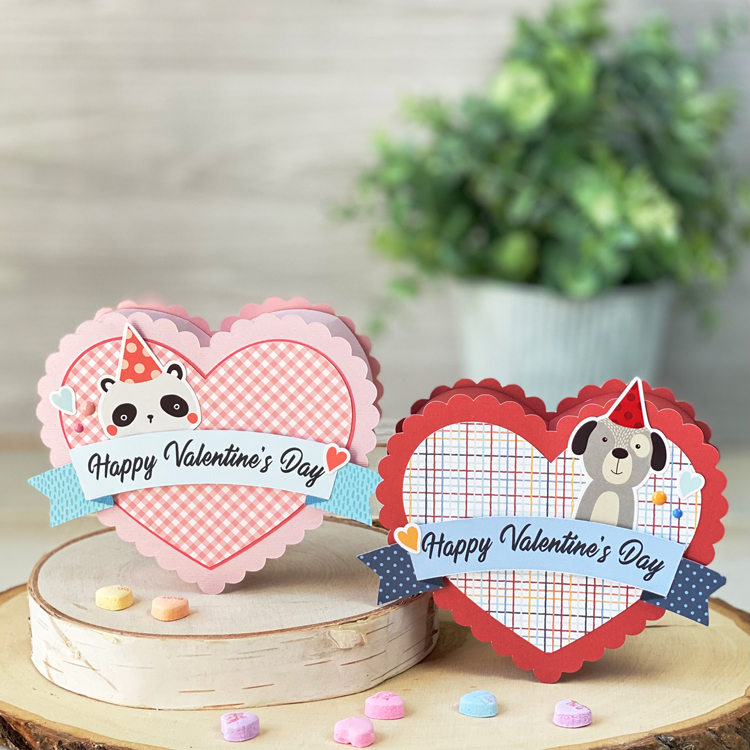
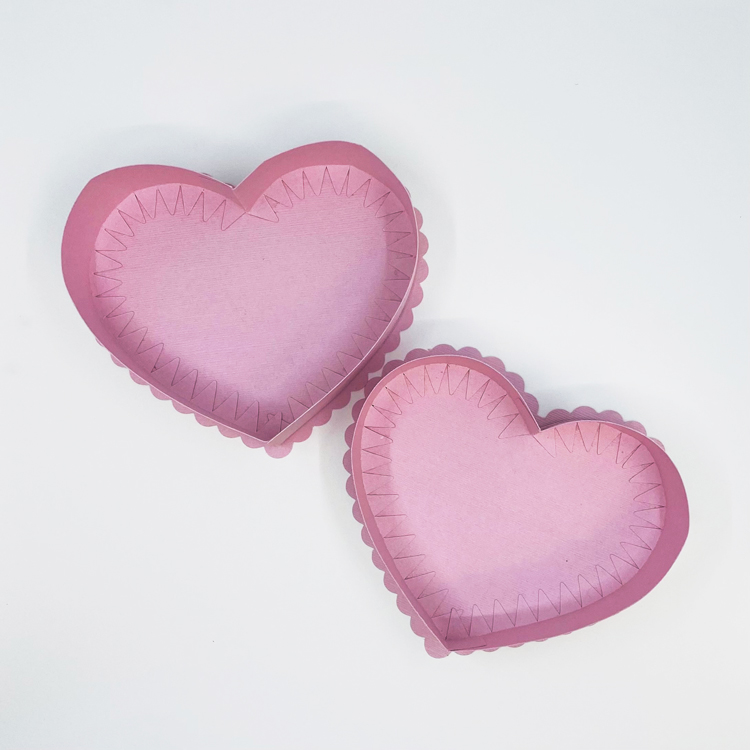
Hello crafty friends! Aimee here with you today and I have a tutorial on making these adorable Scallop Heart Candy Boxes (Lori’s SVG Shop, Silhouette). These would be perfect for a grand/son or grand/daughter! I used the new Birthday Girl Collection and the Birthday Boy Collection to make these more kid friendly. I used the panda and the dog from the sticker sheet from each collection because who doesn’t love an adorable animal wishing you a Happy Valentine’s Day?!?!

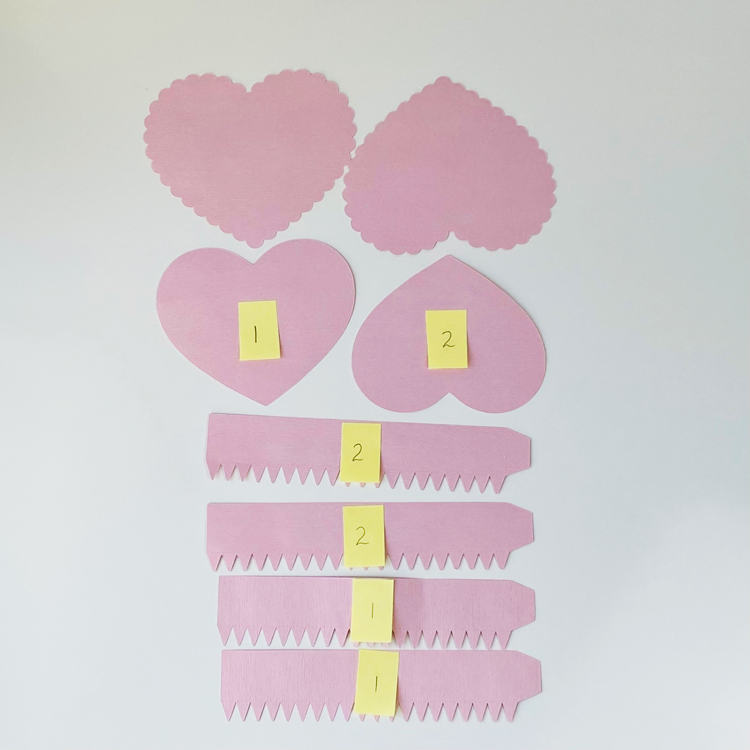
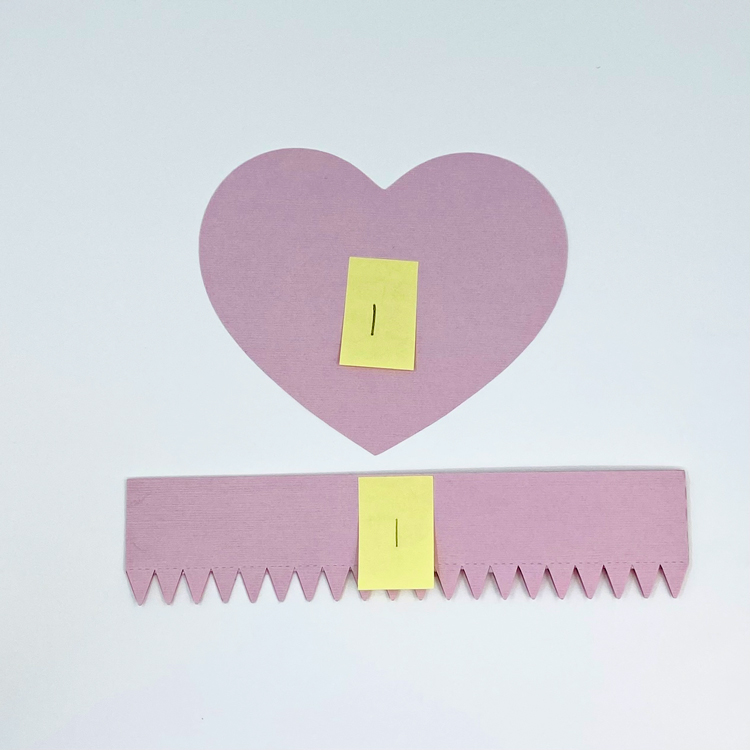
Alright, let’s get into this tutorial. First off, I want to point out that you will need to match up the correct heart to the correct side pieces. Heart piece 1 and side pieces 1 will be the top piece of the box and the heart piece 2 and side pieces 2 will be the bottom part of the box. This is very important as they are different sizes.

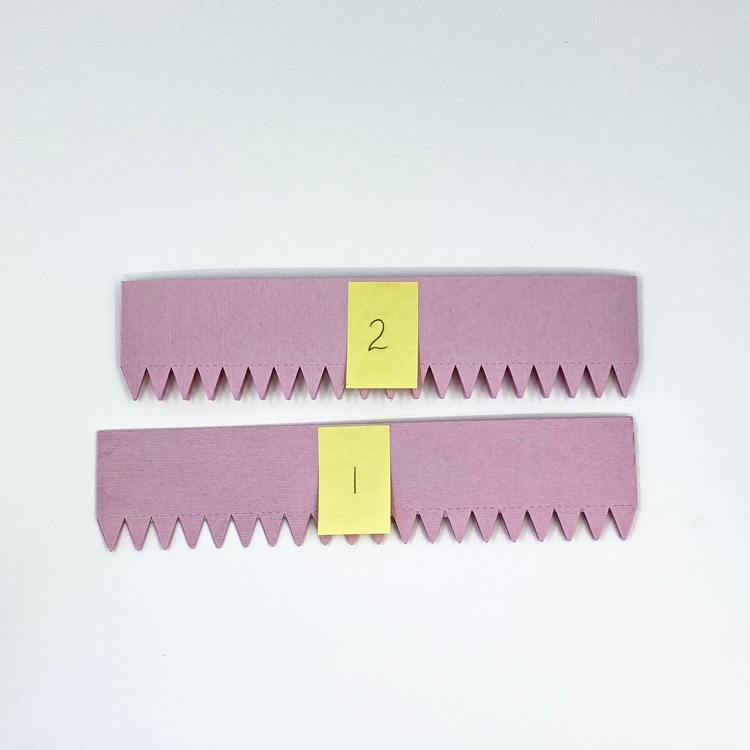
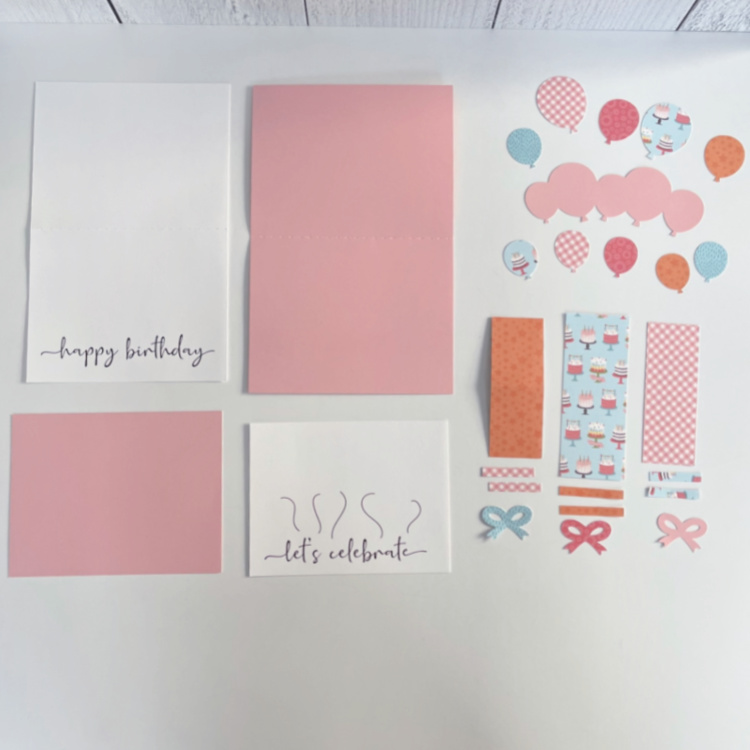
Now choose your papers and cut out all of the parts to this file and be sure to somehow label the hearts and side pieces. I used sticky notes to mark mine. Side note…looking at my picture below I think I mislabeled the side pieces. The longer side pieces will match up the heart 1.

Next you will want to adhere the 2 side pieces of each together. Put adhesive on the each of the tabs and adhere them together to form an oval.

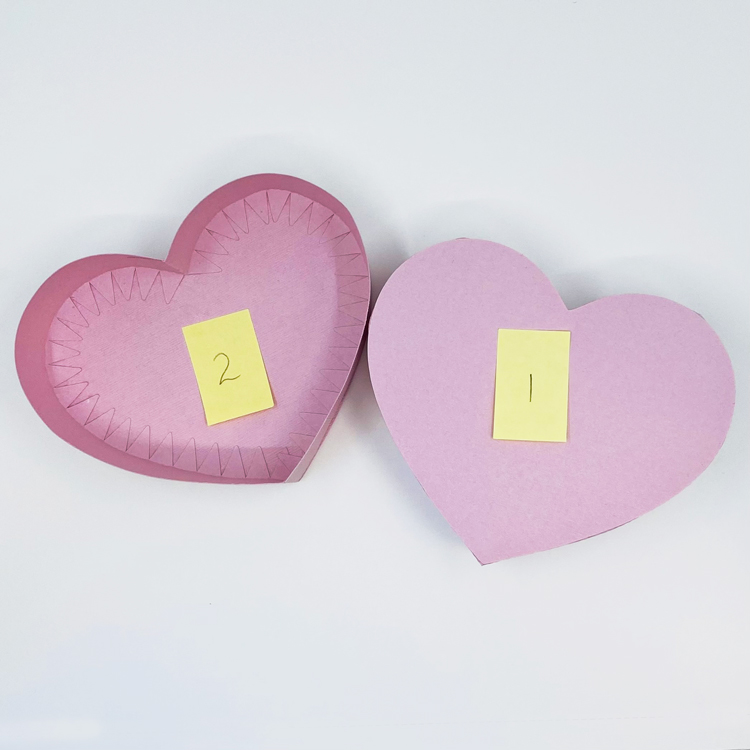
Once the sides are dry…match up the pieces.

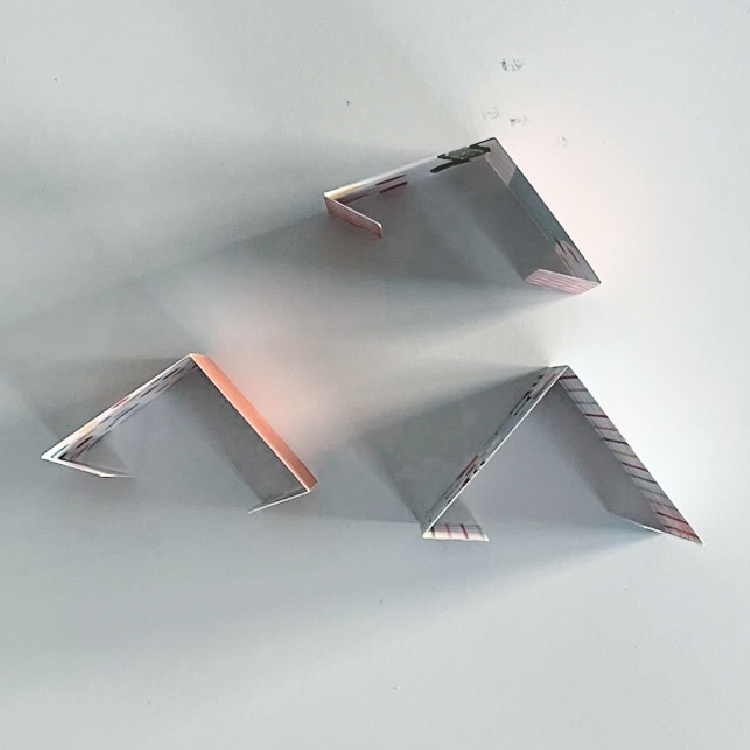
To make this part easier, use your fingers to shape the side pieces to match the heart shape. Then bend all of the triangle pieces down to the heart shape and adhere together. Do this for the top and bottom pieces of the box.

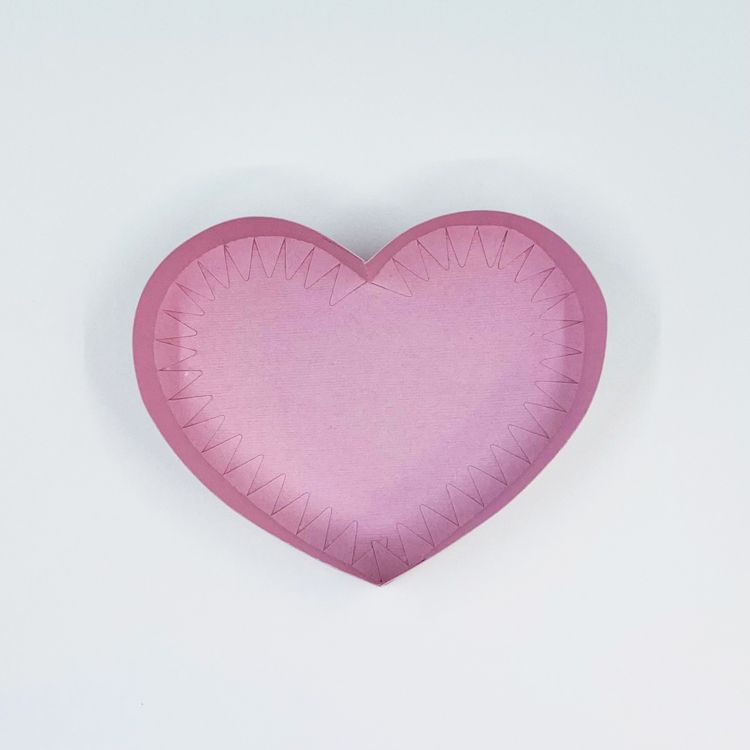
Here is a look at the box pieces when they are completely adhered together.

Now you will need to adhere the scalloped pieces to each of the top and bottom pieces of the box.

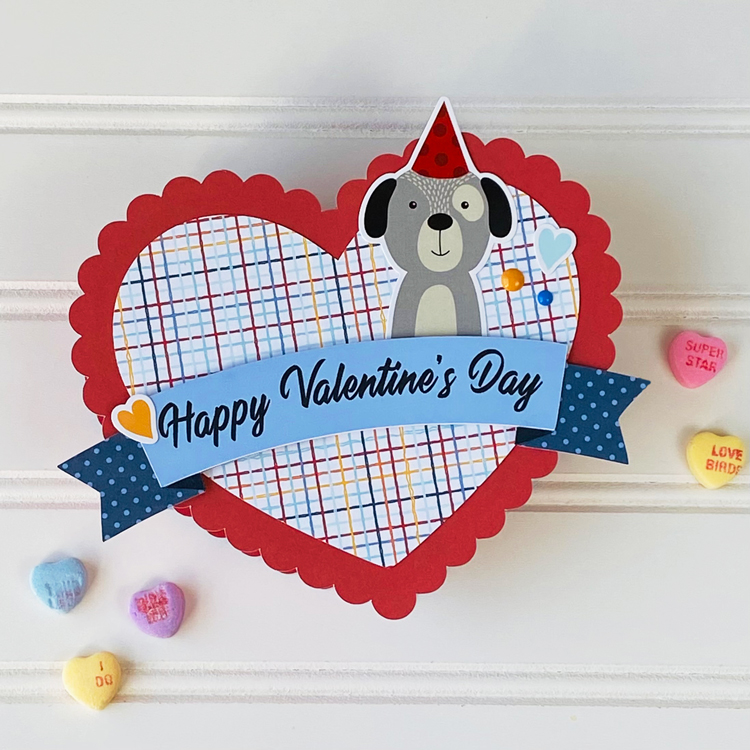
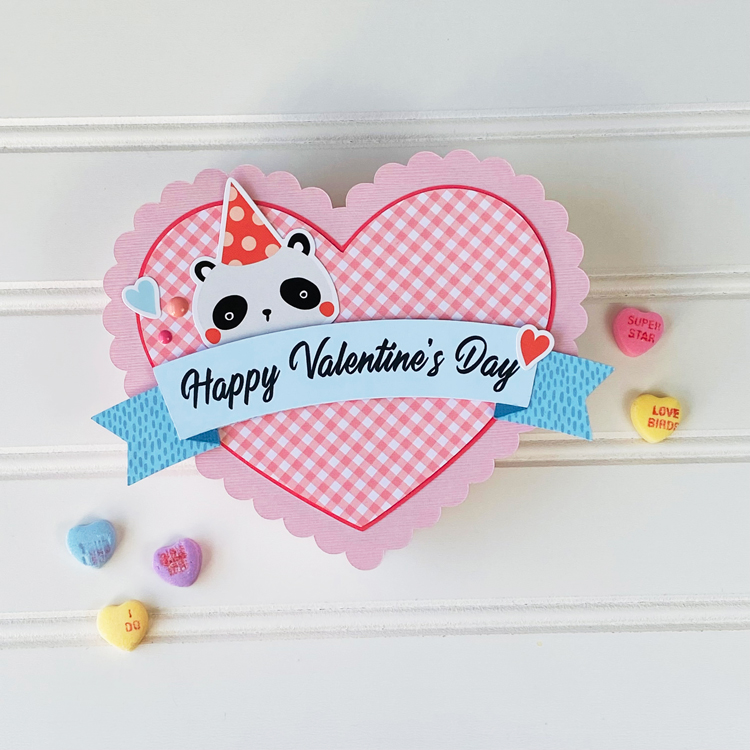
And then comes the fun part of decorating the front! For the red/dog heart I used the pieces that come with the file and for the pink/panda I made an extra larger heart to double up on the front panel. It’s not necessary but I thought it would be cute.


That’s all from me today. I hope you give this cute box a try! It’s very fun to make and decorate!

Thanks for stopping by!

Aimee

Happy Birthday Pop Up Presents Card Tutorial


Hello Everyone:

Anita here with a tutorial for assembling Lori’s new Happy Birthday Pop Up Presents Card (SVG, Silhouette).  I used one of Lori’s new Echo Park Paper lines called Birthday Girl.  This card is so fun and pretty easy to put together.

There are two print and cut parts to the this card, the base and the card front as you can see from above as well as all the other parts of the file.

The first thing that you are going to do is glue the inner part of the card to the outer card.  Center the inner card and glue down.

The second thing you are going to want to do is fold your present pieces like this with a mountain fold and the tabs on either end are folded in.

Next I laid out my present pieces and lined up the center score marks on the presents with the center score mark on my card.  I made sure that the presents fit together closely but did not overlap as they won’t pop up if you don’t.  I counted over two score marks to line up my first present.  I then folded under the top and bottom tabs, and glued them to the card base, making sure the center score lines were all still aligned.

You can see the first present glued into the card here.

Here you can see two of the presents are glued into the card.  I worked on the card when it was open flat and made sure that everything was lined up as I glued each tab onto the card base.

Here is the front view of the two presents glued in so that you can see how close I put them to each other.

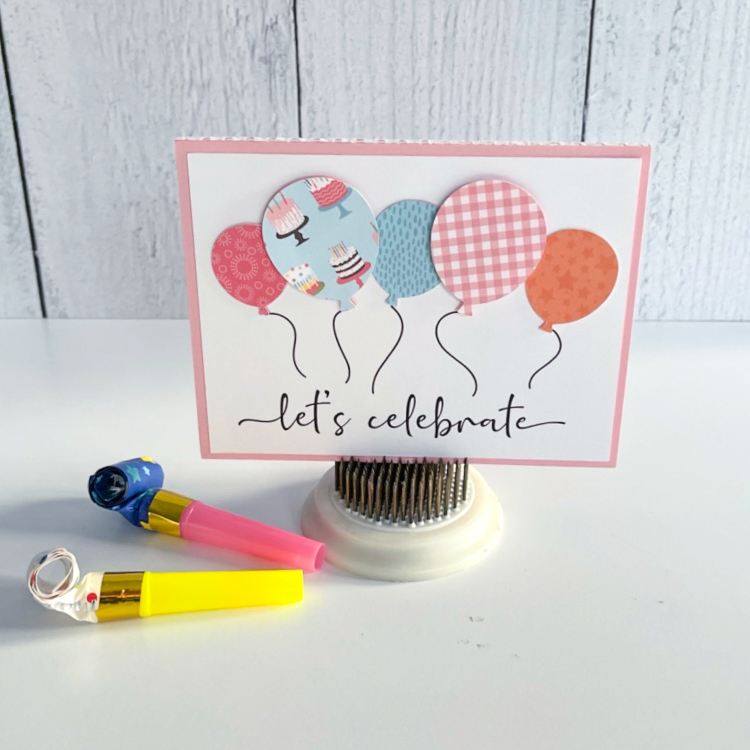
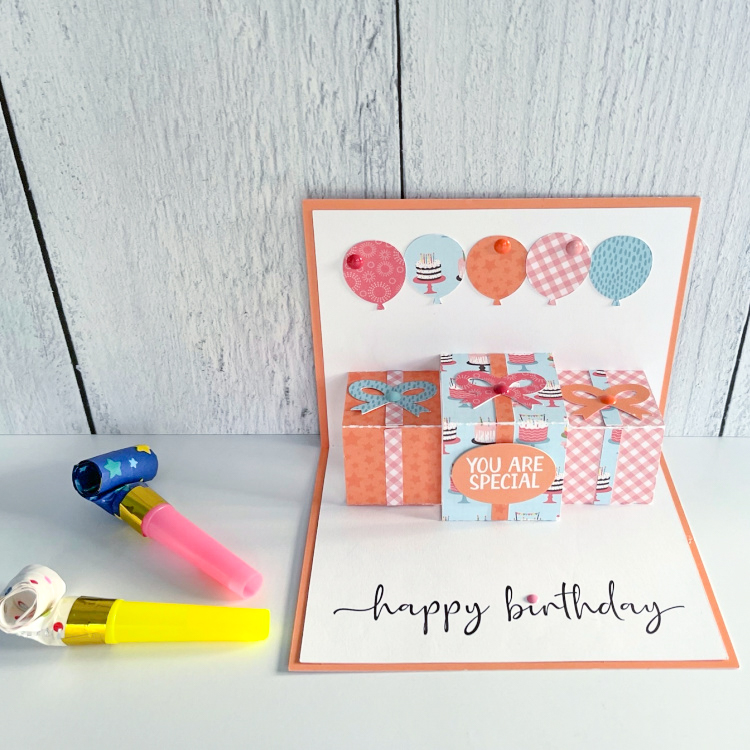
Here is my last photo with all three presents glued into the card and the ribbon paper pieces attached.  Add the balloons to the front of the card and inside the card and you are done.

That’s it for me today.

Hugs,

Anita