How to Change the Color of Stickers in Cricut Design Space

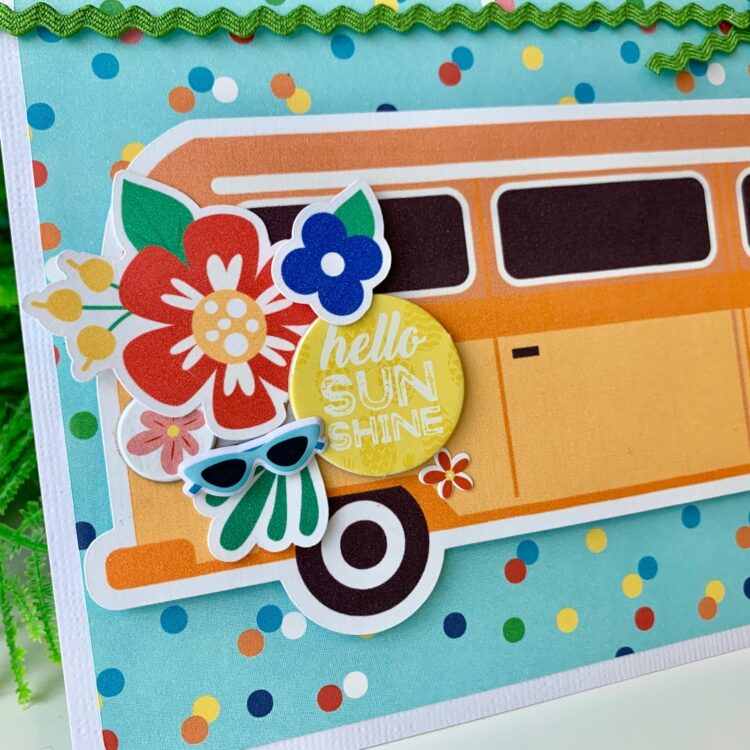
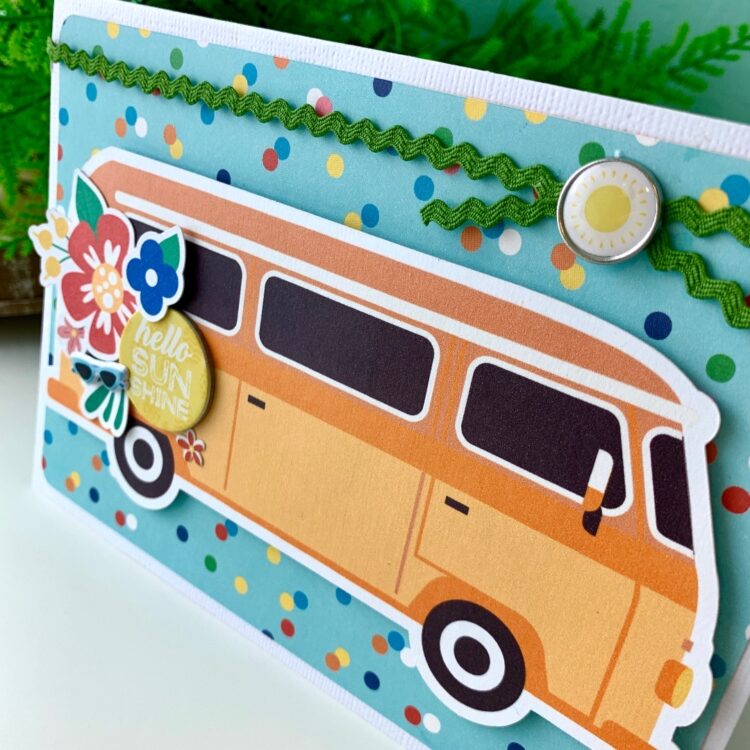
Hi friends! I’m stopping in today to share a quick tutorial on how to change the color of your print and cut stickers in Cricut Design Space. I used the new Summer Stickers 2 (SVG, Silhouette). These stickers are so cute, but I wanted something a little less pink.

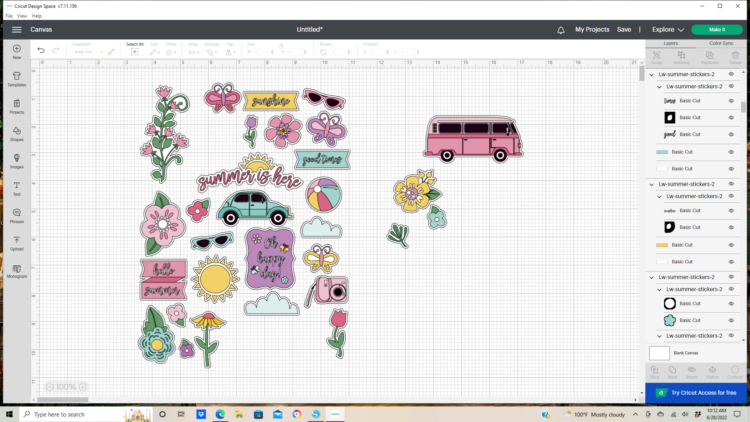
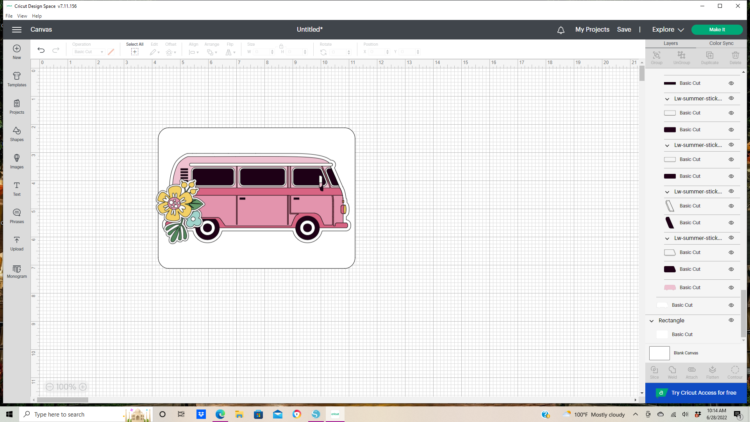
I uploaded the stickers into Design Space and ungrouped the large group of stickers and moved out the images I wanted to use for this project. Be sure to keep the individual stickers grouped together.  Then I deleted the rest of the sticker I wasn’t using from the mat.

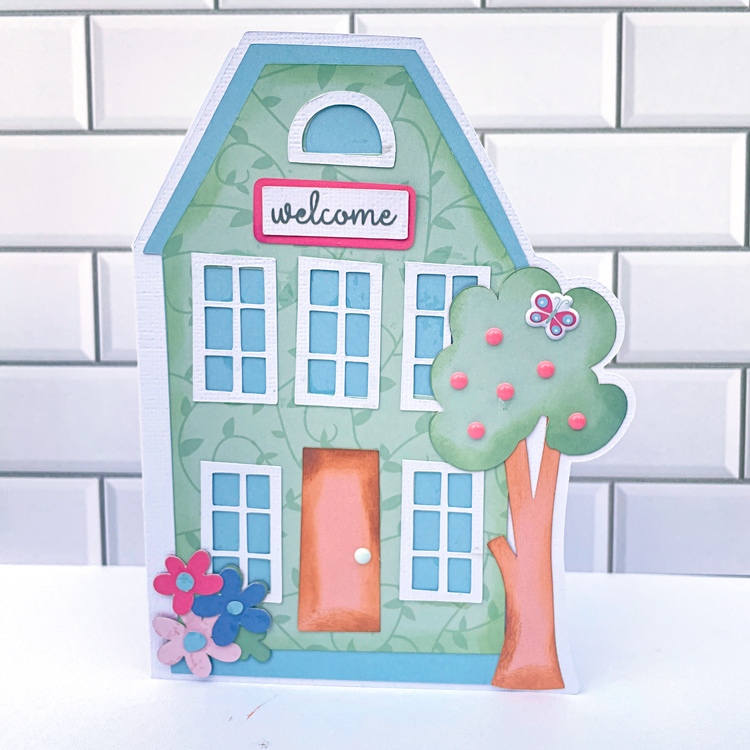
I then added a 5×7 rectangle and resized the stickers to fit my card.

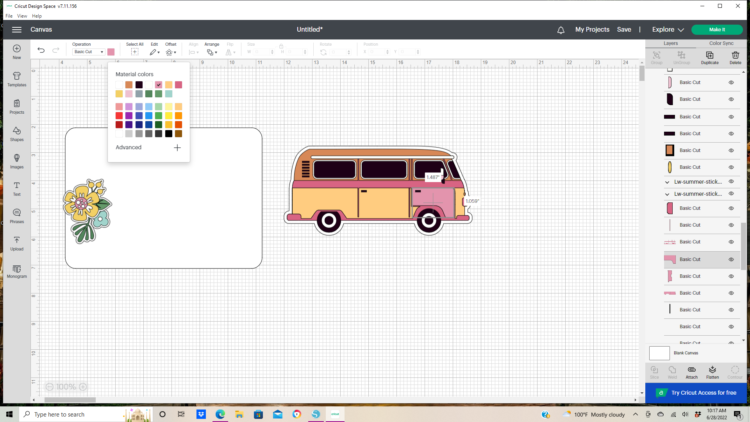
Using the layers panel on the right side of the design mat select the individual pieces that need to be color changed. With the image selected in the layers column move to the Operations tab on the top left and select the colors drop down, pick the new color, and repeat for the rest of the pieces on the sticker. Be sure to keep the stickers grouped together.

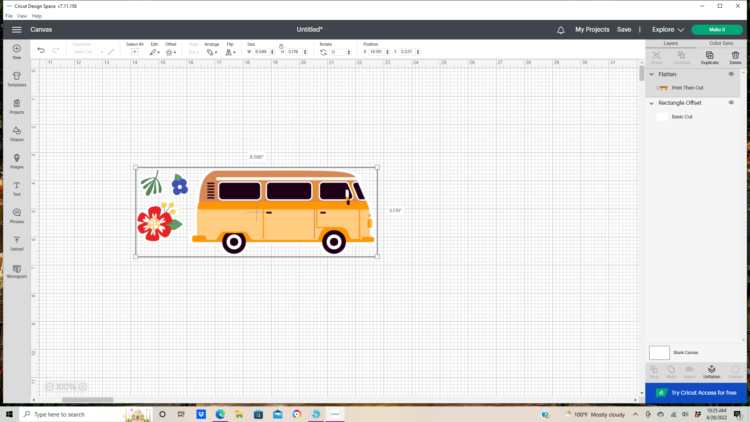
Now that the sticker colors are changed they are ready to be flattened, sent to the printer, and cut.

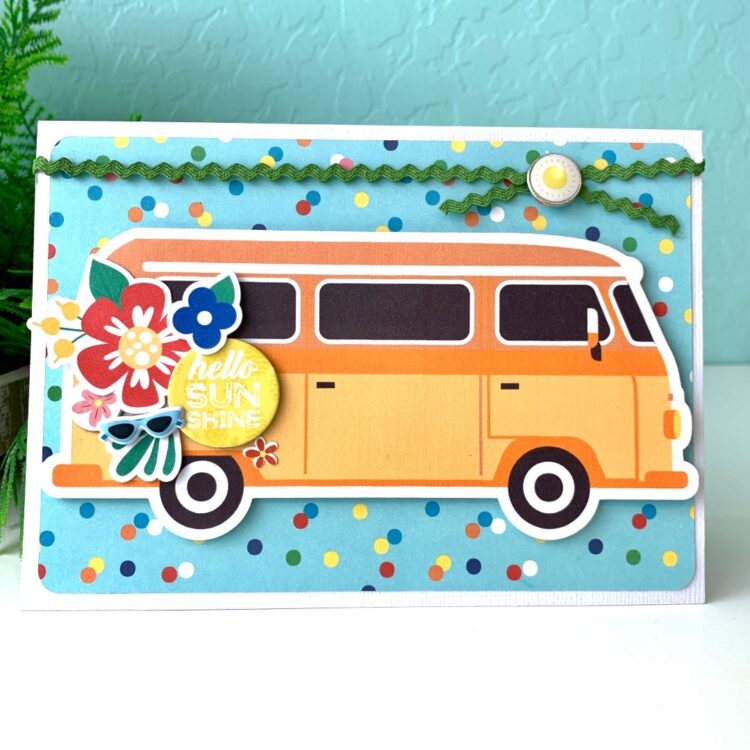
I used the printed stickers and the Endless Summer collection by Echo Park Paper Co. to finish off this card.

That is it for me today. Thanks for stopping by!

Brandie

Tropical Suitcase Box Card

Hi guys, Traci here! Today, I’m sharing a great summer card that has me dreamin’ about the sun, sand and tropical vibes. It’s made with one of Lori’s awesome cutting files called Box Card Tropical Suitcase (SVG, Silhouette) and the flamingo, hibiscus and palm tree are perfect for this time of year.

Pop-up Card with Flamingo, Palm Tree, Hibiscus Flower

I love all the details on this card … especially on the little blue suitcase. Check out the handle and those tiny corner pieces with the enamel dots. So cute! This card would be perfect for a summer themed party, a birthday, someone who loves flamingos or traveling, or simply telling someone you’re thinkin’ of them!

Pop-up Card with Flamingo, Palm Tree, Hibiscus Flower

It looks great sitting on a desk or a counter for a little summertime décor and it folds flat for mailing and storage. I made this with cardstock from my stash and Echo Park’s Endless Summer collection designed by Lori.

Lori has so many amazing cards … I hope you’ll try this one next. Happy crafting!   

Blog * Facebook * Instagram * Pinterest

Canoe Shaped Box Tutorial

Hello everyone, I have a quick and fun tutorial to share with you today, the canoe-shaped box, (SVG, Silhouette). This makes such a cute gift box filled with marshmallows, chocolate, and graham crackers, what little camper wouldn’t want to receive this! I used Echo Park’s Summer Adventure collection of papers and stickers to decorate.

I was able to get all the canoe pieces on one sheet of paper as you can see below. I also made two of the oars and glued them together so it would be sturdier.

After cutting all the pieces I folded all the score lines and inked all the edges.

I glued the three bottom pieces together and then added one of the side canoe pieces inside. So you wrap the flaps around the piece as you can see below. I find you get such a nice fit when you do it this way.

Then I add the other inside piece which forms the canoe.

Then I added the outer canoe sides which fit perfectly!

Last the waves and oar is added. I really enjoyed putting this together it came out so cute I think!

And don’t forget, this file and all SVGs in the Lori Whitlock SVG Shop are 30% off through Saturday when you use code JUN2022 at checkout~

Thanks for stopping by and have a wonderful day!

Bee Envelope Box Card

Hi friends! I’m dropping in today to share a box card. This one is the Box Card Envelope Bee (SVG, Silhouette). I love the yellow plaid paper in the new Fun on the Farm collection by Echo Park so this little bee card was perfect. I did leave off the happy birthday sentiment for now just in case I want to use this card for something else. Love that option.

That bee is so cute! Thanks for stopping by. I hope you have a great week!

Brandie

Father’s Day Apron Box Card

Hello crafty friends and welcome to another Thursday tutorial! Today I want to give a quick little walk through on how to assemble the adorable Apron Box Card Father’s Day card (Lori’s SVG, Silhouette). With Father’s Day right around the corner, this is a great addition to your gift to show your appreciation to Dad! You can’t really tell from pictures but that “Best Dad Ever” piece on the front is a pocket which will hold a gift card to any of Dad’s favorite stores.

So, let’s get started making this awesome box card!

First is to gather your papers and cut out all of the pieces. That lovely red bandana print? That’s from the new collection called Fun On The Farm and I thought it perfect for this card! The sentiment is done using the print and cut feature of your cutting machine.  Lori has quick print and cut tutorials for Cricut (here) and Silhouette (here).

Next step is to adhere all of the extra pieces to the main pieces of the project.

Now fold on all of the perforated lines.

Adhere the pocket to the front of the card. Make sure that you adhere it to the side with the holes at the top of the apron.

Next adhere the box side tab together.

Now you will want to adhere the “tools” piece to the inside of the apron box.  The tabs are glued to the sides of the box.

And lastly, you will want to decorate your box card. I choose to add some black grosgrain ribbon to the top holes of the apron box. Now it’s ready to give to Dad!

Thanks for stopping by today! Hope you enjoyed my small tutorial and give it a go…Dad will love it!

Aimee