Canoe Shaped Box Tutorial

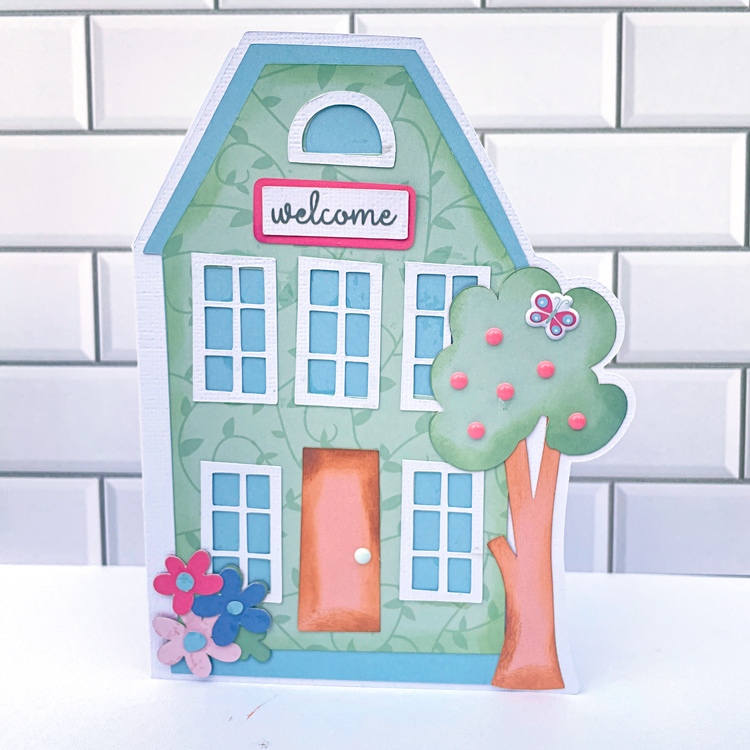
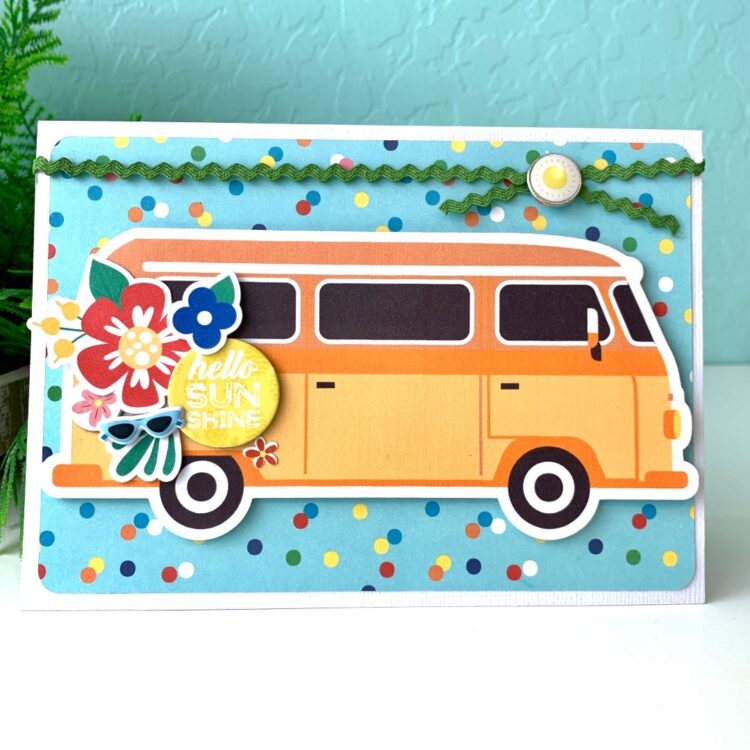
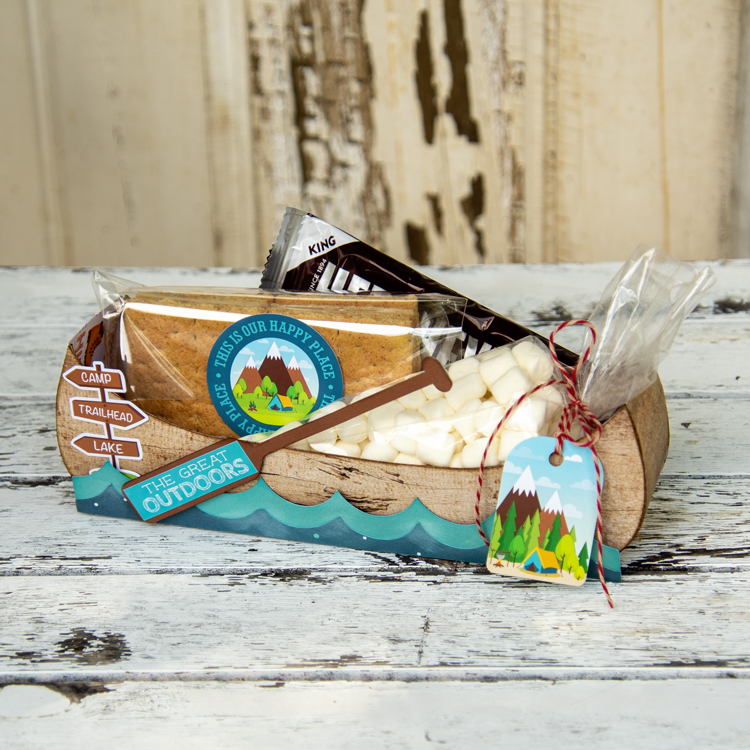
Hello everyone, I have a quick and fun tutorial to share with you today, the canoe-shaped box, (SVG, Silhouette). This makes such a cute gift box filled with marshmallows, chocolate, and graham crackers, what little camper wouldn’t want to receive this! I used Echo Park’s Summer Adventure collection of papers and stickers to decorate.

I was able to get all the canoe pieces on one sheet of paper as you can see below. I also made two of the oars and glued them together so it would be sturdier.

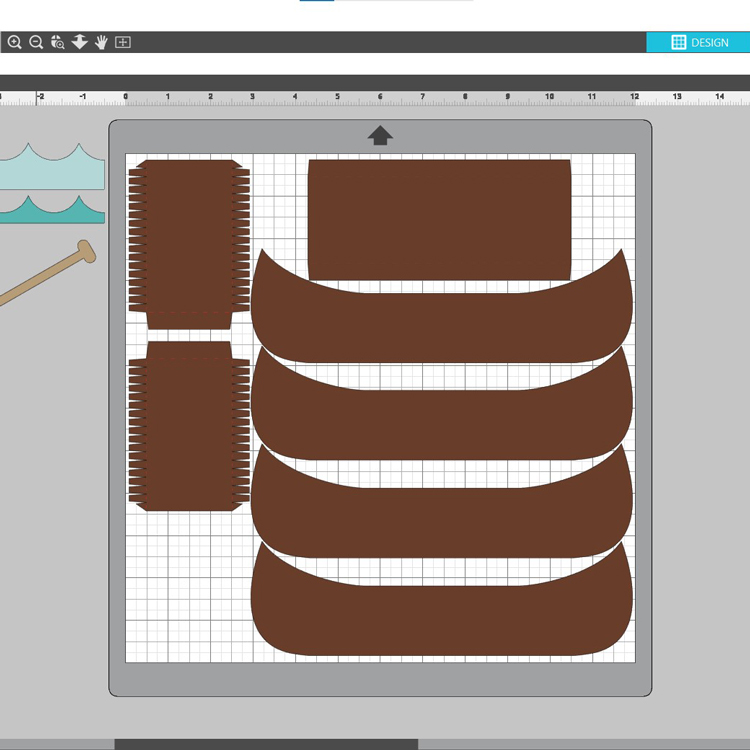
After cutting all the pieces I folded all the score lines and inked all the edges.

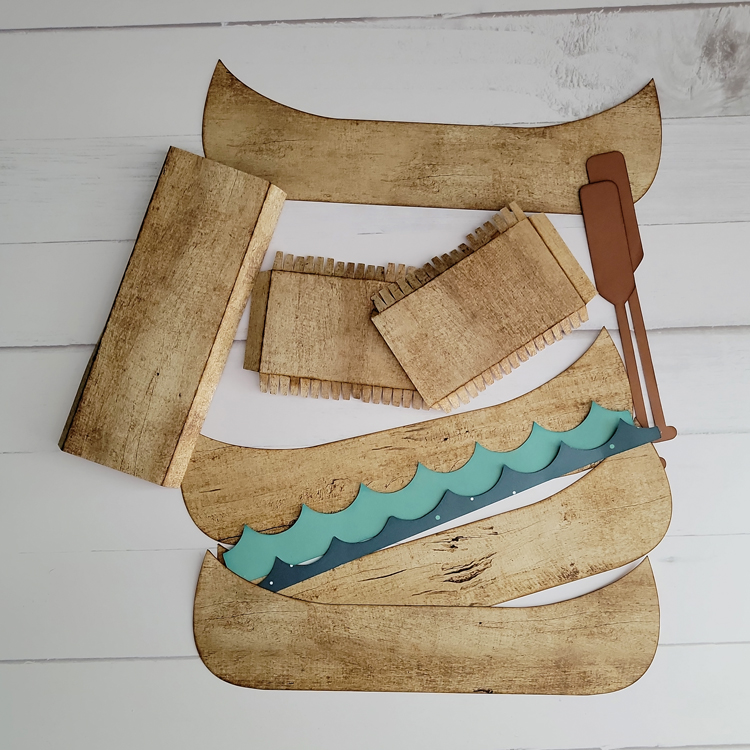
I glued the three bottom pieces together and then added one of the side canoe pieces inside. So you wrap the flaps around the piece as you can see below. I find you get such a nice fit when you do it this way.

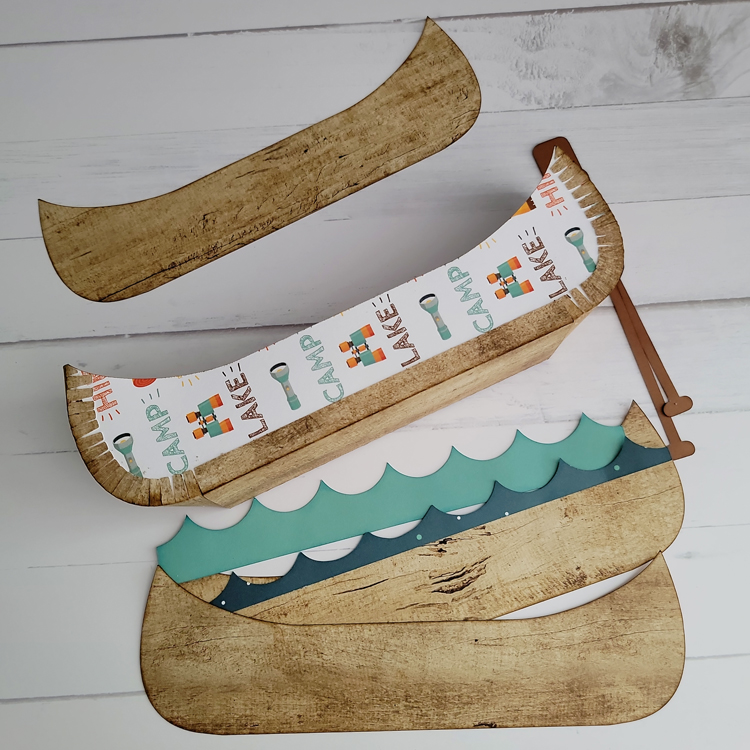
Then I add the other inside piece which forms the canoe.

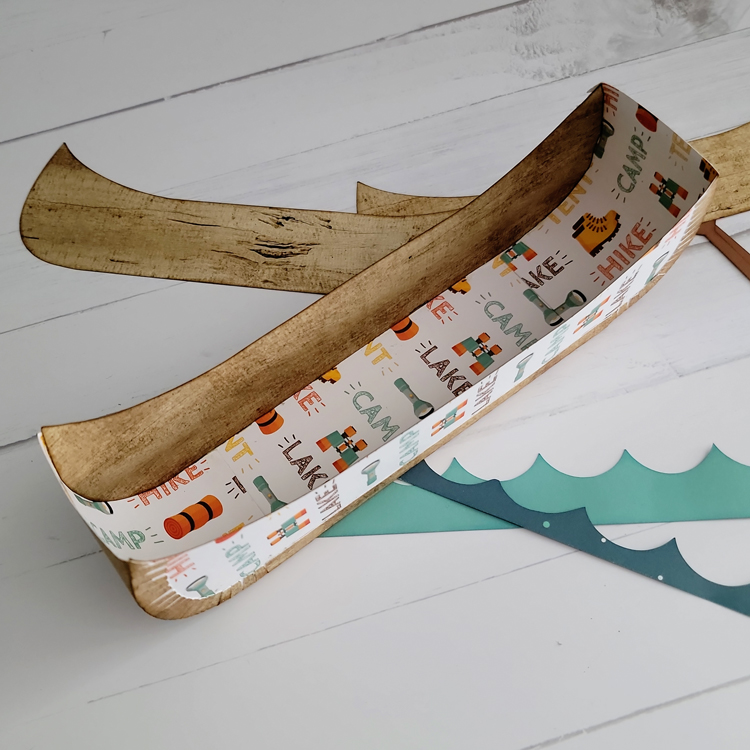
Then I added the outer canoe sides which fit perfectly!

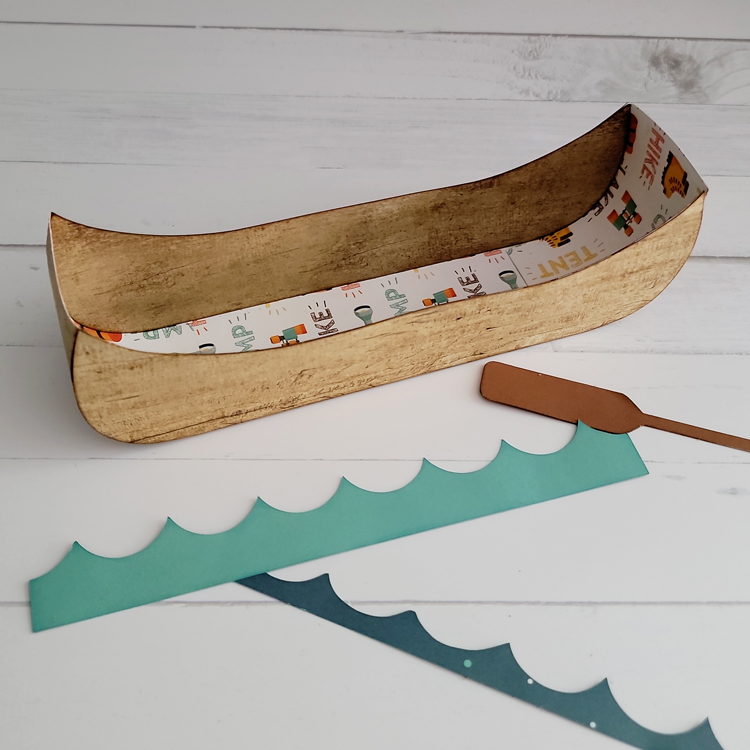
Last the waves and oar is added. I really enjoyed putting this together it came out so cute I think!

And don’t forget, this file and all SVGs in the Lori Whitlock SVG Shop are 30% off through Saturday when you use code JUN2022 at checkout~

Thanks for stopping by and have a wonderful day!

Bee Envelope Box Card

Hi friends! I’m dropping in today to share a box card. This one is the Box Card Envelope Bee (SVG, Silhouette). I love the yellow plaid paper in the new Fun on the Farm collection by Echo Park so this little bee card was perfect. I did leave off the happy birthday sentiment for now just in case I want to use this card for something else. Love that option.

That bee is so cute! Thanks for stopping by. I hope you have a great week!

Brandie

Father’s Day Apron Box Card

Hello crafty friends and welcome to another Thursday tutorial! Today I want to give a quick little walk through on how to assemble the adorable Apron Box Card Father’s Day card (Lori’s SVG, Silhouette). With Father’s Day right around the corner, this is a great addition to your gift to show your appreciation to Dad! You can’t really tell from pictures but that “Best Dad Ever” piece on the front is a pocket which will hold a gift card to any of Dad’s favorite stores.

So, let’s get started making this awesome box card!

First is to gather your papers and cut out all of the pieces. That lovely red bandana print? That’s from the new collection called Fun On The Farm and I thought it perfect for this card! The sentiment is done using the print and cut feature of your cutting machine.  Lori has quick print and cut tutorials for Cricut (here) and Silhouette (here).

Next step is to adhere all of the extra pieces to the main pieces of the project.

Now fold on all of the perforated lines.

Adhere the pocket to the front of the card. Make sure that you adhere it to the side with the holes at the top of the apron.

Next adhere the box side tab together.

Now you will want to adhere the “tools” piece to the inside of the apron box.  The tabs are glued to the sides of the box.

And lastly, you will want to decorate your box card. I choose to add some black grosgrain ribbon to the top holes of the apron box. Now it’s ready to give to Dad!

Thanks for stopping by today! Hope you enjoyed my small tutorial and give it a go…Dad will love it!

Aimee

Surfing Van Box Card

Hi Everyone! For my project today I made the Surfing Van Box Card, (SVG, Silhouette). I used some patterned paper and stickers from Echo Park’s Endless Summer designed by Lori which was absolutely perfect for this card. These box cards are so simple to put together and definitely a favorite for those who receive them. This one is great for someone who is going on vacation or just spending a special day at the beach!

For help putting this together, there is a general assembly for shaped box cards here.  Thanks for stopping by and have a wonderful day!

Pencil Box with Slip Lid Tutorial

Hi there friends! Today I am sharing a tutorial for the Pencil Box with Slip Lid (SVG, Silhouette). It is teacher appreciation week here and I wanted something cute and homemade to give to my son’s teachers this year. This little box is a good size to fill and also makes a darling décor item.

I cut most of the pieces from cardstock with the exception of the lid piece. I used some pattern paper from the Back to School collection by Echo Park Paper co.  The lid is a little larger than the bottom of the box. All of the score lines are folded the same way. I folded them as mountain folds. I also inked all of the edges of the decorative elements for the pencil.

I started with the base of the box but the top is glued the exact same way. I used a liquid glue and glued all of the tabs so that they are on the inside of the box.

The top and bottom of the box should look like this and fit nicely together.

I dry fit all of the decorative elements first. Once I had everything mapped out I used the same liquid glue and glued everything down.

Then I had to make it fancy. I added a few flowers, enamel dots, and some ink splatters. The yellow flower is the Rolled Flower 25 (SVG, Silhouette) and the red flowers are from the A7 Flower Card (SVG, Silhouette).  Lori has a rolled flower tutorial here.

I tucked a drink card inside as well as little note of thanks and sent it off to school with my son. Thank goodness for teachers!
Thanks for stopping by today!
Brandie