Miniature Christmas House Craft

Hi there friends!

Today I am sharing a cute snow globe craft I put together with the Miniature Christmas House for Snowglobe (SVG, Silhouette). This project is perfect for a kid’s craft. It uses very few supplies, comes together quick and is very lightweight.  It also makes a darling Christmas or Winter decoration. I used papers and stickers from the Winter Fun collection by Echo Park Paper. I found the DIY snow globe and fake snow at the dollar store a few years ago but they are also available on Amazon.

Thanks for stopping by today and happy crafting!

Brandie

Big Box Card Basket Sunflowers

Hello friends! Today I am sharing a tutorial for the Big Box Card Basket Sunflower card (SVG, Silhouette). This basket is much larger than a standard box but still folds flat for easy storing. These basket cards are perfect for a cute display or gift to brighten someone’s day. I used papers from the Farmers Market collection by Echo Park Paper.

This basket has two separate box pieces and three inserts. For my flowers, I used an embossing folder to give the middle of my flowers some more interest. I also inked the edges of the flowers and leaves to add dimension. I also shaped the flower petals to help give the flowers some added volume. For the box I folded all of the score lines into mountain folds and added the decorative panels to each side of the outside of the box. I then glued the two box panels together at the tabs.
Moving on to the inserts; Insert number one has two sunflowers. I glued one small sunflower and one medium sized sunflower and shaped the leaves a little. Insert number two is the basket handle and has two decorative panels that I glued into place. The third insert has three sunflowers; I used two small sunflowers and one medium sunflower then shaped the leaves on this insert as well. I also glued the basket all together forming the box shape.
Next, I glued the inserts into the basket. I folded the tabs into valley folds and added glue to the back side of the tab. I made sure to line up the insert with the top edge of the basket and bumped the front edge of the tab to the inside front of the basket on both sides. Before the glue is set I also folded the basket flat to make sure it would lay flat for storage.
I then repeated the steps for the remaining inserts but lining up the tabs to the insert in front of it instead of the basket front.
To finish the sunflower basket, I glued one of the large flowers to the front of the basket and the last flower I glued to the handle insert. I also added a sticker from the collection.
I love how this project turned out. Thanks for stopping by today!
Brandie

Stencil Embossing Tutorial

Happy Thursday, everyone! Recently, I learned a fun thing that I wanted to pass along to everyone. A lot of collections now have stencils you can get to match the paper line. Check out Echo Park’s Vroom line. I used this stencil to create a cute embossed element on my card.

How fun is it to emoboss with these stencils?!?!

It’s super easy and the result is so fun. I still have an old school Cuttlebug but I know you can layer your Big Shot plates a very similar way.

What you will need:

  • Cuttlebug or Big Shot or similar machine
  • A plate
  • 2 B plates
  • A rubber mat (use extra shims if you don’t have a rubber mat)
  • Shim
  • Stencil

Layer your mats and stencil like below (my mats are well loved). You will build from bottom up. A mat on bottom, B mat, shim, rubber mat (or extra shims), paper, stencil, B mat. Run it through your embossing machine.

I used one of Lori’s nested star (Silhouette)cuts on my card as the embossed element.

Here is a close up of the embossed star with some added ephemera for layering.

And of course lots of dimensionals to give the card depth.

Thanks for stopping by and Happy Crafting!

Chelsea

I Love Fall Circular Pop Up Album

Happy Fall everyone!  It’s my favorite time of year….the colors, the temps, and all that it brings.  I created a fun little mini to showcase it this year with Lori’s Echo Park collection I Love Fall and her Circular Pop Up Card (Silhouette).  I think of it more as a mini album though, I had so much fun making this and Lori also has a tutorial on it.  I will link her tutorial here.
=
Start by cutting all of your papers, you will need 5 base pieces if you would like it to be like mine, a circular star shape.  Cut 4 pieces if you would like a square.  You will need 10 triangles and 10 squares.


Assemble all 5 pieces with the layers of paper, pay attention to which way you pattern goes if using patterned paper.  The little triangles belong on the bottom, that will make it easier for you when adding those patterned papers.  In step 4 you can see how I folded it and added scor tape to the tabbed piece.  Then simply adhere that top triangle to the tabbed piece, push the triangle pieces back inside the card base so it lays flat like a card.  Do this 4 more times with your remaining papers.
Next, you can see I have my five pieces done and I’m ready to assemble it.  I used scor tape again to adhere piece by piece.  You want a strong adhesive for this project.  Put our five pieces in order, make sure they are going the correct direction, the fold in triangles go on the bottom.
In step one you can see how I put my adhesive on my first piece, then add another folded piece on top of that one.  You will do this 4 times…remember you want your book to open so don’t glue the last piece to the first, after adding the layers.  You can see how I left it open in photo 4.  Photos 2 and 3 show then layers as I went along.


Now it’s time to embellish.  My favorite.
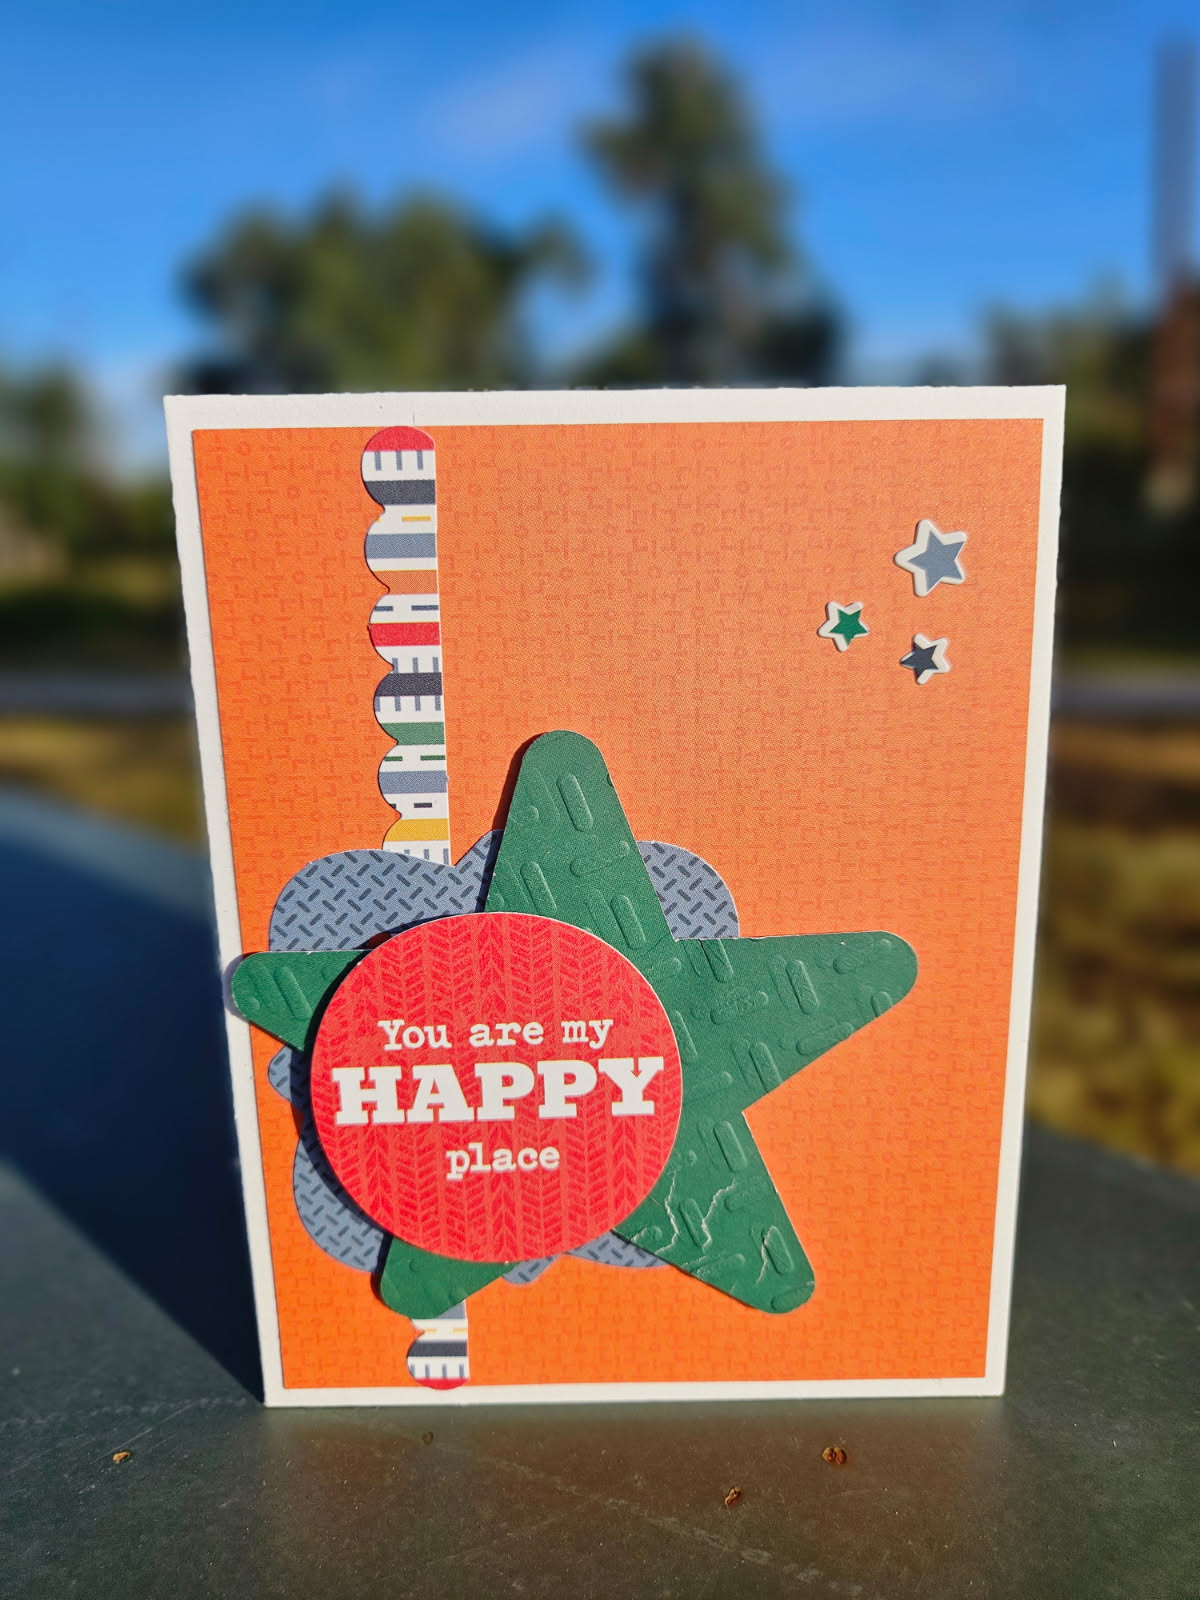
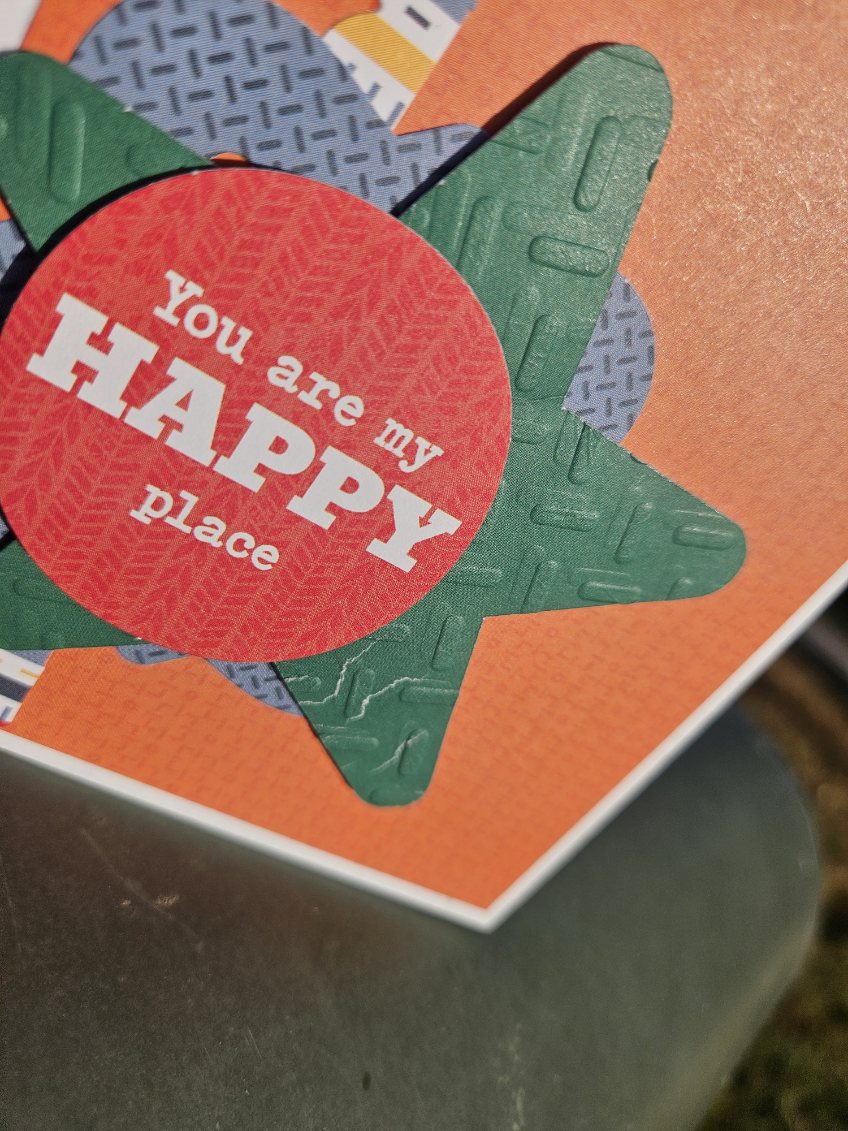
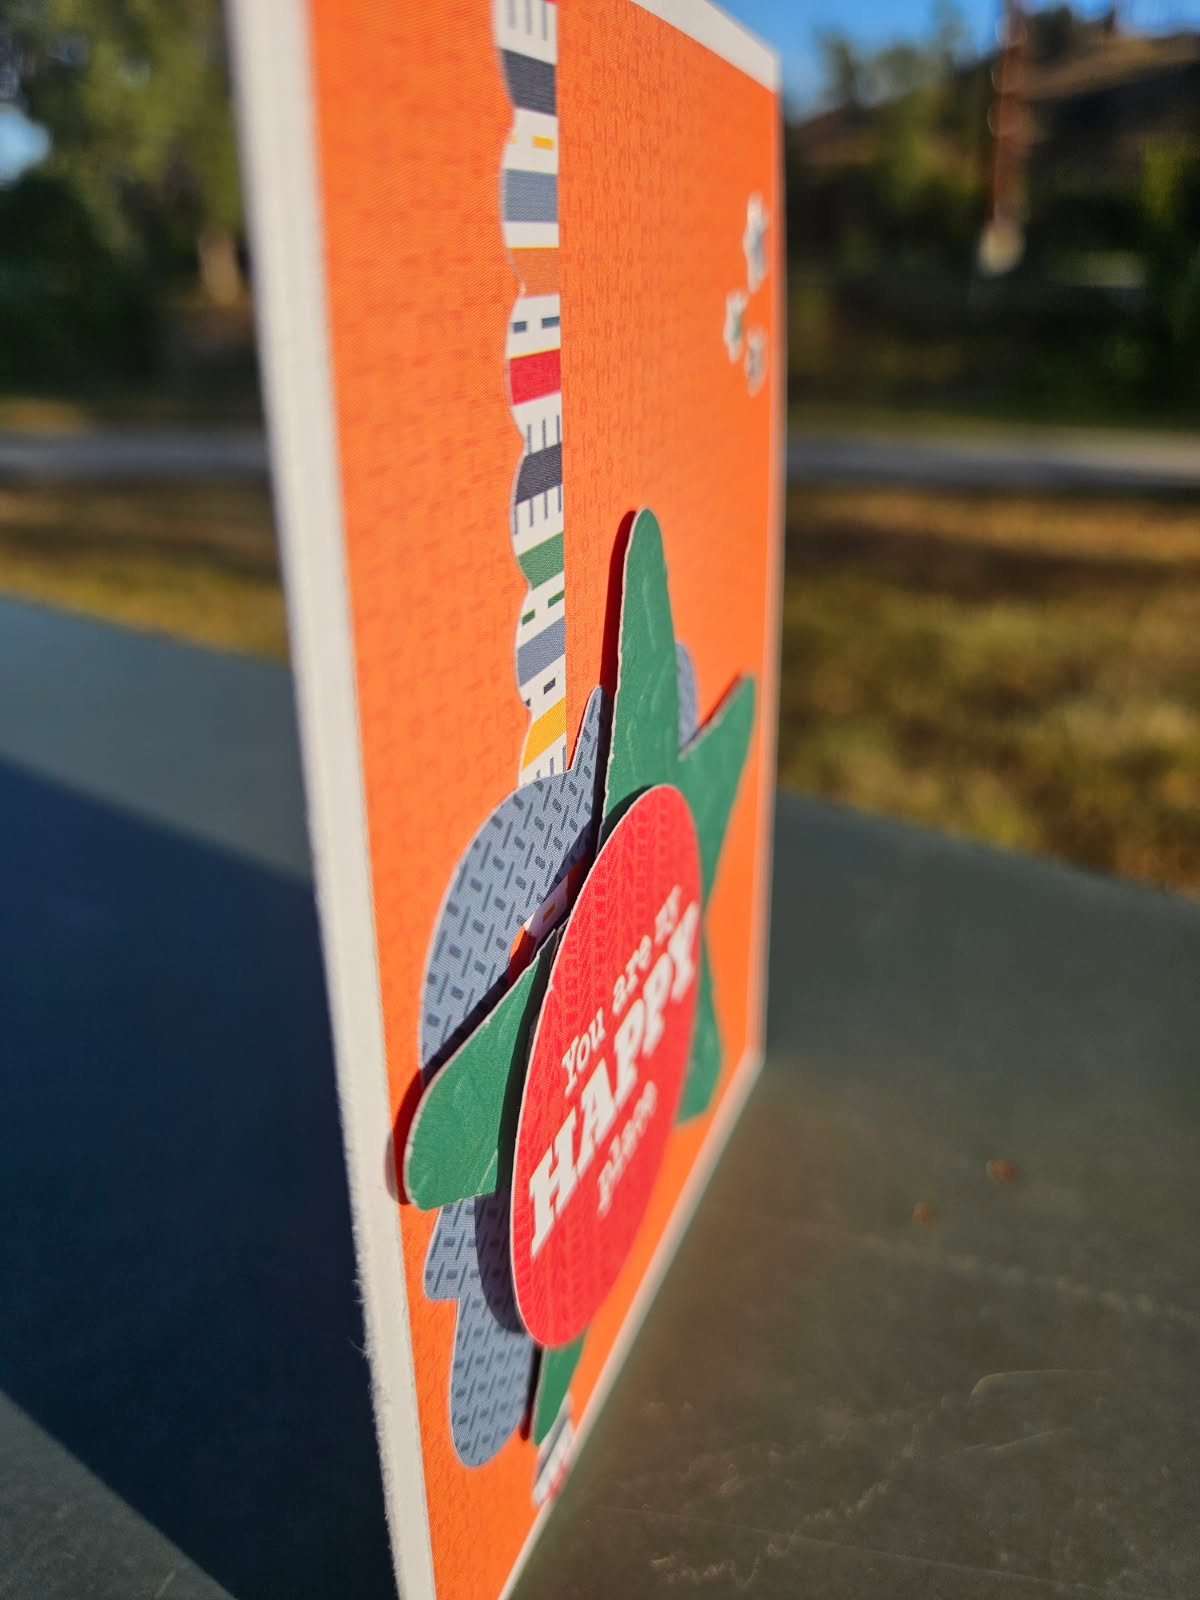
So I did go back to my Silhouette and cut two more square pieces to add to the front and back cover as I wanted my embellishments to stand out.  One piece of the front cover and one on the back.


Then just start creating and playing.  I left one side of every layer blank so that a photo could be added.
Thank you for stopping by!
Cathy


Flexi Fall Card Bundle

Fall is Here
I made these two cards from the Lori Whitlock Flexi Fall Card Bundle.

If you are making one, you might as well make 2!

For these two cards I used a kraft cardstock for the base and also this wonderful Echo Park Paper’s Fall Fever colorful cardstock. I added another mat piece to the front panels-because that seems to be my thing! 

We are almost out of summer and moving quickly into fall!

Enjoy!

💕Sue