Box Card Hedgehog Tulips Tutorial

Hello, crafty friends! This is Lindsay, and I’m here today sharing my first ever tutorial for the Lori Whitlock design team. I am so excited to share my projects with you. I use my electronic cutting machines (yes, plural!) on a daily basis. For today’s project, I have created the most adorable card using the Box Card Hedgehog Tulips file (svg, silhouette). I used the You Are My Sunshine collection from Echo Park and some additional cardstock.

After cutting all of the pieces, I started assembling the card in sections. First up is the hedgehog. I used brown ink to distress the edges of each piece. I used liquid adhesive to add the black oval behind the face of the hedgehog, then adhered the face layer onto the cream layer. After that, I assembled the small flower and added the arms to the hedgehog. I then used foam adhesive to attach the body of the hedgehog to the dark brown layer. Finally, the entire animal is adhered to the green base layer. I folded along the scored tabs and added strong tape to either side.

The next section is the tulips. Using liquid adhesive, I added the grass/leaves layer first. Next, I assembled each flower and adhered to the green base piece. I folded along the scored tabs and added strong tape to either side. It helps to have the sample image pulled up on Lori’s website. That way you can zoom in and piece the flowers together easily.

The final section is the box portion of the card. It is two large pieces that will come together to form the box. I added floral patterned paper as a cute accent.  I assembled all of the flowers and adhered them with foam adhesive just under the grass border. I added a sentiment sticker that says “Sending Sunshine.” Then I folded along the score lines and added strong tape to each tab.

Now it’s time to put it all together. I connected the two box pieces, peeling just one tab, to create one long strip. I did not adhere the final tab just yet. Once I had the box shape in place, I added the tulip layer. I peeled off the tape on only one side and lined up the tabs so that they touched the back of the box card. Next, I peeled the tape off one side of the hedgehog layer and adhered the tab directly in front of the tulips section. I peeled off the other side of the tulip and hedgehog sections and attached them to the side of the box. Finally, I closed the outer box card. I’ve added an image that shows what the bottom of the card looks like. You can see how the sections stack on top of each other like tables.

The end result is an adorable card that will fold flat into an envelope! You could easily tuck a gift card behind the hedgehog and use this for a birthday card.

I hope this inspires you to create today. Thanks for stopping by! Happy Spring!

Lindsay


In Full Bloom Pop Out Card


A2 Pop Out Card-Rectangle (SVG,Silhouette)

Hello! Today I am showing off some of Lori’s new collection In Full Bloom. It worked out beautifully with this fun pop out card.

I made the card adding  a .05 matting to the side and top panel pieces so that the gorgeous flower paper would pop! I then stamped a row of the flowers to the front image piece. I colored the flowers with copics and added a stenciled sky and sentiment and a cute little bee! 

I cut the sun die cut twice and glued together for strength and added to the corner of the image. I stamped Oh Happy Day in the center of the sun.

This is such a pretty card-perfect to send to your BFF!

Here is the card fully extended.

I used the following products from the 

 In Full Bloom Release:

In Full Bloom Collection Kit

In Full Bloom Solids Kit

Sunshine Word and Embossed Sun Small Die Set

Flowers and Daisies Stamp Set

Sending Spring Hugs Stamp Set

You can see the complete release HERE.

Hope you enjoyed this project!

🪻🌷🌺 Sue
 

Easter Bunny Gable Gift Box Tutorial

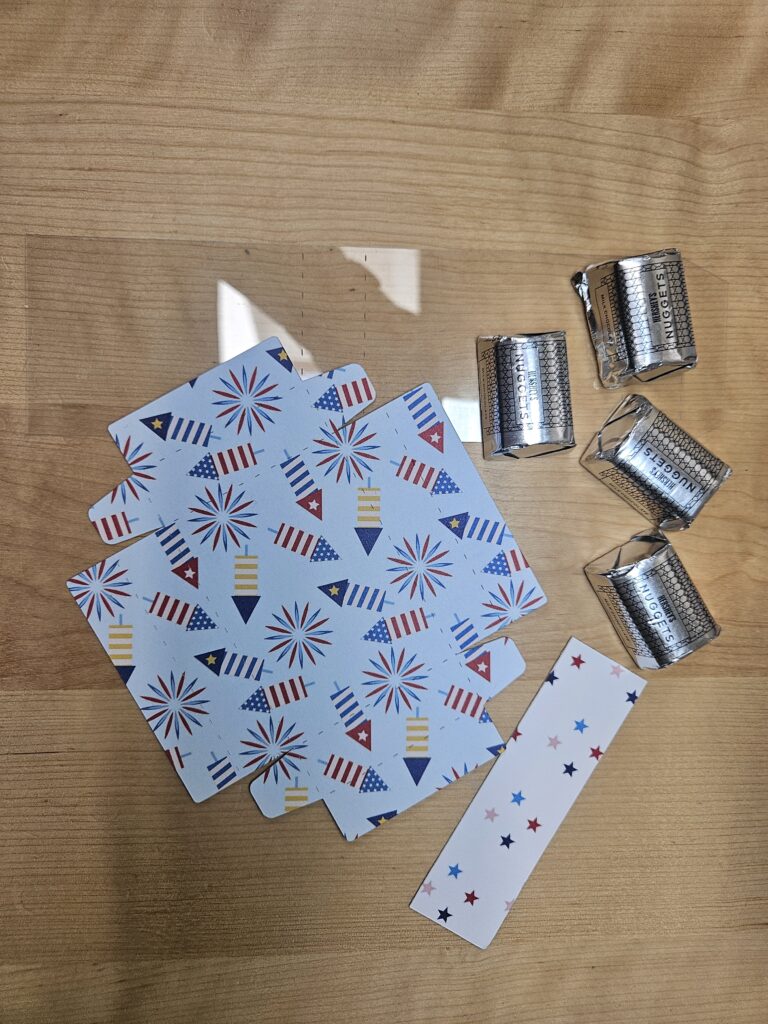
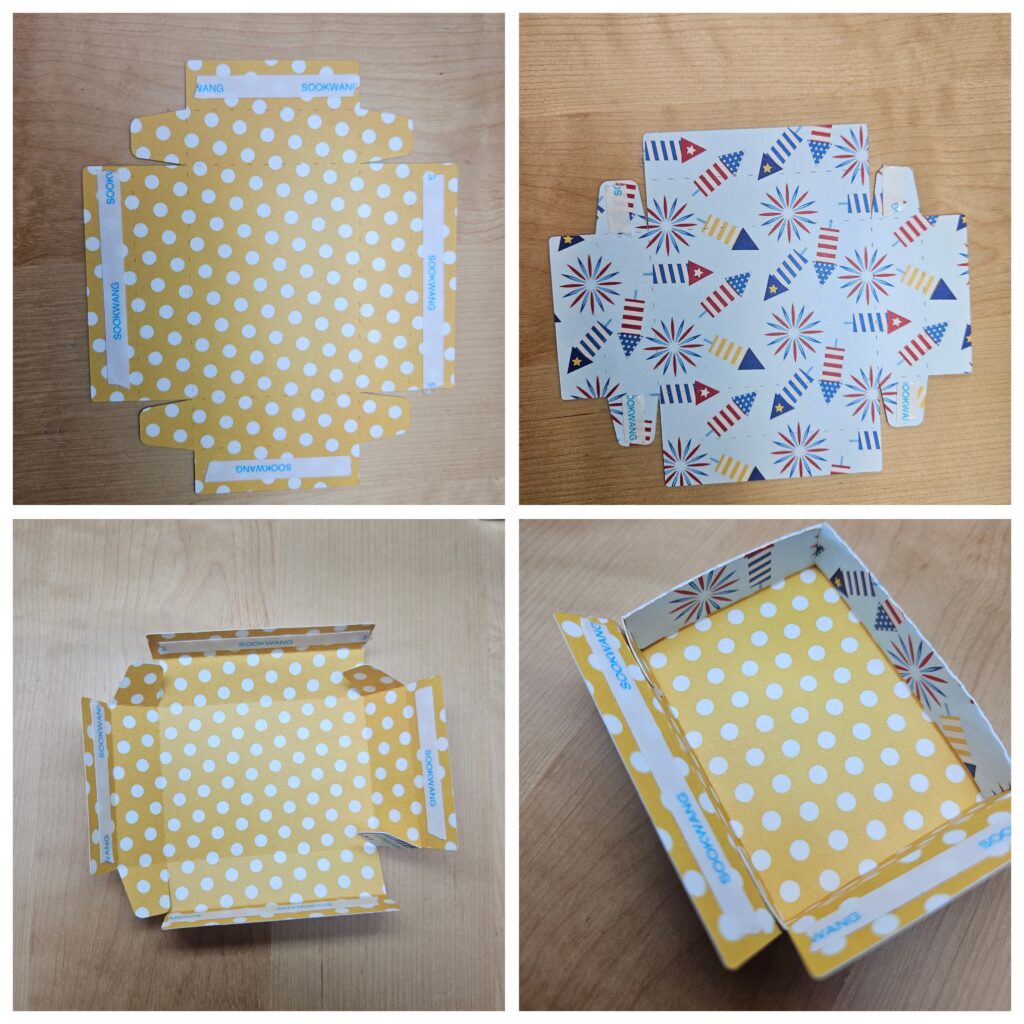
Hi everybody, it’s Holly! Today, I’m excited to share with you some darling Easter bunny gable gift boxes. With Easter just around the corner, these would be fun to fill with some yummy Easter candies or little treasures. I’m sure anyone would be just delighted to receive one of these. This box is super easy to put together, you will be amazed! Try it today.
Happy crafting!
Holly

Easter Bunny Car Box Card

Hi there friends! Anyone else feel like Easter snuck up on them too?! This little bunny car card is a quick and easy make, perfect for someone like me who feels a little behind this season. You can find the file in Lori’s shop and in the Silhouette Store (SVG, Silhouette). I used papers and stickers from the new Easter Basket paper collection from Echo Park Paper Co.


I hope you have a beautiful Easter holiday. Thanks for stopping by today.

Brandie

Buzzing with Kindness

Spring seems to be just around the corner…I am sure there is more winter to come here in South Dakota…but I am remaining hopeful.  And with Spring just around the corner, it’s time to think about gardening and bees.  So I broke out Lori’s Bee Happy collection.  This is such a fun collection, and it’s perfect for Spring and Summer.

First, I used Lori’s A2 Honey CardSilhouette Just the cutest little shaped card.

And next Lori’s Beehive Box CardSVG I love to make both styles of these cards.  Always my favorite and I get to use lots of embellishments from the collection.
Here’s hoping Spring is on the way and that the bees visit my garden