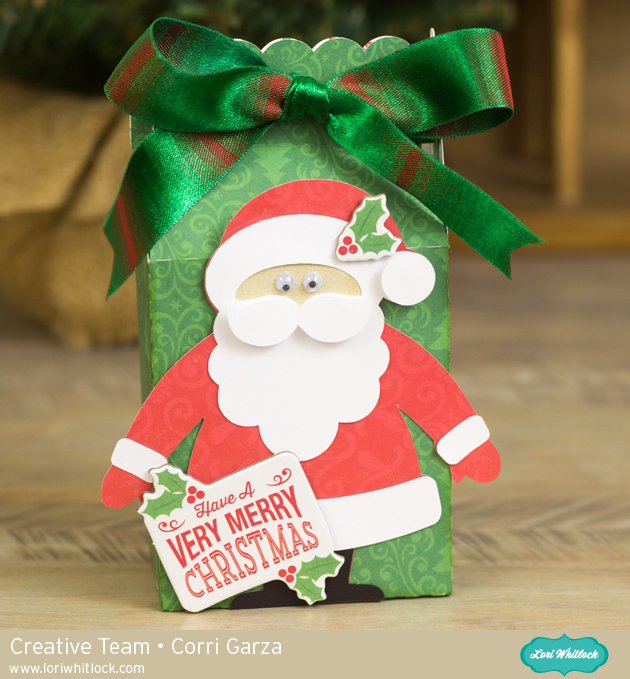
Hi Lori Whitlock fans…Cathy here with you today and I have a quick last minute gift idea to share with you! I created a shadow box with one of Lori’s Christmas Phrase Set 1! I know that this isn’t the most original idea out there but they are really quick and easy to make. Lori Whitlock has so many wonderful phrase sets that the possibilities are endless for creating these shadowboxes.
I started with and 8×8 white shadow box and added an 8×8 piece of black chalkboard paper from Lori’s Echo Park Christmas Cheer collection. Just adhere this piece to the back of your frame. Next, fill your frame with tiny ornaments or jingle bells.
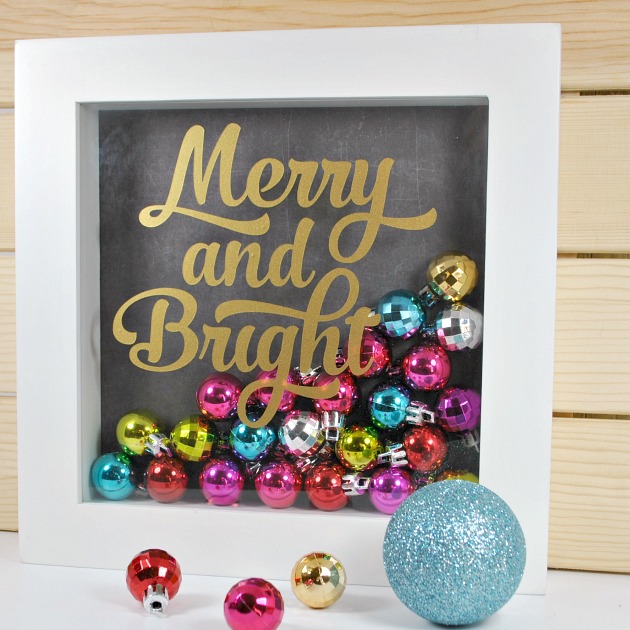
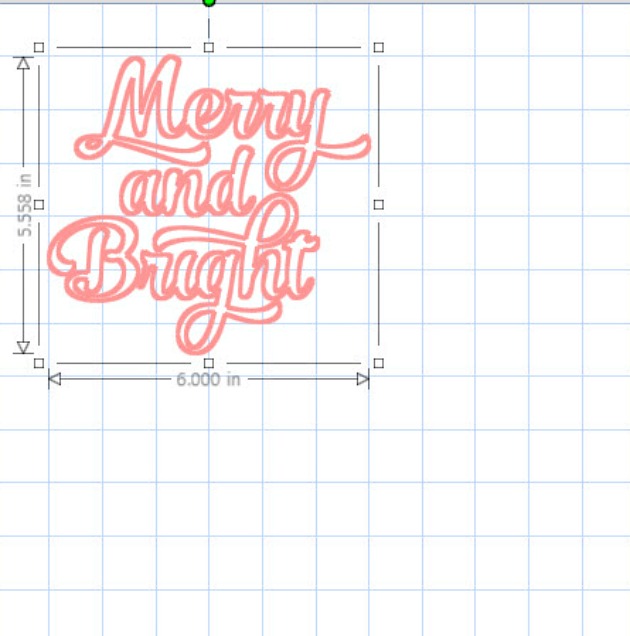
I cut the Merry and Bright out of gold metallic Oracle 631 vinyl. I scaled it down to the size you can see below. The preset vinyl setting on the Silhouette cuts is beautifully with a nice sharp blade. Weed your vinyl and transfer the saying onto the transfer paper. Then just adhere it where you want it to be and just like that you are done! Easy Peasy!
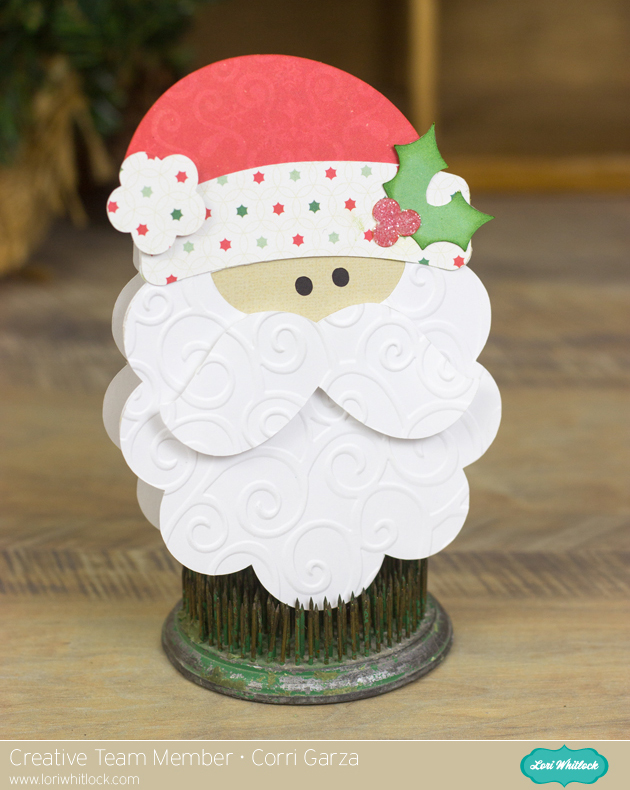
Such a super cute set! If I need another last minute gift, I will use the Jingle all the Way and fill it full of multi colored jingle bells!
And as I mentioned earlier, that Lori has so many phrases that the possibilities are endless for these shadowboxes!
Christmas Phrases Set 1 link or the Silhouette Store Merry and Bright link!


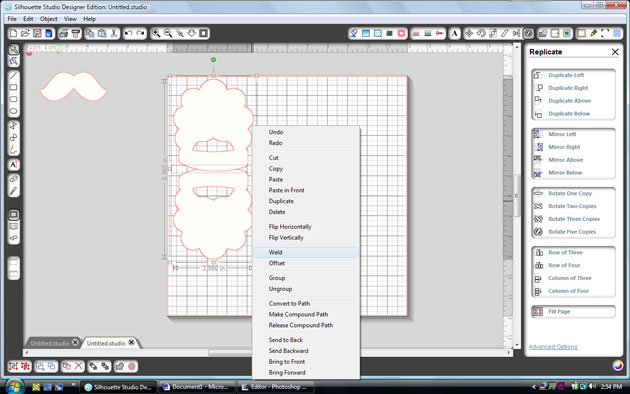
 6- Select just the top section of the ornament, right click and click on make a compound path. This keeps the hole in the top section of the ornament.


 Thanks so much for stopping by today and letting me share this tutorial with you! I hope that you will give this nifty technique a try! And I would love it if you would stop by my