First off, I wanted to let everyone know that I’ll be on HSN tonight (Monday, September 21) between 7:00 pm-9:00 pm talking about the new Silhouette Curio! If you’ve been wanting a Curio, this is your chance to pick one up at a great price with FREE shipping and Flex Pay.

Next up, Cathy is here today to show us a gorgeous project….
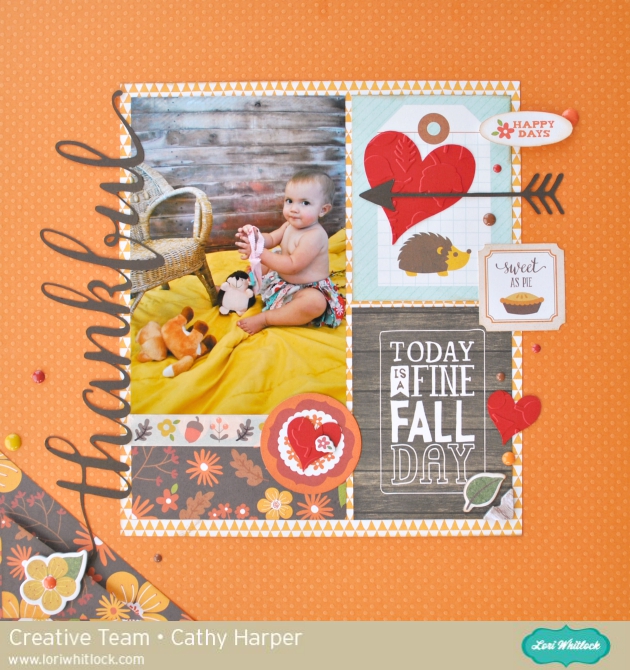
Hi everyone! Cathy here with you today sharing a layout with the gorgeous new Lori Whitlock collection from Echo Park, The Story of Fall. I had so much fun the other day taking some Fall pictures of our little grand baby and I knew that I wanted to scrap these precious photos with the collection. If you look closely at the photo, can see she is holding a matching headband to her tutu. The look of her face is one she gives me often…like really Grandma?, I hate these and refuse to wear this!
Man, I love that face though.
The Story of Fall has so many fun prints and just tons of embellishments. I used the enamel dots, the ephemera pack, acorn and leaves washi tape, chipboard along with the collection pack. Plus, check out those hearts, they are all embossed with the Falling Leaves embossing folder from the collection. I was inspired by a sketch from Paper Issues that you can see here. It was perfect for using the journaling cards in this collection.

The thankful, hearts and arrows are from Lori’s SVG file… There is Always Something to be Thankful For. I love how versatile Lori’s files are, I simply sized the thankful to what I needed and then re sized the hearts and arrow for embellishing my page. Perfect!

Thanks for joining us today, we can’t wait to see what you create with The Story of Fall!