Diamonds are a Girls Best Friend – Mother’s Day projects by Tya

Hi everyone – it’s Tya here to share with you 2 super fun cut files from Lori Whitlock. I decided with Mother’s Day being just around the corner that I would get a jump start on my gifts – so I wanted to share with you what I did! My mom is very crafty and creative and I tell people I inherited my creative gene from her so I know that she appreciates anything hand made, so finding a card and gift box for her was something I knew I wanted to do. Plus if you will notice a little theme running with my projects with the Diamonds – they are a girls best friend after all right?

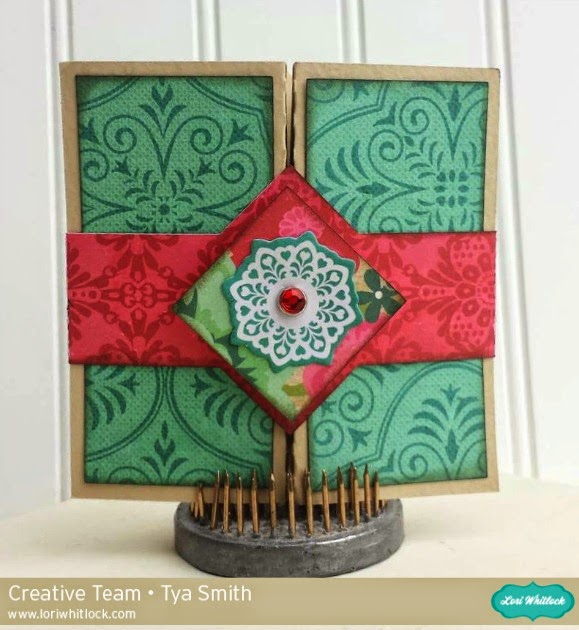
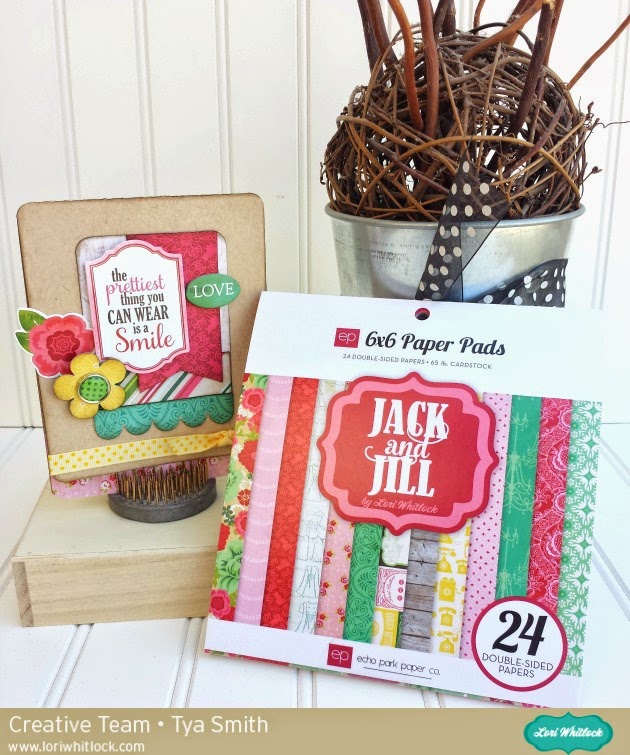
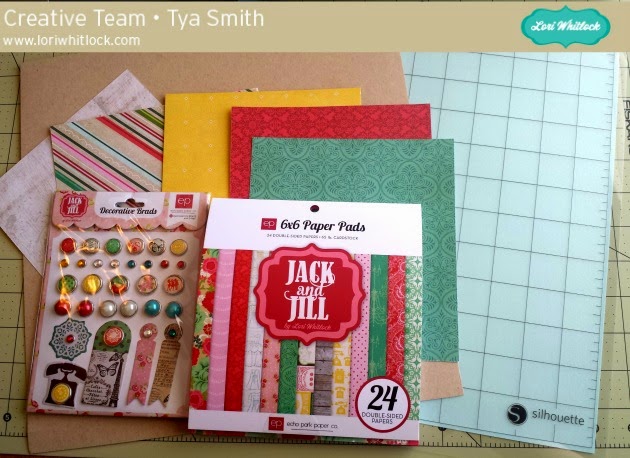
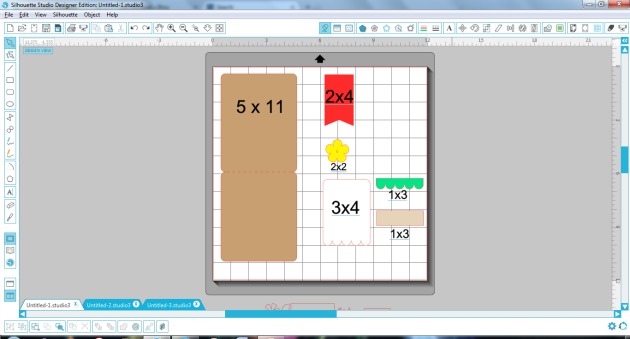
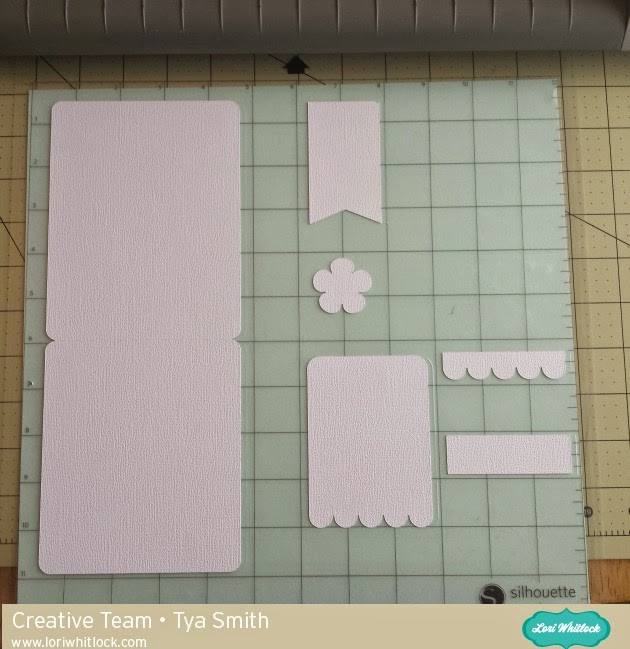
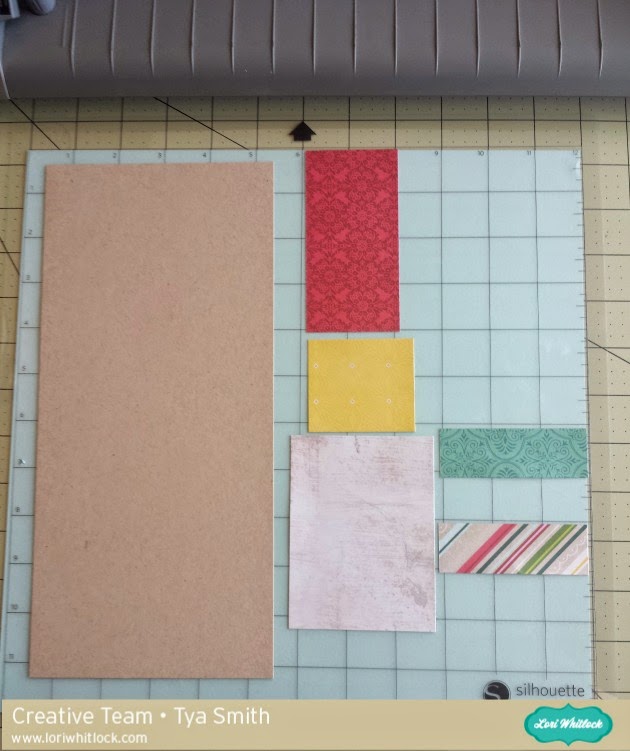
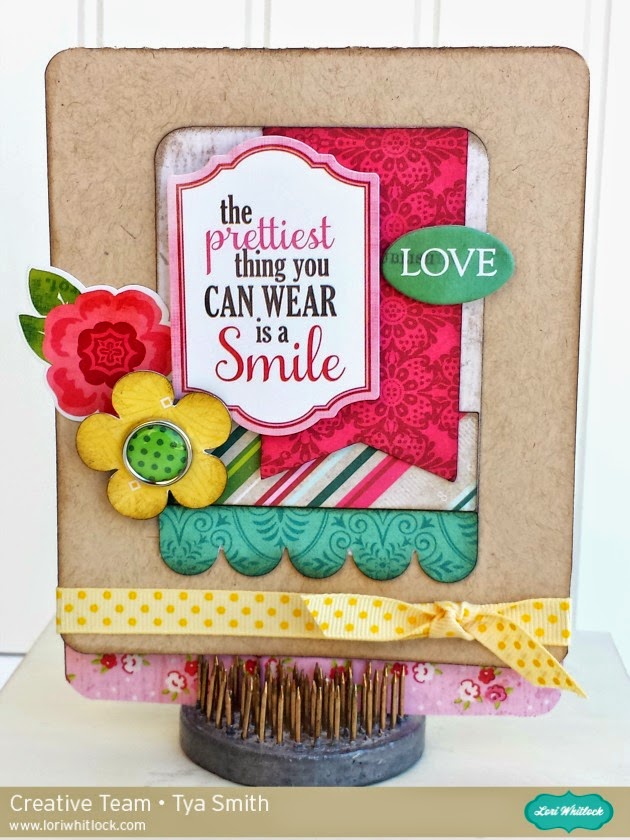
This last week Lori put out some amazing new fun fold cards and I was so excited to try the Double Diamond Fold card out. I loved all the different pattern papers from the Echo Park Jill collection by that I got use on this card. Definitely one I will be using again!

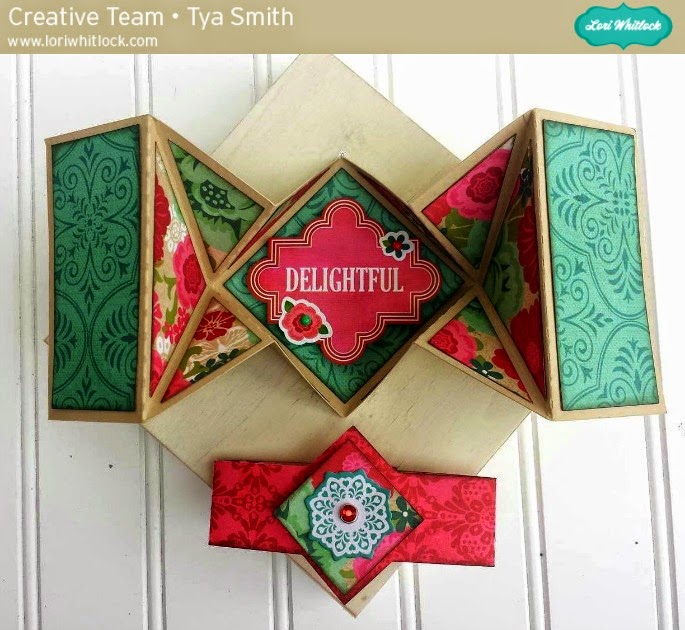
I also kept with the diamond theme and used the Necklace Box to hold a little sparkly necklace for my Mom. Darling box that was the perfect size to hold a necklace and some earrings in.

Thanks for stopping by and visiting the blog today! Hopefully I have inspired you to try out one of Lori’s new cards and to make something special for that special lady in your life. Have a great week everyone!

A Lori Whitlock Layout with Print & Cut Feature!

Hi everyone!  Cathy here with you today and I have fast and fun layout using the Sihouette’s print and cut feature.  This layout really went together in just a matter of minutes with this awesome feature!

I used Lori’s Echo Park Summer Bliss collection to create this layout!  First you need to open Lori’s Summer Layout file.  If you click on the images of the files, they will take you directly to Lori’s shop to purchase!

Next, choose your papers and size the files to fit a 12×12 page.  Once you have the scalloped piece sized right, the other layers will be a perfect fit.

I swapped out the original sun and used Lori’s sun shaker box.  I kept it the same size as the one in the kit.

Now onto the print and cut  feature!  First, I cut my paper down to 81/2 by 11 so that I could run in through my printer.  So make sure to change your paper size and add registration marks.  Then add the pieces that you want to print and cut!

Then change your line and fill colors on all of your letters!

Make sure you select “no cut” on all of the outline images, like the note paper and banners before your send in through your printer.  They should be a thin red line instead of a thick red line.  Now send it through your printer.  Here I add the “You Always Radiate Sunshine” quote.

Next, reload it into your Silhouette and this time turn off the cut lines on you quotes and letters!

And tun on the cut lines around the note paper and the banners again, thick red lines.  Send it through your Silhouette and you now have the prefect print and cut embellishments.  Easy Peasy and it takes no time at all!

Thanks for joining us today…I hope you try out the print and cut feature with some of Lori’s files!

Using Your 6×6 Paper Pad Scraps – Tutorial with Tya

Hi everyone! It’s Tya here to share with you a fun tutorial today. I adore, like really adore 6×6 paper pads. They are the perfect size for card making, but inevitably I am always stuck with oodles of little scraps after I am done with my projects, so today, I wanted to share with you a quick and easy tutorial on how to use up those scraps.


First-  I gathered up my supplies to make my card. I am using the 6×6 paper pad from the Jill collection that Lori designed for Echo Park. I am also using the decorative brads, chipboard stickers and element stickers.

I also used a sheet of kraft cardstock.

Next I opened up the Silhouette. I like to used the grid function when I am dealing with scraps. The Grid is on the far right side of the toolbar. To make it true to size, I do 1 inch spacing and 1 divisions – this basically makes (12)  1 inch squares along the top and sides so it is just like the Silhouette mat.

Now, I find my card shapes and lay them out on the workspace. I try and utilize the mat and lay my shapes out evenly so they will be easy to cut out.  I used the Card 1 shape (Lori Whitlock Shop) or a2 Flower Card (Silhouette Store).


Now this next step, it’s just what I do when I cut scraps, I am sure there is an easier way, but this is what I like to do because it is pretty fool proof. So I take a scrap piece of paper and cut out all my shapes. I like to do either white or kraft because I save these and can use them on another card. So I lay out all my shapes and cut them out.


Here is where those pesky cut marks, like the one below, that we get on our mats come in handy. I take my real papers and basically lay them over the cut marks that were previously made.

Now the shapes are all cut out and we were able to use up some of those little scraps- AND we only had to make ONE cut! This is such a time saver! No having to guess or measure exactly where the papers are, just lay them over the cut marks and you are set!

 Here is the finished card –

Thank you so much for stopping by! I hope I have inspired you to pull out all those scraps and have fun creating beautiful cards! Have a great day!

April Blog Hop

Welcome to our April 2015 Creative Team Blog Hop! Our team has been working hard to share some lovely projects with you!

First off, we have our monthly sale going on at Lori’s SVG SHOP. ALL files (and commercial licenses) from Lori Whitlock and Kolette Hall are on SALE 30% OFF. Use code APRIL (case sensitive) at checkout in the SVG SHOP.

AND, TODAY ONLY, you can save 30% OFF all of Lori Whitlock’s digital scrapbooking files over at Snap Click Supply. Shop digital scrapbook files HERE. Be sure to use code: LWApr15HOP at checkout.

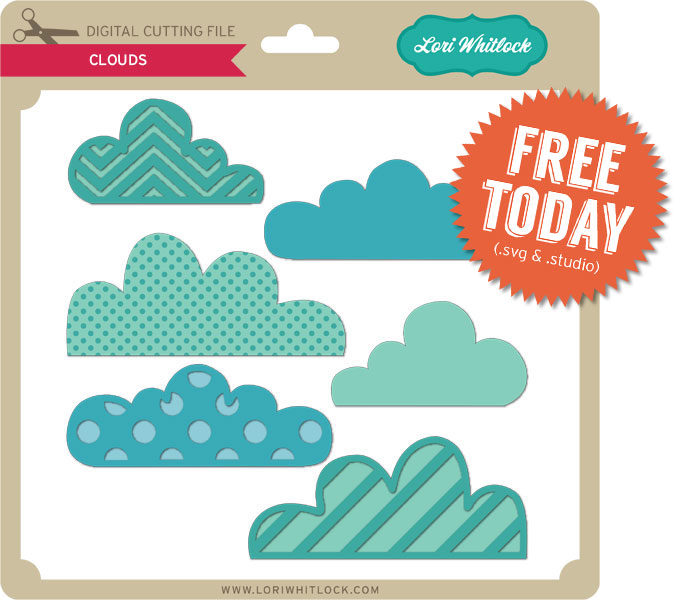
Keep reading for a FREEBIE at the bottom of this post….

New this week… So, I’ve created 4 new cards that are called Hidden Box Gatefold Cards. I’ve also posted a video showing how to assemble these cute cards. These cards feature a box when you open the gatefold which is perfect for giving money, gift cards, or other small (flat) gifts.


There are several other fun new files available this week from Kolette and I in the SVG Shop, and they are on SALE 30% OFF through April 19 due to the Blog Hop!!! Be sure to use coupon code APRIL at checkout.


Just so you know, we are constantly trying to make changes that make your life easier. Our SVG files are now Cricut Explore friendly. Our newest files are colored and the score marks should appear on one layer. We now provide line art PDF with most of our 3D projects for those without cutting machines. Check the description on each shape before making your purchase. If you desire the cut sizes, PDF or Cricut friendly files on an older shape that does not include the files you need, please don’t hesitate to let us know by emailing us HERE. We’re happy to help you get what you need.

And, before you leave, I’d like to give the following file to you just to thank you for dropping by…

free-clouds

CLICK HERE TO DOWNLOAD SVG & STUDIO FILE

JJG81016_Jack_And_Jill_Collection_Kit_F-1

Have you seen my two newest collections with Echo Park Paper? Jack & Jill is a wonderful collection of vintage inspired patterns and graphics with a modern flair. How would you like a chance to win a Jack or Jill collection kit of your choice AND a $20 gift card to Lori Whitlock’s SVG Shop? Good luck and thanks for dropping by!

a Rafflecopter giveaway

Next, would you like to see what our amazing team has created? Click the links below for some wonderful projects. If you ever get lost come back here to get on track

Lori Whitlock

Corri Garza 

Mendi Yoshikawa 

Traci Penrod 

Kathy Skou

Cathy Harper

Tya Smith

Chrissy Guido

Ashley Cook


Wrapping Text Around a Circle with Traci

Hi everyone, it’s Traci and I’m back today with a tutorial for wrapping words in a circle.  I fell in love with Lori’s adorable new birdhouse.  I plan to make several to hang from a tree decoration, but you could also fill this little box with candy for a sweet little gift.

For the tutorial, I want to show you how I wrapped a phrase around the window of my birdhouse.

Step 1:  Move everything except the house portion off of your mat in the software.

Step 2:  Click on the Text Style Window and find a font you would like to use.  I used Lori’s Cutie Pie font.  Type and size your phrase somewhere on your mat.   Phrase ideas:  “Home Tweet Home”, “From Our House to Yours” , “A Gift For You”, a name or address …. endless cute possibilities!

Step 3:  If you double click on your phrase, you’ll notice a green box around your phrase and a little circle with an x in it.  Click on this little circle and drag it over to the window of your birdhouse.  When you hover the word over a line, the letters snap to the shape of the line.   You may have to play with the size of your font and the character spacing to get the letters to line up around your shape.

Step 4:    To move your word up around the outside of the circle, you will use the grey sliding bar that appears through your letters. If you place your curser along that bar and slide upwards, your letters will move up and out.

Step 5:  Now, you will want to print just the round phrase on the paper that you want for your birdhouse.  Highlight the entire birdhouse and go to the Fill Color window.  Remove the yellow color (but leave the birdhouse lines) so that the yellow doesn’t print on your paper.  Be sure to also make your paper size 8.5×11, and show your registration marks.

Step 6:  If you highlight your phrase, and click on the “Line Style” window, you’ll notice that the lines of your letters are probably set to 0.0 points … be sure to increase the line thickness to 1.5 so that you see the letters when they print.

Step 7:  Now send your paper through your printer.  Cut the birdhouse out with your silhouette machine and assemble all of the cute pieces into an adorable decoration or gift.

Thanks for stopping by Lori’s blog!  I hope you’ll come visit me over at Artsy Albums and say hi!

Traci