The Valentine’s Silhouette Offer, exclusively for Lori Whitlock followers ends tomorrow! You can get this fabulously priced Valentine’s Day themed CAMEO 3 bundle as well as 20% off blades, mats, and software when you use code LORI at checkout!
Welcome to our February 2018 Creative Team Blog Hop! The creative team has been working hard on some new projects to share with you that will get you in the crafting mood. We also have some FUN new SVG files for you and a GIVEAWAY! Be sure to check them out below. There is also a free file for you!
This week we have a 30% OFF SALE going on at Lori’s SVG SHOP. ALL files (and commercial licenses) from Lori Whitlock, Kolette Hall, Doodlebug Design, Dresden Carri, Paige Evans, Rivka’s Renditions and SAS Creative are on SALE now through Saturday, February 17th!. Be sure to use coupon code: FEB2018 (case sensitive) at checkout in the SVG SHOP. (Only one coupon code per order allowed)
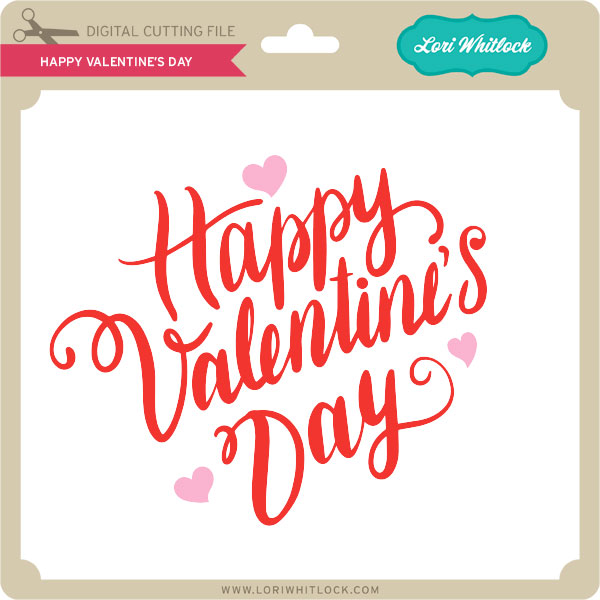
To thank you for joining us in the hop today and sharing the hop with your friends, we have a gift for you! TODAY ONLY, You can download this Happy Valentine’s Day Script file absolutely FREE! Be sure to go grab it while you can.
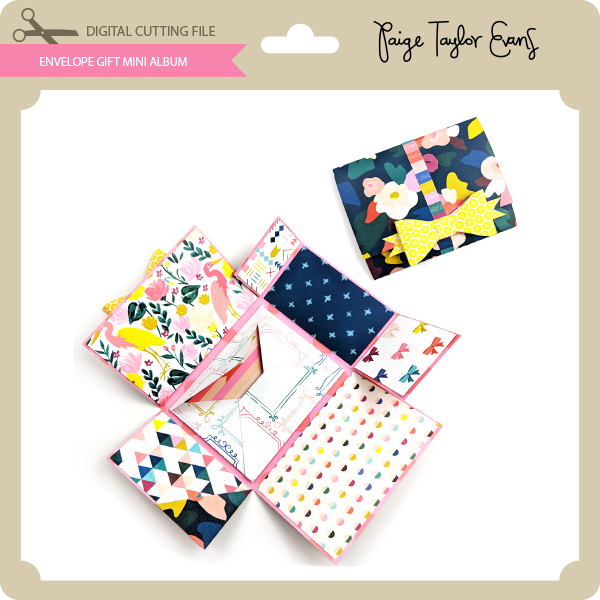
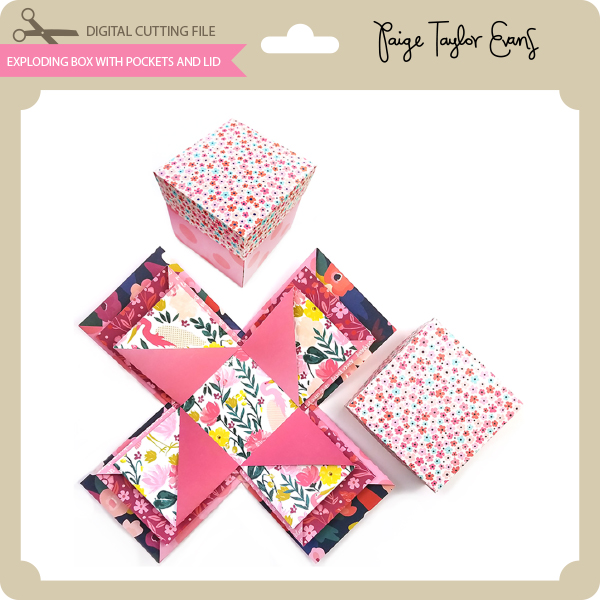
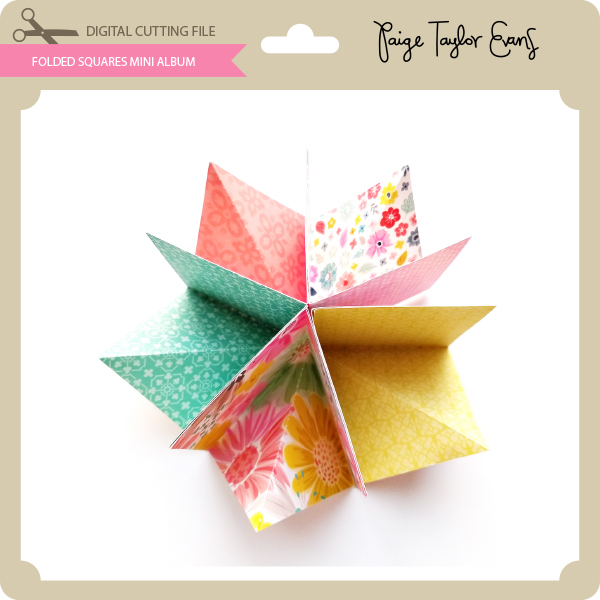
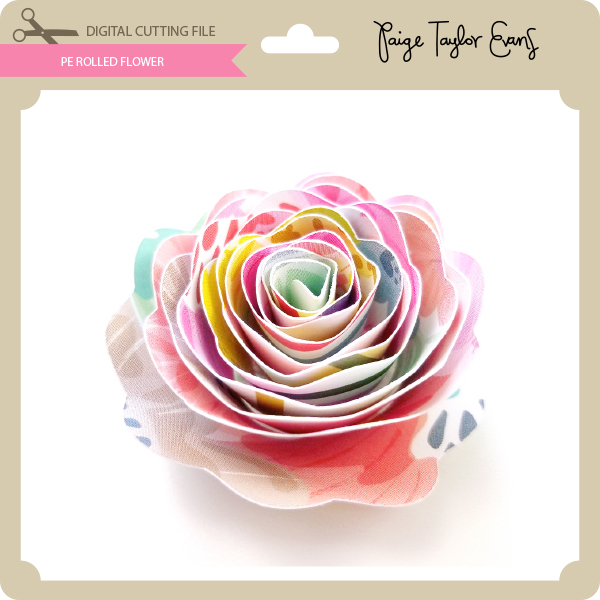
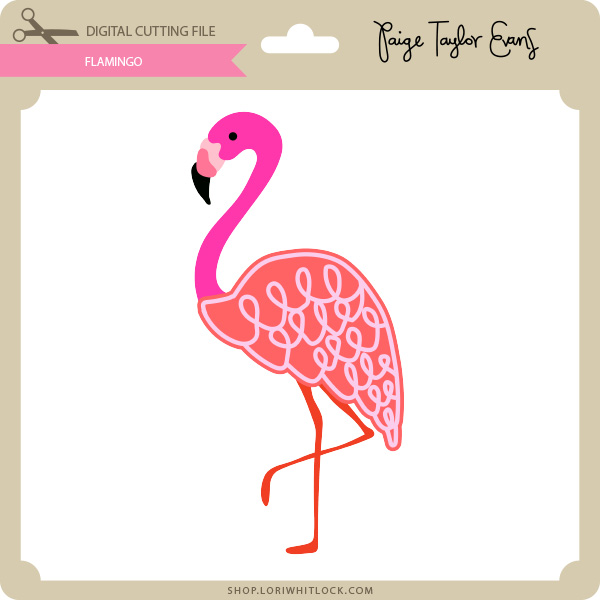
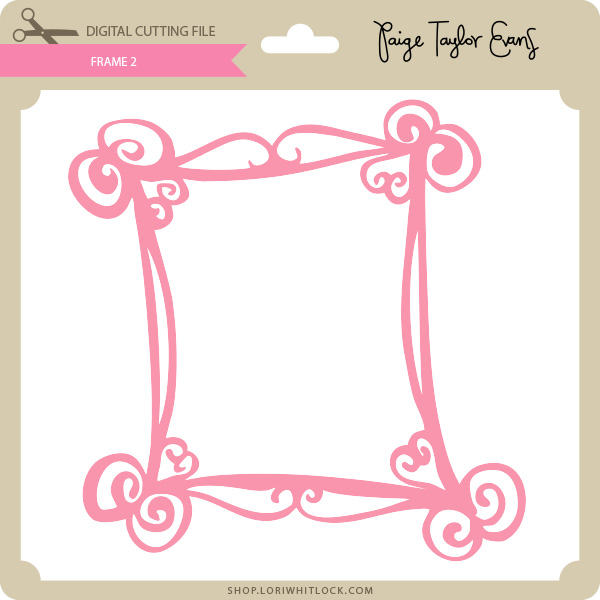
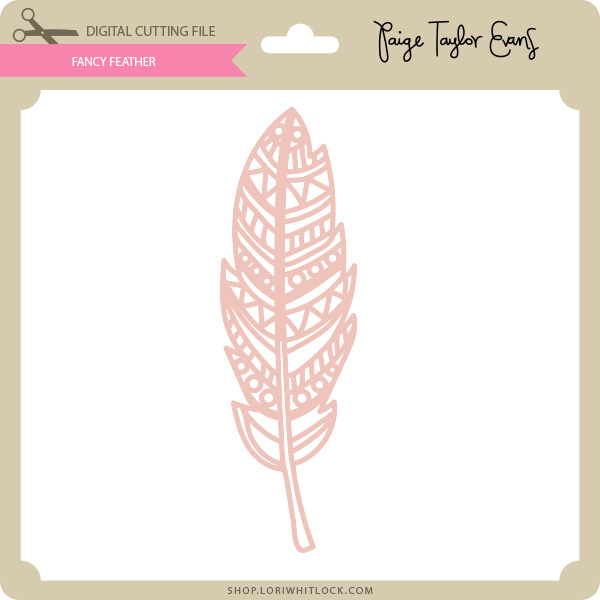
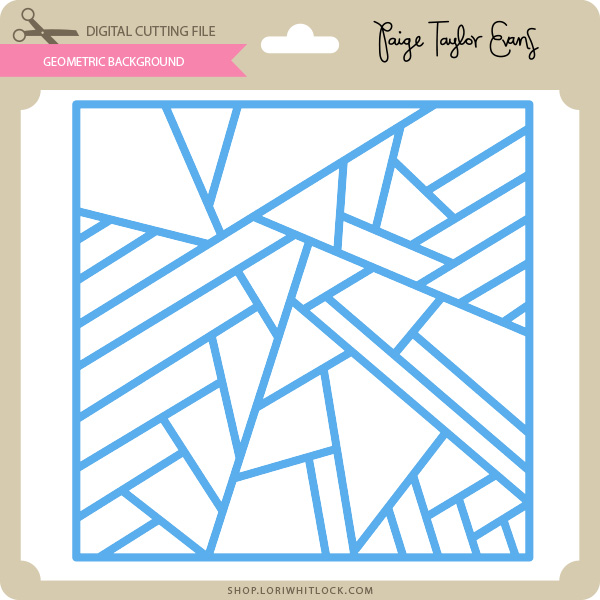
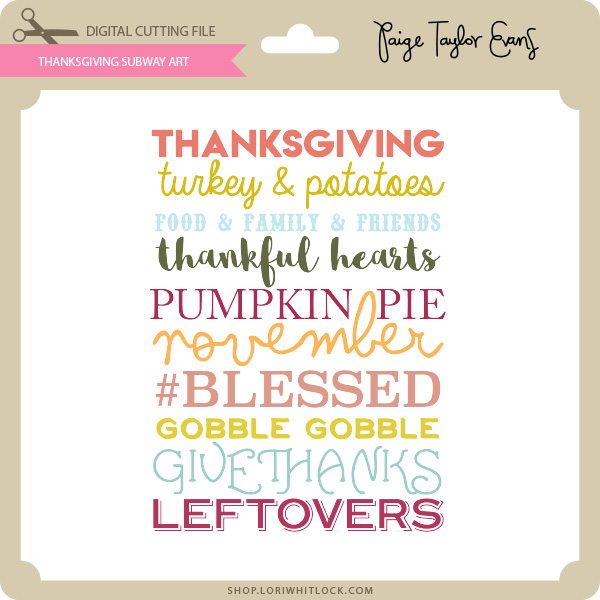
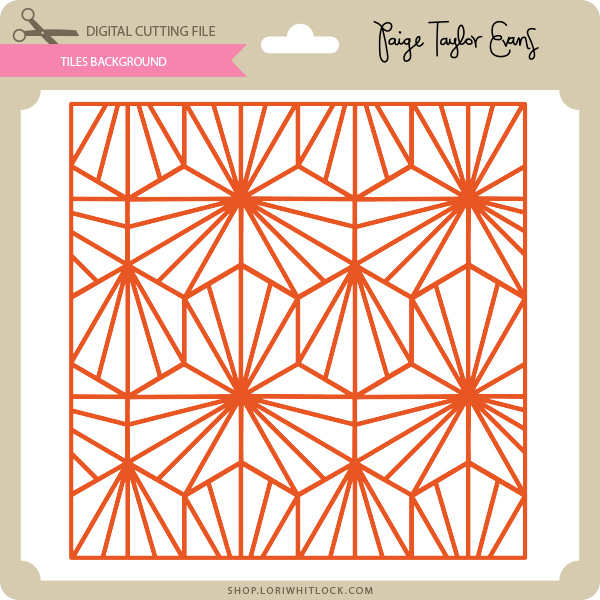
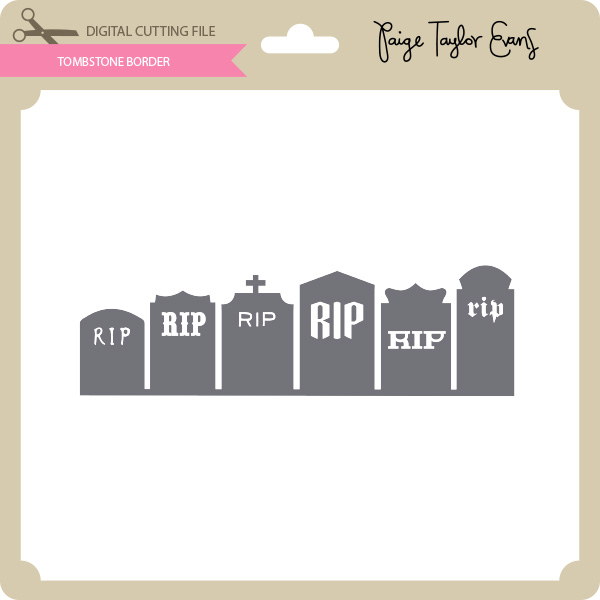
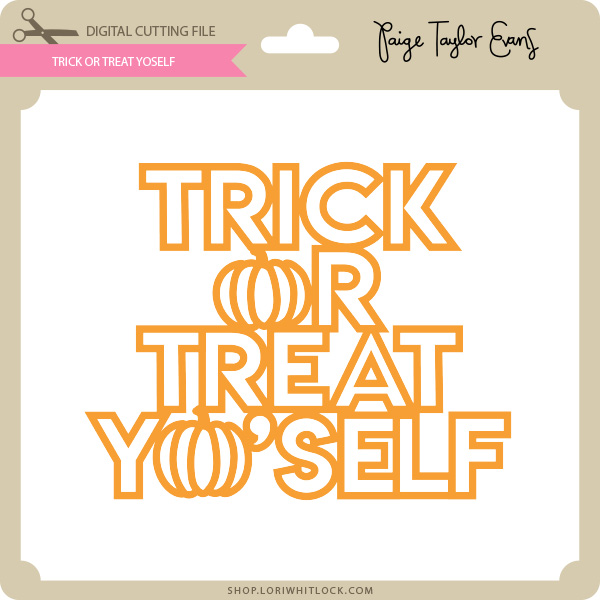
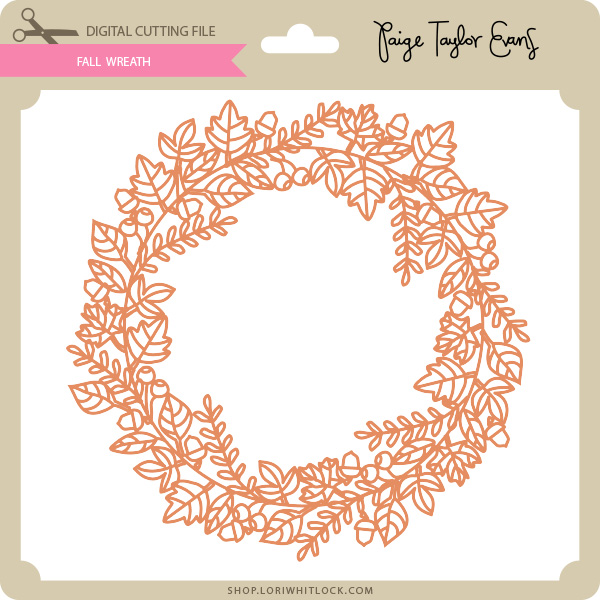
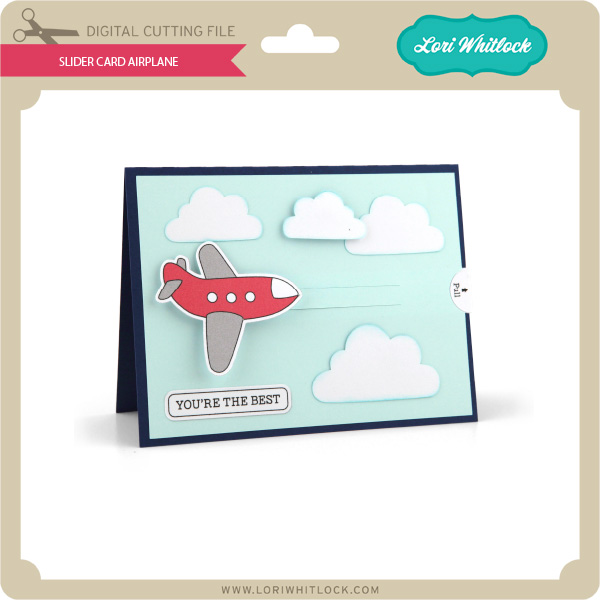
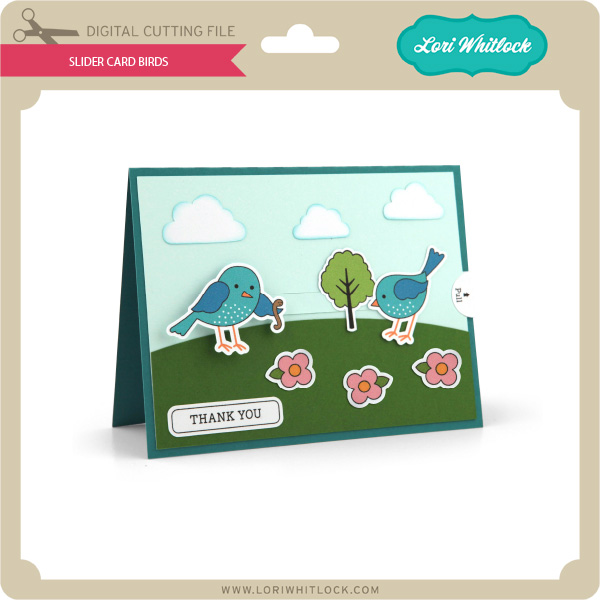
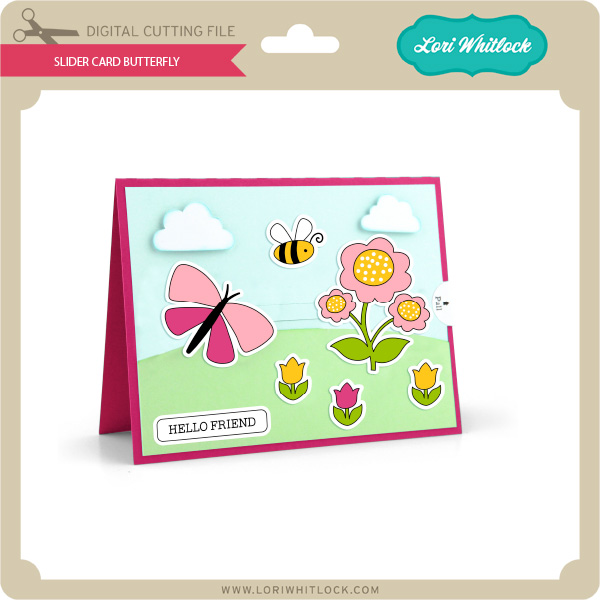
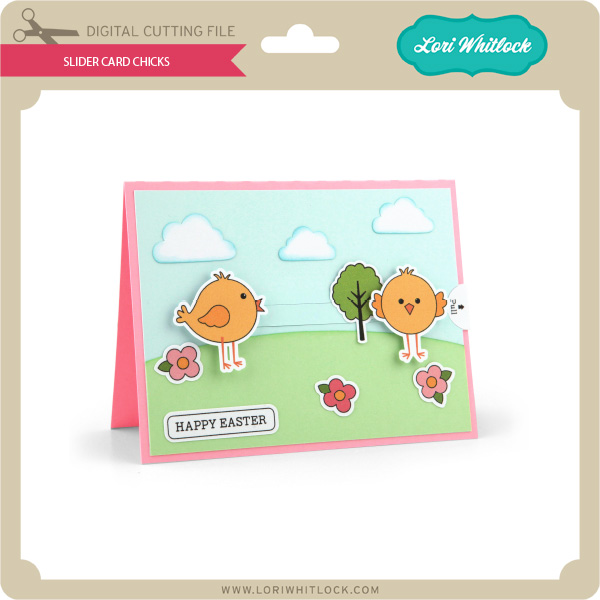
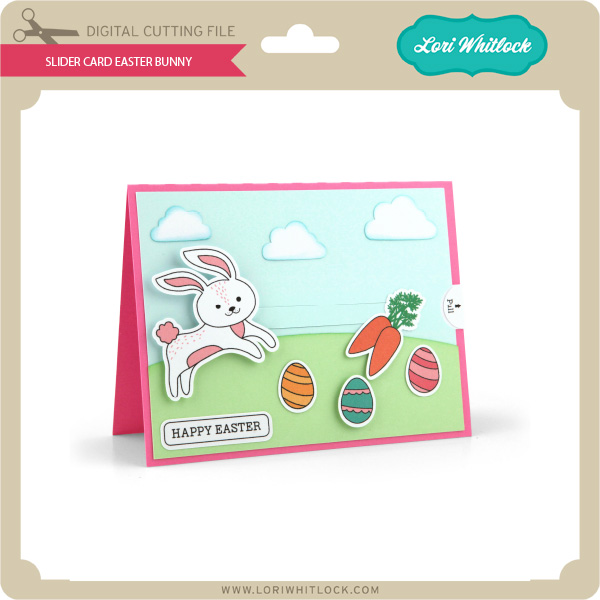
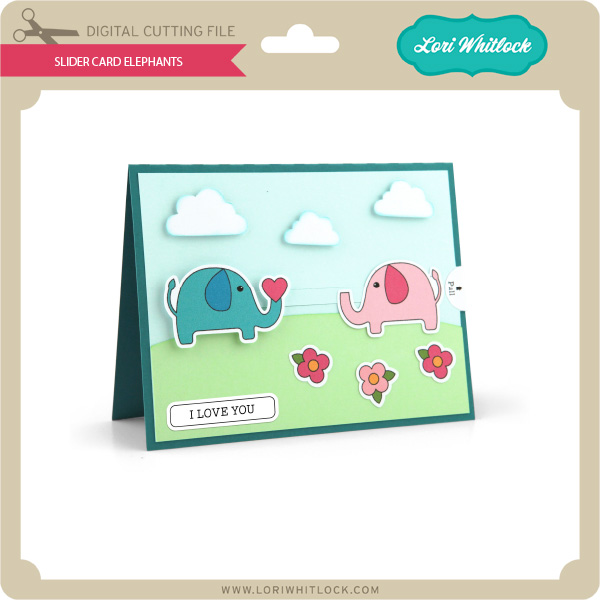
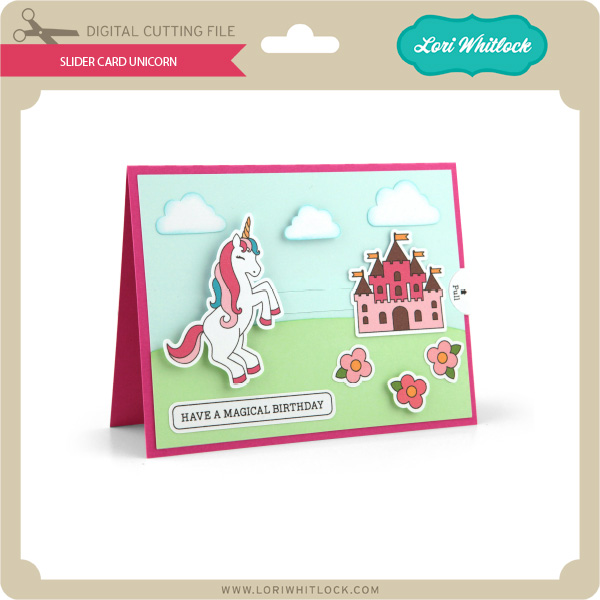
We have some super fun new files this week! Be sure to grab them while all files are 30% off this weekwhen you use code FEB2018in my SVG Shop! And, as always, the new files are available in the Silhouette Design Store as well. This week we have new files from Paige Evans and I have some fun Spring Slider Cards. You can see how to assemble these new cards in my new video tutorial.
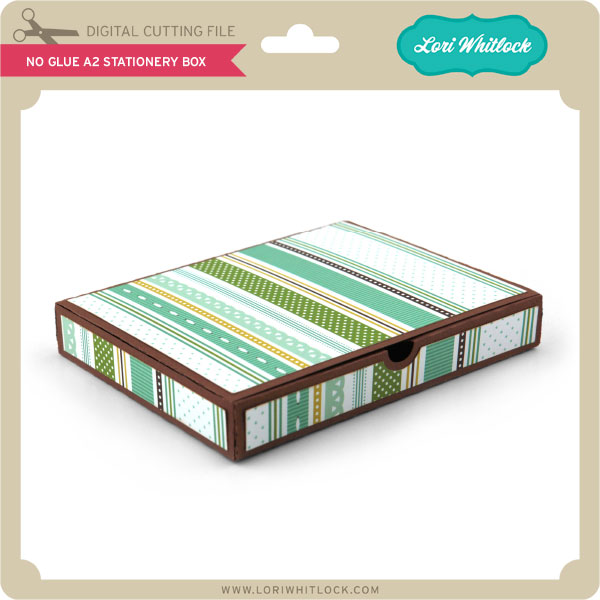
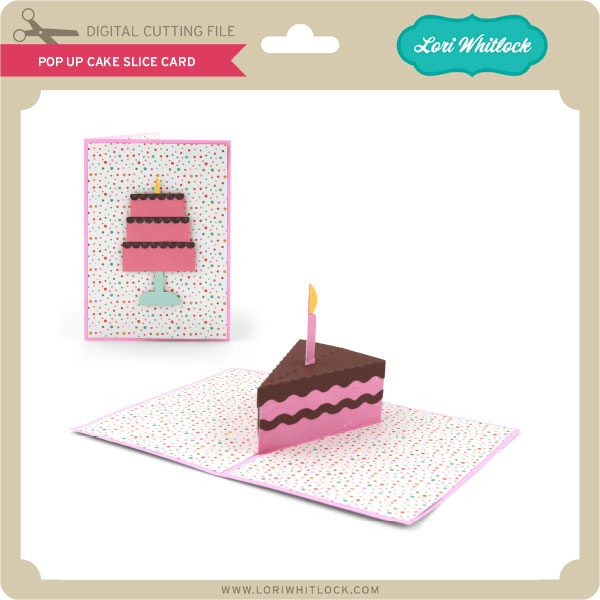
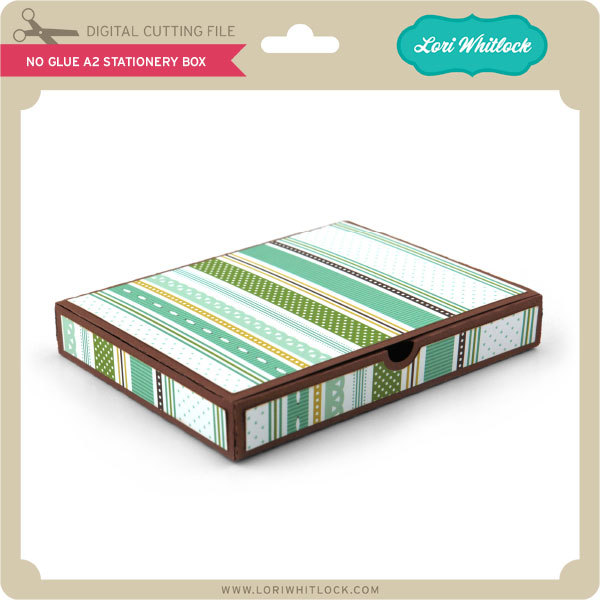
I also have video tutorials for the new Pop Up Cake Slice Card here and the No Glue A2 Stationary Box here!
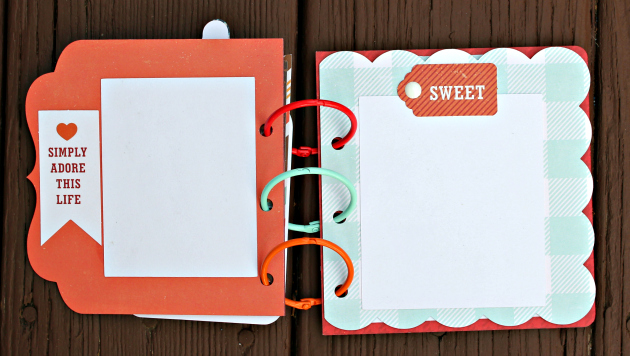
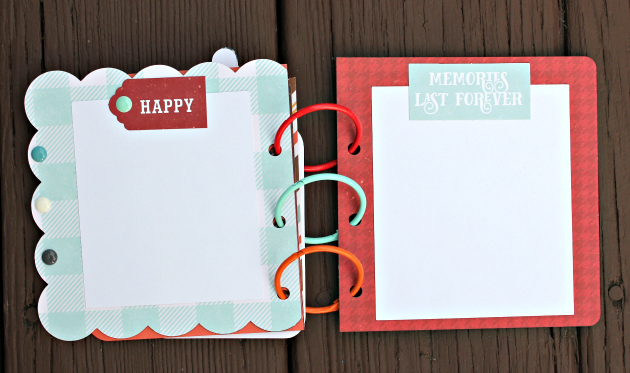
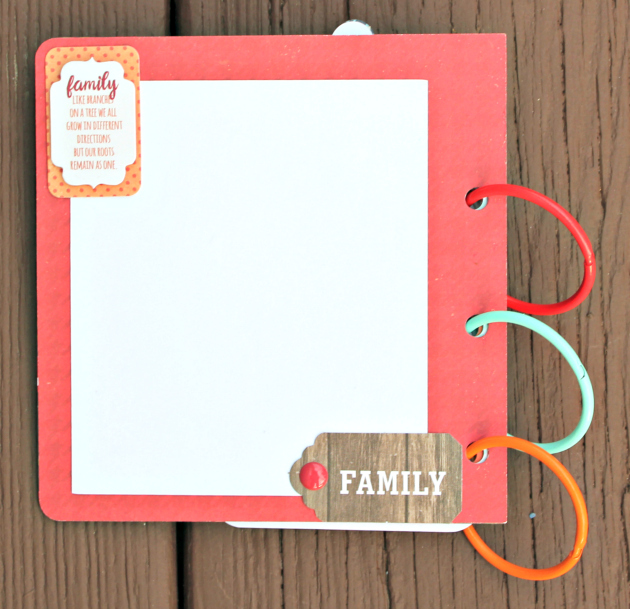
Anita here with a fun tutorial to make this mini baby album. My brother’s girlfriend just became a grandmother of a beautiful baby boy and I made this album for her to fill and to share with her friends.
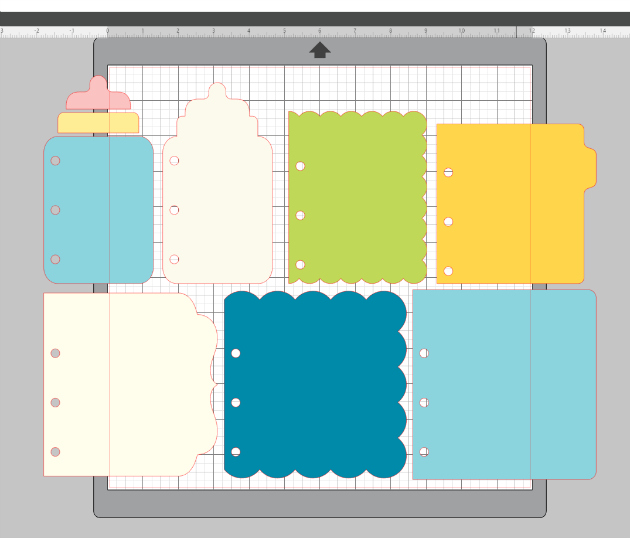
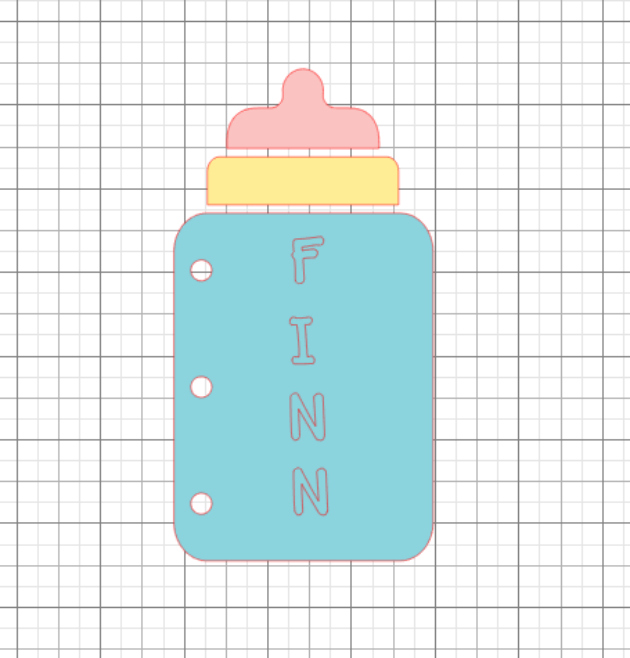
This is a photo of the cut file. It is called Baby Layered Mini Album and you can find it in Lori’s store and in the Silhouette Store. I mixed and matched some wonderful collections from Echo Park to make my album including A Perfect Winter, A Perfect Autumn, A Perfect Christmas and I Love Family. I bought 1.5 inch colored rings from Amazon for the album.
I decided that I wanted each page the same print/color so I used the replicate function on my Silhouette to mirror the left tabbed page to the right so that I could glue them together to create a heavier page. I then cut both pages from the same paper and adhered them back to back.
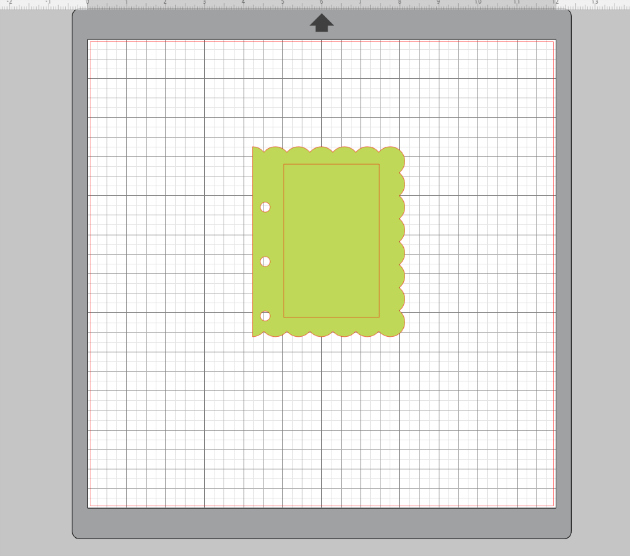
I then used the rectangle tool on the left side bar to create a white piece to be a photo mat. I like to put the item I am trying to match the size on my mat.
Here is the sized rectangle on my mat.
Here is a photo that shows the other rectangles that I created for the pages of my album. I then cut two of each for each page of the album.
I used Lori’s font called Wide Marker at the 56.0 font size and moved them on to the bottle to see how it would look.
Here are the pieces for my album.
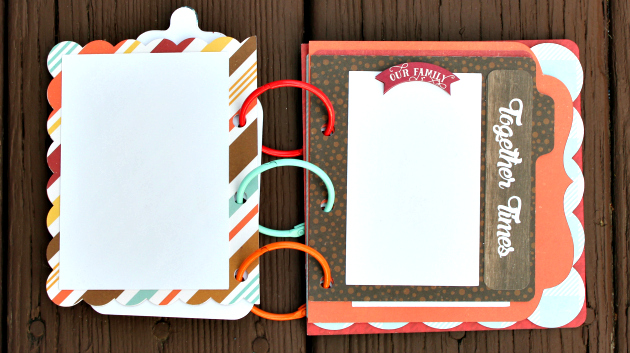
There you have it. This worked up very quickly and it so cute. Can’t wait to send it off to it’s recipient.
ALL WEEK, this SVG file is FREE with any $1.99 purchase!
We have a FREE file with purchase all this week! Simply add this Valentine Mason Jars file to your shopping cart along with ANY $1.99+ purchase from the SVG Shop and this file is yours FREE. Be sure to use Coupon Code:HEARTJAR (case sensitive) at checkout. This offer is good through next Sunday.
(Your cart must reach at least $3.98 before the coupon will be applied and then $1.99 will be subtracted from your total at checkout. The files will be available for immediate download after you pay for your order by visiting MY ACCOUNT>COMPLETED ORDERS>ORDER DETAILS inside of your account. Only one discount code per order allowed.)
In addition, don’t forget about this special ! You can get this Free Kit of the Monthwith any $20 purchase (Purchase must be in one transaction.) Simply add the 2018 February Kit of the Month to your shopping cart along with ANY $20.00+ purchase from the SVG Shop and this file is yours FREE. Be sure to use Coupon Code:FEB18KOTM(case sensitive) at checkout. This offer is good through February 28, 2018!
(Your cart must reach at least $27.95 before the coupon will be applied and then $7.95 will be subtracted from your total at checkout. The files will be available for immediate download after you pay for your order by visiting MY ACCOUNT>COMPLETED ORDERS>ORDER DETAILS inside of your account. Only one discount code per order allowed.)
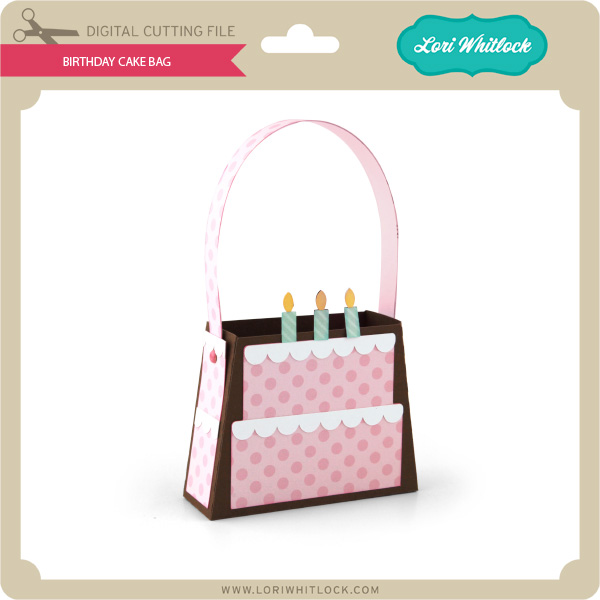
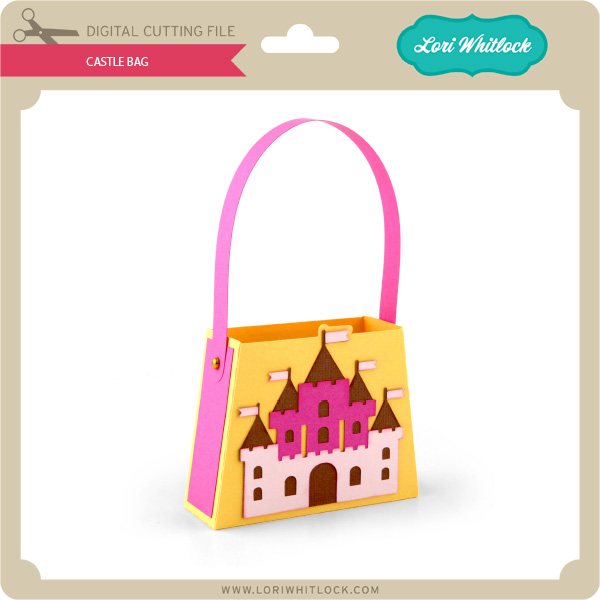
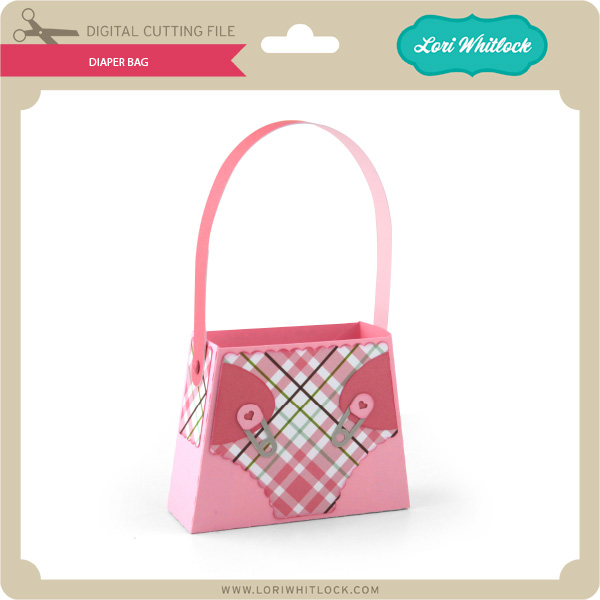
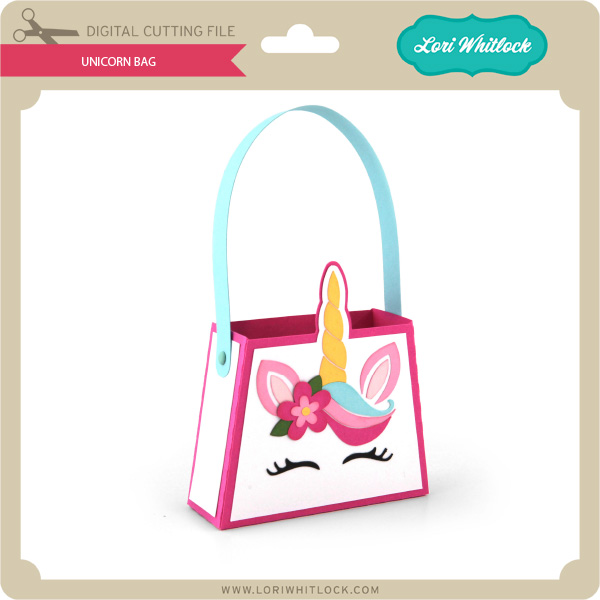
Check out our exciting new SVG files releasing this week! And, just like always, the NEW SVG files are ON SALE 25% OFF through the weekend in the SVG Shop! These downloads include SVG files that may be used with Cricut Explore, Silhoeutte (DE upgrade required), Eclips, Brother Scan and Cut, and any other software that will open SVG files. No coupon code necessary, the files are all discounted in the shop! Be sure to go get them while they are on SALE this week.
Thanks for visiting the blog today! Please let us know if you need any help with your files. We want to make sure everyone is happy with their purchase. Have a great week!
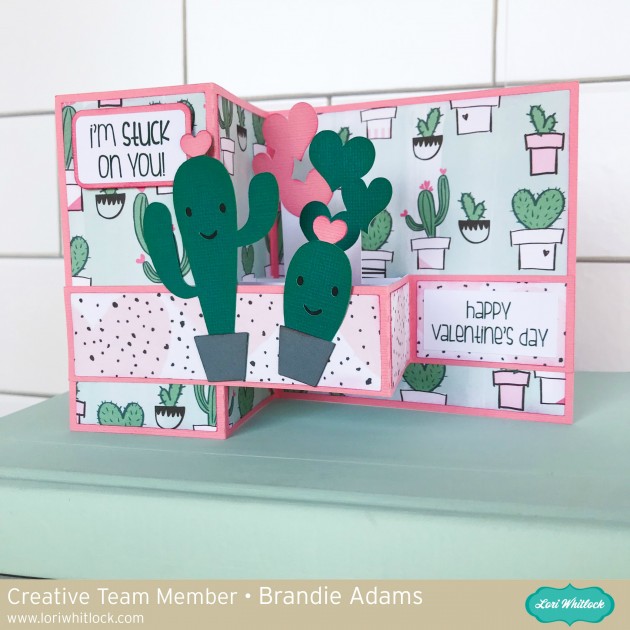
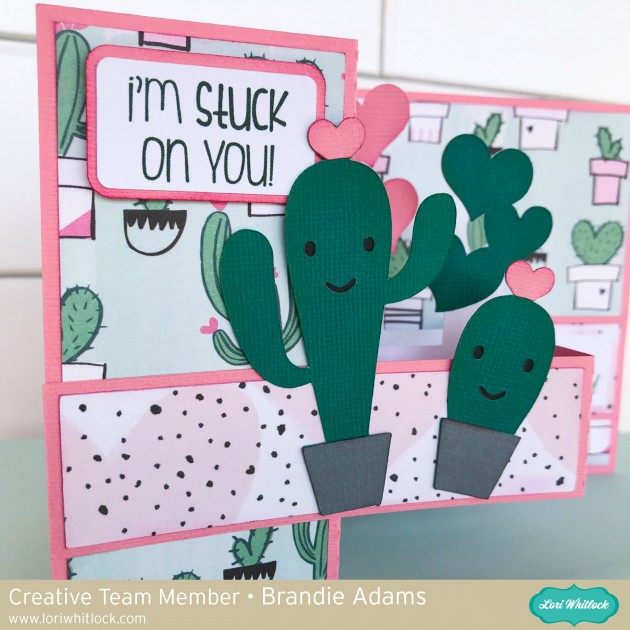
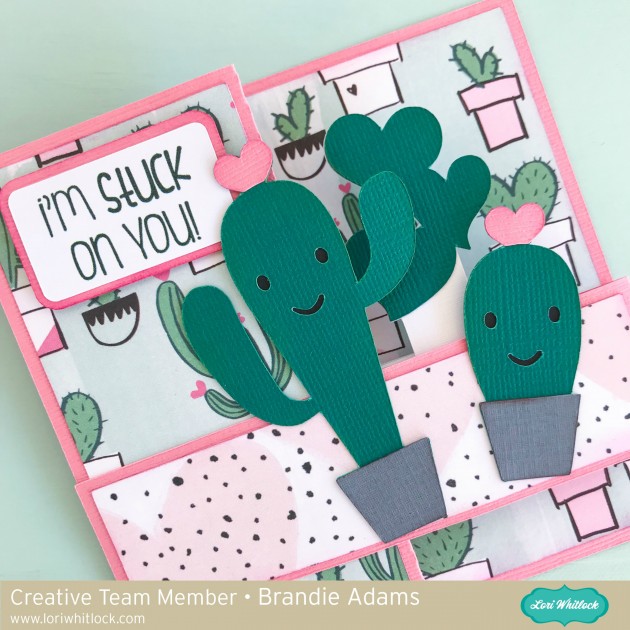
Hi there Crafty friends! Brandie here sharing this Pop Up Box Card Valentine Cactus. You can find it here in Lori Whitlock’s site and here in the Silhouette store.







 Here is the sized rectangle on my mat.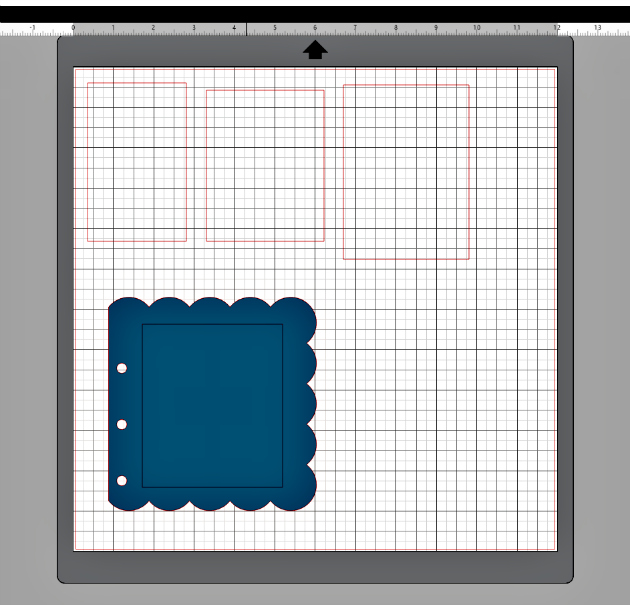
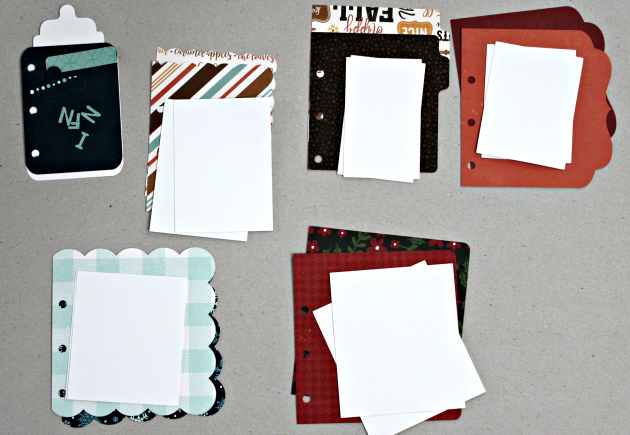 Here are the pieces for my album.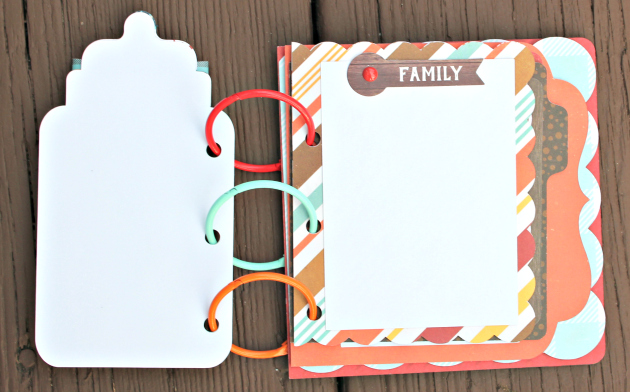


 Check out our exciting new SVG files releasing this week! And, just like always, the NEW SVG files are ON SALE 25% OFF through the weekend in the