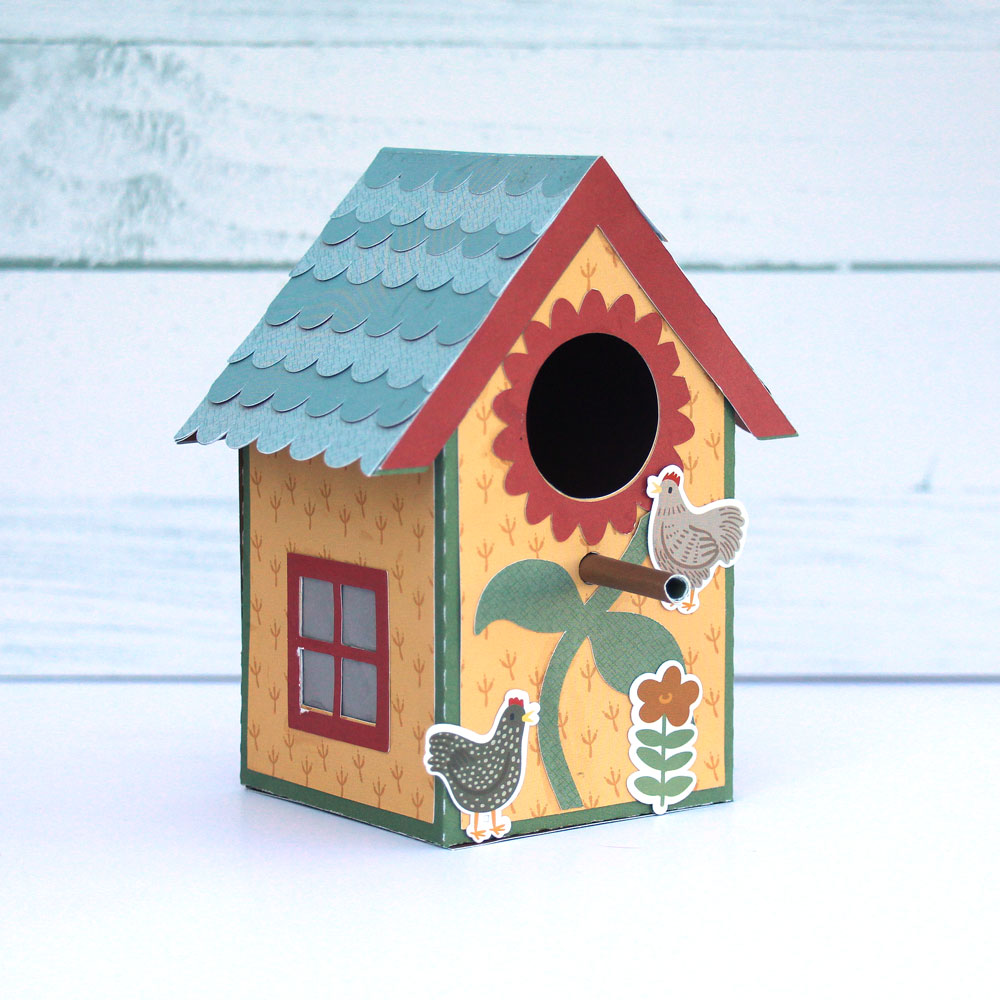
You’re a good egg!!!
This fun new cardstock release from Lori Whitlock is so fun. Having been a “chicken mom” for several years, I fell in love with it right away!
For my card today I used Lori’s 6×6 Chickens paper pad and also the coordinating ephemera package
and Lori’s Shaped Card Chick Egg cut file. (SVG, Silhouette)
I resized the chick file so that it would fit inside the frame that came with the ephemera package. I then cut it out with my Silhouette. All other papers came either with the 6×6 pad or from the packaged goodies. I added the chick to my card with an action wobbler so the cute little chick could ruffle it’s feathers! I must say that the paper with the carton of eggs is my fave! I used it for the background of this card.
I know you will love these chickens too!
💕Sue


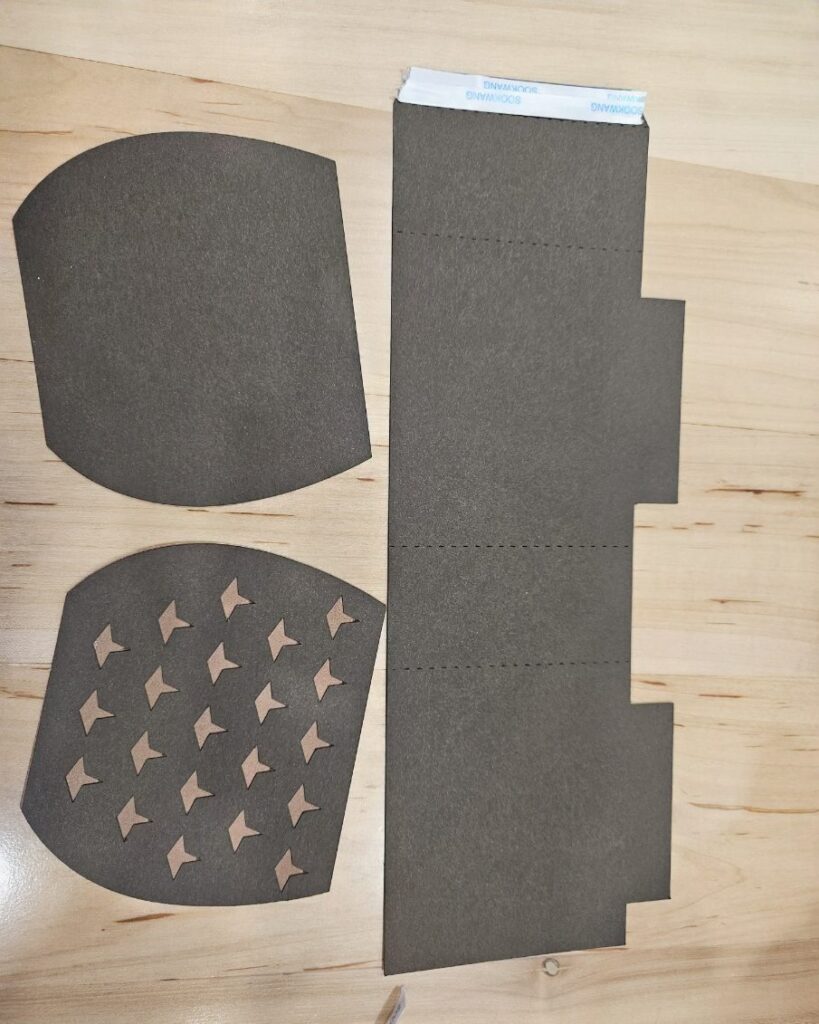
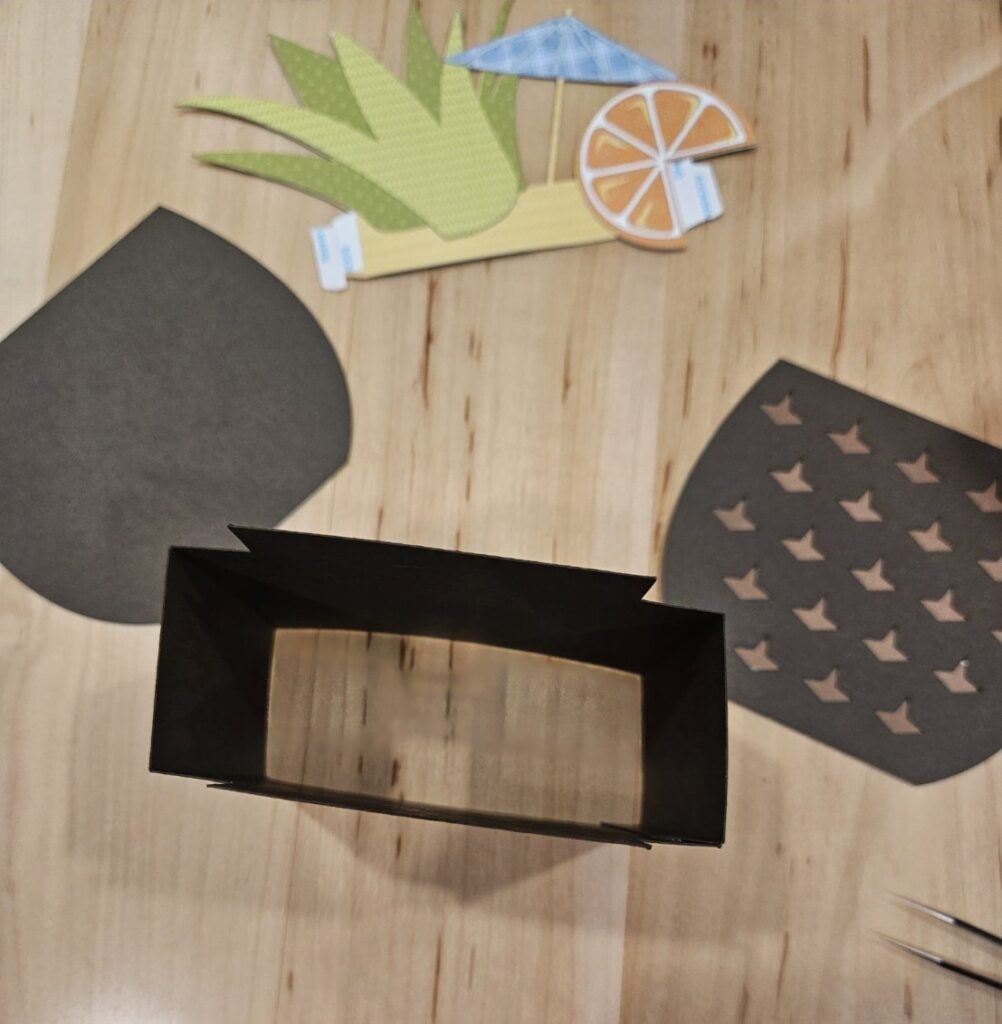
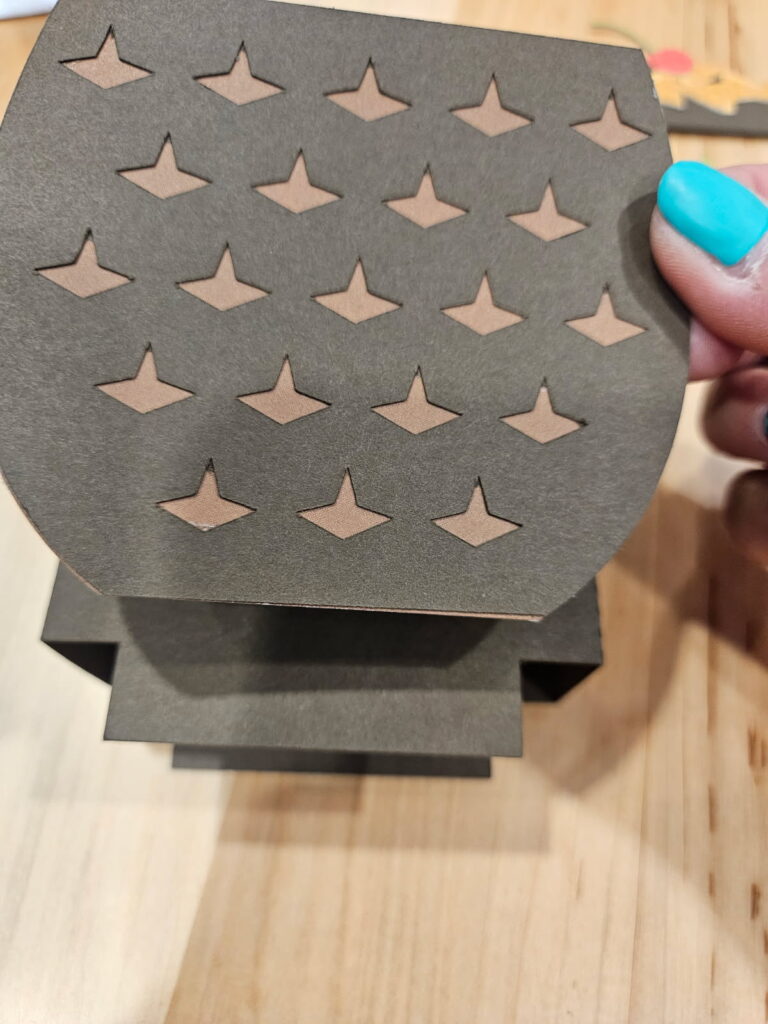
 First step was to cut out all my pieces.