
Hi everyone! It’s Traci from Artsy Albums back with you today to share a tutorial on assembling Lori’s adorable pop-up crib card! This card is just precious, and so easy to put together. Get the Baby Crib Pop Up Card SVG file HERE. Get the Silhouette file HERE.

Start by cutting each of the pieces out of your favorite paper or card stock (I used THIS collection). I cut my base out of solid white card stock and then cut it out again from pink pattern paper … cute “wallpaper” isn’t it? For the pink, I trimmed the edges 1/8″ on each side to fit inside the white base card.

Next, glue your pieces together. Glue the crib by adhering the two ends together into a rectangle. Adhere the pieces of your base card together as desired.
In order to get the crib to “pop-up”, you will want to adhere the back left leg of the crib into the corner fold of your card, with the “back” of the crib adhered to the right side of the card, and the “left side” of the crib adhered to the left side of your card as shown below. If adhered correctly on two sides, your crib should fold down when the card is closed and pop back up when the card is opened.


I “decorated” my room with cute stickers from my stash, and added Lori’s cute little shelf on foam adhesive for dimension.

Finally, assemble the front of the card. I cut out the base card window shape a third time in order to get a cute pattern paper for the front of my card. Then I cut the adorable little rattle out of card stock, tied a sweet ribbon around it, and added a few more stickers. So cute!!
Get the Baby Crib Pop Up Card SVG file HERE. Get the Silhouette file HERE.
I hope this has given you a bit more direction on assembling this darling card! Thanks for letting me share it with you. Come visit me over at Artsy Albums sometime to say hi!


 We have many requests for the PDF file for hand cutting. Now many of new shapes will include a line art PDF. Also, all or our files now come Cricut friendly. If you need measurements for an older file please don’t hesitate to ask by emailing us


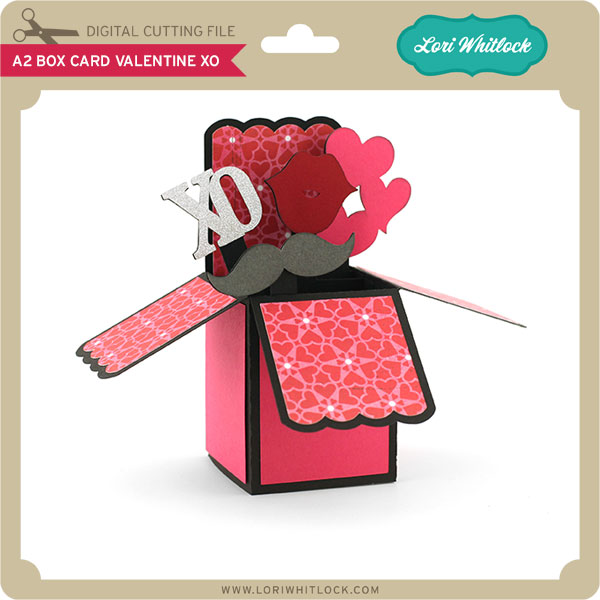
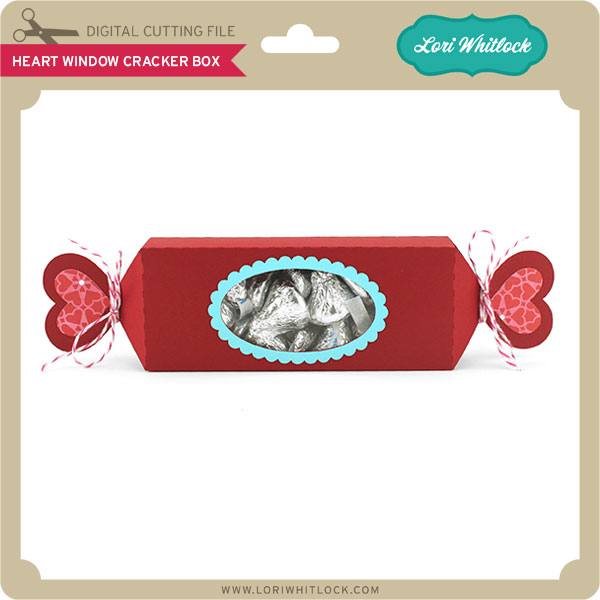
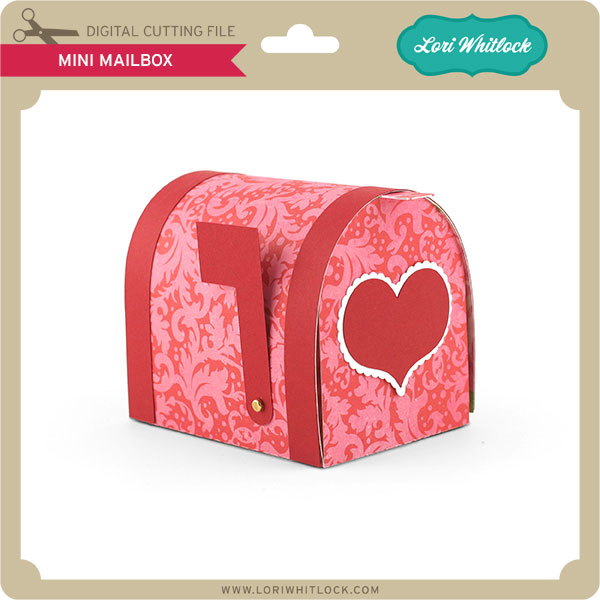
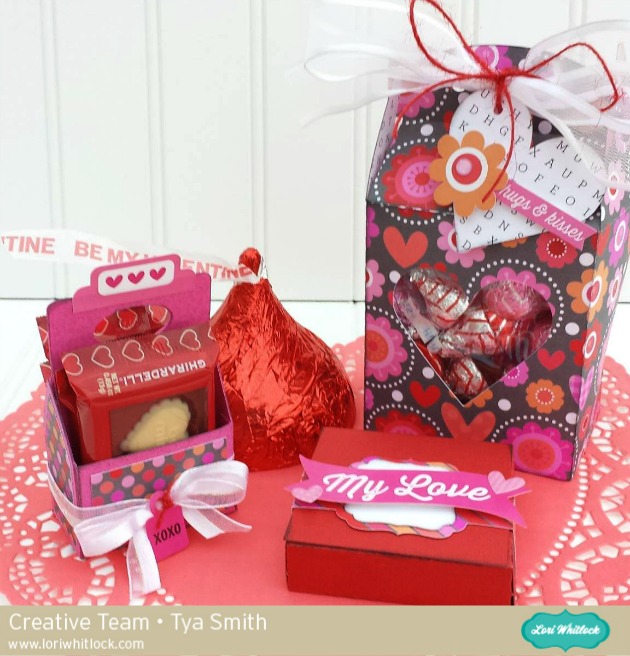 Hello Lori Whitlock fans! It’s Tya here to share with you some yummy treat boxes using a few of Lori’s darling files. Do you know anyone who is a choc-o-holic? If so , then today’s post is for you! While I love all the mushy Valentine cards, and lovely flowers that accompany this holiday – in my opinion, Valentines Day is meant for CHOCOLATE! So I went through and chose 3 of my favorite little treat boxes and favors and added a yummy, different chocolate treat to each type. Let me show you what I did!
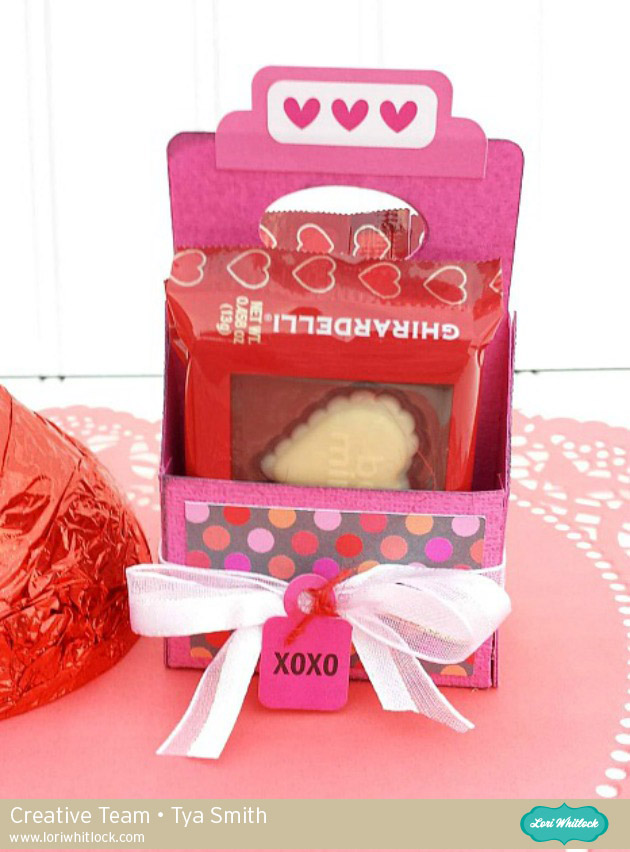


 We have many requests for the PDF file for hand cutting. Now many of new shapes will include a line art PDF. Also, all or our files now come Cricut friendly. If you need measurements for an older file please don’t hesitate to ask by emailing us


