Bunches of Bunnies – Projects by Tya

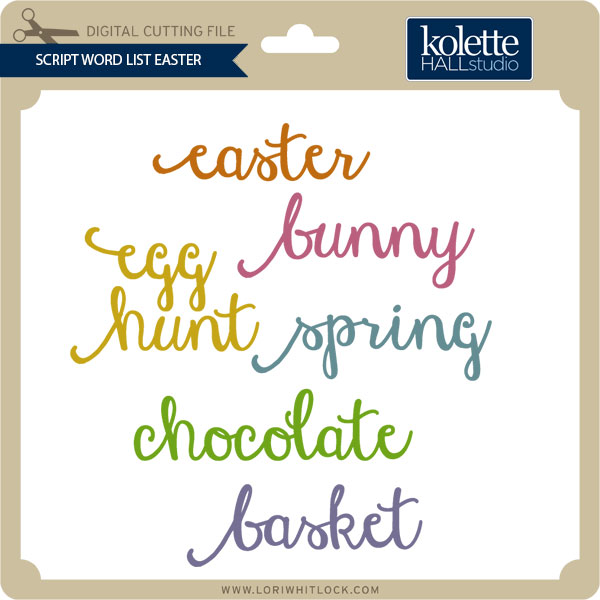
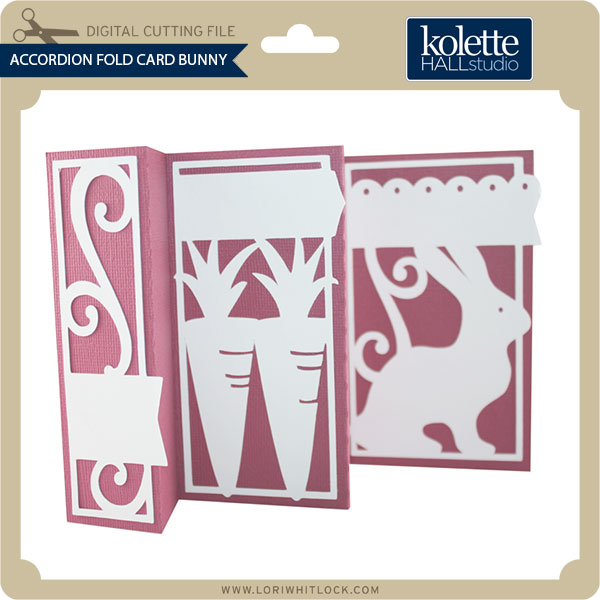
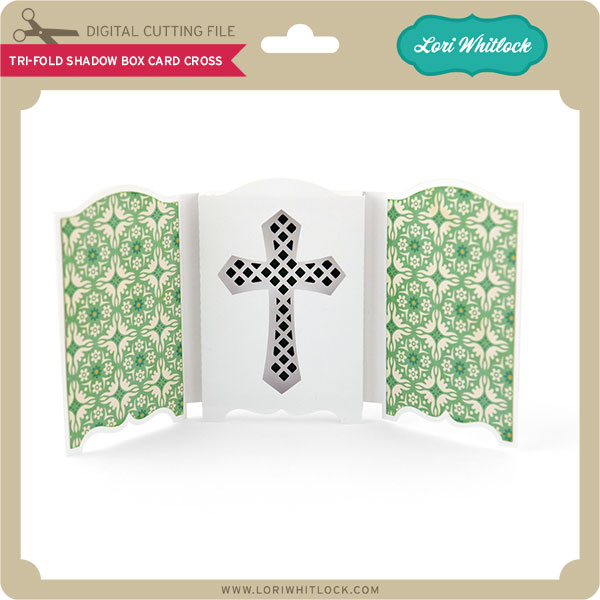
Hi Lori Whitlock fans! Its Tya up on the blog today and believe it or not – Easter is right around the corner!  So in honor of this special day – I have rounded up Bunches of Bunnies! Take a peek at 3 of my favorite bunny themed projects from Lori’s cut files! These little treat boxes would be perfect for table favors for Easter brunch or dinner, a cute teacher or friend gift or a fun addition to Easter Baskets!


The first bunny project is this darling Bunny Shaped Box. Every year my Easter basket always had a chocolate bunny in it, and it is a fun tradition that I like to carry on with my own kids. This little guy is the perfect container for any sort of chocolate bunny treat you can find.


My next project is this cute little Purse Bunny that I added an acetate sheet in the window and filled the purse up with jellybeans, but you could add any sort of treat or little prize like some fun lip gloss or even a gift card. I added a fun ribbon handle as well.


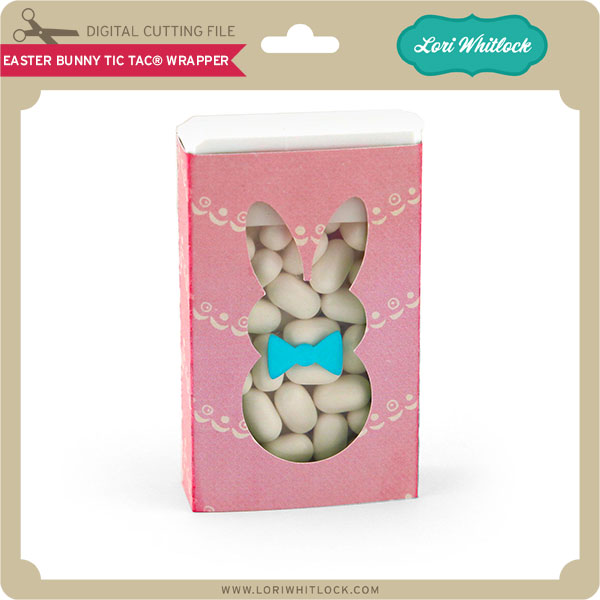
And finally, I had to do this darling little Easter Bunny Tic Tac Wrapper. The carrot paper in Lori’s Easter Friends Digital Papers were perfect for my favorite flavor of Tic Tac (orange is the BEST). Add a fun little bow tie to the Tic Tac box for some added whimsey. 🙂


So here are my projects! Hopefully I have inspired you to stop by Lori’s Shop or on the Silhouette Design Store and pick up these adorable Bunches of Bunnies! Have a wonderful Easter holiday – thanks for stopping by!

Print and Cut Label Tutorial with Traci

Hi everyone, it’s Traci and I’m back with a quick and easy tutorial for making print and cut labels. I do a lot of scrapbooking, but when it comes to cards, I usually find myself scrambling to create one for a special event at the last minute. So I decided to create a bunch of labels to keep on hand.

Lori has a brand new set of layered labels available, and as soon as I saw them, I knew they would be perfect for my project. I’ll walk you through the steps to create these so let’s get started.

Step 1: Assuming your printer is for 8.5” x 11” paper, resize your paper in your software. I have the Silhouette Designer Edition, but I believe most of these steps will work with the original software also.


Step 2: Show your registration marks so that your printer and Silhouette machine talk nicely to each other.


Step 3: Add your first label design to the mat and right click to ungroup the pieces.


Step 4: Layer each piece of the design on top of each other. Now go to the “Align” window, highlight all the pieces of the design, and click “Align Center” so that all of your pieces are stacked evenly. Note that on some labels you may need to “align center” and “align middle” to get the pieces all stacked up evenly.  Now, right-click, group, and then resize the label to the finished size you desire.


Step 5: Repeat steps 1-4 for each label.

Step 6: Once your labels are all stacked and sized the way you want them, highlight all of them and go to your cut setting window. Select the “Cut Edge” style so that only the outer edge of your label gets cut.


Step 7: Now here is a fun part. Let’s add some monograms and sentiments to our labels. Using the Type tool, add a monogram letter or phrase to one of your labels. Resize it to fit inside the label and then go to the “Color Fill” window. Highlight the text (this is key!) and then click on the eye dropper tool in the color fill window. Hold the eye dropper and drag your mouse over the colors on your label. You will see the eye dropper “picks up” the color you hover over. Once you decide on a matching color, release your mouse and the color will fill your text with a perfectly matched color for the label.


Step 8: Each time you add a phrase or monogram to your label, be sure to highlight the text, go to the “Cut Settings” window, and select the “No Cut” option. Once that is done, print your labels and cut them out. Now you have a whole set of beautiful labels to quickly add a sentiment or monogram to a card or other project!

Supplies:
Layered Labels

LW Bubble and Perfect Print Fonts

Jack and Jill paper collection by Lori for Echo Park

Monogram Set

I hope I have given you a few fun tips today … thanks for stopping by Lori’s blog! Come visit me over at Artsy Albums sometime!
Traci
www.artsyalbums.com

Tuesday Freebie + NEW in Shop + Vinyl Promo

Attention all vinyl lovers! From now until March 31, Silhouette has two vinyl bundles available at great prices with promo code LORI. The first bundle is $269.99 and comes with a CAMEO, roll feeder, and vinyl starter kit! ($110 in savings)

Have your eye on a smaller machine? Try the second bundle for $139.99, including a Portrait, roll feeder, and vinyl starter kit. ($120 in savings)

Silhouette machines are unique in that they cut vinyl straight from the roll. That means you can cut out a piece of vinyl artwork that is as long as the roll itself—about 10 feet! Dream big. Save big. Now until March 31.

To pick up one of these deals be sure to use promo code: LORI and shop here: http://www.silhouetteamerica.com/vinyl-lovers

Already have a machine? The roll feeder and ALL VINYL are 30% OFF with promo code: LORI
These SALE PRICES are good today through March 31st.

TODAY & TOMORROW, this SVG file is FREE with a $5 Purchase!

Cricut Explore users… Lorrie Nunemaker made a video this week showing you just how to make an adorable graduation card using SVG files in my shop!

We have a GREAT FREE file with purchase today! Simply add this file: Birthday Seals 1-25 file to your shopping cart along with any $5 purchase from www.loriwhitlock.com/shop and this file is yours FREE. Your cart must reach at least $10.94 before the coupon will be applied and then $5.94 will be subtracted from your total at checkout. The files will be available for immediate download after you pay for your order by visiting the “downloads” section inside of your account.  Be sure to use Coupon Code: BIRTHDAY (case sensitive) at checkout. Hurry! This offer is good until Wednesday (tomorrow) at midnight!


Finally… Kolette and I have great NEW release this week in the  SVG Shop, and the NEW files are ALL on SALE 25% OFF through the weekend!!! These downloads include SVG files. 3D files include cut size information and a PDF for hand cutting (if it seems doable as a hand cutting project). Read description before making your purchase.

To find these files in the Silhouette Design Store click HERE.

A Chalkboard Tutorial

Happy Spring everyone!  Cathy here with you today and I have a quick chalkboard tutorial to share with you.  The chalkboard look is all the rage in almost everything right now, from home decor to scrapbooking and cardmaking.  Lori Whitlock has so many fabulous phrases that are perfect and easy to create that chalkboard look.  I created a springy card in no time at all with a few Lori Whitlock files, and the awesome print and cut feature with the Silhouette Cameo!

I used Lori’s Echo Park Fine And Dandy Collection along with some plain smooth white card stock to create my card!

First, I cut my card base using A2 Banner Card.

Next, change your mat setting to 8 1/2 by 11 on your Cameo.  This way you have it set for when you need to print!  I used  the 7 shapes label set and  Quote Set 1, using the Your Smile is like Sunshine phrase.  I kept my label the same size and sized down the phrase to fit inside.

Now fill in your label with black and your phrase with white.  I also, change my cut lines to the colors I am using, just so I can visualize it a bit easier.

Now, make a duplicate of your phrase and pull it off to the side!

Next, go back to the Fill Color window and scroll down a bit to the Advanced Options…there you will see that you can change the Transparency of an image.  I changed mine to about 60%…this gives your image that chalky shadow.

After you change the transparency, simply layer your phrase back over the original, just slightly offsetting it!

(Sorry for the blurry photo, but I wanted you to be able to see how I offset it.)  Layering and changing the transparency really gives it that chalkboard look!  Now group your image!

I duplicated the image so I had two…just in case!  Now add registration marks for the print and cut feature and print your images.  Once printed, go back and add the cut lines for the label.  I slightly offset mine to match the white border behind my banner!  Then send it through your Cameo to cut!

After your images are cut, just for a bit more fun, I just went over it with some real chalk and smudged it with my finger.  It really helps pull off that true chalkboard feel!

Really, this takes no time at all once you have figured out the steps and layering.  Now just layer and embellish your card.  I added a cute sun with some of the patterned paper from the Fine and Dandy Collection using Summer Icons and then a couple of stickers from the Fine and Dandy collection.  So cute.  I hope you give this technique a try.  The possibilities are endless with all the files from Lori’s Shop.

Tuesday Freebie + New in Shop

TODAY & TOMORROW, this SVG file is FREE with a $2 Purchase!

First off, I want to announce the winner of the Blog Hop giveaway! Mary H. you just won $20 to my online shop and the current issue of Scrapbook & Cards Today! I have emailed you with instructions on how to claim your prize. Thanks to everyone who participated!! Watch for another giveaway at our next blog hop… the second Tuesday of every month.

Cricut Explore users… I made a video showing you just how to get started using the SVG files in my shop! If you need any of my older files updated (you’ll know what this means once you watch the video) please email me at info@loriwhitlock.com. And, once I update a file, I am replacing it in the shop so future customers are receiving the most current file. Let me know if THIS video is helpful.

We have an adorable FREE file with purchase today! Simply add this file: A2 Card Organizer 2 to your shopping cart along with any $2 purchase from www.loriwhitlock.com/shop and this file is yours FREE. Your cart must reach at least $3.98 before the coupon will be applied and then $2.99 will be subtracted from your total at checkout. The files will be available for immediate download after you pay for your order by visiting the “downloads” section inside of your account.  Be sure to use Coupon Code: ORGANIZE (case sensitive) at checkout. Hurry! This offer is good until Wednesday (tomorrow) at midnight!

LW-A2-Card-Organizer-2

Finally… Kolette and I have another HUGE NEW release this week in the  SVG Shop, and they are ALL on SALE 25% OFF through the weekend!!! These downloads include SVG files. 3D files include cut size information and a PDF for hand cutting (if it seems doable as a hand cutting project). Read description before making your purchase.