Doodlebug Design Cut File Feature: Kitten Smitten

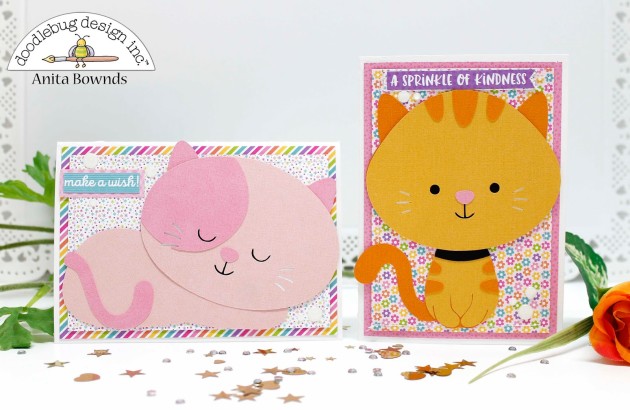
Hi Everyone!  Today I’m showcasing another fabulous project using Doodlebug Design’s cut files!  These adorable kitty cards were created by Anita Bounds  for Doodlebug Design.

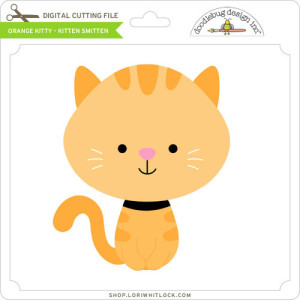
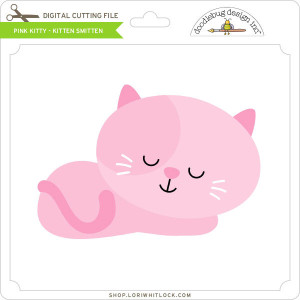
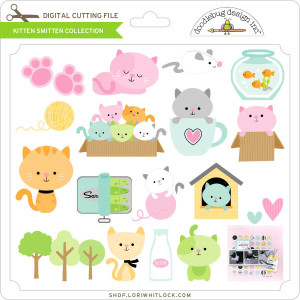
Anita used the Orange Kitty and Pink Kitty files  from the Kitten Smitten Collection to make these adorable birthday cards!

Who wouldn’t want to receive these cute cards for their birthday!    For more views, see the original post here.   New Doodlebug Design SVG files are being added to the Lori Whitlock SVG Shop on a regular basis, so stop by to see all of the fun SVG files HERE!

Have a great day!

Pop Up Birthday Cake Card Tutorial with Kathy

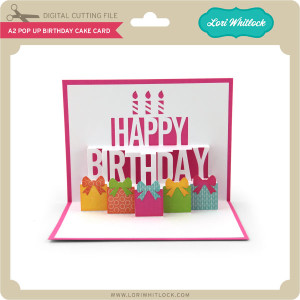
Hi Everyone!  It’s Kathy today with a tutorial showing how to fold and assemble the new A2 Pop Up Birthday Cake Card, which is available here in Lori’s SVG Shop and here in the Silhouette Store.
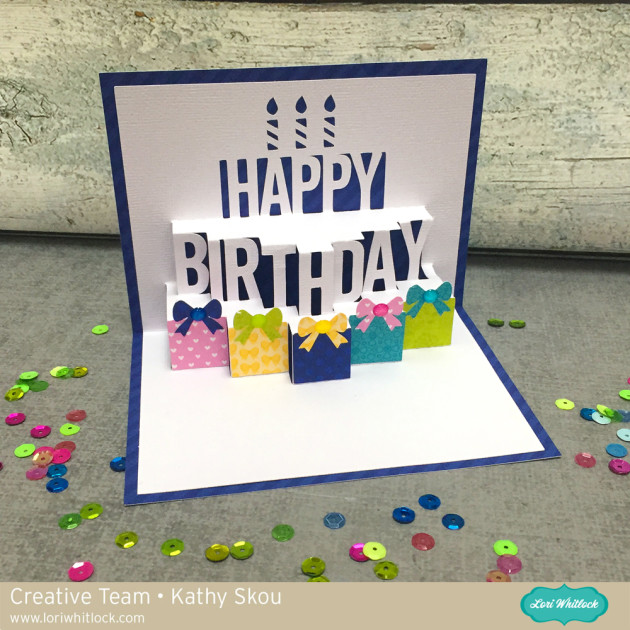
This card is really pretty easy to make,  but I know a lot of people get intimidated by the folding.  I started by cutting my pieces.
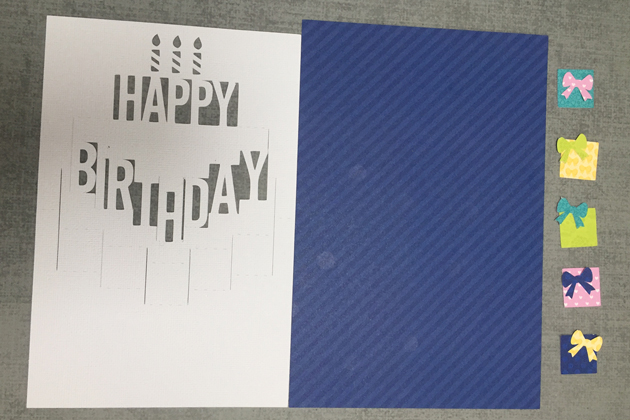
Next I started folding the insert or pop up piece.  It’s easiest to start folding from either the very top or very bottom score lines.  That way it’s a little easier to keep track.   I put together this graphic showing which way to fold which lines.   The V means a valley fold, the upside down V means a mountain fold.

Here is what it looks like from the side when it is folded:

And from the front.  I do recommend you go slowly and have a little patience.

Once you have the pop up insert folded, it helps to open and close it a few times to sharpen the folds.  Next step is to add adhesive to the back of the insert.   You want to add adhesive only to the outer parts of the card.  The blue area on the graphic below shows the pop up portion.  You do not want to add any adhesive to those parts.

Once you have the adhesive added, I find it easier to fold the insert and center it onto one side of the card base.  Make sure the outermost side folds are flush with the center crease on the card base.   You can then fold the other side over to adhere, and it should be centered.

Lastly, add the presents with their bows to the front panels beneath the BIRTHDAY letters.  I also added some enamels to the bows for some sparkle!

That’s it for me today, thanks for stopping by to peek!

 

Tuesday Freebie and New in Shop

ALL WEEK, this SVG file is FREE with any $1.99 purchase!

We have a FREE file with purchase all this week! Simply add this Bird Favor Box file  to your shopping cart along with ANY $1.99+ purchase from the SVG Shop and this file is yours FREE. Be sure to use Coupon Code: SOTWEET (case sensitive) at checkout. This offer is good through next Sunday.

(Your cart must reach at least $4.98 before the coupon will be applied and then $2.99 will be subtracted from your total at checkout. The files will be available for immediate download after you pay for your order by visiting MY ACCOUNT>COMPLETED ORDERS>ORDER DETAILS inside of your account. Only one discount code per order allowed.)


In addition, don’t forget about this special ! You can get this Free Kit of the Month with any $20 purchase (Purchase must be in one transaction.) Simply add the 2018 April Kit of the Month to your shopping cart along with ANY $20.00+ purchase from the SVG Shop and this file is yours FREE. Be sure to use Coupon Code: APR18KOTM (case sensitive) at checkout. This offer is good through April 30, 2018!

(Your cart must reach at least $27.95 before the coupon will be applied and then $7.95 will be subtracted from your total at checkout. The files will be available for immediate download after you pay for your order by visiting MY ACCOUNT>COMPLETED ORDERS>ORDER DETAILS inside of your account. Only one discount code per order allowed.)
 
 
Check out our exciting new SVG files releasing this week! And, just like always, the NEW SVG files are ON SALE 25% OFF through the weekend in the SVG Shop! These downloads include SVG files that may be used with Cricut Explore, Silhoeutte (DE upgrade required), Eclips, Brother Scan and Cut, and any other software that will open SVG files. No coupon code necessary, the files are all discounted in the shop! Be sure to go get them while they are on SALE this week. 


Thanks for visiting the blog today! Please let us know if you need any help with your files. We want to make sure everyone is happy with their purchase. Have a great week!
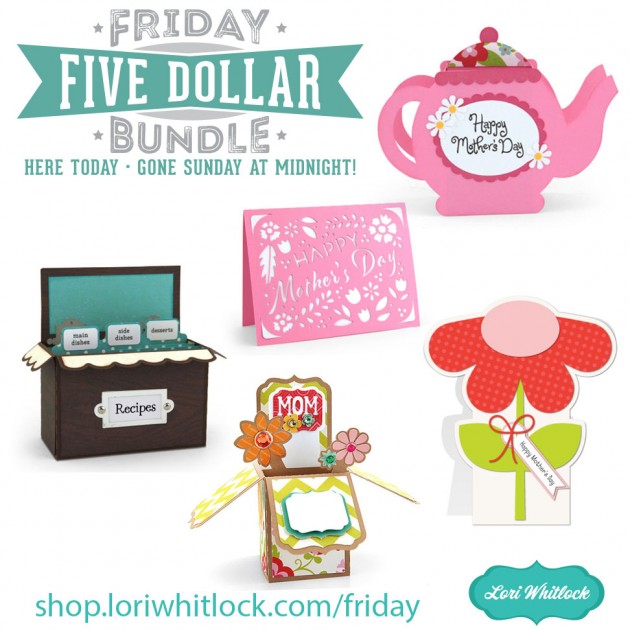
A New Friday $5 Bundle!

Hi Everyone! Today we have a new Friday $5 Bundle! It will ONLY be available until Midnight Sunday and when it’s gone it’s gone. These SVG files can be used with Cricut Explore, Silhouette Studio (with the Designer Edition upgrade), Scan N Cut, and any other cutter that will work with SVG files. Help spread the word by telling your friends and announcing it on social media!

Now through Sunday, you can pick up this Mother’s Day themed themed bundle including 6 beautiful SVG files for just $5!


The cost of this bundle is $5, for $9.95 worth of SVG files, over a 49% savings! It’s the perfect Mother’s Day bundle! But don’t wait, this bundle will only be around until Sunday at midnight!

Have a great day!

Pineapple Box Tutorial with Brigit

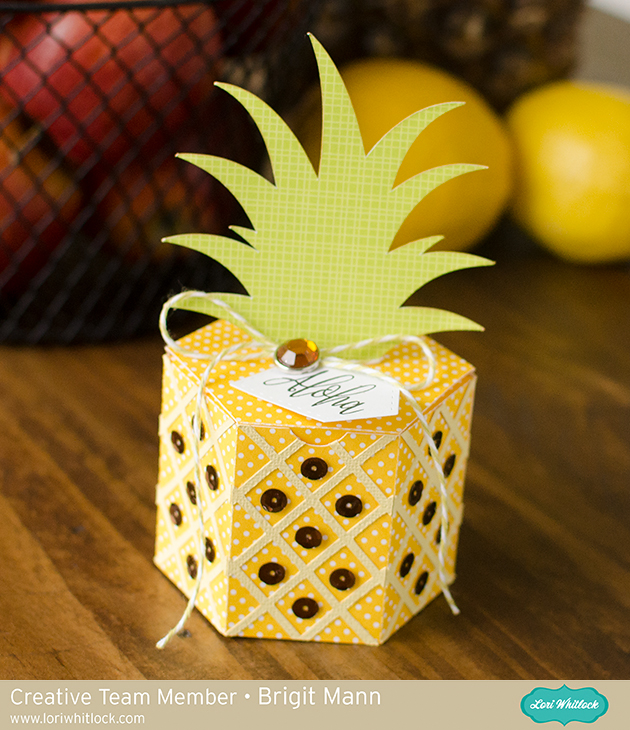
Hello everyone, it’s Brigit here today sharing a quick tutorial on making this adorable pineapple box. I just added the criss-cross panels from the shaped card pineapple file. You can get both of these files from the Silhouette Design Store, here and19 here.

I used Silhouette Studio to edit my project, I have the business edition and use the files from Lori’s shop so I’m able to save my project as an svg and cut it out with my Cricut Maker.

I imported the pineapple shaped card and only kept the criss-cross piece.

I imported the pineapple box next.

I zoomed in really close and sized the criss-cross to fit inside one of the sides.

I double clicked on the criss-cross piece which brought up point editing and I selected the point in the corner and moved it so it would reach the score lines, I did that on all four corners.

I duplicated until I had 6 pieces, saved, imported into Cricut Design Space and cut out.

Added some twine, decorative brad from Echo Park’s For the Record 2 collection and some brown sequins. The sentiment is from My Creative Time and paper is from Doodlebug Design.

Hope you enjoyed this project, thanks for stopping by and have a wonderful day!!