A New Friday $5 SVG Bundle

Hi Everyone! Today we have a new Friday $5 Bundle! It will ONLY be available until Midnight Sunday and when it’s gone it’s gone. These SVG files can be used with Cricut Explore, Silhouette Studio (with the Designer Edition upgrade), Scan N Cut, and any other cutter that will work with SVG files. Help spread the word by telling your friends and announcing it on social media!

Now through Sunday, you can pick up this Rolled Flower bundle including 6 SVG files for just $5!


The cost of this bundle is $5, for $11.94 worth of SVG files, over a 58% savings! But don’t wait, this bundle will only be around until Sunday at midnight!

*** Note: Because Friday $5 Bundles are already heavily discounted they are not eligible for further discounts including monthly, seasonal and flash sales.  ***

Have a great day!

Accordion Mini-Album with Gusset

Hi there paper crafting friends!  It’s Michelle Starcher, aka the Bookish Designer, popping in on the blog to show you how to create the Accordion Mini-Album with Gusset (SVG, Silhouette)  I used one of  Lori’s newest collections from Echo Park Paper, All Boy, to make this mini-album.   This set is loaded with boyish graphics and sayings, along with a primary color pallet. I used the sports themed papers and stickers from the collection to create the mini-album.

To build the Accordion Mini-Album with Gusset, follow these steps…

Once you have all of the pieces cut, you are ready to assemble the mini-album.  I started with the cover since it was the most straightforward part of building the album. I used double-sided colored cardstock from the All Boy collection for the cover’s base, so I had to decide between orange and navy for the outside cover.  I decided to go with the navy and distressed the edges with a nail file to give the cover more boyish grit.  If you decide to distress the cover of your album, I suggest only sanding the outside edges and not the folds.  When applying the second layer of paper to the cover, be sure to check for the correct orientation, especially if you are using patterned paper.  When the cover is laid out flat, the cover’s flap (orange) should be on the left side as pictured.  Once you are sure you have the correct layout, go ahead and adhere the second layer to the cover.

Next, you are ready to start assembling the inside pieces.  I used three different double-sided patterned papers, so I wanted to make sure I had the correct orientation.  I did a preliminary fold of the pieces using the score lines.  Then I laid out the pieces to see how they would connect.  Of the three pieces, only one doesn’t have a tab and is shorter than the others.  I started with that piece, and connected the other two using the “provided” tabs.  To make sure I had everything connected the way I wanted it, I used paperclips to hold the pieces together.  This allowed me test the connection, layout, and orientation without making anything permanent.

Once I was certain I had the layout of the accordion pieces correctly placed, I used adhesive tape to connect the three pieces.  Next, I added adhesive tape to the bottom layer that would connect the accordion pages to the cover of the mini-album.  At this point, I didn’t actually tape the accordion pages to the cover, but I wanted to make sure I didn’t add pictures/decorate the section that would connect the entire album.  Also, this gave me a chance to make sure I had the right orientation for the inside pages before make the actual connection.  Then, I folded the pages back and forth using the score lines to create the up and down motion of the pages pictured.  I tucked everything inside the front cover and closed it to test the orientation once again.  At this step, I still didn’t connect the inside pages to the cover.  (If you are using solid colored paper, the orientation won’t really matter.  However, all of the patterned papers I used in the album had a specific top and bottom, and I didn’t want to mess up!)

I decided to go ahead and decorate the inside pages before connecting them to the album cover.  To do this, I laid out the accordion and decorated/added photos to each section on one side.  Then I flipped it over and repeated the process.  (Checking for orientation along the way!) Once I was done with the inside pages, I was ready to make the final connection and actually adhere the inside accordion pages to the cover.  This is what the pages look like when connected to the cover from both sides.

I love adding extra dimension to my projects, so I used pop-dots to give some of the elements a little more height.   Thankfully, the pages are designed to allow for extra height and still fold neatly inside the cover.  To hold the cover closed, you can tie a ribbon around the album or use velcro or another type of connector.  I hope that you’ve enjoyed this tutorial as much as I have.  The Accordion Mini-Album with Gusset (SVG, Silhouette) will make a great addition to your SVG library. Happy crafting!

April Blog Hop + 30% Off SVGs + A Free File!

Welcome to our April 2020 Creative Team Blog Hop!  The creative team has been working hard on some new projects to share with you that will get you in the crafting mood. We also have a fun release of new SVG files for you this week and a GIVEAWAY! Be sure to check them out below. Oh, and there is also a FREE FILE for you!

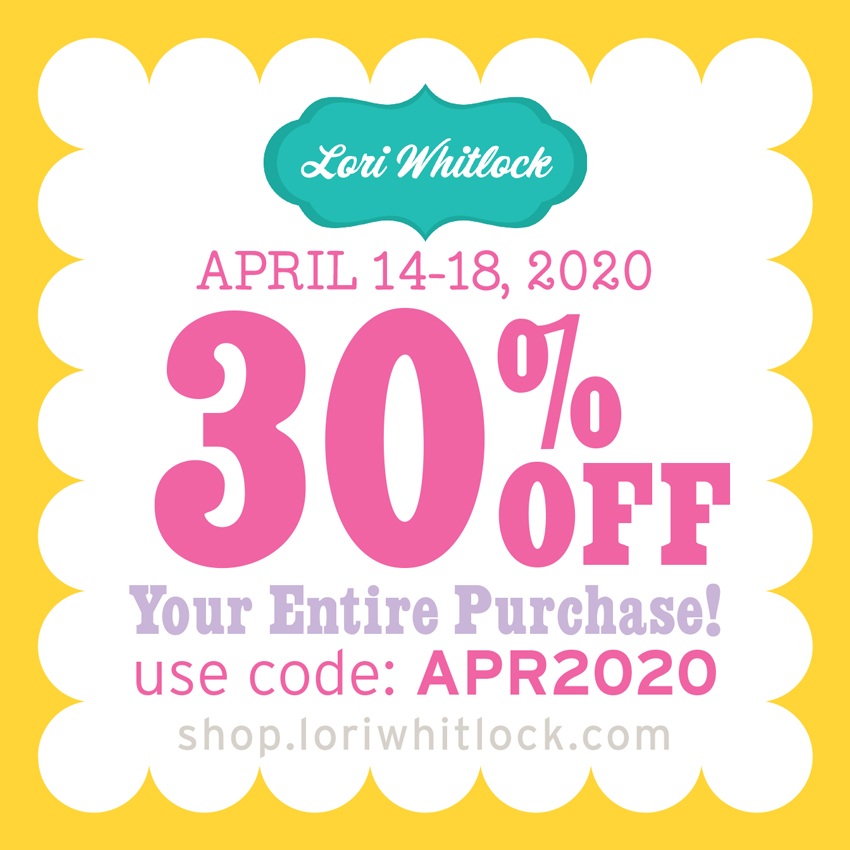
This week we have a 30% OFF SALE going on at Lori’s SVG SHOP.  ALL files (and commercial licenses) from Lori Whitlock, Kolette Hall, Doodlebug Design, Bella Blvd., Jillibean Soup, Dresden Carrie, Paige Evans, Pebbles in My Pocket, Rivka’s Renditions and SAS Creative are on SALE now through Saturday, April 18th! Be sure to use coupon code: APR2020 (case sensitive) at checkout in the SVG SHOP. (Only one coupon code per order allowed)

To thank you for joining us in the hop today and sharing the hop with your friends, we have a gift for you! TODAY ONLY, You can download this Spring Grid file absolutely FREE! Be sure to go grab it while you can.

We have some fun new files this week! Be sure to go shopping while all files are 30% off this week when you use code APR2020 in my SVG Shop!  And, as always, my new files are available in the Silhouette Design Store as well.

I  have a new A2 Insert Card Bundle.  I also have a fun Flower Project Bundle, perfect for spring!  We also have files from Jillibean Soup and Paige Evans.

How about a giveaway?

a Rafflecopter giveaway

And, last but not least… would you like to see what our amazing team has created? Click the links below for some wonderful inspiration. If you get lost come back here to get on track Lori Whitlock, Kathy Skou, Anita Mulcahey, Brandie Adams, Aimee Kidd, Ashley Cook , Cathy Harper, Corri Garza and Michelle Starcher!! Thanks again for dropping by! Have a GREAT day!

Doodlebug Design Cut File Feature: Bunny Train

Hi Everyone!  Today I’m showcasing another fabulous project using Doodlebug Design’s cut files!  This combination card & home decor piece was created by Kathy Skou for Doodlebug Design.

Kathy used the Easter Express Train Box Card file which is exclusive to the Lori Whitlock SVG Shop.

For more details and a tutorial,  you can see her original post here.   New Doodlebug Design SVG files are being added to the Lori Whitlock SVG Shop on a regular basis, so stop by to see all of the fun SVG files HERE!

Have a great day!

Iris Shutter Card Tutorial

How are you today? Around the world this week, most of us are working and/or staying at home. Guess what, crafters?  It is time to use your stash!  All those items you have been saving–this is it.  This is the time to use it!!  Lori recently released these fun Iris Cards.  She has 2 video tutorials to help you make them.  This video is the first with paper only, and this tutorial uses mini brads.  The cards are available in the Silhouette Design Store individually and in Lori’s SVG Shop individually and in Bundles.

5×7 Iris Shutter Card Bundle
A2 Iris Shutter Card Birthday Bundle

I have made several of these cards, and I just love them.  I’m going to inspire you today with ways you can personalize them.

5×7 Iris Shutter Card Camera: SVG, Silhouette

For this Camera Card, I though it would be so cute to add a picture.  Have you heard of the front porch project?  Photographers that are participating, stop at your house, and take pics of you while staying at least 6 feet away.  This would be a great way to send a pic to a loved one.  To do this in Cricut Design Space:

1. Open the Camera Card File

2. Ungroup the card pieces

3. Draw a circle that is 2.36″ using the shapes tool.

4. Upload a photo, and select your preferred image type option, click continue then save as print then cut image.  Insert this image onto the mat with your circle.

5. Resize your photo to fit the 2.36 circle.

6. Layer the circle on top of the photo.  Make sure the circle doesn’t hang off any edge of the picture.

7. Select both the photo and circle, right mouse click and select slice.

8. Delete the part of the picture you don’t need as well as the circle you drew.

9. Layer the photo over the heart and starburst on the card base.  Once it is lined up, delete the heart and starburst.

10. Select the photo circle and the rectangular white card, and select flatten.

11. Don’t forget to flatten the sentiments as well.

Now print then cut your photo and sentiments and cut all the other pieces of the card to assemble.


Here are some of the other iris cards that I have made:

5×7 Iris Shutter Card Flower SVG, Silhouette

A2 Iris Shutter Card Birthday Donut  SVG, Silhouette

5×7 Iris Shutter Card Camera: SVG, Silhouette

This one has a foiled heart.  I changed the red heart to black before I printed with my laser printer, then foiled it. These cards are so fun.  Personalize them, and send them off.

Enjoy crafting!

Ashley