Last Call! Save $10!


I would like to personally invite you to join us for some Christmas crafting fun! My NEW Christmas Tiered Tray Décor Class this class will be available in a week! We’ll be making 5 decor items for a Christmas tiered tray — including a super cute wood Christmas countdown! These decor items make great Christmas presents!

Grab a cup of hot cocoa and join me in this self-paced class  as I walk you though every step to create this adorable set of 5 Christmas tiered tray décor projects using your Silhouette® or Cricut® digital cutting machine. You’ll also receive 23 perfectly sized digital cutting files giving you options for each project. That means you can get creative and personalize your set just the way you’d like.

We have a few wood kits left, so if you’d like one (or two), please speak up soon. This will be our last reminder for pre-registration and for wood kits.

You have 3 options for enrollment:
1.) Receive the 1 pre-cut wood kit in the mail once you’re enrolled (US residents only).
2.) Receive 2 pre-cut wood kits in the mail once you’re enrolled (US residents only) — Christmas is coming and these make great gifts.
3. Provide your own wood (templates will be provided).

Be sure to pre-register before class begins and SAVE $10! The class will be available on Nov. 26, 2021. You can take the class at anytime on or after Nov. 26 at your own pace. It will be pre-recorded for you to watch, rewind, and follow along as you like.
PRE-REGISTER HERE

Once enrolled, you’ll also be invited to join Lori’s private Tiered Tray Décor Facebook group so you can interact with Lori and your classmates. This is a great place to ask questions, meet other crafters, and have fun encouraging each other in our creativity.

If you choose to buy the wood kit, you’ll receive a package in the mail from me with all the pre-cut wood you’ll need to complete these 4 adorable tiered tray décor projects in class!! SO exciting! 

Note: The 4 painted wooden décor projects are included in this class. The tiered tray, pinecones, beads, and greenery are NOT included. The house is made out of chipboard or cardstock which the student will supply — you can use chipboard from a cereal box. 

CLICK HERE to read more about the class, see the class materials that you’ll need, and register.  I hope that you’ll be joining us!

Stadium Box Card Tutorial

Hi Everyone!  It’s Kathy today with a fun new style of card from Lori, the Stadium Box Card.  These cards are very similar to a regular box card, but they have a nice wrap-around piece along with the inserts.  They fold flat for mailing (standard A2 Envelope) and they look so pretty on display! I’ve made a few, including this Stadium Box Card Winter Bird (SVG, Silhouette) As I mentioned they are very similar in their assembly to a regular box card, with a couple of small differences.  I’ve outlined the assembly below.

To start cut out all of your pieces.  I’ve pre-assembled some of them.  I added the trees to 2 of the inserts and the bird and branch to the 3rd.  I also created the sentiment using the Print and Cut Feature of my cutting machine.  If you ever need help with piece placement, I always find it helpful to reload the cutting file in my software.  Lori groups the pieces together as they go on the final project so it definitely helps when your trying to place that one last piece!

I started by adding the arched white piece to the back side of the blue piece.  When facing forward, the white looks like snow falling in the background of the card.

I then added the inserts to the card base.  I find this easier to do before I glue the “box” into shape,  I started with the backmost insert.  Align the tab of the insert along the slanted edge of the box side, and also the score line between the side and back of the card.  Don’t overlap the score line, just right to the edge.

Add the second insert, aligning that tab along the slanted edge of the side as well, then right up next to the previous insert.  When flattened it should look like the bottom photo.

Once you have the left side glued, flatten out the two inserts, and add adhesive to the remaining two tabs on the inserts as shown in the first photo.

Fold the right side of the card base over, and press down to adhere the tabs to the side.  They should be aligned with the slanted edge of the side.

Finally add adhesive to the tab on the box base and press down.  Now when you open the box it should look like the bottom right photo.

Once you have the box in shape, add the bird insert directly to the front of the box on the outside.

Finally you want to add the wrap around piece.  I started by adding adhesive to the sides and back of my box.

To align the box perfectly in the wrap piece, I folded the box as shown in the bottom left photo, and then lined up the edges with the leftmost and bottom edges of the wrap.  Once I had that in place, I folded over the remaining flap of the wrap piece and pressed to adhere.


And done!  They really do go together quickly, and just look so cute!  That’s it for me today, thanks for stopping by to peek!

BLOG | INSTAGRAM

Christmas Penguin Side Step Card

Hello crafty friends! I love penguins and this little guy just makes my heart melt because he’s so cute!! This is the Side Step Card Christmas Penguin (Lori’s SVG Shop, Silhouette) and if you are looking for fun and fast cards to make for your Christmas cards then the side step cards are just what you’re looking for! A few simple cuts, a few simple folds, adhere some snow, trees and a penguin and you’re done! And if you have another minute or two you can add some matching sequins.

If you’ve noticed the sentiment is different that’s because it is! A small trick…if the sentiment is not the one you wanted you can always change it out with the print and cuts. Just delete the sentiment that comes with the file and change it out with a sentiment from another file. Here is a tutorial to show you how. Or you can do what I did, simply cut the snow piece out (without a sentiment) and use your stamps!

Thanks for stopping by today!

Aimee

Tuesday New SVGs & a Free File!

ALL WEEK, this SVG file is FREE with any $1.99 purchase!

Hi Everyone! We have a FREE file with purchase all this week! Simply add this Turkey Gable Box file to your shopping cart along with ANY $1.99+ purchase from the SVG Shop and this file is yours FREE. Be sure to use Coupon Code: GOBBLEGOBBLE (case sensitive) at checkout. This offer is good through next Sunday.

(Your cart must reach at least $4.98 before the coupon will be applied and then $1.99 will be subtracted from your total at checkout. The files will be available for immediate download after you pay for your order by visiting MY ACCOUNT>COMPLETED ORDERS>ORDER DETAILS inside of your account. Only one discount code per order allowed.)

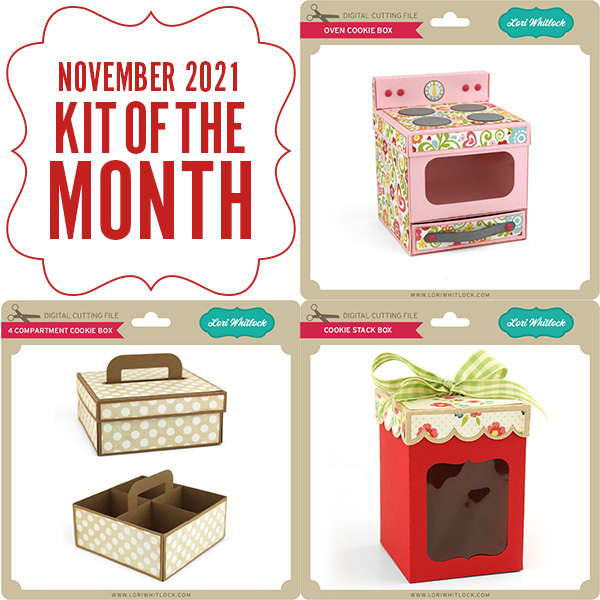
In addition, don’t forget about this special ! You can get this Free Kit of the Month with any $20 purchase (Purchase must be in one transaction.) Simply add the 2021 November Kit of the Month to your shopping cart along with ANY $20.00+ purchase from the SVG Shop and this file is yours FREE. Be sure to use Coupon Code: NOV21KOTM (case sensitive) at checkout. This offer is good through November 30, 2021.

(Your cart must reach at least $27.95 [including the Kit of the Month] before the coupon will be applied and then $7.95 will be subtracted from your total at checkout. The files will be available for immediate download after you pay for your order by visiting MY ACCOUNT>COMPLETED ORDERS>ORDER DETAILS inside of your account. Only one discount code per order allowed.)
 

Check out the new SVG files releasing this week!  The NEW SVG files will be ON SALE 25% OFF through the weekend in the SVG Shop. These downloads include SVG files that may be used with Cricut Explore, Silhouette (Designer Edition upgrade required), Eclips, Brother Scan and Cut, and any other software that will open SVG files. No coupon code necessary, the newly released files are all discounted in the shop! Be sure to go get them while they are on SALE this week.

This week I have a new Pop Dot Card Christmas Card Bundle and a Center Step Card Christmas Bundle 2.  We also have the new Great Outdoors Collection from Doodlebug Design, and files from Jillibean Soup, Pebbles in My Pocket and Quietfire.

CLICK HERE TO GO TO NEW FILES
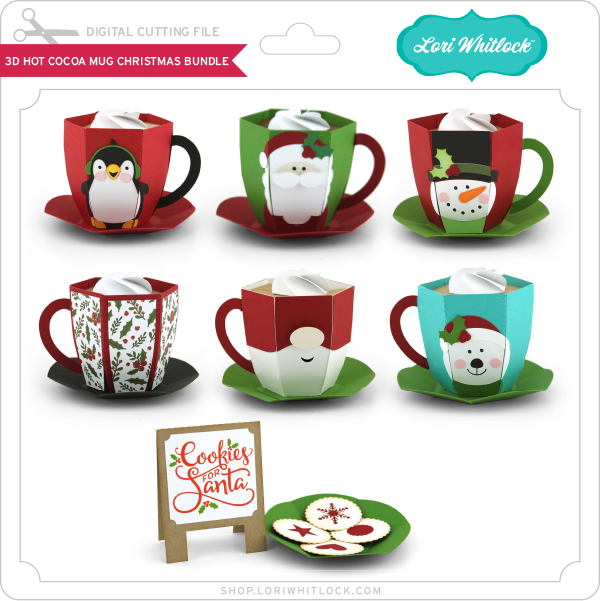
 

Thanks for visiting the blog today! Please let us know if you need any help with your files. We want to make sure everyone is happy with their purchase. Have a great week! SHOP HERE

Accordion Village Tin

Hi everyone!  I’ve been working on a few Christmas projects here and there.  Seems like I never have enough time to get everything done that I would like to create.  I have a fun quick little project to share with you today that makes for a cute gift for a coworker.  I created Lori’s  Accordion Christmas Village , but scaled it down a bit to fit inside a little Christmas tin that I had in my stash.  I cut two complete villages, I scaled them down to 4 inches tall,  added vellum to the backs and then adhered them all together. I kept the embellishments super simple as I didn’t want to distract from it’s simple charm….just some pearls, diamonds and a few hearts.  It’s the perfect little scene for my coworker’s desk to add a little bit of the holidays. You can find it here in Lori’s SVG Shop  or here in the Silhouette Design Store.

Here it is all stretched out.  So cute with the little snowflake garland and bottle brush trees.

A close up with all the little details.

The village and the trees with perfectly in the tin.

The sweetest little gift….

Thanks for joining us today. ~Cathy