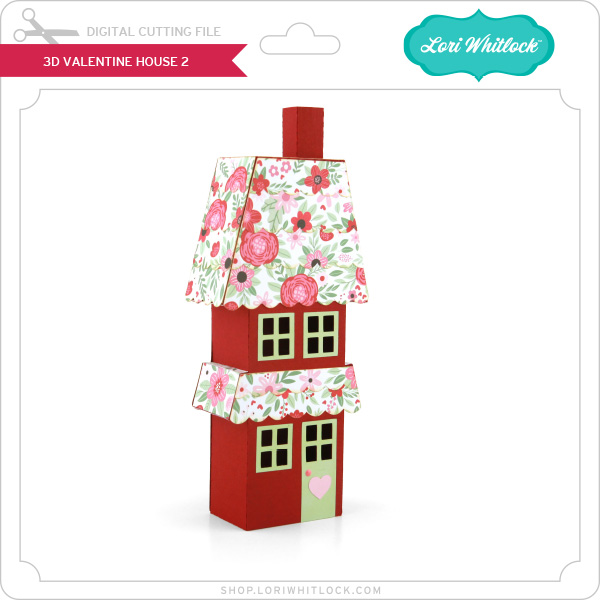
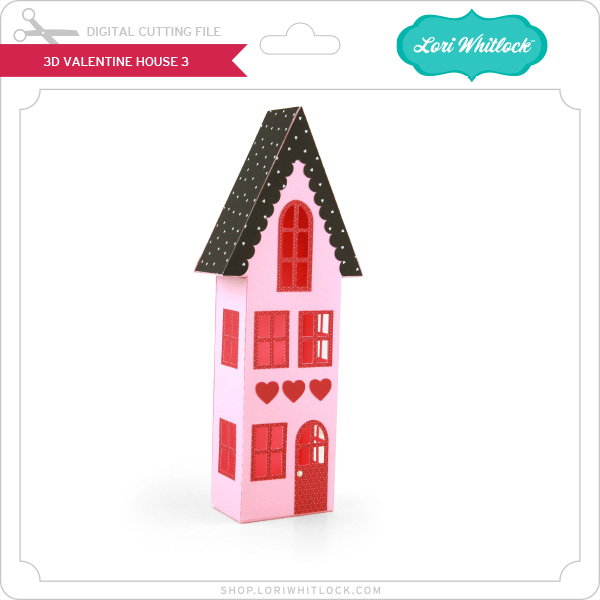
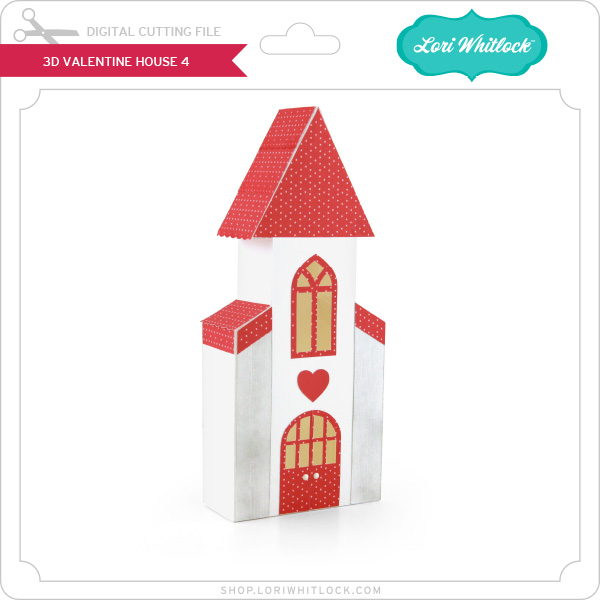
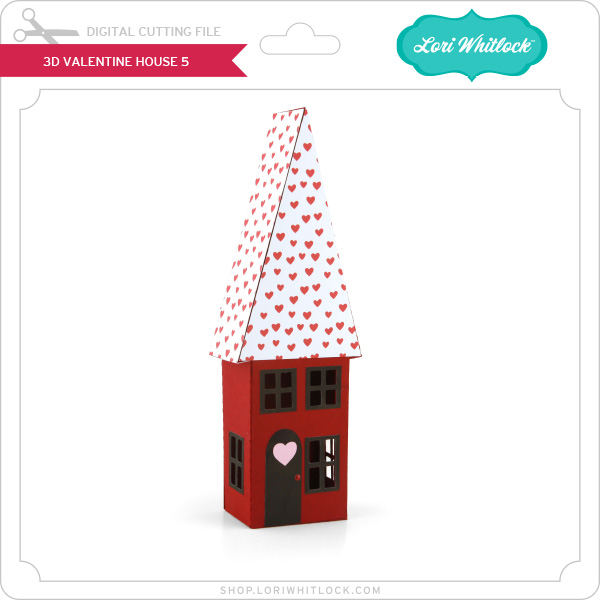
We’re so excited to kick off the January 2025 Creative Team Blog Hop and start the year off with a bang! Our talented team has been busy crafting beautiful new projects that are sure to inspire your creativity during this cozy winter season.
To make it even more special, we’re offering an exclusive30% OFF SALE at Lori’s SVG SHOP on all digital files and commercial licenses until Saturday, January 18th! Simply use the code JAN2025 (it’s case-sensitive!) to grab your favorites at a great price.
But that’s not all! We’ve also got a special freebie and an exciting giveaway waiting for you.
So grab a cup of cocoa, get comfy, and dive into the creative fun. Let’s make 2025 a year full of crafting joy!
As a big thank you for joining the hop and spreading some New Year cheer, we’ve got a special gift just for you! For TODAY ONLY, you can snag this adorable A2 Center Step Card Flower Pot SVG file completely FREE. Just add it to your cart, and it’s yours at checkout—no strings attached!
NEW Files!
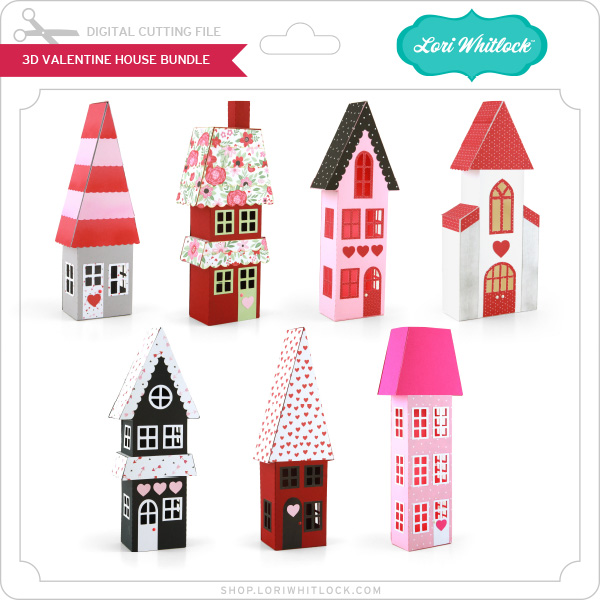
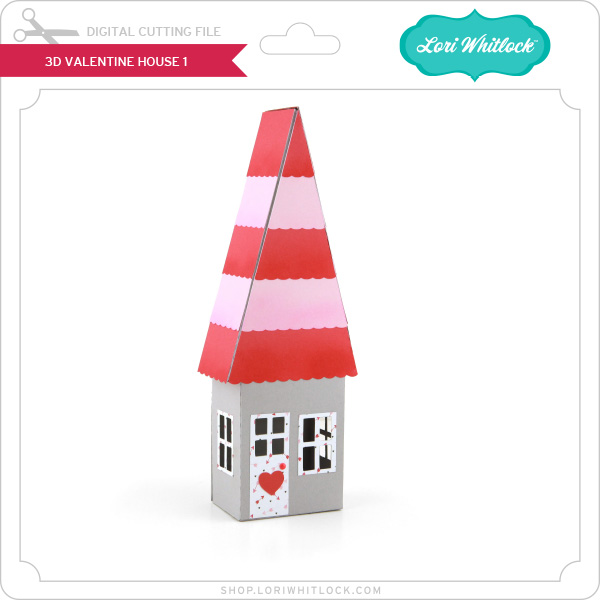
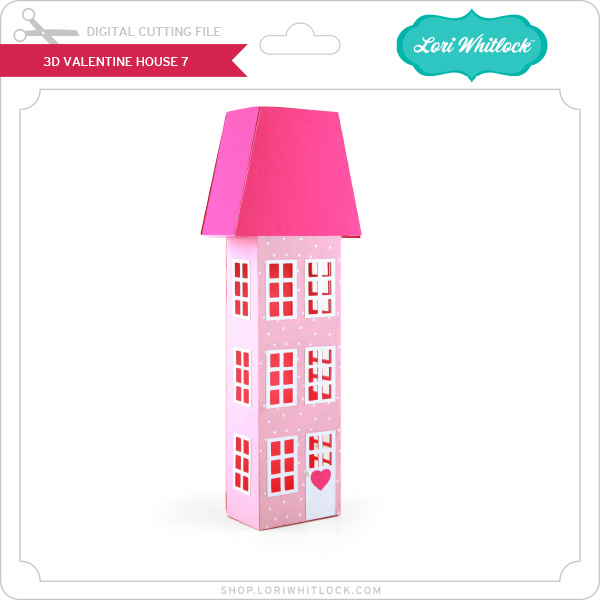
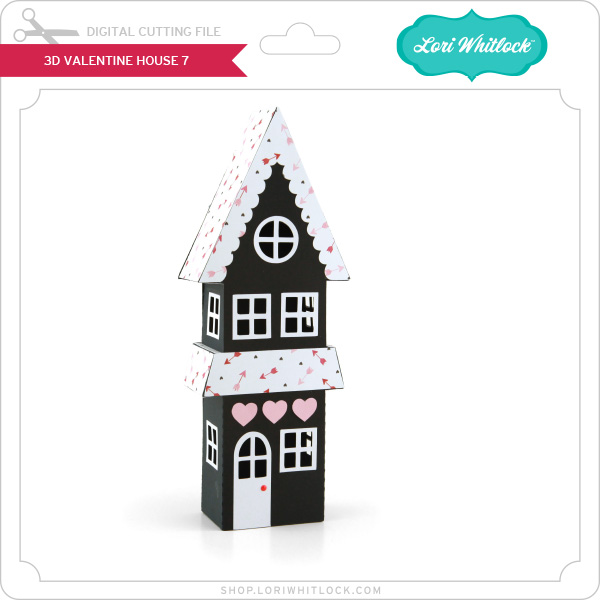
This week, I’m thrilled to introduce a brand-new creation just in time for the upcoming Valentine season: the 3D Valentine House Bundle! This charming set includes everything you need to craft an enchanting 3D Valentine’s display. Whether you’re making a cute gift for a loved one or creating a sweet addition to your home decor, these SVG files will bring plenty of love and creativity to your crafting this season. It’s 30% off this week with code: JAN2025
How about a giveaway? You’re in luck! Enter our giveaway below, and we’ll be announcing the winner on the entry form right here on this blog post. Keep an eye out for an email if you’re the lucky winner!
And, last but certainly not least… ready for some amazing inspiration? Check out the creative projects from our talented team! Just click the links below for some wintery crafting magic. If you get lost, no worries—just come back here and pick up where you left off: Lori Whitlock(you are here), Traci Penrod, Brandie Adams, Ashley Cook, Cathy Harper, Chelsea VanWyk, Sue Kment, Noelene Apap.
Hello everyone! Traci here and today, I have a cute little Christmas scrapbook to share with you titled Eat, Drink, and Be Merry. I made it using one of Lori’s fabulous cutting files called 5×5 Mini Album with Gusset Pages (SVG, Silhouette) and it’s the perfect small size for gift giving this holiday season!
Lori’s files make it so easy to create the sweetest handmade presents and this one was super simple.
The album is made with a cover piece and 3 gusseted pages (which gives you 6 scrapbook pages inside). To start, I cut the base out of white cardstock then decorated the pieces with paper and embellishments from the Bella Blvd, Merry Mingle Collection.
Here is a photo of the gusseted edges. The white pages go in the cover piece and the holes line up perfectly for binding.
I ran 3 strands of twine through the
cover and each page, then tied them in a cute knot on the inside.
Next … the decorating! I layered the pages
with 12×12 pattern papers, photo mats, and colorful embellishments.
And that was it! See? Sooo simple and such a fun project!
Here are the other pages for some holiday inspiration …
Above, you can see the first gusset where I tied the pink and white twine.
While I decorated this mini album in a festive Christmas theme, the cutting file is literally a blank canvas and could be designed with ANY paper collection. Imagine winter, Valentine’s Day, spring, Easter, Mother’s Day, or … anything! I love Lori’s projects … the possibilities are endless. 💕
We’re thrilled to launch the December 2024 Creative Team Blog Hop! Our amazing team has been busy creating some stunning new projects that are sure to spark your inspiration this Holiday Season.
To make things even more exciting, we’re offering a fantastic 30% OFF SALE at Lori’s SVG SHOP on all digital files and commercial licenses until Saturday, December 14th! Just use the code DEC2024 (don’t forget, it’s case-sensitive).
But wait, there’s more! We have a special freebie for you and an incredible giveaway you won’t want to miss.
Join us, dive into the fun, and let your creativity shine! Happy crafting!
As a huge thank you for joining the hop and spreading the joy with your friends, we’ve got a special gift just for you! For TODAY ONLY, you can get this amazing All I Want for Christmas SVG file completely FREE. Don’t delay—add it to your cart and it’s all yours at checkout!
NEW Files!
This week, I’m excited to share a special creation: a nativity version of the Ultimate XL Fold Flat Christmas Scene! It’s been such a joy to design this set, and I hope these SVG files bring as much festive cheer to your crafting as they did to my creative process. Whether you’re making a beautiful display for your home or crafting a meaningful gift, I can’t wait for you to experience the magic of this unique, fold-flat design. It’s 30% off this week with code: DEC2024
We’re excited to introduce the brand-new Doodlebug Tinsel Time Collection of SVG files, now available in the shop! This adorable set is perfect for all your Christmas-themed projects. Featuring charming designs like Santas, reindeer, cute Christmas houses, and snow globes, it’s a must-have for anyone who loves a cute and cozy Christmas. These Doodlebug files are a must have. And, they’re 30% off this week with code: DEC2024.
Hi there! Today I am sharing an assembly tutorial for the Mug Lighted Shadowbox Snowman (SVG, Silhouette). This shadowbox would make a great gift or beautiful decoration for the holiday season. I used The Magic of Winter collection by Echo Park Paper Co.
This project was a little bigger than I thought. It stands at eleven inches tall and eight inches wide. I needed four sheets of white cardstock, two sheets of navy, one patterned paper and smaller scraps for the red, orange, and pink elements. I used some ballon lights to light mine, but a short strand of fairy lights will also work.
First, I folded all of the score lines as mountain folds with the navy color facing out. I then glued down the decorative panels to the mug base. The bottom of the mug base has three segments I glued the longest middle tab to the base of the mug to give it a good anchor making sure everything was lined up and straight. After the middle tab was dry, I glued the two shorter tabs to the base. (I thought it might be easier to leave one side open while I added the white panels, it isn’t. Just glue all the tabs.)
I added the white panels to the inside of the mug base. No glue required, they just slide in and sit in the notches that my machine cut. I then glued the top of the mug into place using the same method as the bottom. I folded all the tabs into place for the decorative front. I assembled the cookie, candy cane, and snowman. I added some white highlights to all of my elements with a paint pen. Then glued them into place on the front of the mug.
I added glue to one side tab of the mug base and lined the edges up waiting till everything was dry and secure. Once the tab was dry, I lifted the top to add glue to the remaining tabs and secured the top into place.
I added a few stickers from the collection. I also slipped a few lights into the back to see it lit up.
This shadow box is darling and was fun to make. There are several other versions of this style of shadow box that you can find here.
Happy Thanksgiving! Traci here and I hope you all have a wonderful holiday filled with blessings and warm, happy moments. Today, I have a tiny scrapbook to share with you titled Give Thanks that would be so fun for those memories. And, it might be the “miniest” mini album I’ve ever made!
Look how small it is! 💕 I created it with one of Lori’s amazing cutting files called 2×2 Accordion Mini Album (SVG, Silhouette) and the Echo Park, I love Fall Collection also designed by Lori.
First, let’s look at this little cutie, then I’ll explain exactly how I made it with a tutorial below.
I just love that it looks like a miniature book. It has an orange and green scalloped spine, pretty pattern papers, and a Give Thanks title sticker on the cover from the 12×12 elements sheet.
Inside, there are 16 little scrapbook pages (8 double-sided). I added some fun shaped journaling spots and photo mats using a 2″ scallop circle punch and a 1.75″ circle punch by Marvy Uchida.
You could use each page in this album for photos, or … mix it up and add embellishments on some of them like I did. Above, I added the Harvest Blessings sticker from the sticker book.
The journaling spots are perfect for adding dates, names, locations, events, or … what you and your family are most grateful for this year.
This project could be a cute little gift idea for after Thanksgiving. Make them for your guests with pictures from the holiday. Or … create this tiny album with ANY paper collection and it could be a fun Christmas present or stocking stuffer idea!
Now, for some instructions …
1. I chose my papers and cut out the 8 pages, 2 inside covers, 2 outside covers, and three pieces for the spine.
2. Next, I folded the paper on the score lines for each of the pages and positioned them on my table with the 1/2″ tab on the left.
3. Then, I adhered each 1/2” tab to the back of the page before it until I had all 8 pages glued together.
4. The very first page still has a tab on the left side, so I adhered the inside front cover here.
5. The inside back cover has a tab on it, so I adhered this to the last page of the album.
6. Once all of the pages are attached, I folded them into a little book and added the front and back covers.
7.
Finally, I adhered the 2 scallop accent pieces next to the spine on the
front and back, then used liquid adhesive to fold the orange spine around the
entire left side of the book.
There
is no need to adhere any of the pages back to back or to the spine. They stay nicely in their accordion shape once the spine piece goes on. Once the book is complete … it’s time to decorate!
I hope you’ll try this fun project made with Lori’s 2×2 Accordion Mini Album cutting file and her fabulous I Love Fall Collection designed for Echo Park.
For a video tutorial of this album, please see Lori’s YouTube video here:
Have a great Thanksgiving and enjoy your day with family and friends! 🍂🦃🧡