A2 Santa Claus Card

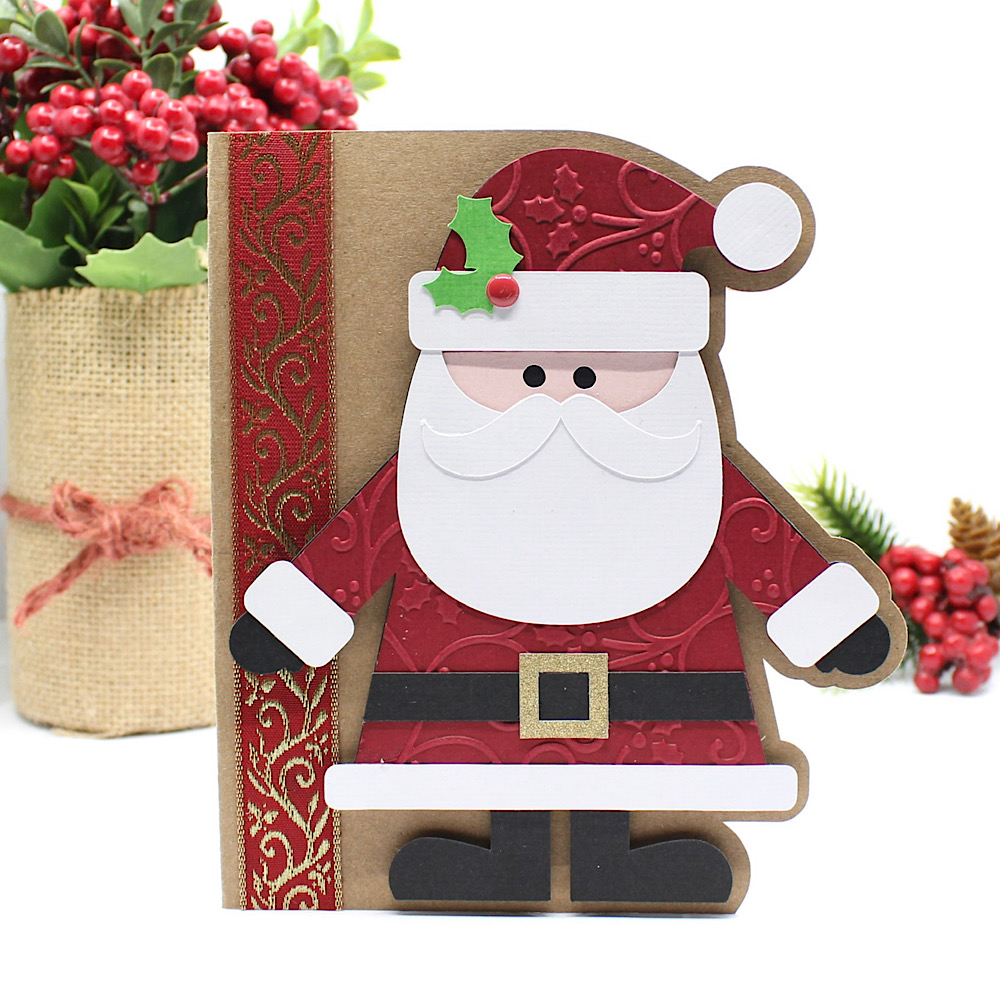
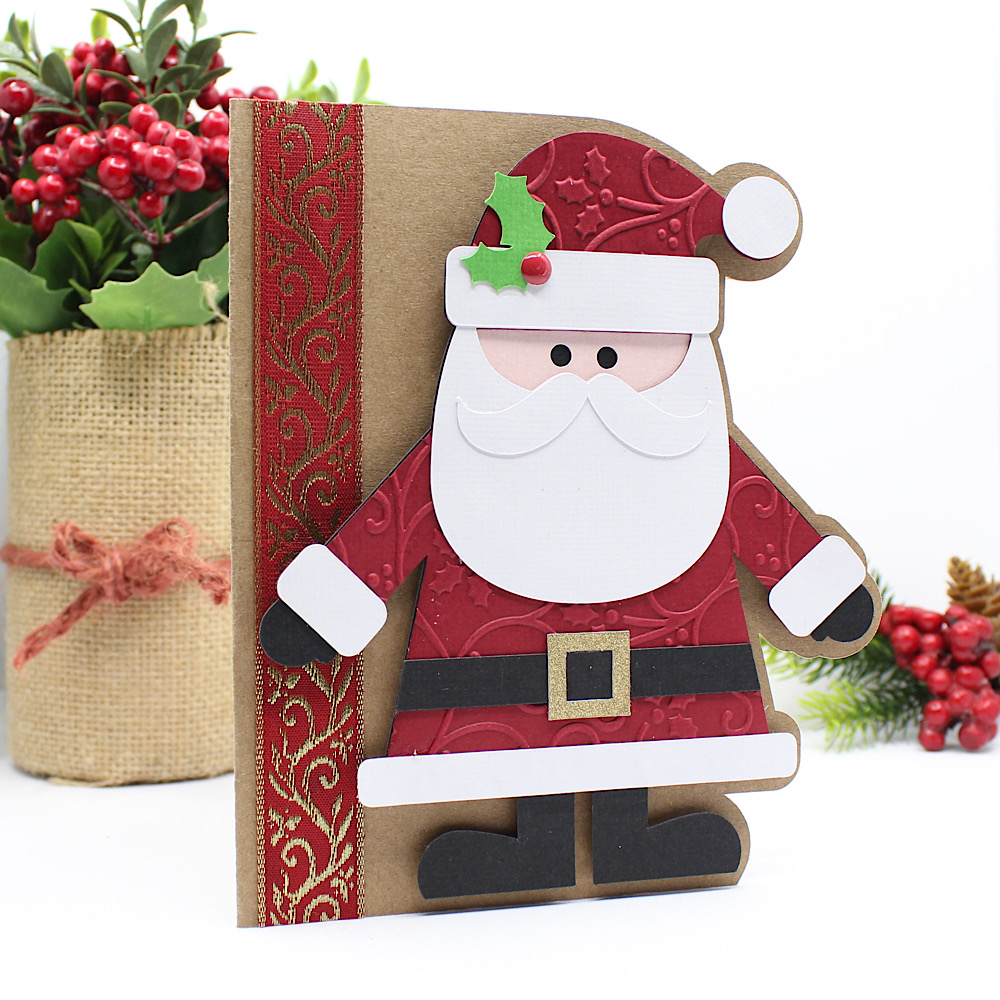
Hello crafty friends, Noelene here today! I want to share with you a cute Christmas card from the Lori Whitlock file called A2 Santa Claus Card ( SVG, Silhouette). This is such a cute fun card to make.
Once I cut all my pieces I embellished the red layer (including his hat and suit) with a Christmas holly swirl embossing folder. This was a simple step, but effective I think. Then I glued my pieces in place. I cut a strip of gold & red Christmas ribbon & glued it down onto the base of my card. Lastly, I glued everything into place, and used foam squares to pop Santa up for some fun dimension.

For more inspiration, check out my Instagram!

Thanks for stopping by!
Hugs,
Noelene 🙂

New A2 Box Card Mail Box Cards

 Lori Whitlock Monday Inspiration

Today, it’s my turn to share a bit of holiday inspiration. Such cute new files!

A2 Box Card Mailbox Christmas Bundle


A2 Box Card Mailbox Reindeer (Lori Whitlock, Silhouette)

A2 Box Card Mailbox Birds(Lori Whitlock, Silhouette)

A2 Box Card Mailbox Presents(Lori Whitlock, Silhouette)

I used a fun cobblestone stencil from Hero Arts on the outside of each mailbox and added a few glittery berries to the all of the wreaths for an extra bit of bling.

I hope you enjoyed my projects today!

💕Sue Kment

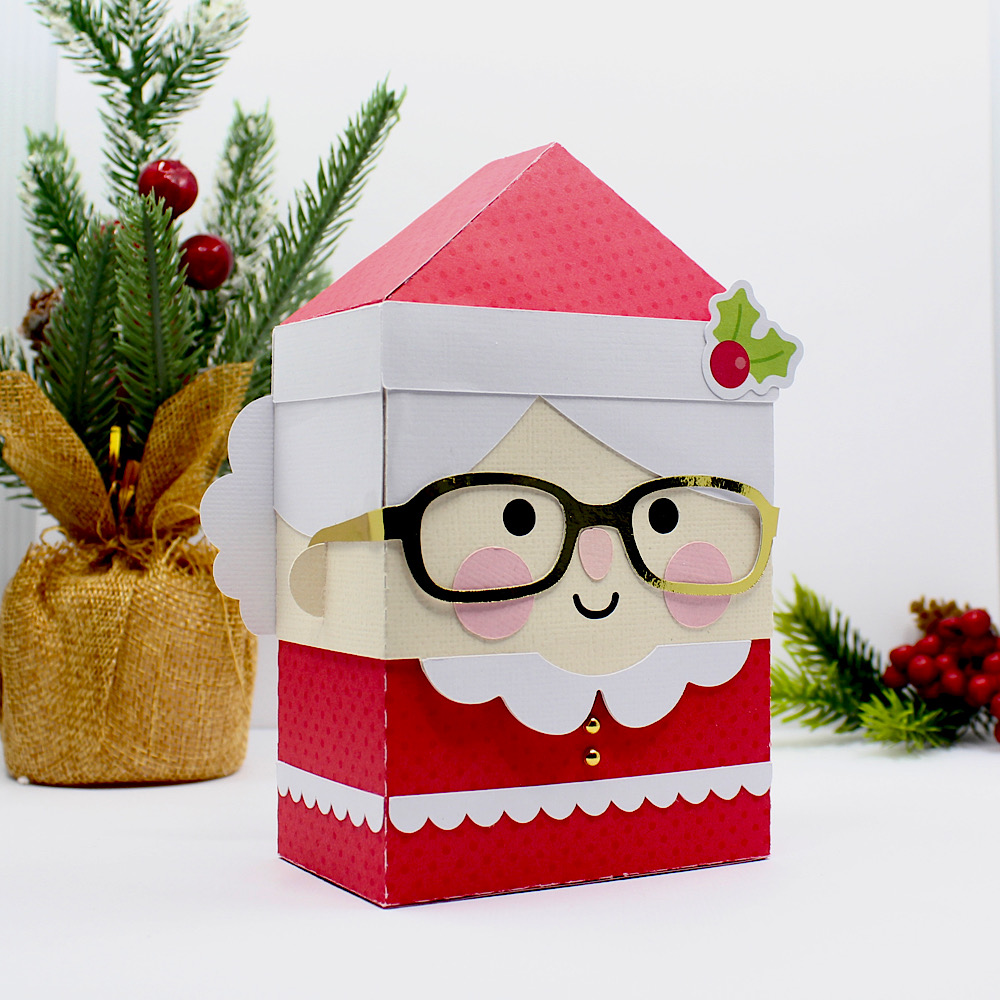
Mrs Santa Slip Lid Box

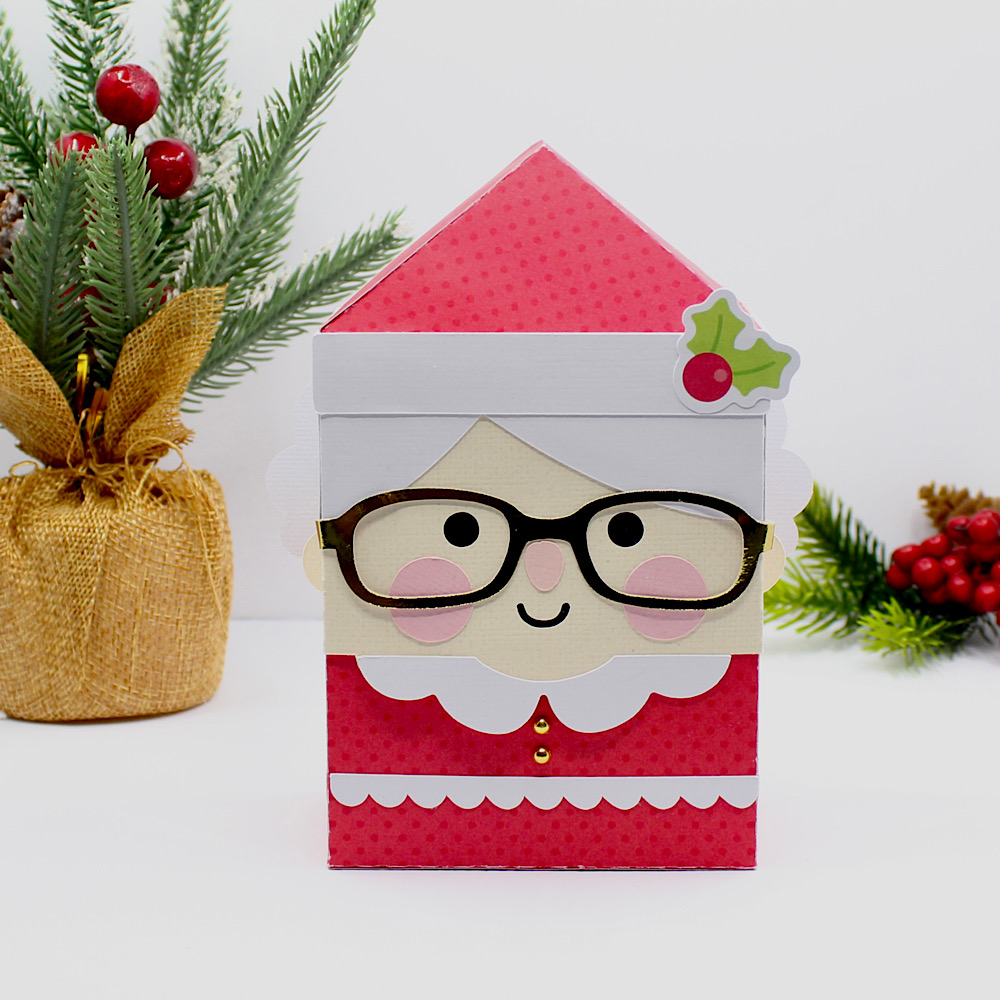
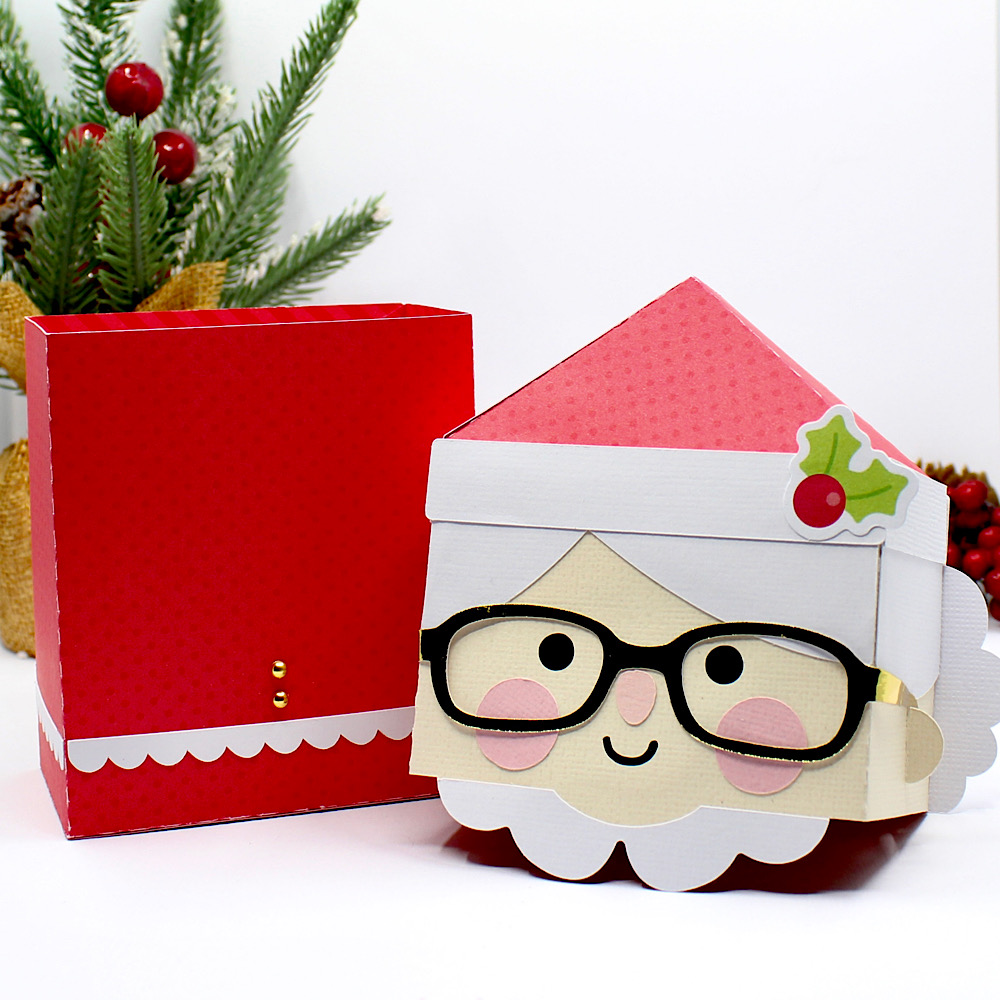
Hello Crafty Friends, Noelene here today. I know most of you are preparing for Halloween but in my house it’s never too early to start preparing for Christmas. Today I want to share with you one of the newest files I am using from Lori Whitlock called Mrs Santa Slip Lid Box (SVG).
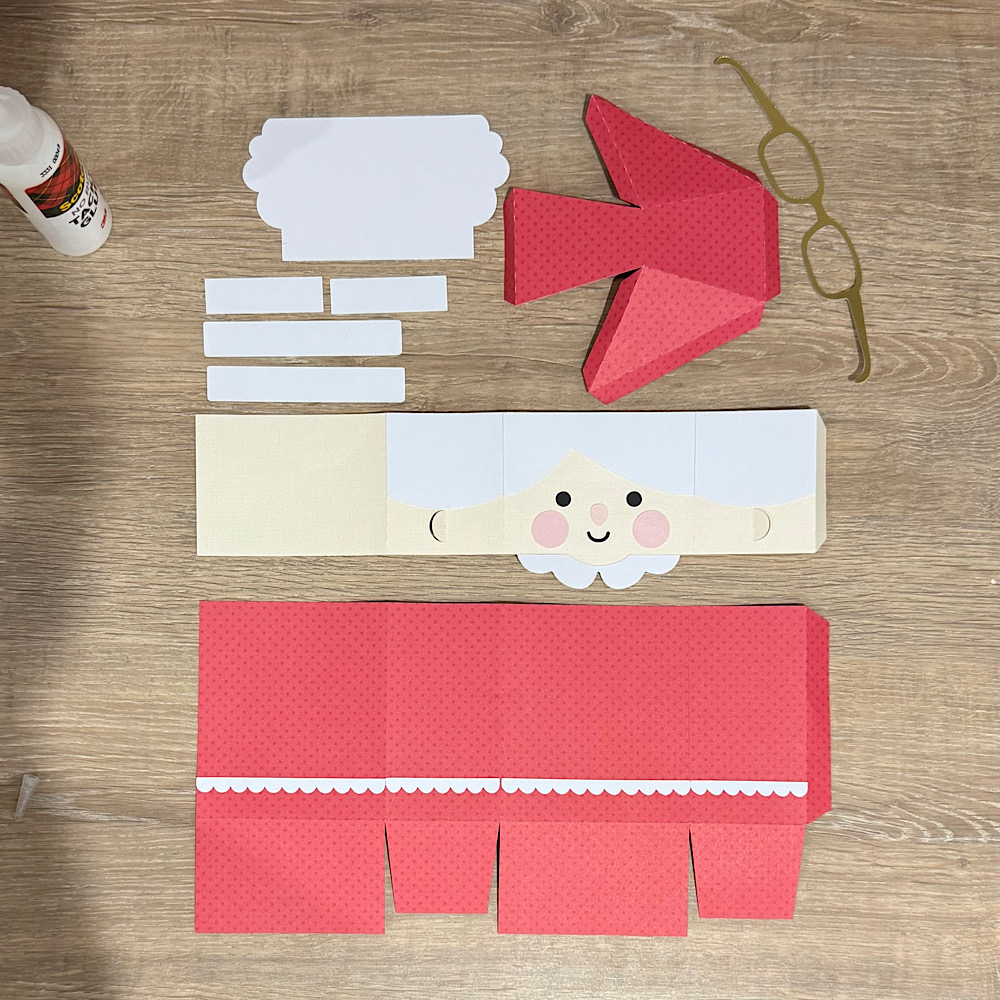
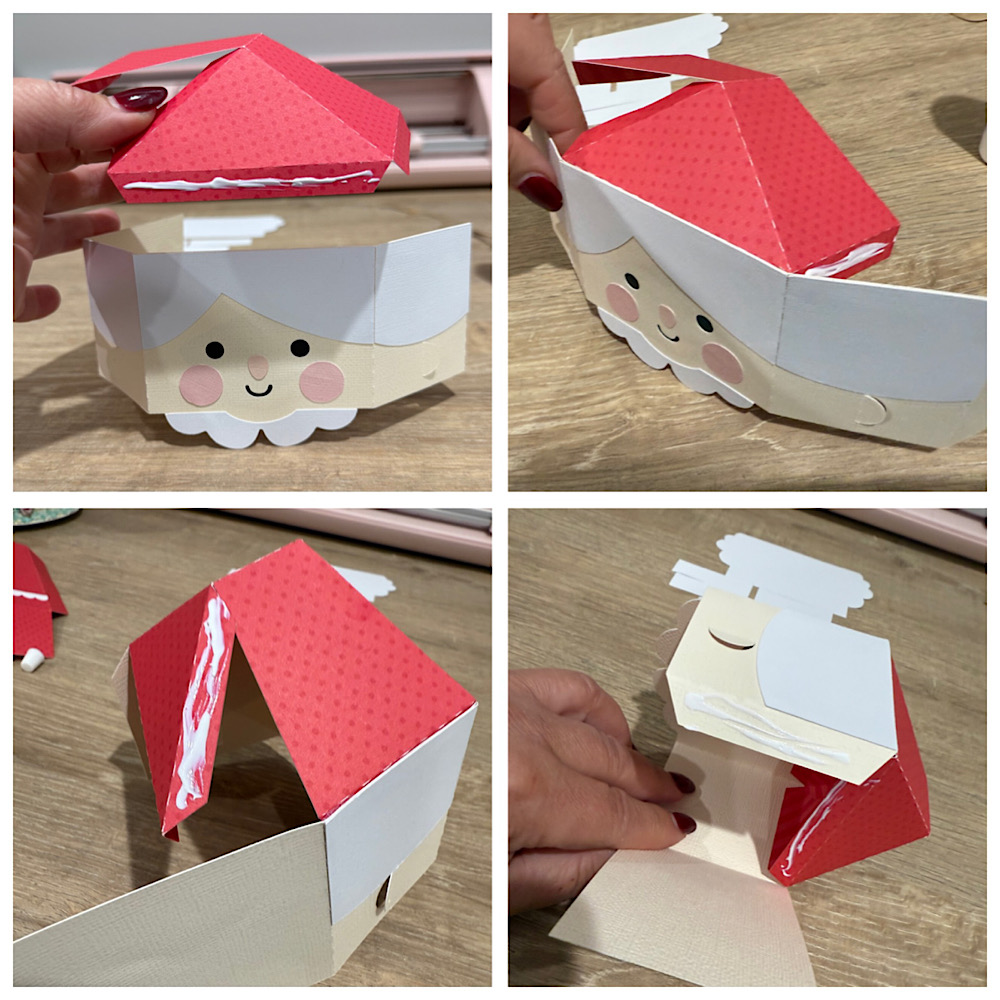
I started out by cutting all my pieces then glued on the corresponding panels to the top & bottom box sections like pictured. I folded the score lines first as this helped me to correctly align when I glued down. I left the glasses till last as I found this was easier to glue in place once box was made.
Next I started to put together the lid of the box glueing the flaps of the hat to the head, starting with the front then working from sides & finishing off at the back.
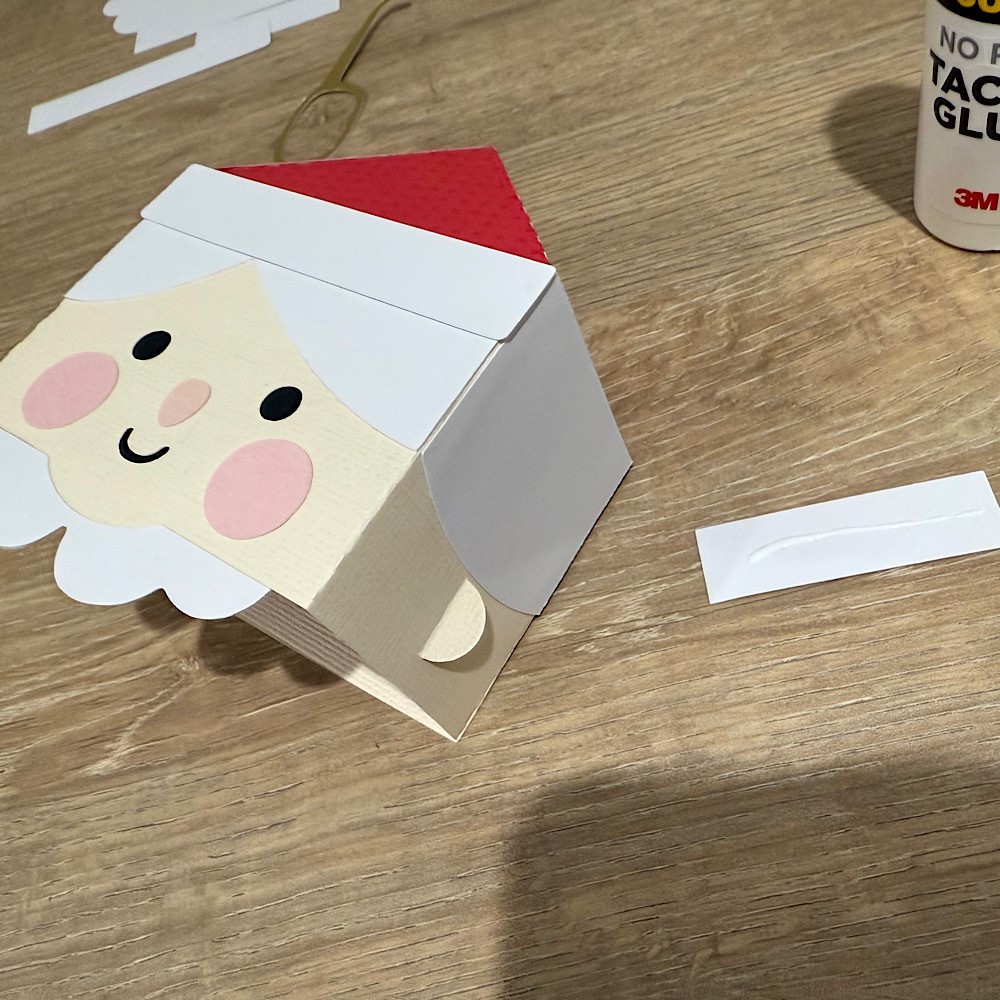
Now glue the hair panel on the back of the lid.
Then glue down the white strips of hat trim along the top.
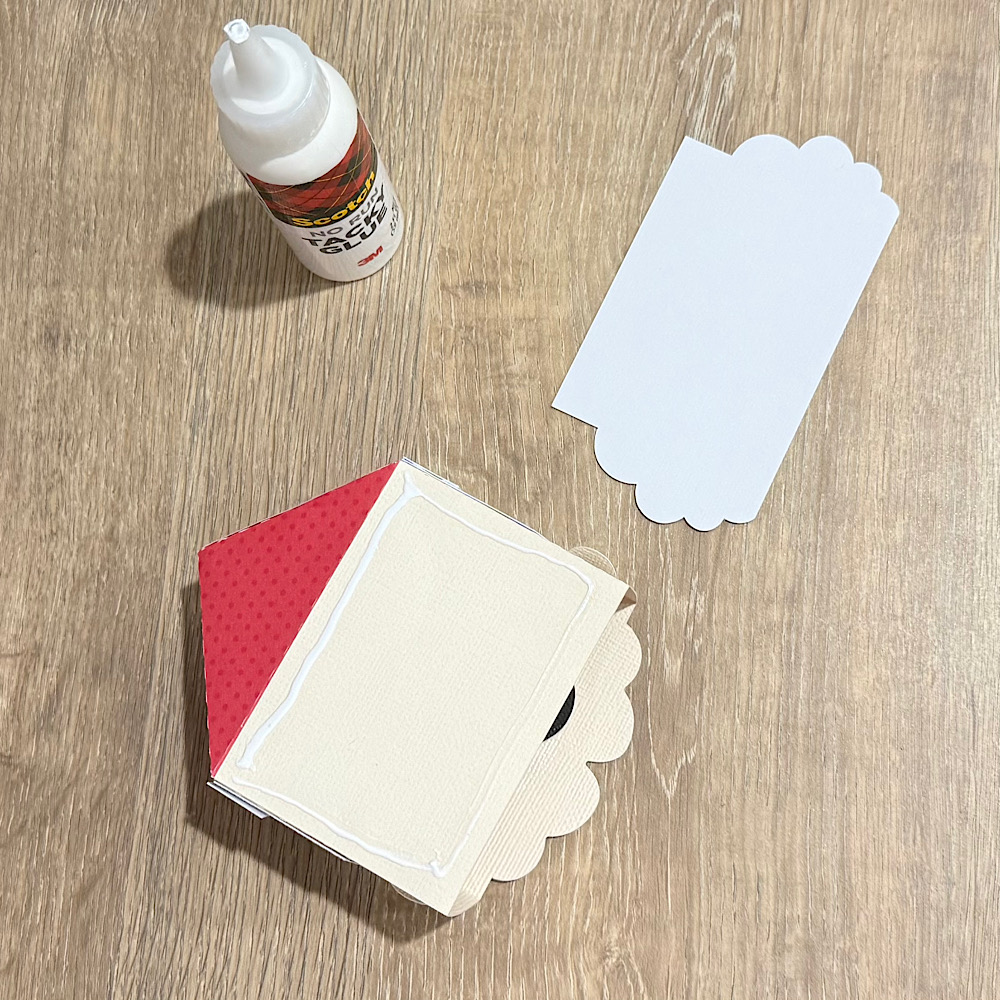
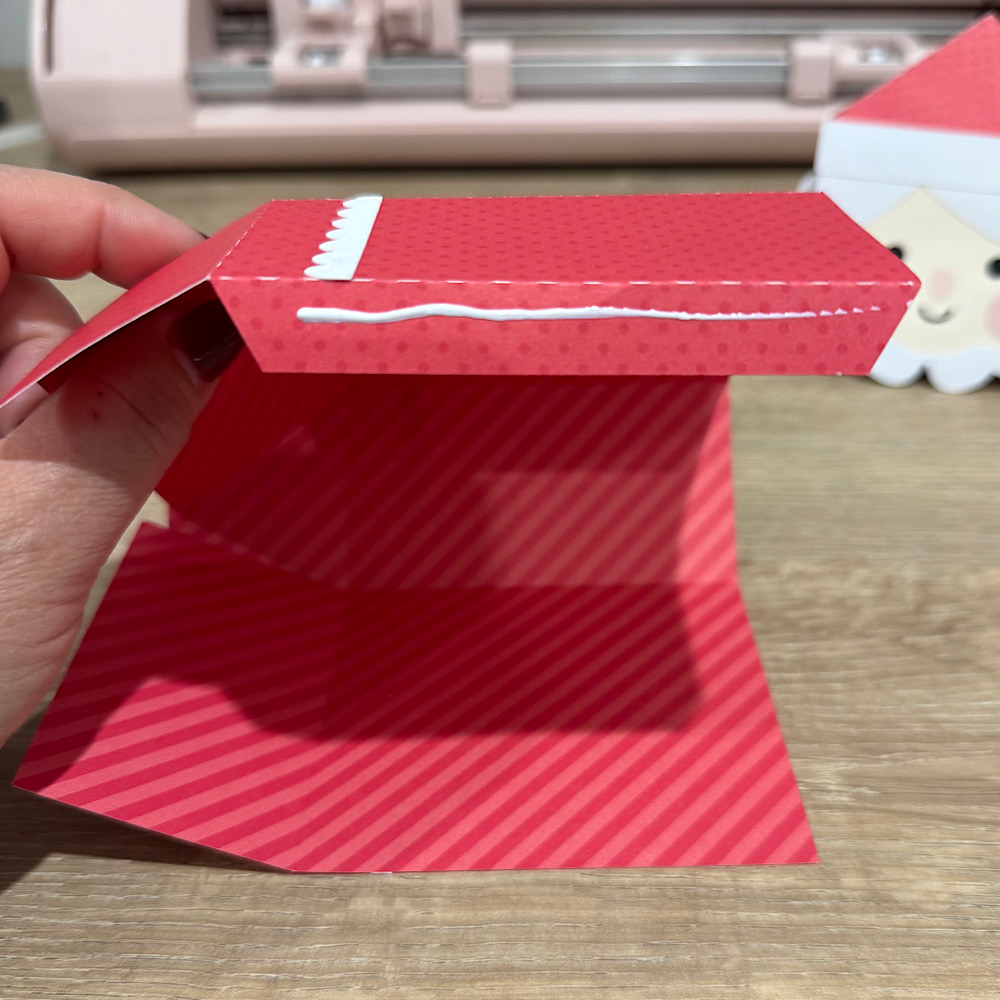
The next step is to assemble the base of the box. Start by glueing down the side flap.
Then finish off by folding down the inside large rectangle base followed by glueing the 2 small side bases on it & then glue the outer rectangle flap over the top of the small side 2.
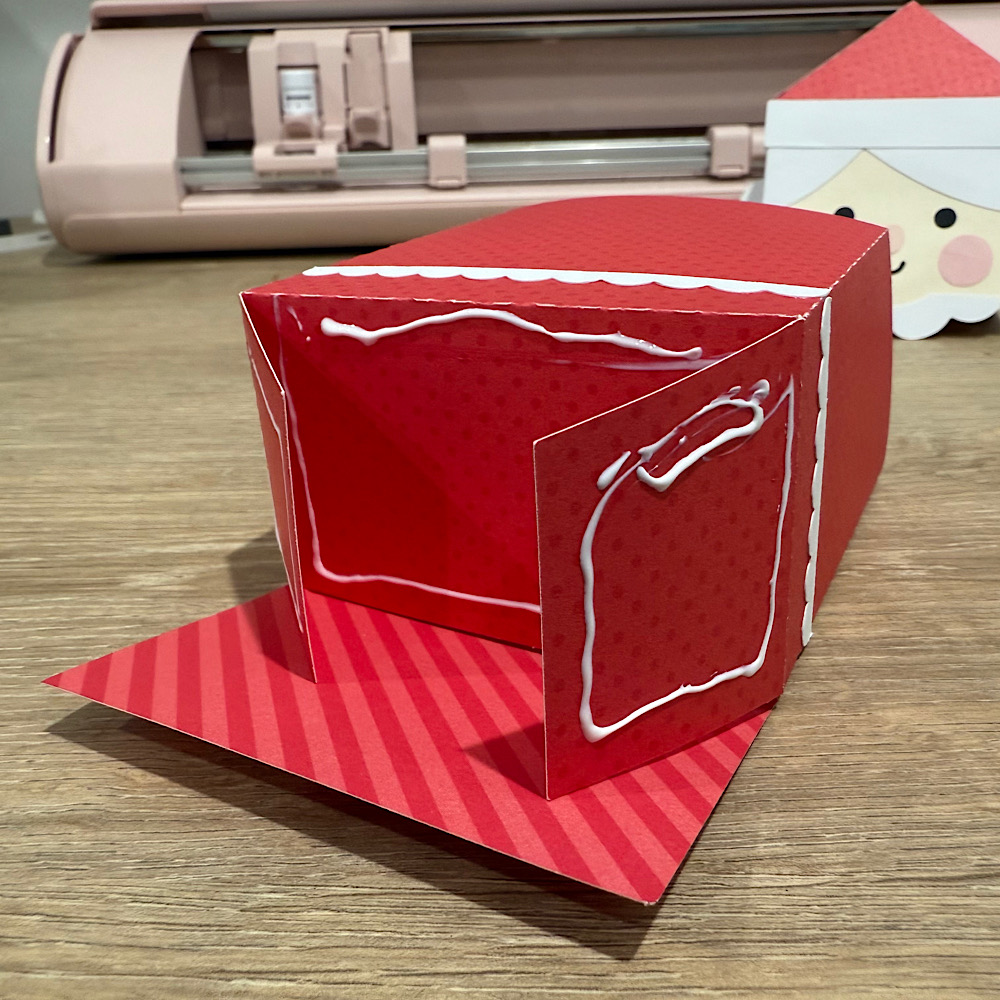
Lastly I glued on my glasses which I cut with gold metallic cardstock & embellished with a holly cutout onto the hat & 2 gold sprinkles for buttons.
For more inspiration, check out my Instagram!
Thanks for stopping by!
Hugs
Noelene 🙂

Christmas K-Cup Carrier

Hello all!
Just a quick little project to share with you in case you need a little last minute gift for the coffee lover in your life.  Lori has quite a few choices for K-cup carriers and boxes in her shop, but this one is my fave.  It holds four K-cups and you can decorate it to any theme you desire.  It’s a fun way for the coffee lover to try different flavors as well.
I used a couple different Echo Park collections of Lori’s for this one.  It’s simple to assemble and is just the perfect little gift!
Wishing you all a very Merry Christmas!

Quick Tips for Last Minute Gift Tags

Hello there! My tutorial today is not on construction of a file but is more about time savings! We are all busy this time of year so I am going to show you how I whip up a few cute Lori Whitlock gift tags in minutes!
I chose a set of tags that were same style, different design. That’s not necessary but makes for fast tracking your project if your time is limited and you want to add a special touch to your gifts. I doubled all the pieces to make 2 sets of tags.
Christmas Tag Santa (Lori Whitlock SVG, Silhouette)
Christmas Tag Penguin  (Lori Whitlock SVG, Silhouette)
Christmas Tag Polar Bear  (Lori Whitlock SVG, Silhouette)
Christmas Tag Snowman  (Lori Whitlock SVG, Silhouette)
In the Lori Whitlock Store you can also buy all of these tags as a bundle HERE.

Christmas Tag Bundle


I opened each tag file and made a copy of each one. (Ctrl + arrow button). One of them I keep grouped and resize it very small  and pull it off to the side(will use for reference only). The second one I ungroup (rt click on file, choose ungroup)
Once ungrouped, I pull each color off to the side. Repeat 3 more times with the other files.
You can see above that I have all 4 grouped files resized to a very small size and set off to the side for reference. This allows you to refer to them after cutting so you can re-group the misc pieces back to the Santa, penguin, snowman and polar bear tag. In this instance, the bear is the only one that has ears, so he’s easy to spot! All the other tan backgrounds are exactly the same size and shape. Very convenient!
By doing this, you can cut one mat of tan and another of white, pink, orange, and black. You can see I also used  four different colored 6×6 patterned papers on my first mat -all my hats done at once. Another space saver! I normally have two mats ready for a project so that I can have the second mat ready to load and cut while I am clearing the other mat off. Quite a time saver.
As usual, I always make duplicate of the small pieces in case I lose one. Never fails something disappears! Also if you want your hat bands to be white, add them to the white group.
From there just match up the pieces of each different design and glue up. It takes minutes to glue them all up. I timed myself to see how long it took me- literally less than 2 minutes for each one, and that was while being distracted watching a Hallmark movie LOL! I think it took me 15 minutes to glue up all 8 tags.
I hope you can find a few minutes to make some cute little  gift tags-Lori has so many cute sets to choose from!
💕Sue Kment