Santa Paws Shaker Tutorial

Welcome to the Thursday tutorial! Today I used one of Lori’s postage  frames and made it into a fun shaker card. Very easy and fast!  I used Lori’s new Here Comes Santa Paws Christmas Collection for my theme.
Santa Paws Shaker

Vintage Postcard 4×6
This is what the file looks like (in the Silhouette software) when you open it. (I did highlight the first piece in red.) You need to choose the first two pieces for this card and delete the rest.
Make a duplicate of the red striped piece. (Control + any arrow)
To get the frame without the cut outs, right click the frame and choose  Release Compound Path and remove the cut out pieces, leaving a solid frame. You can move the two rectangle and recenter if you find that easier.

This is what your two frames will look like.  

Final cut pieces

 The first piece you will cut is your background piece which will be my blue sky and a piece of acetate. The second piece, is the solid frame – I cut 3 per page out of 8.5×11 generic white cardstock (9 pieces total) – they won’t show so you can use less expensive white cardstock. You can cut only one of the solid frame is you want to use foam for the edges of your shaker.  My final top piece is cut  out of red. 


First Stack – red piece glued to one white frame and the acetate is glued on the bottom. 
The second stack – glue all the white frames together (use enough to make a good size stack). I used 7 frames because my snowflakes where a bit thick.
 
Assemble the second stack, add your shaker pieces inside and glue on  your top section.  I decorated the the top of the card with Lori’s new Santa Paws dies! Voila! You can then add it to a card base and call it good!
 
Products Used:
 
Cut File: 6 pc 4×6 Vintage Postcard
 
Here Comes Santa Paws: 6×6 paper pad, Christmas Puppy Pals Die Set, Embossed Christmas Tree Die Set, Ephemera
 
 
I love all of Lori’s frames, they are perfect for using as a great card base. 
 
I hope you give this a try!
 
🐕🐶🎄Sue Kment


3D Christmas Santa Bouquet Tutorial

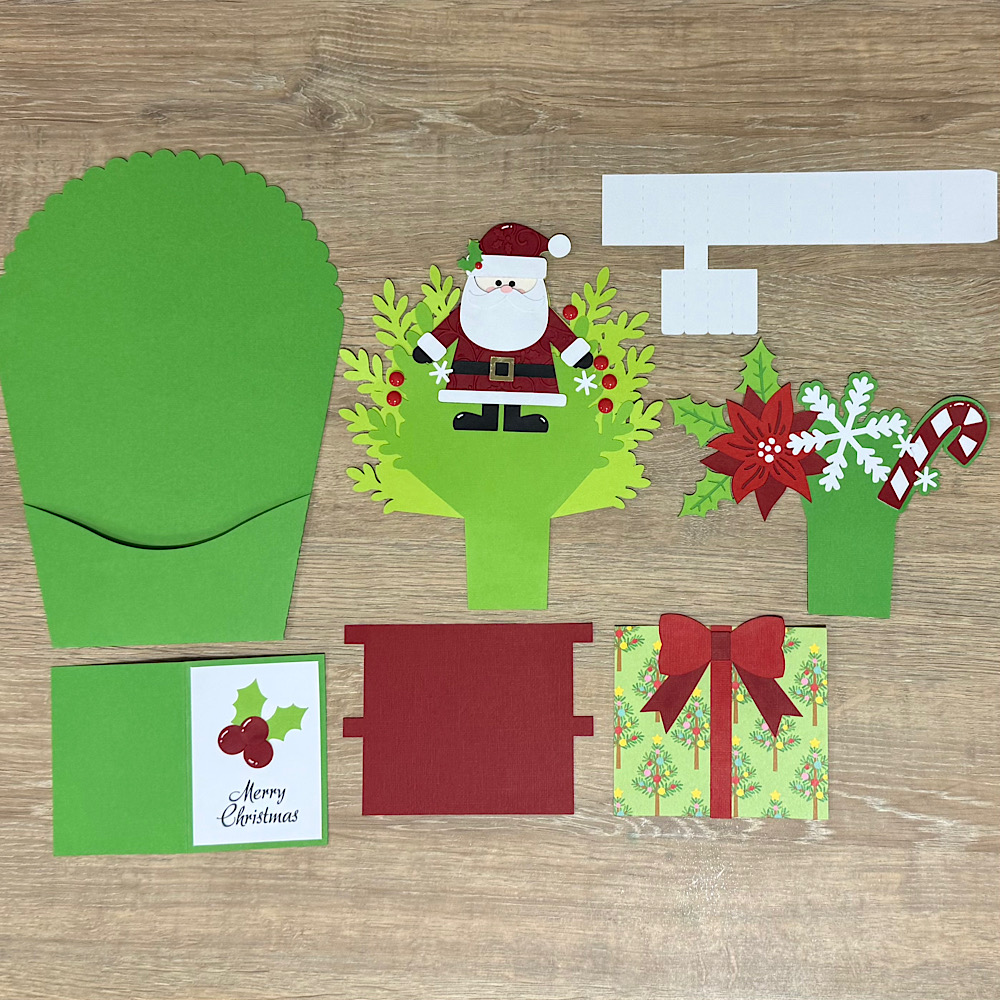
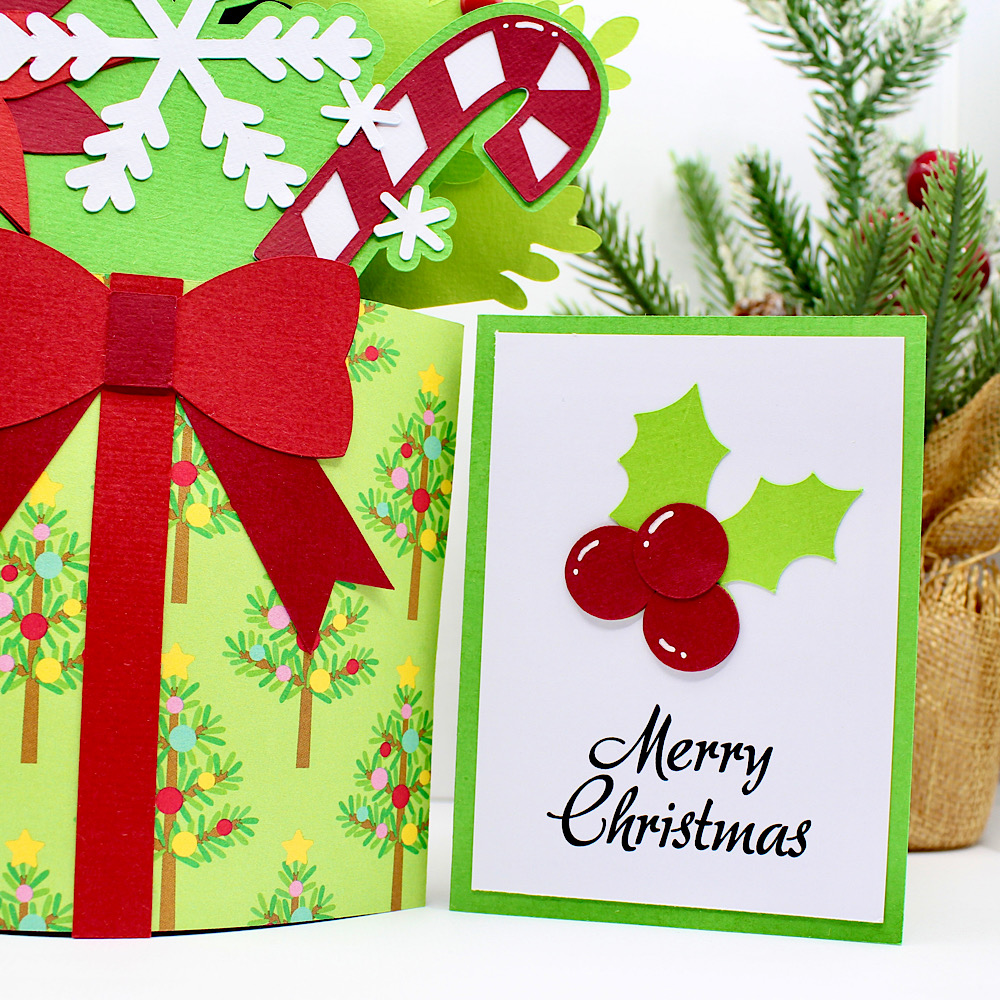
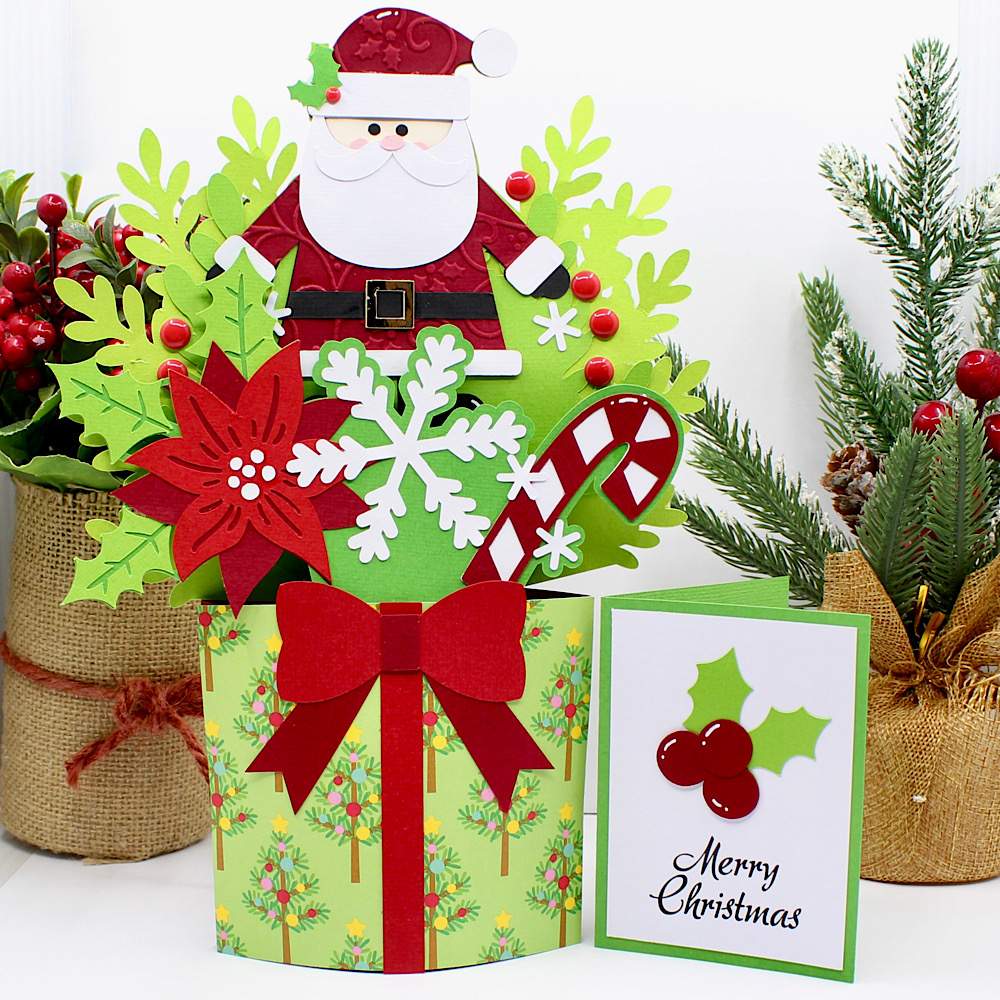
Hello crafty friends, Noelene here today! Today I am sharing a tutorial of the 3D Christmas Santa Bouquet (SVG). 
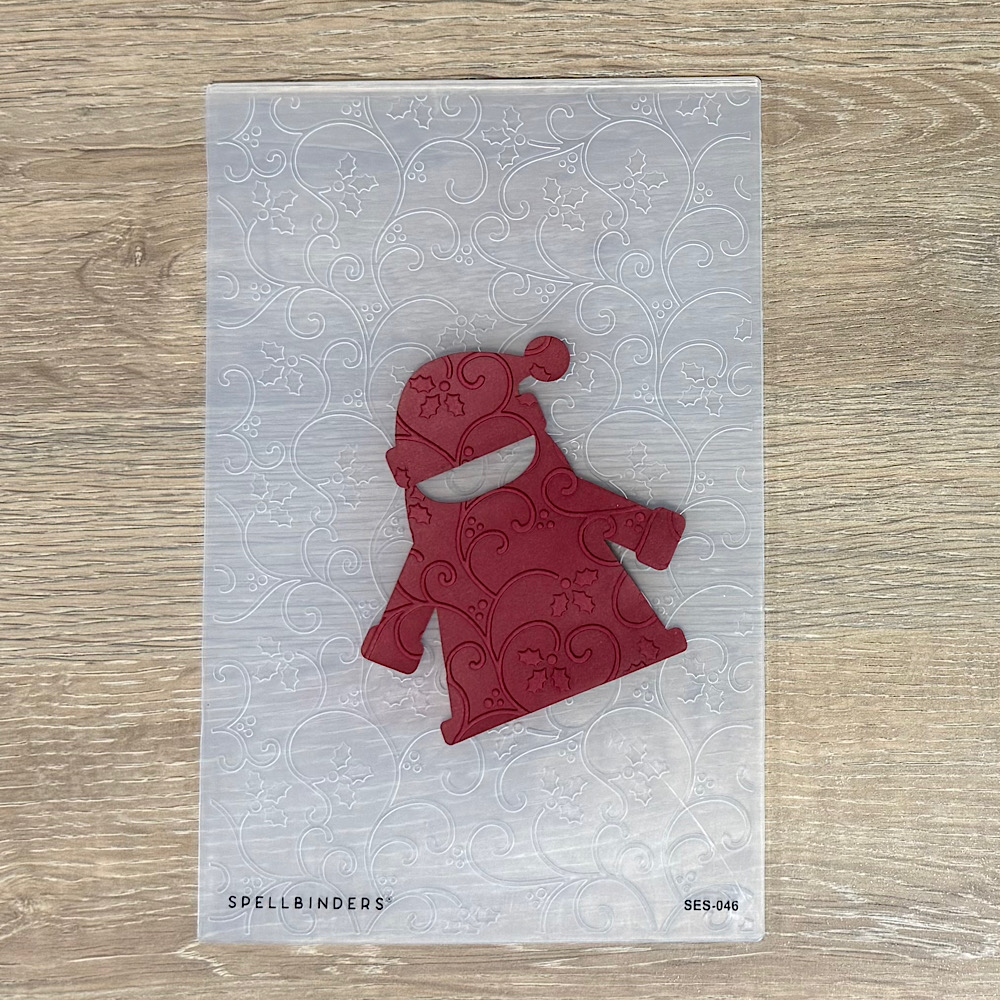
To start cut out all your pieces. I then embossed my santa suit using a Christmas embossing folder.


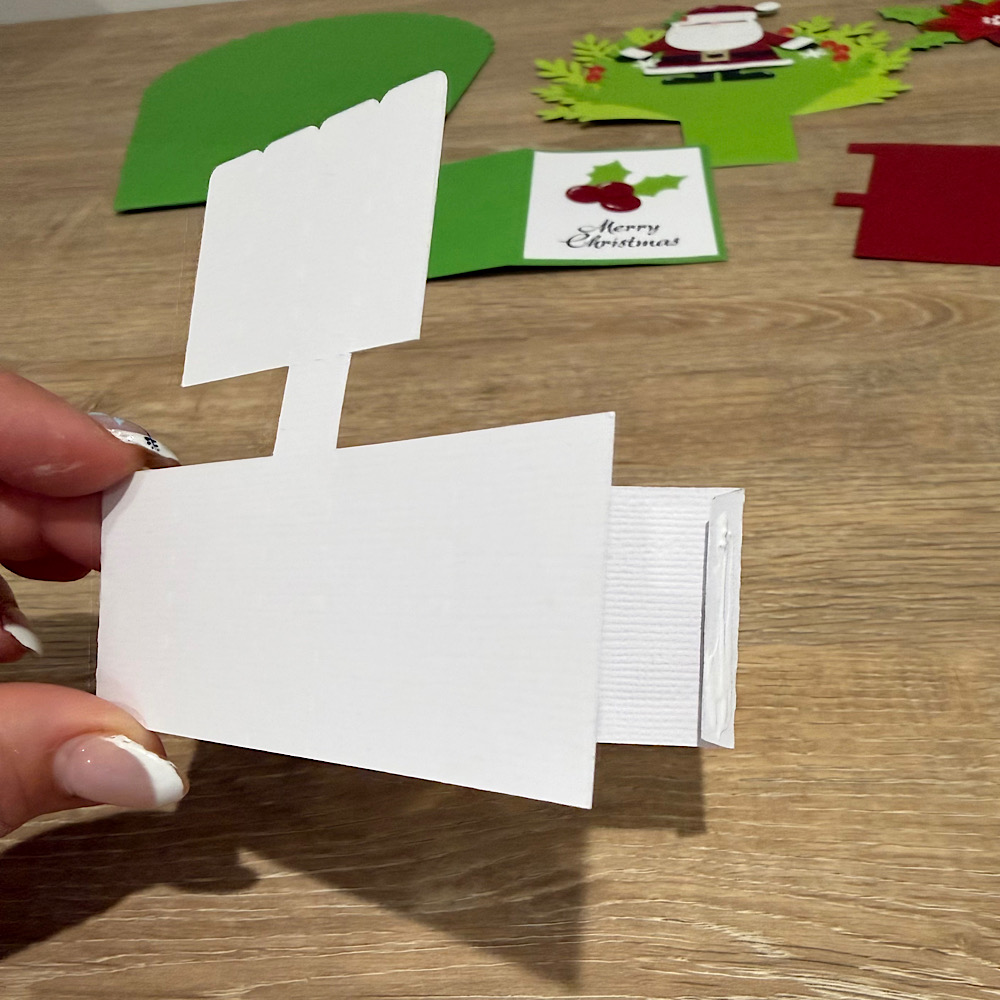
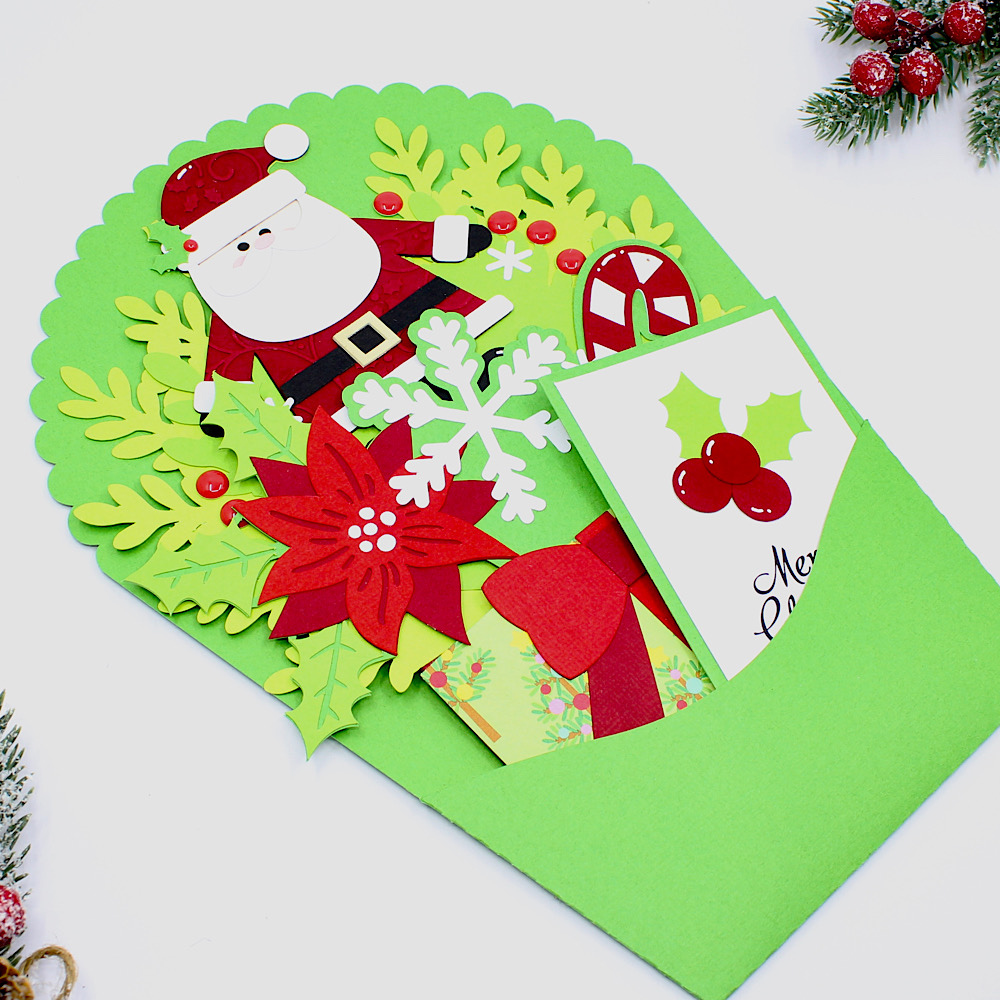
Glue all your panels in place. I valley folded the small piece of the envelope & applied glue to the tabs. I aligned it to the bottom & sides of the larger piece. This creates the pocket.
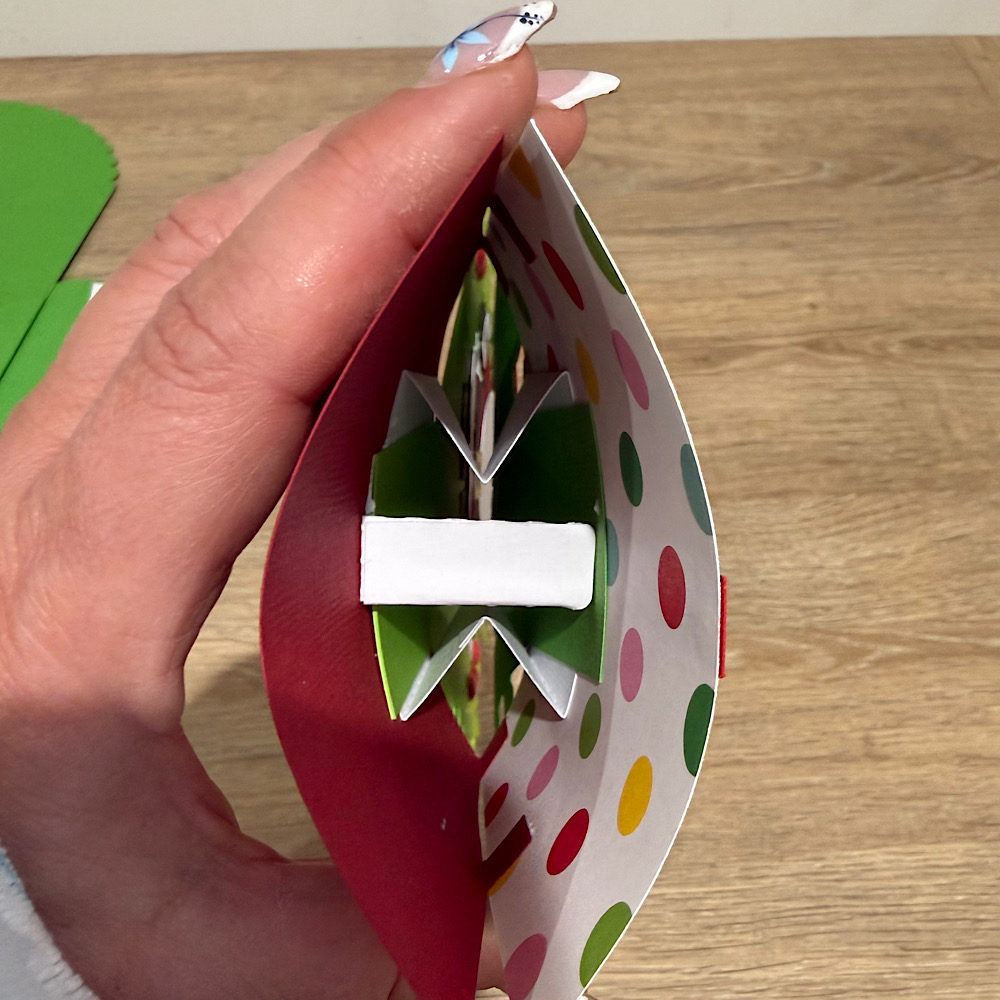
Now to create the mechanism.
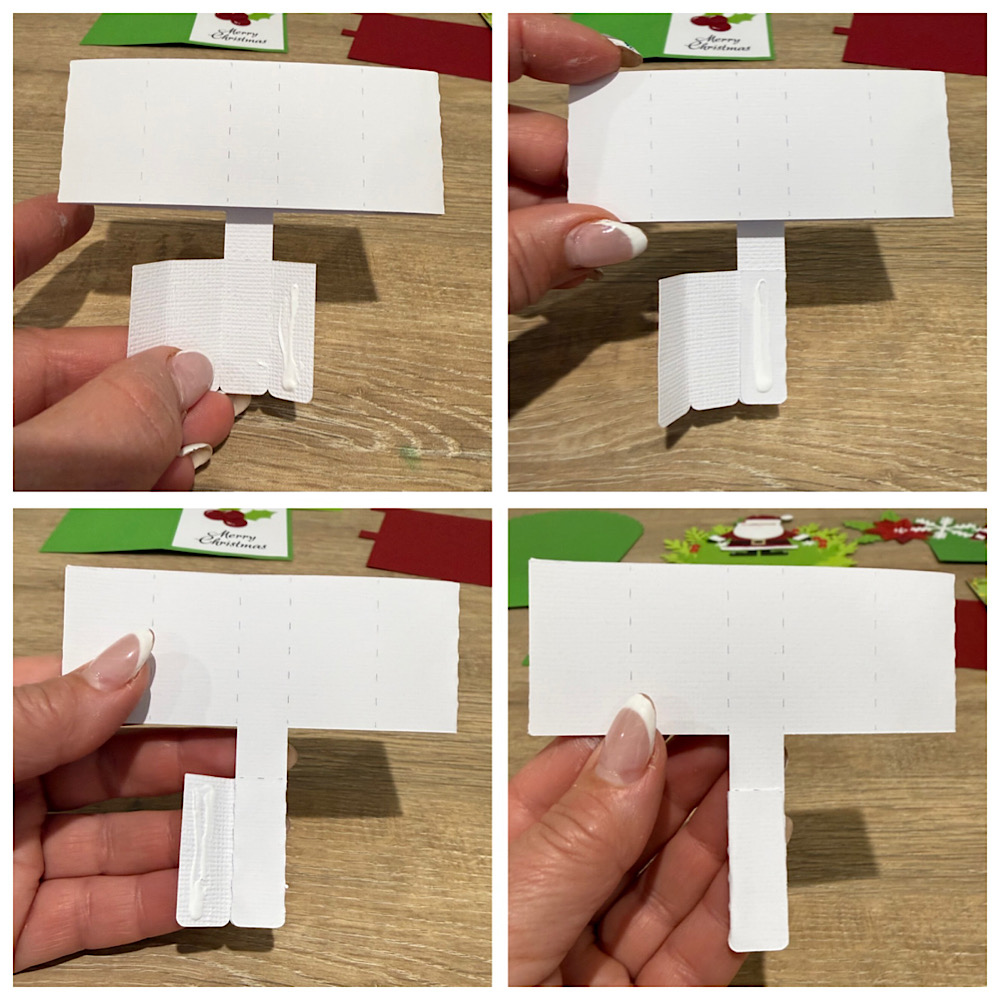
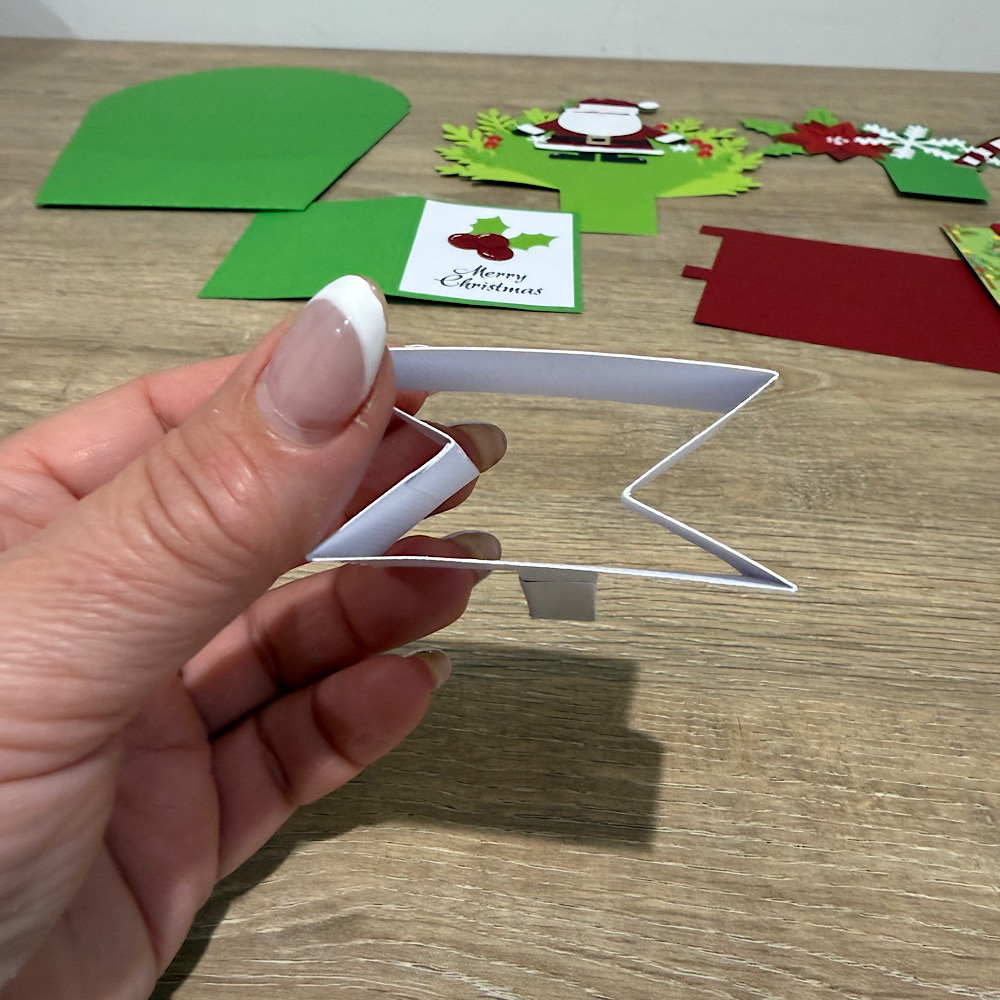
Fold the little tab then fold the mechanism in half & glue the tab down.
For the easel leg glue the single tab to the back, then wrap the rest around going to the back & bringing it to the front glueing each tab. This is to make the easel leg sturdy.

Next valley fold both ends in so that it forms an X.

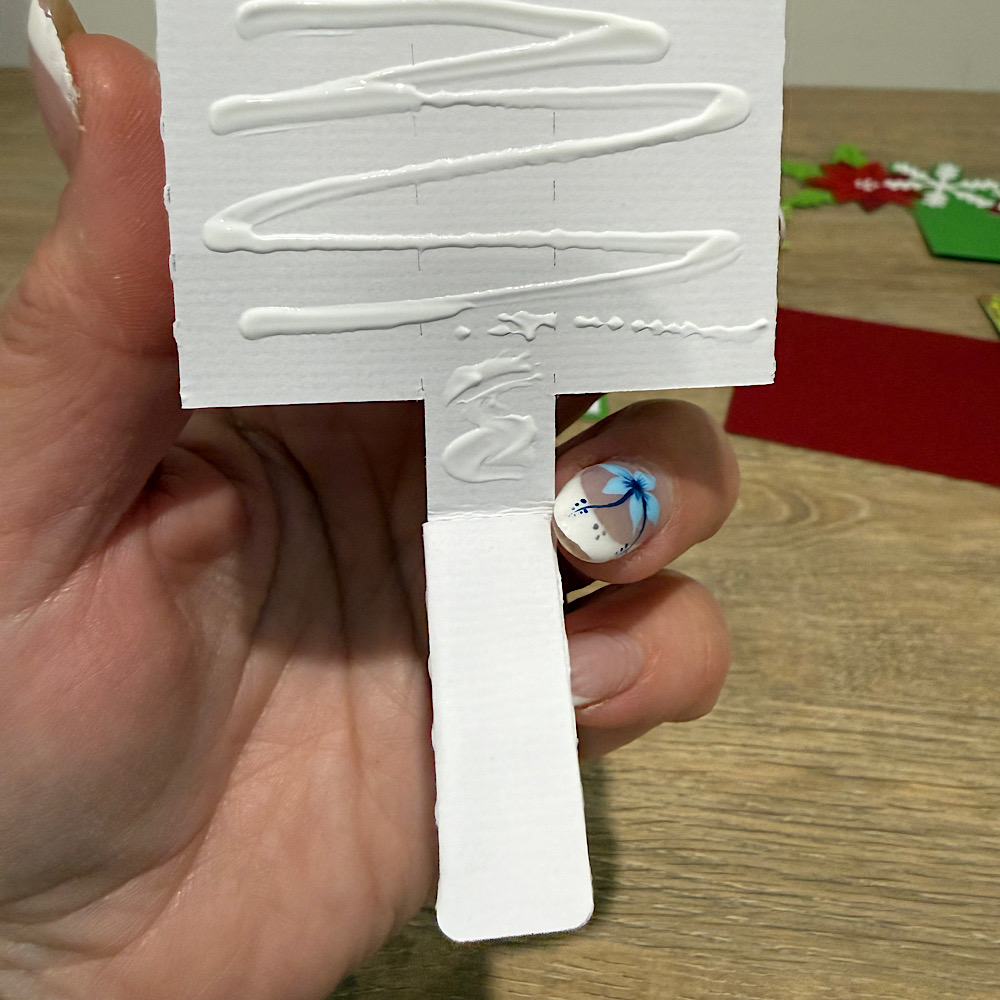
Now apply glue to the mechanism making sure you do not go past the fold on the easel leg.
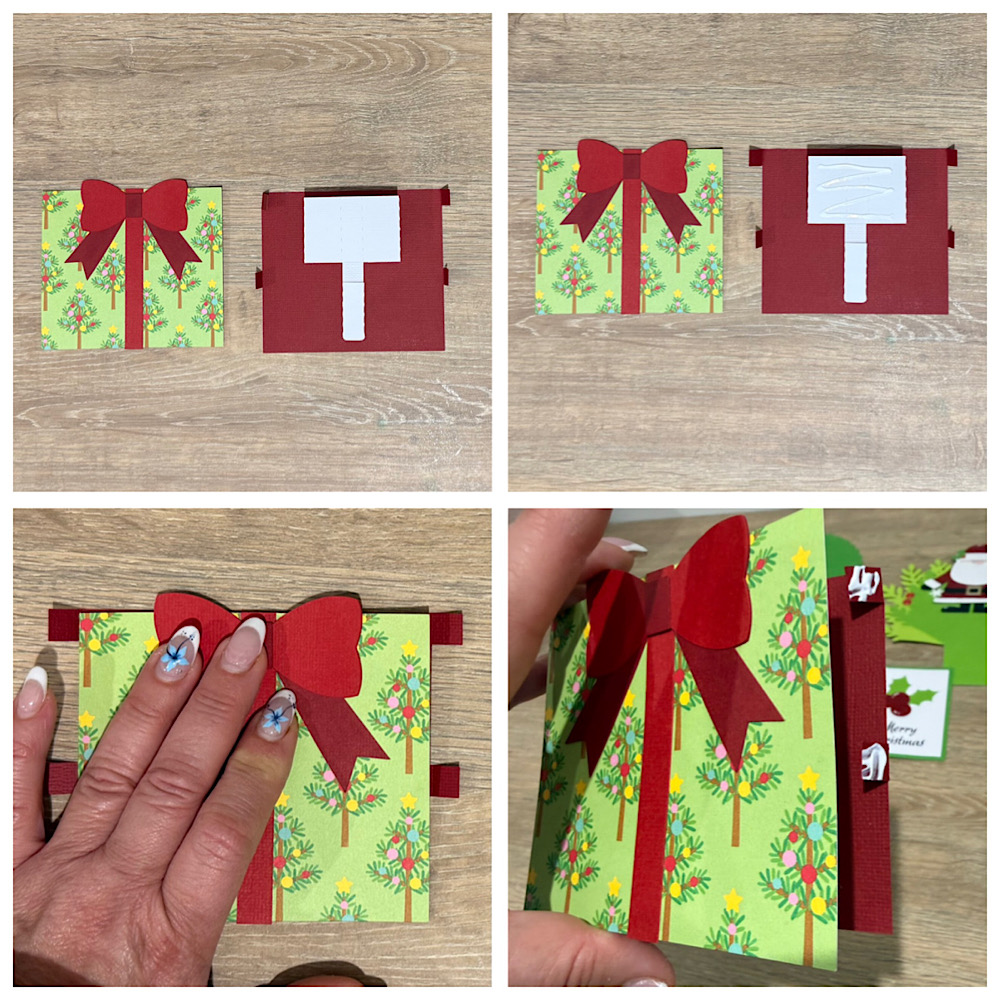
Now place the glued mechanism on the inside of one of the pot panels making sure to align the leg to the bottom. It should sit a few millimeters beneath the top. Now glue the top part of the mechanism only & place the other pot panel on top. Hold down for a minute or so till it dries. Now glue the tabs to the inside.

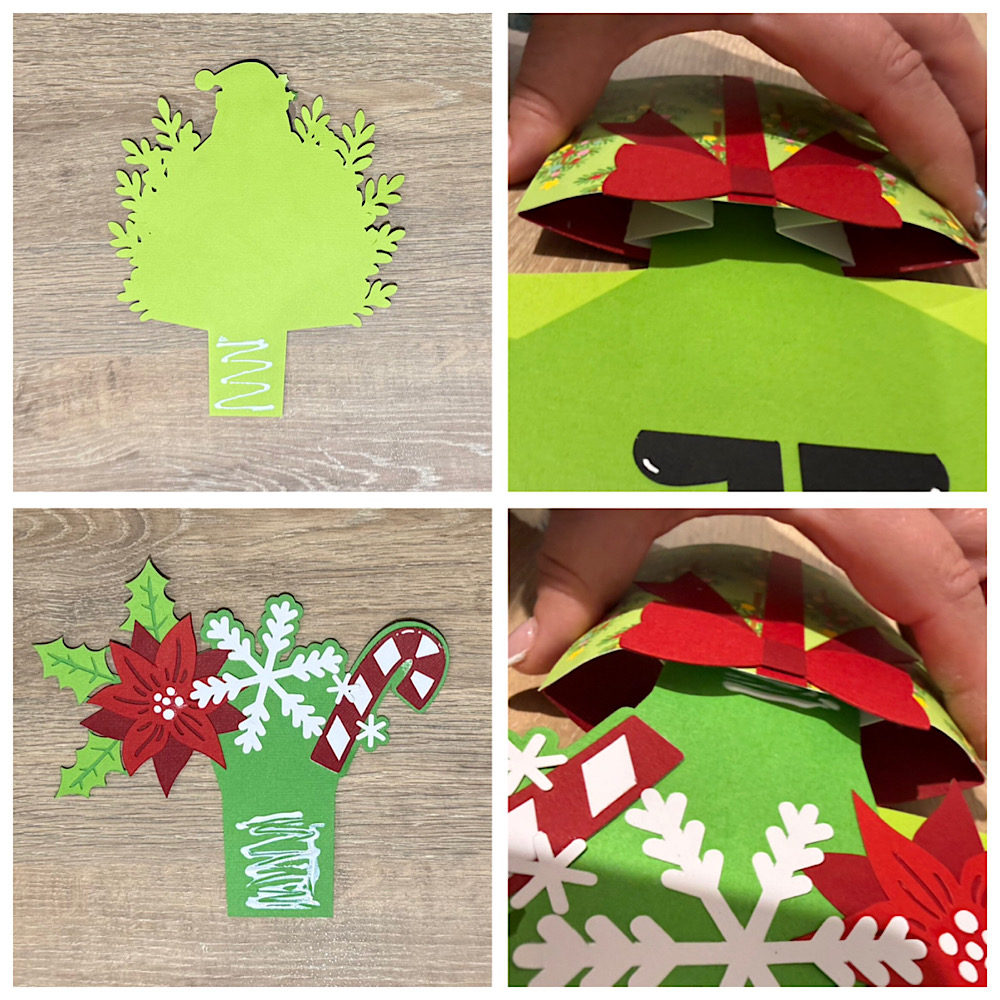
Next take the larger foliage panel with Santa & turn it over. You want to apply glue on the back of the bottom square part. Now turn it over so you can see your front panels & gently slide it in between the back of your X. The glued square should be stuck onto the back pot panel. Now with the smaller foliage panel you will apply the glue onto the front side of bottom square. This time you will slide it into your X on the front folded part of the mechanism so that the glue adheres to the front pot panel.

To make your bouquet stand on its own gently squeeze the sides of the pot & fold in the leg of your mechanism. To fold flat place it back down again.

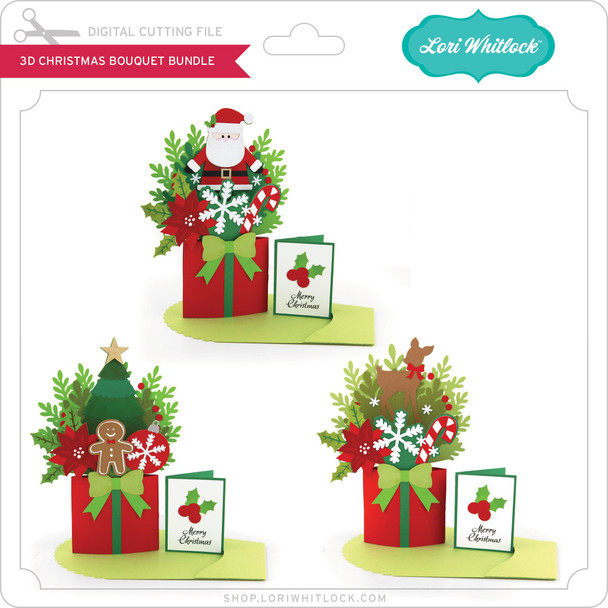
I hope you enjoyed my tutorial today! You can also buy the 3D Christmas Bouquet Bundle here, which also features 3D Christmas Tree Bouquet, (which I created here), and 3D Christmas Reindeer Bouquet.
Use coupon code NOELENE for 10% off your purchase anytime at Lori Whitlock Shop!
For more inspiration, check out my Instagram!
Thanks for stopping by!
Hugs
Noelene 🙂

5×7 Box Card Christmas Shops

I’m on the Lori Whitlock Blog today with a few easy tips for  making these new release festive  5×7 Box Card Christmas Shops. 


Today I am going to show you a few tips for making these fun Christmas Shop Cards from Lori’s  latest release.
 
The main ‘building’ pieces are all the same for each shop and the decor changes for each house. As always, I cut extra’s of all the small  pieces because I always lose something! Does that happen to you?
 
 
Glue all your pieces on the front of your shop
This is the insert for inside the box card.  Notice the window is added on the side with the short tab. Add glue on the short sided tab.
Turn over both decorated house pieces. Take the insert and glue the short tab right up to the fold of the tall house (back of the house that has the white piece glued to it).
Here you can see how it looks after it is glued.
After your first  tab is dry, fold over the insert with the tiny window and add glue the long tab on the right side. Flatten the insert and fold over the right side piece. (Always make sure the bottom of the pieces line up evenly). See below
Hold the right side piece down to make sure the glue is dry on the underneath tab. Fold over the left side house piece and it will line up perfectly with the glued tab. Pretty slick that Lori’s files are so well designed that everything just fits!

I would add pressure on the right side where the tabs are to make sure the tabs are really stuck. Flip the card back and forth to make sure it folds flat so it slips into the envelope easily. These cards fit  nicely in a 5×7 envelope.

 
Added tip  for the awning—glue on you second color tab and then flip it over.
The awning is designed to glue on flat but I wanted to have it pop out a bit on the bottom like a real awning. Add glue to the top of the piece and a foam strip  on the bottom.  When you glue it on, it looks so darned cute! 
 
I hope you will give these cards a try, they are  striking made up as a little village.
 

Cookies For Santa Layout

And the countdown to Christmas is on! Who’s ready? NOT ME!! But I did take a great cookie decorating class recently to have some cute Christmas cookies and what a better way to show everyone the cookies than creating a layout!

I used the Echo Park Paper line that Lori designed called Santa Claus found HERE.

I used 3D Cookies For Santa SVG from Lori’s website found HERE. But instead of making it a card, I added a background to the words and used it as a title. I cut one of the cookies and turned it into a shaker piece for one of my embelishments.  The rest of my embelishments were sickers and chipboard pieces from the paper collection.

Thanks for stopping by and Happy Crafting!

Christmas Advent Countdown Tutorial

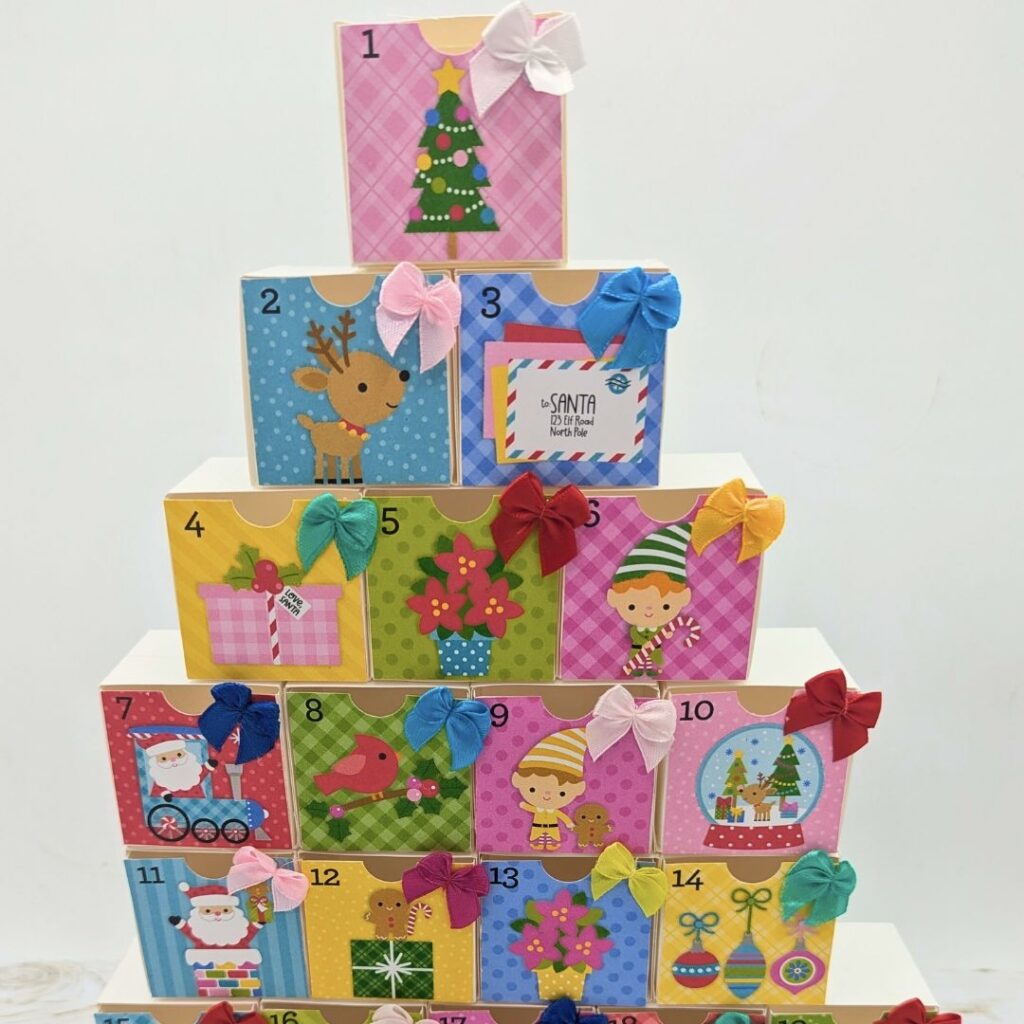
Today, I’m excited to show you a fun **diy** project: a festive Christmas Advent countdown from Lori Whitlock (SVG, Silhouette). You can also find Lori’s original assembly tutorial HERE. This Advent countdown forms a Christmas tree when assembled and includes 25 little boxes that you can add a small treat or toy inside. Join me as I demonstrate **how to make** this adorable Christmas Advent, it’s a wonderful addition to your **Christmas crafts** collection.

Happy crafting!

Holly Jo