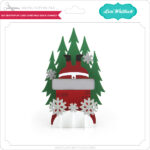
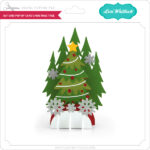
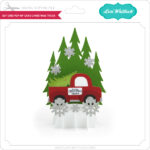
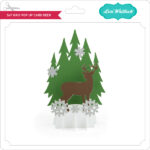
ALL WEEK, this SVG file is FREE with any $1.99 purchase!
Hi Everyone! We have a FREE file with purchase all this week! We’ve changed the way we are doing the freebie files each week and the free kit of the month. All you need need to do is place your qualifying order and the free file(s) will be added to your cart automatically! Simply place an order of $1.99+ in the Lori Whiltock SVG Shop and this Reindeer Pop Dot Card file will automatically be added to your order for FREE! No coupon code necessary! This offer is good through next Sunday.
(Your cart must reach $1.99+ before the FREE file will automatically be added. The files will be available for immediate download after you pay for your order by visiting ORDERS > ORDER # > RED DOWNLOAD ARROW)


Right now the 2022 December Kit of the Month is FREE with any $20+ purchase (purchase must be in one transaction). Simply place your qualifying order in the Lori Whitlock SVG Shop and this file will be automatically added to your cart for FREE. No coupon code necessary. This offer is good through December 31, 2022.
(Your cart must reach $20+ before the FREE file will automatically be added. The files will be available for immediate download after you pay for your order by visiting ORDERS > ORDER # > RED DOWNLOAD ARROW)

NEW FILES – 25% OFF this week!
Check out the new SVG files we have for this week! The NEW SVG files will be ON SALE 25% OFF through the weekend in the SVG Shop. These downloads include SVG files that may be used with Cricut Explore, Silhouette (Designer Edition upgrade required), Eclips, Brother Scan and Cut, and any other software that will open SVG files. Be sure to go get them while they are on SALE this week.

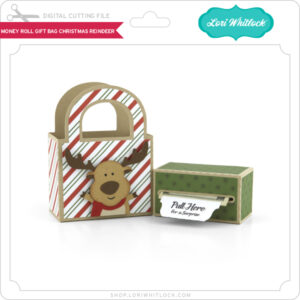
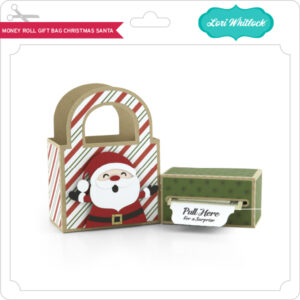
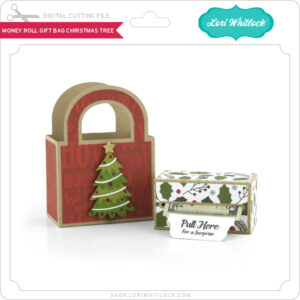
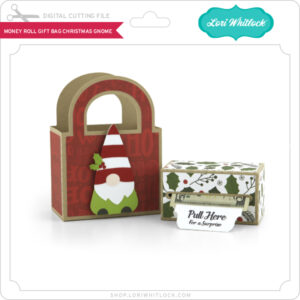
If you’re wondering what to give someone this Christmas I have an idea for you. One of my favorite things to give for Christmas is money in these Money Roll Gift Bags! It is so much fun to see the recipient’s face as they pull a string of bills from this adorable box.
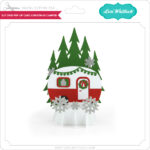
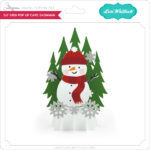
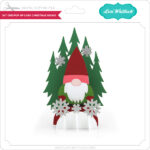
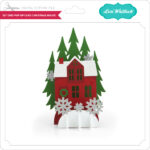
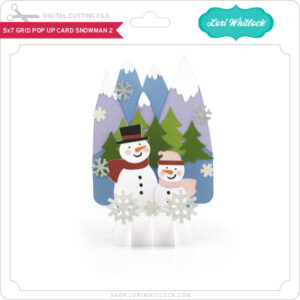
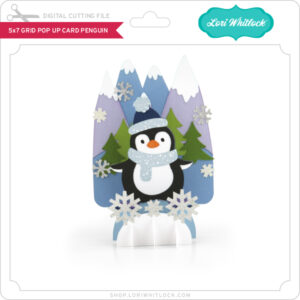
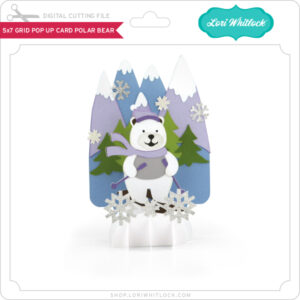
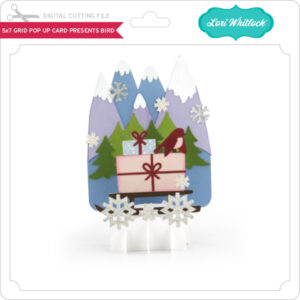
I have 4 adorable new money roll designs for you this week. I also have some darling “winter themed” grid pop up cards. They are perfect for Christmas OR they would make wonderful thank you cards to send after the holidays because they feature “thank you” sentiments on the back.
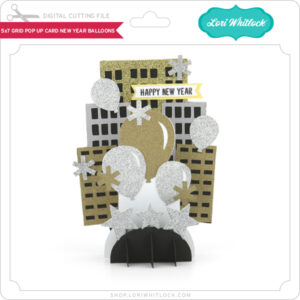
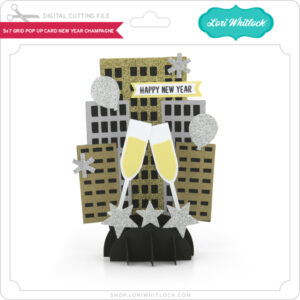
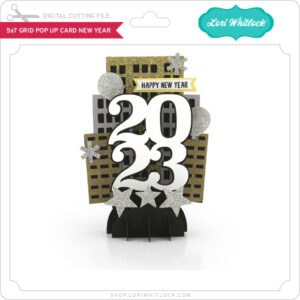
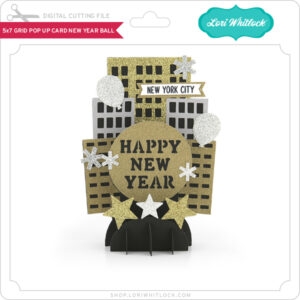
And, New Year’s is just around the corner so I designed 4 new grid pop up cards with a New Year theme. If you’re wanting to make a New Year’s project these are super fun and so cute. Try cutting them out of glitter paper for some extra “bling.”
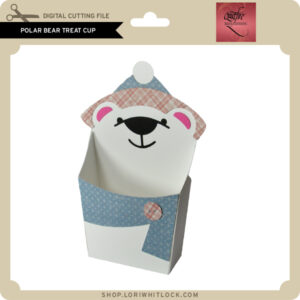
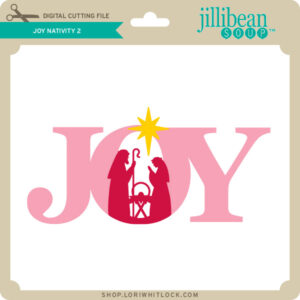
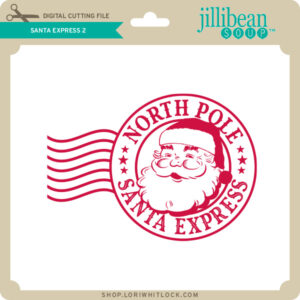
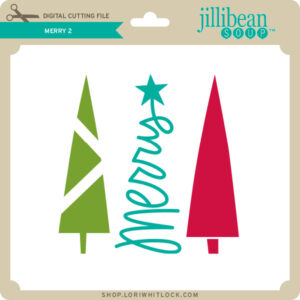
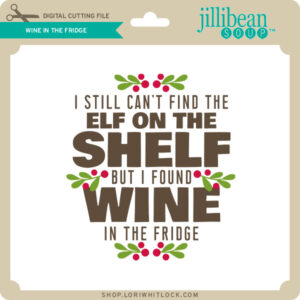
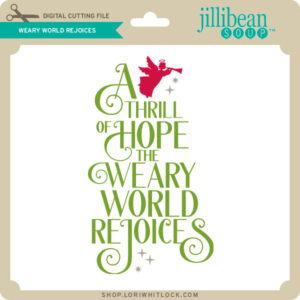
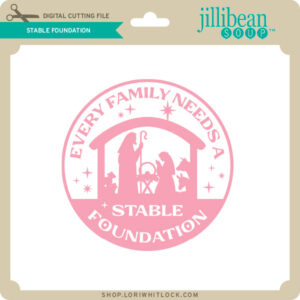
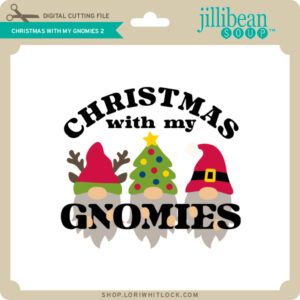
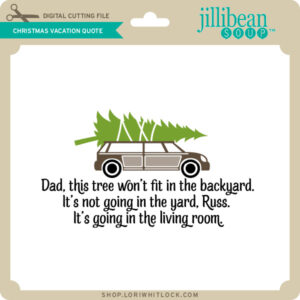
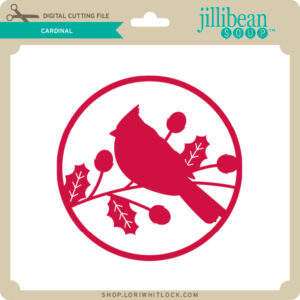
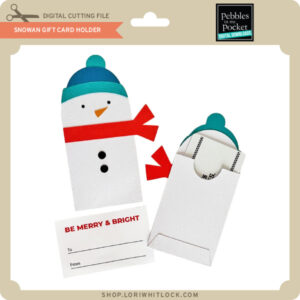
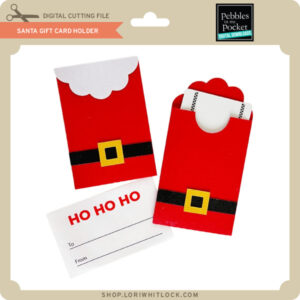
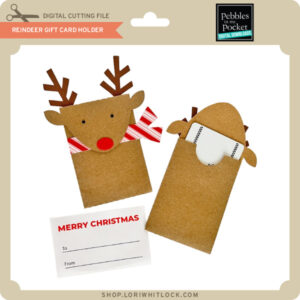
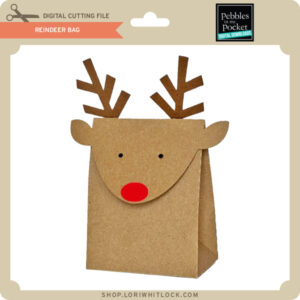
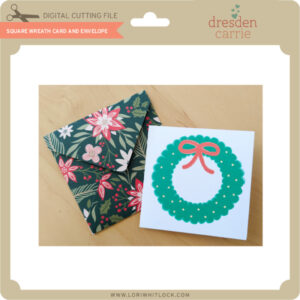
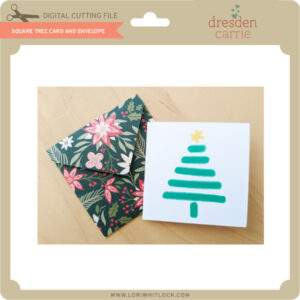
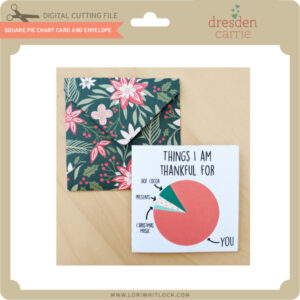
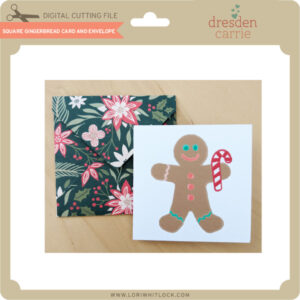
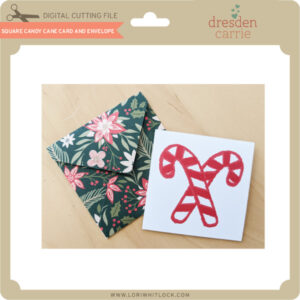
We also have cute new SVG files from Quietfire, Jillibean Soup, Pebbles, Dresden.


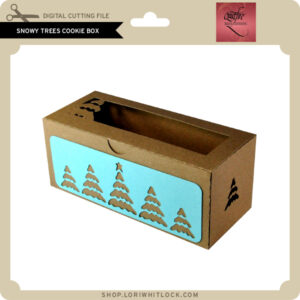
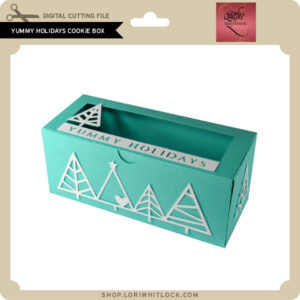
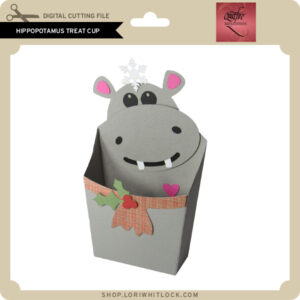
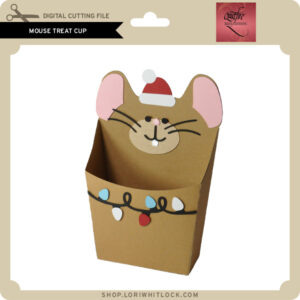
.jpg)


.jpg)